Proper Aftercooler Maintenance
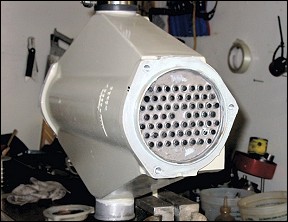
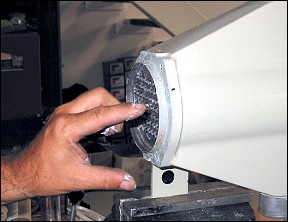
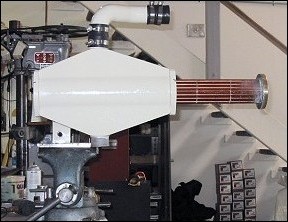
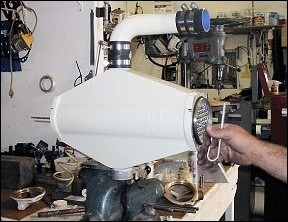
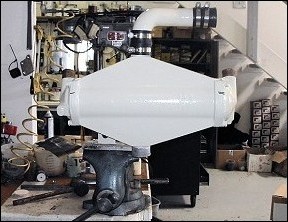
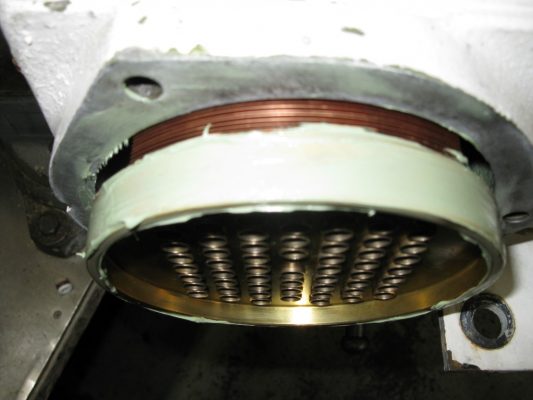
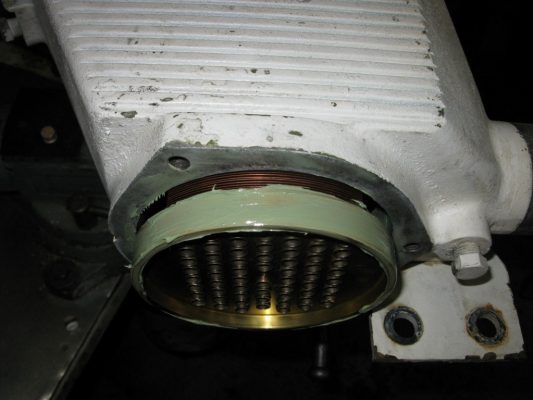
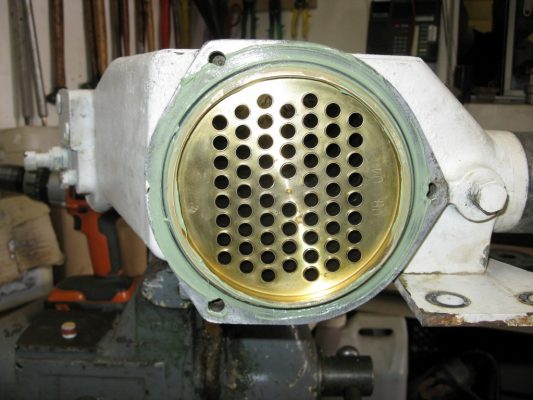
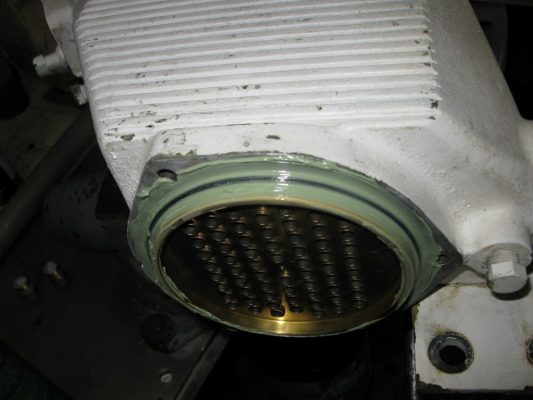
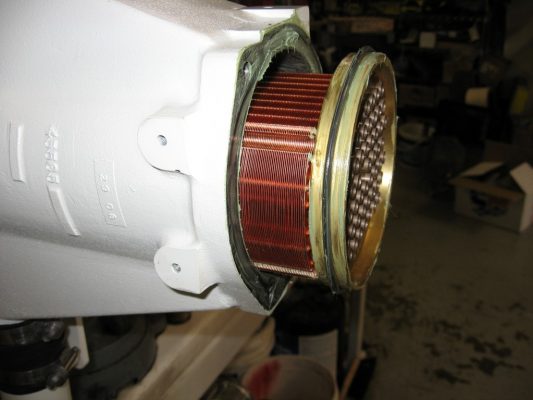
The following pictures should help with understanding the Cummins aftercooler on both the B’s and C’s. These pictures are from a current 350 C and are basically identical to all of the C’s including the earliest 400’s. The “B’s” are the same but shorter. The biggest problem with servicing these coolers is the disassembly because as time goes by, moisture causes corrosion between the brass and the aluminum at each end of the cooler, making the removal of the tube bundle difficult. In theory, the brass doesn’t really touch the aluminum except “slightly” on the air side, but dirty moisture bridges the gap, and voila, the process starts. This is most prevalent on the bottom as this is where most of the moisture settles. The moisture comes from condensation (fresh water) and not from leakage (unless there is a problem).
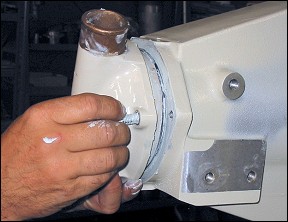
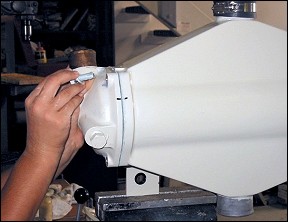
WE start by removing the complete aftercooler from the engine and putting it a vise. Keep the cooler horizontal. Leaving the brackets on the cooler makes for a much easier place to hold it. Index both end caps BEFORE removal as this way you don’t have to figure out later how they orientate. Remove the caps and remove the bundle. If your cooler has not been apart before, this can become a challenge. I sometimes have to use a block of wood, hammer, WD 40, etc., to get it loose/slide it out. Upon removal, you’ll notice that the air intake side is much funkier that the air exit side. Sometimes, lots of black slimy sludge. This is somewhat normal, but varies from boat to boat. The fins are very fine and they act as a strainer, and between that, the cold seawater going thru the center causing condensation on the fins, miniscule amounts of oil mist that’s just about always present in the engine room air, molecules of oil that leak past the turbo seals, dust, salt laden air, and ??, these aftercoolers can sometimes look very dirty.
The simplest way to clean the air side is to use spray brake cleaner (lots of it), let it soak and then spray the cooler w/ soap, Simple Green, or ??, and hose it clean. I ‘d then use compressed air to blow out the excess water, or just shake it and let it drain/dry for awhile. Don’t worry about some water left in the fins, it won’t hurt the engine. Here in the shop, we have a tank filled up with a product similar to Simple Green and we boil the coolers for about 1 hour and then just rinse them. I DON’T recommend any type of acid on the air side. Clean/ rod out the tubes w/ a 3/16″ aluminum rod and if they are excessively encrusted w/ calcium / salt / ?? deposits , you might consider using toilet bowl cleaner, on/in the tubes only.
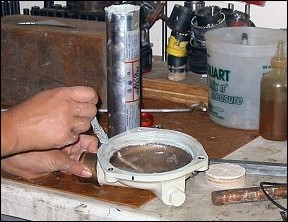
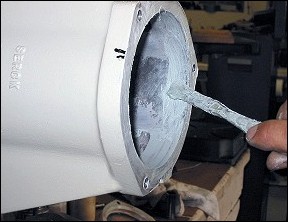
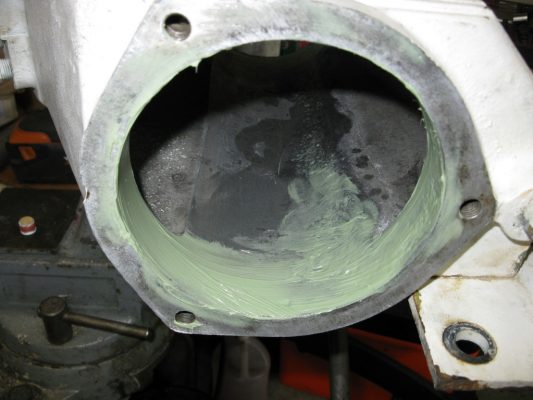
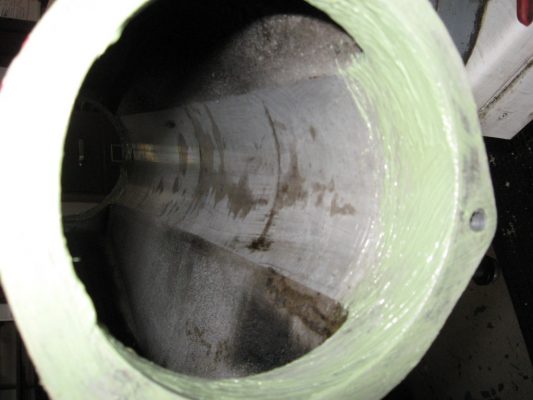
Inside the aluminum housing , wipe it out with a solvent, and inspect both ends for corrosion. It will be there so don’t get worried. Just use a 150 grit cloth and sand it somewhat smooth. Re-clean w/ solvent and now comes the assembly and the key to future servicing and longevity…..LUBE, and plenty of it.
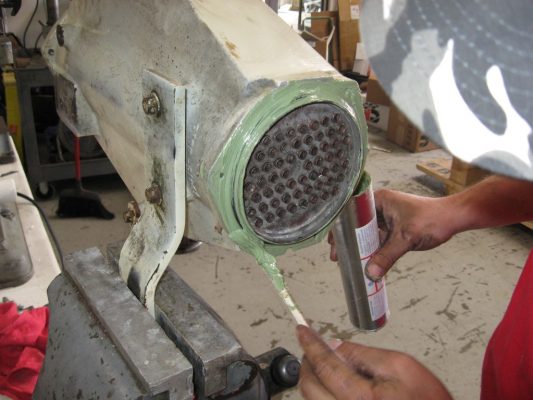
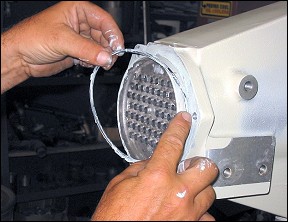
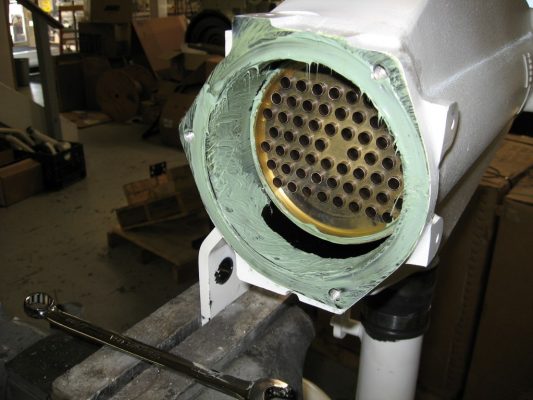
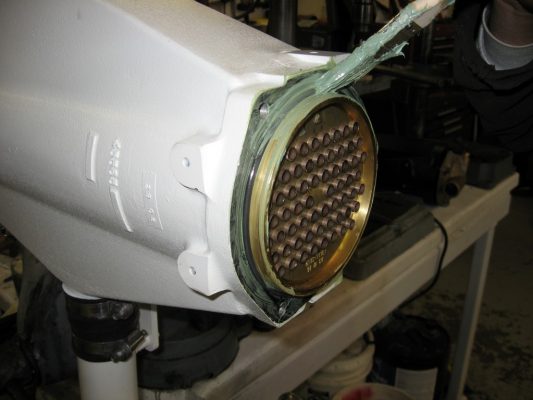
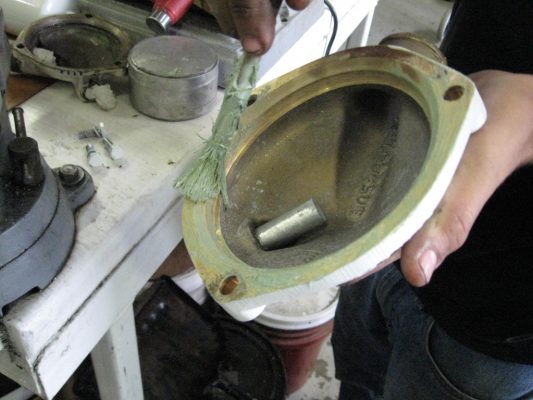
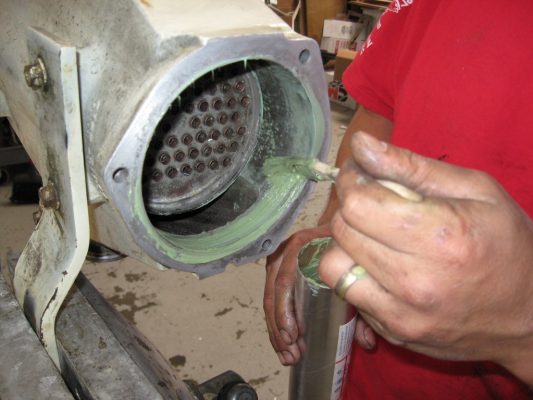
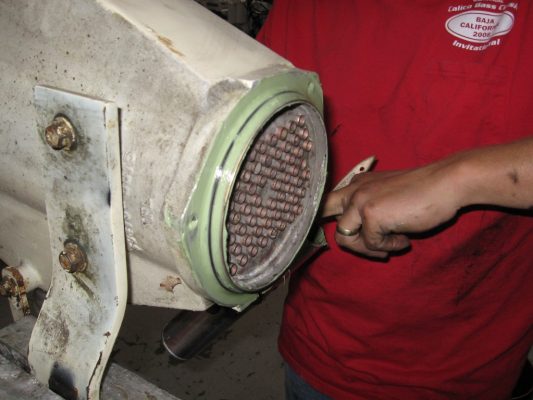
Look at the pics again, and coat the first inch of each end of the cooler housing along with the flat end. Coat each end of the core and coat the inside beveled edge of the caps and flat surface. Lube the caps screws and the NEW “O” rings. Don’t use old O-rings as they become flat. Aftercooler O-Rings
On ALL new engines that leave Seaboard, we disassemble the new aftercoolers and lube them up as we know what happens down the road to a “dry” factory assembled aftercooler. Even on BRAND NEW coolers, we see the early signs of corrosion and if the factory would just listen to what I’ve been trying to tell them for at least 10 years now, lots of problems associated with servicing these coolers would disappear. They seem to think that a little oil or grease on the O ring is all that’s needed. Another case of true couch engineering and the thought process that goes with it.
Using Proper lube/grease
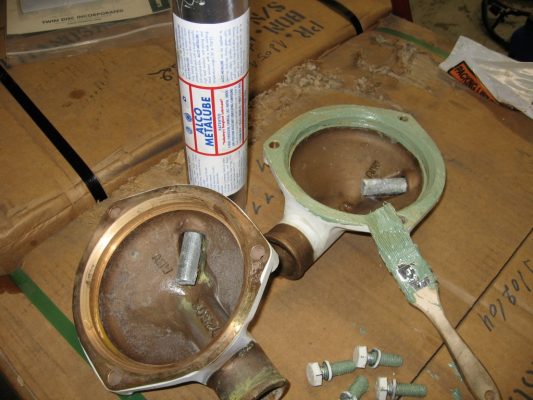
Now its time to talk about your choice of lube/grease. I’ve tried many types over the years from marine greases, synthetic lubes, to Teflon based pipe dopes, and my favorite is now a product called “Alco Metalube”.
I’ve been using it for about 12 years now and have seen the results firsthand as we service these coolers 1-2 years after we’ve assembled them with this product. The coolers just slide apart ( an important reason to disassemble them horizontally) and any corrosion is kept to an absolute minimum. The stuff is a smooth white-ish green grease but weighs about twice as much as regular greases, and is the best product I’ve found for assembling aluminum to stainless, brass alloys that come in contact w/ aluminum, and threaded stainless or steel bolts used on a boat. Most truck type stores carry the product in S. Calif. If you can’t find it, “Rigid” (the pipe people) make a great Teflon pipe dope that may be as good. In a pinch, just use a good marine wheel bearing grease or any type of grease that you think is “super”…. Anything is better than dry….Just be liberal with the lube…
Hope this helps and if you have a specific question, just post it and I’ll do my best to help…Tony
P.S. As you can see from the “disasters”, the aftercooler tells it all about what’s going on in the engine room. Exhaust leaks, saltwater dripping on or near the intake air, impellers that fail, etc…

