Jason & Shane Robinson’s Wesmac Story – From a simple sketch to reality
Sometime in Mid-2011, I was contacted by the “Robinson Brothers” out of Santa Barbara looking for someone that could built out a East Coast hull to their WEST COAST needs. Both of these guys were very serious as to their commercial fishing activities, bit were limited by their current boat — A 27 Ft Radon that was set up to the max as a boat of this size could be.
These guys had a much bigger vision for what they wanted to do and found a company on the East Coast that had a basic hull and cabin structure that they could work with… Their “slip” in Santa Barbara had very specific size limits so they found a perfect hull that could be set up to “fill” the maximum that they could work with. Now, they just had to find someone that could take that hull and turn it into a “Fishing Machine” that could do what they needed. Way different than how they think on the East Coast. They need range, they needed major fish hold capacity, they needed an engine room that you could maintain, they needed a wet well for live fish, they needed to fish lobster traps in 30-200 ft., they needed to fish live fish in 10-100 ft. of water, and they need to fish deep water “cod” in up to 400 fathoms (not feet) and finally… they have to do this year around. These guys knew my Bro’s boat (a bigger East Coaster) that also does all these things so they ultimately figured that if he can do it, so could they… That’s where Seaboard came in and they knew that thinking out of the box needed to be a major part in this project.
After a very thorough discussion, looking over my Bro’s vessel and going round & round a couple of weeks, looking over the base hull line drawings the builder sent me, I put together a “sketch” of what I proposed.

Well the rest is history and the pics here show it all. I built the “Wesmac Hanger” in Dec 2011, the hull was delivered in Jan 2012 and we launched in Aug 2013… A few months late (what’s new?), generally on budget and that boat was all we wanted and more……..
The Beginning
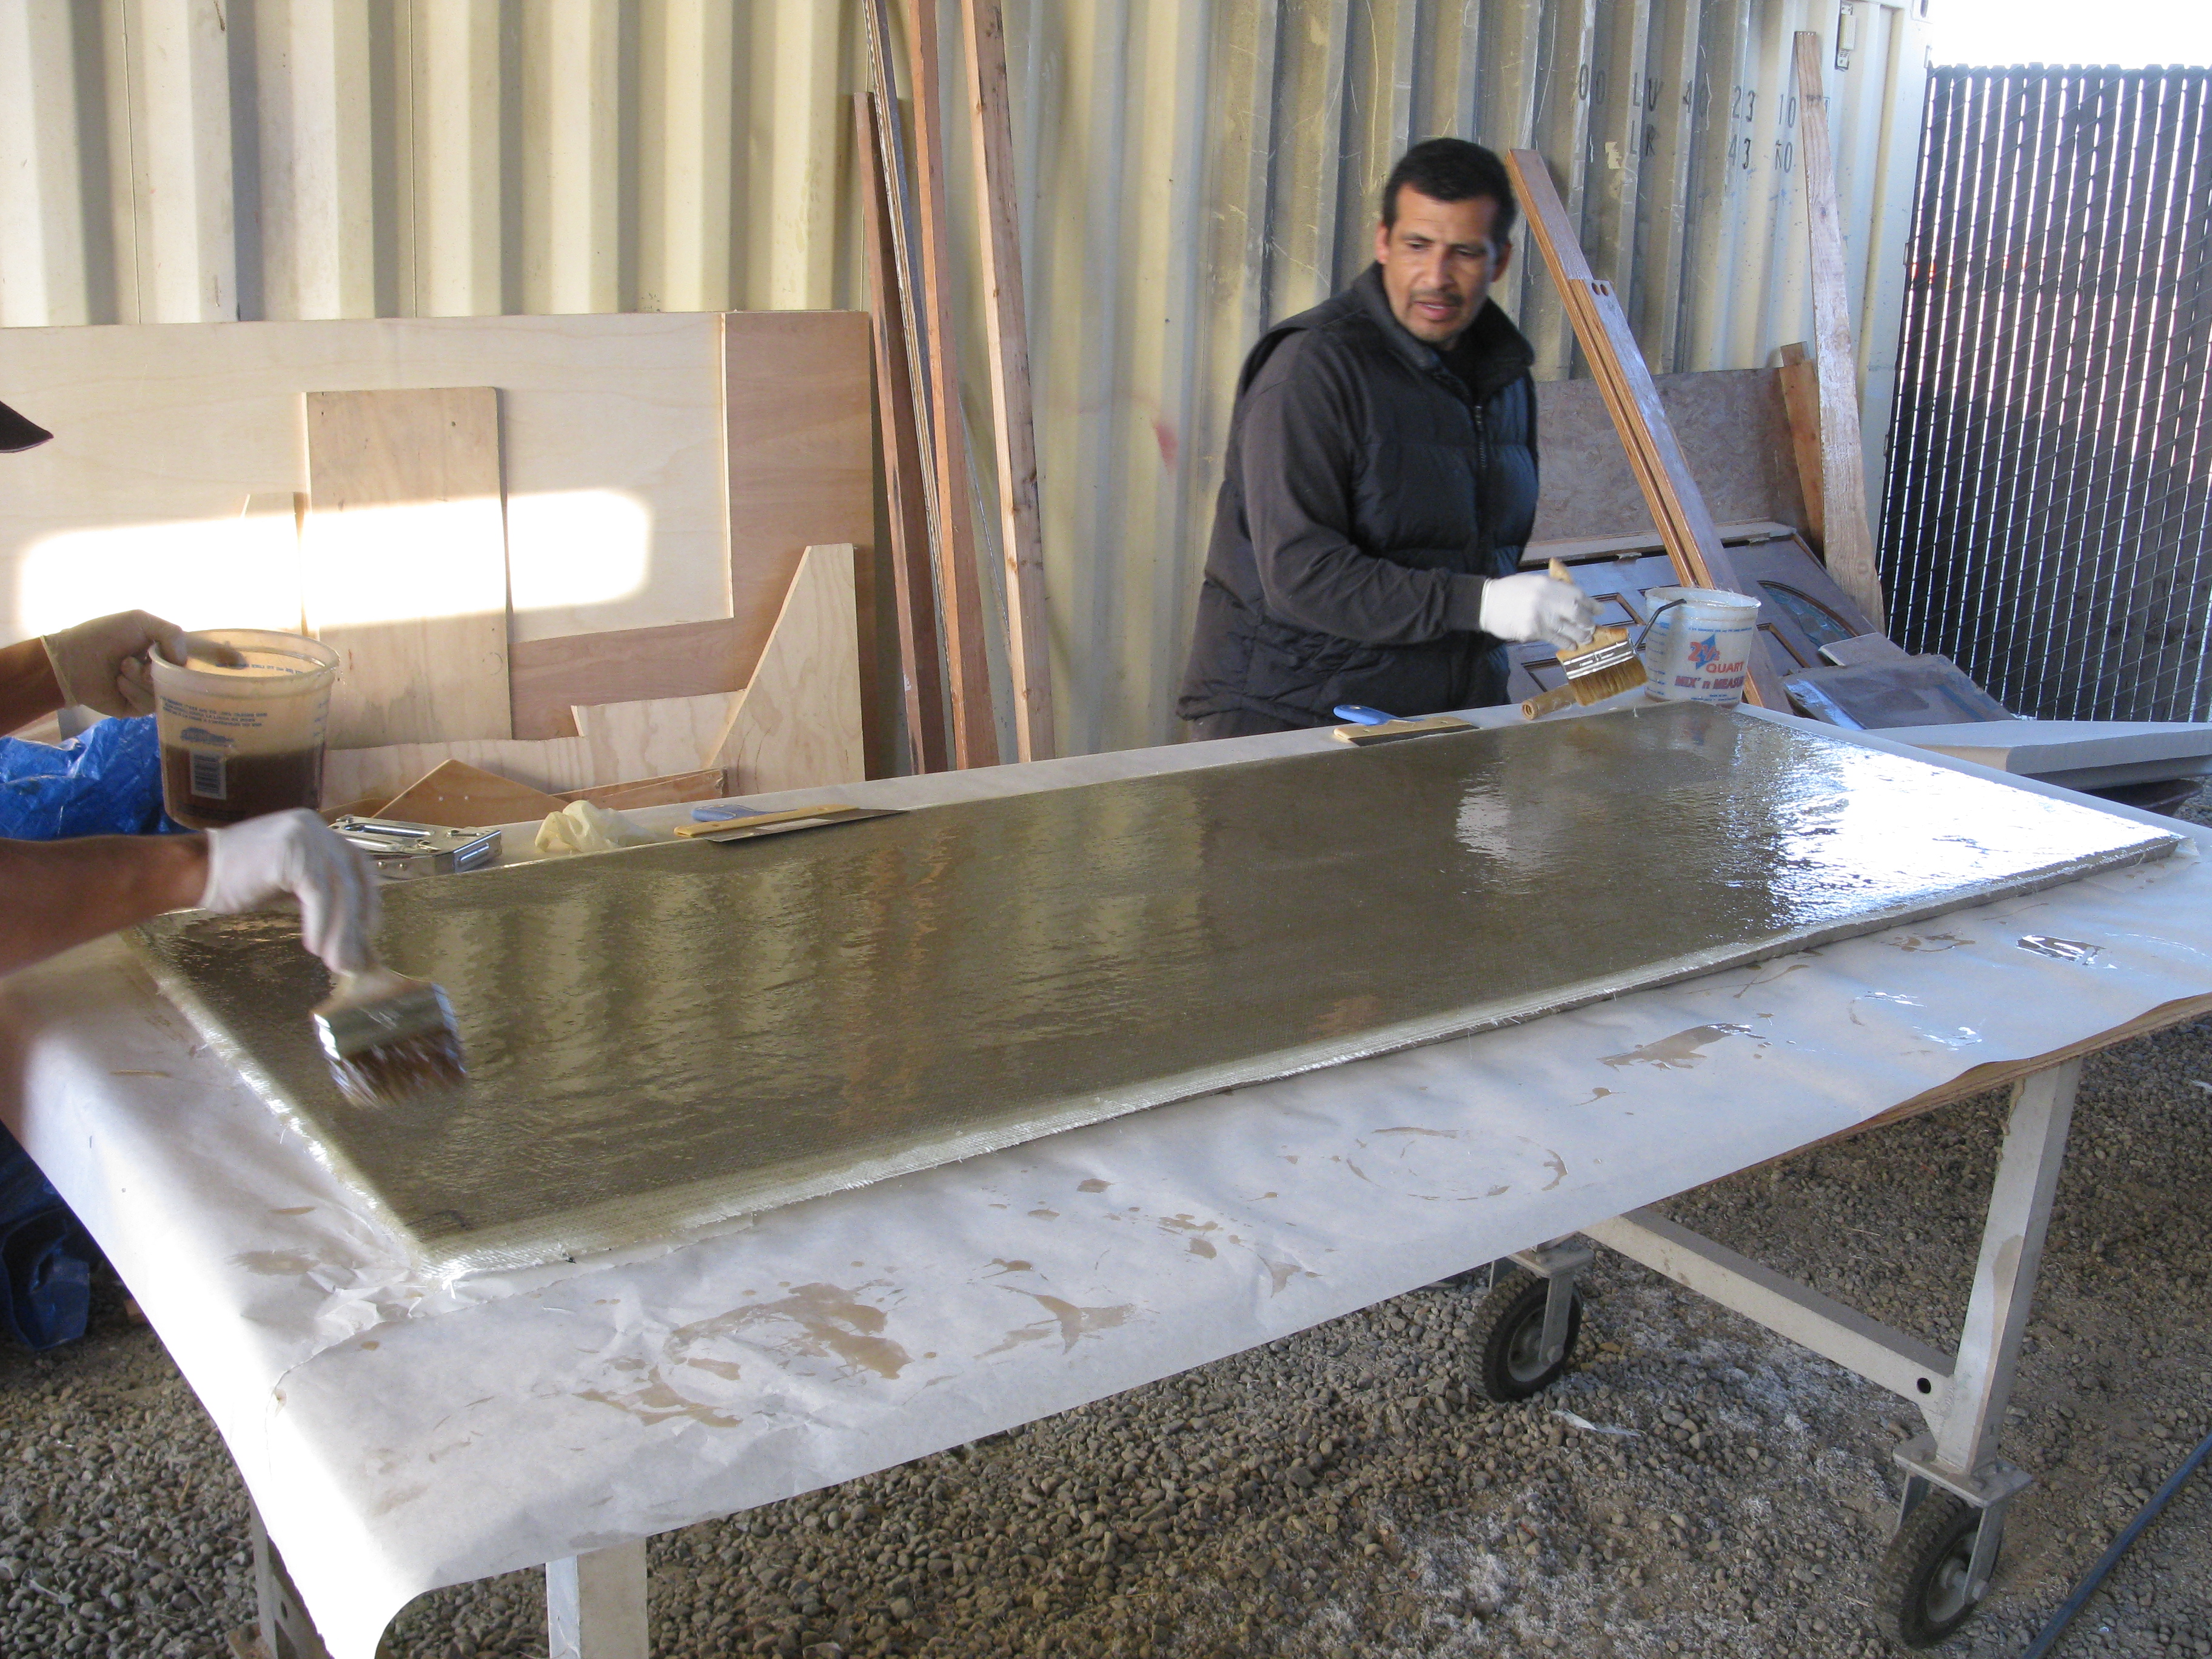
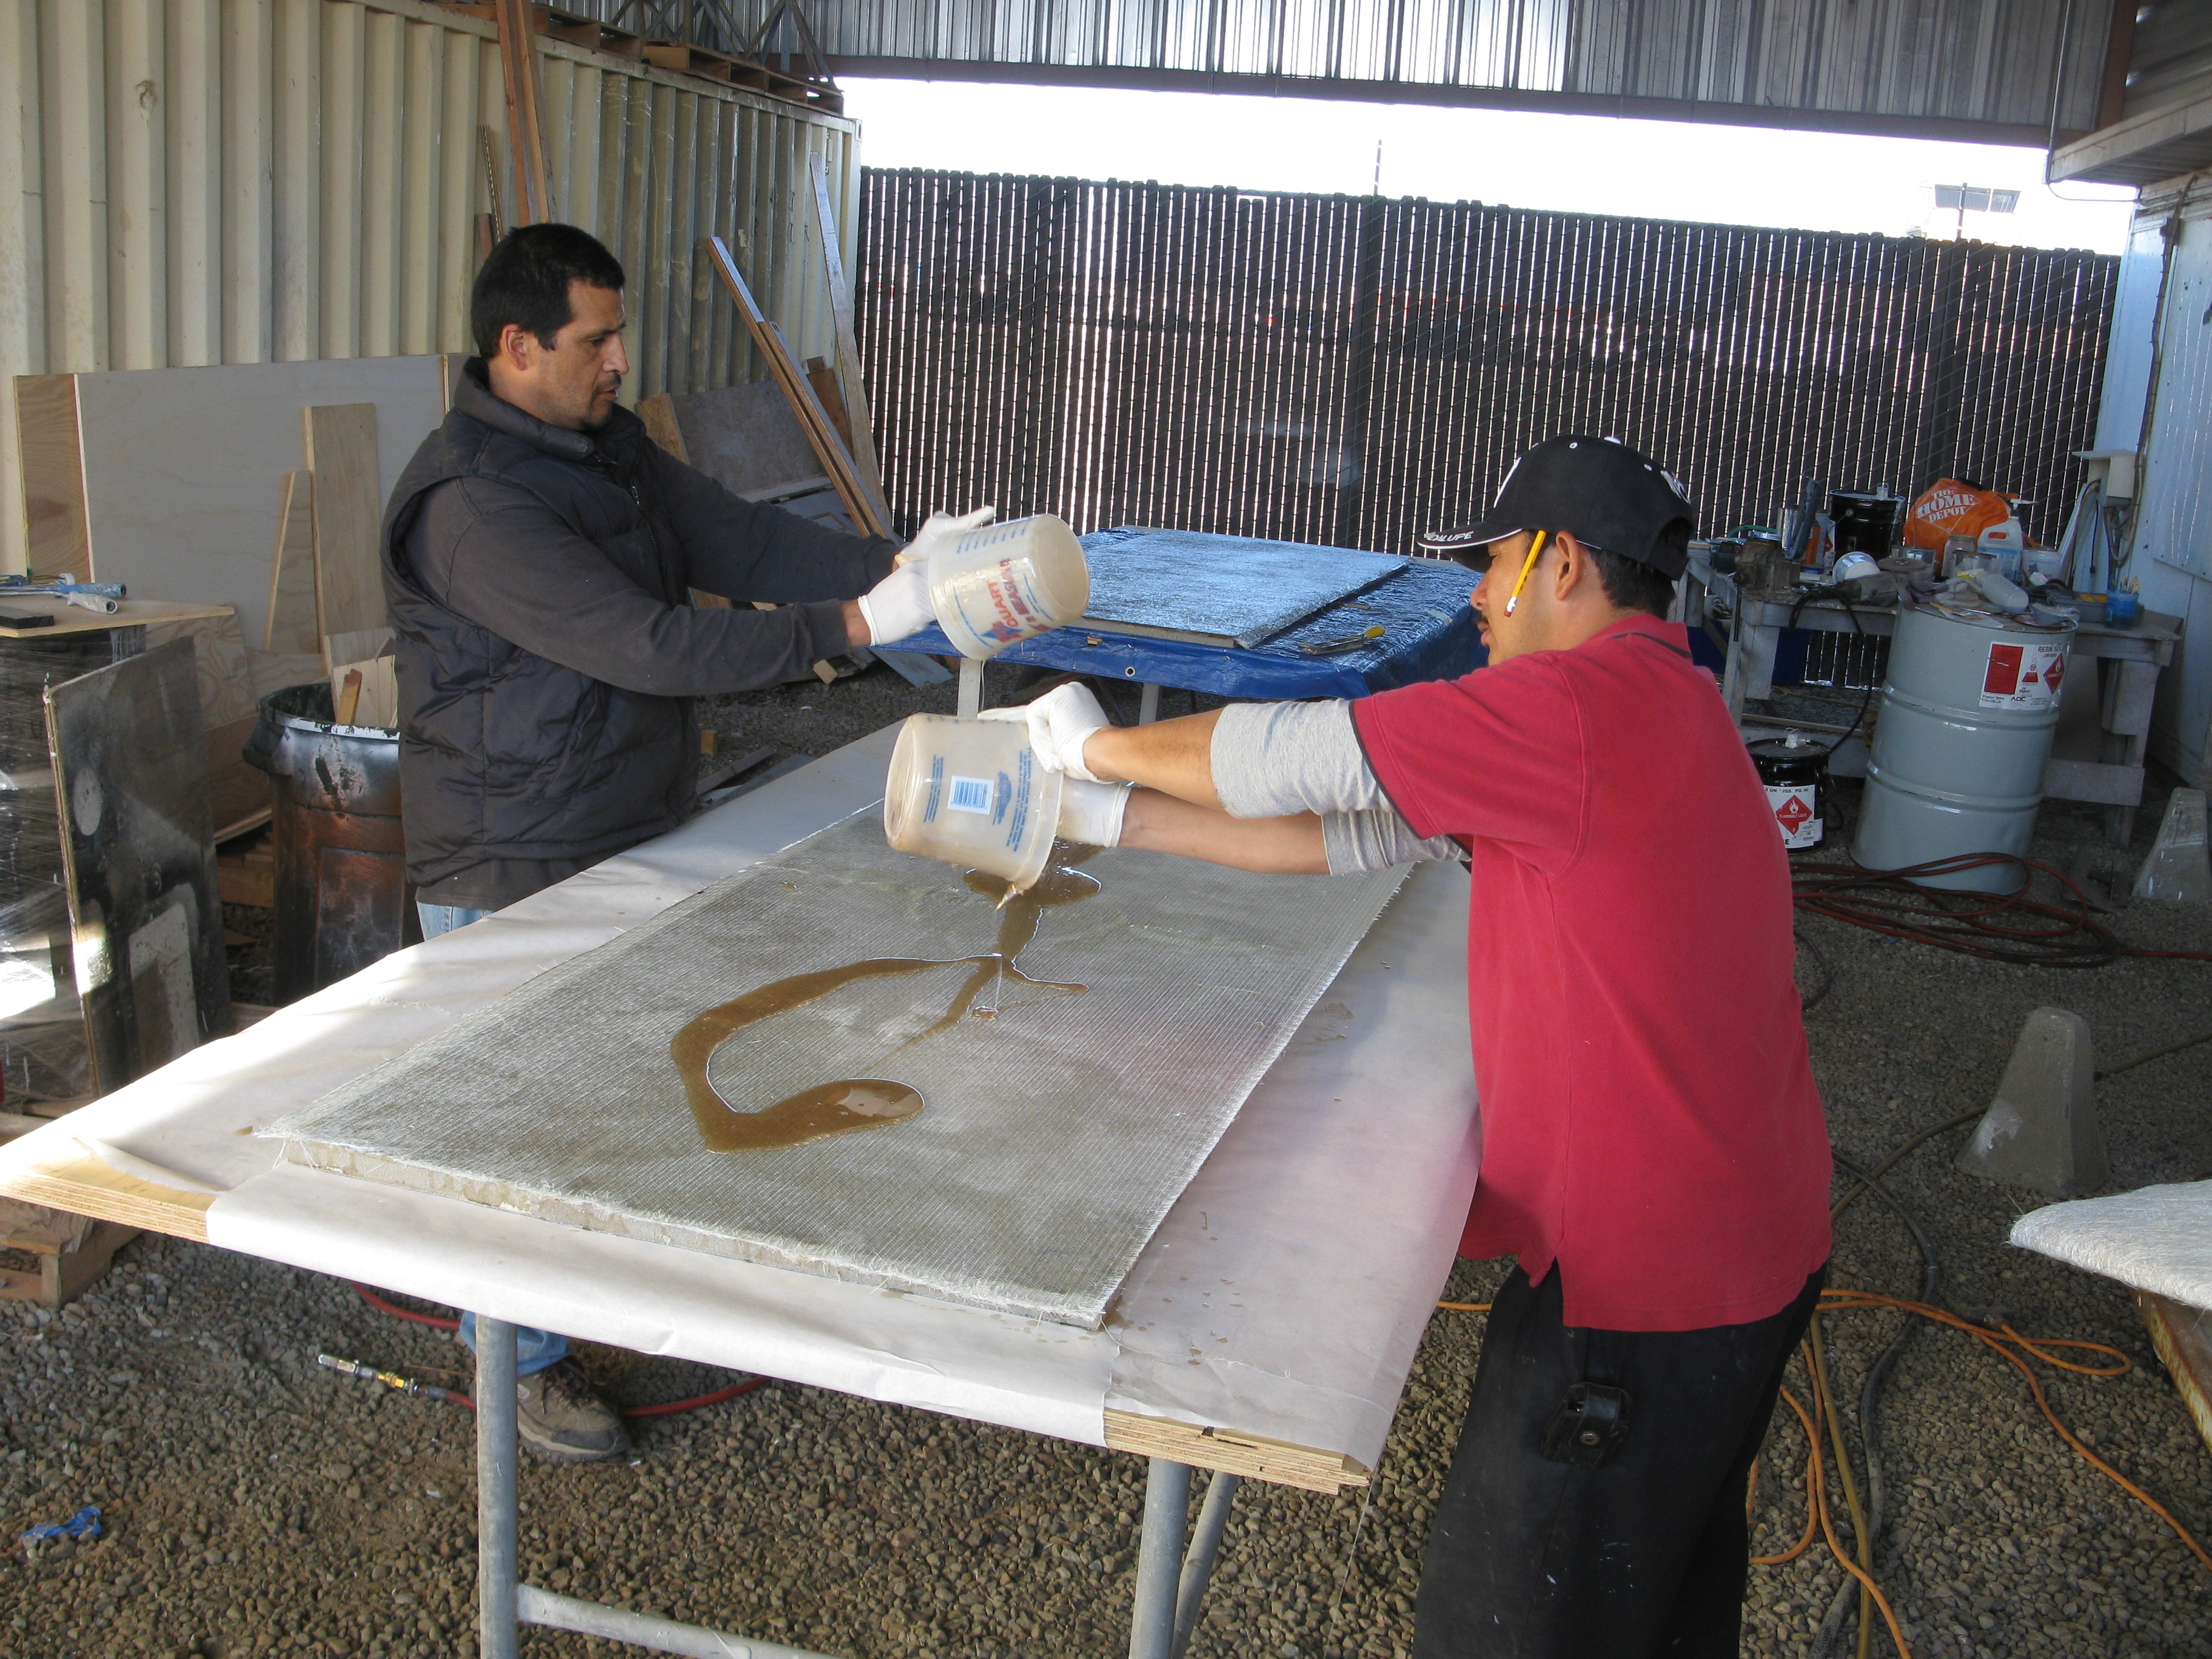
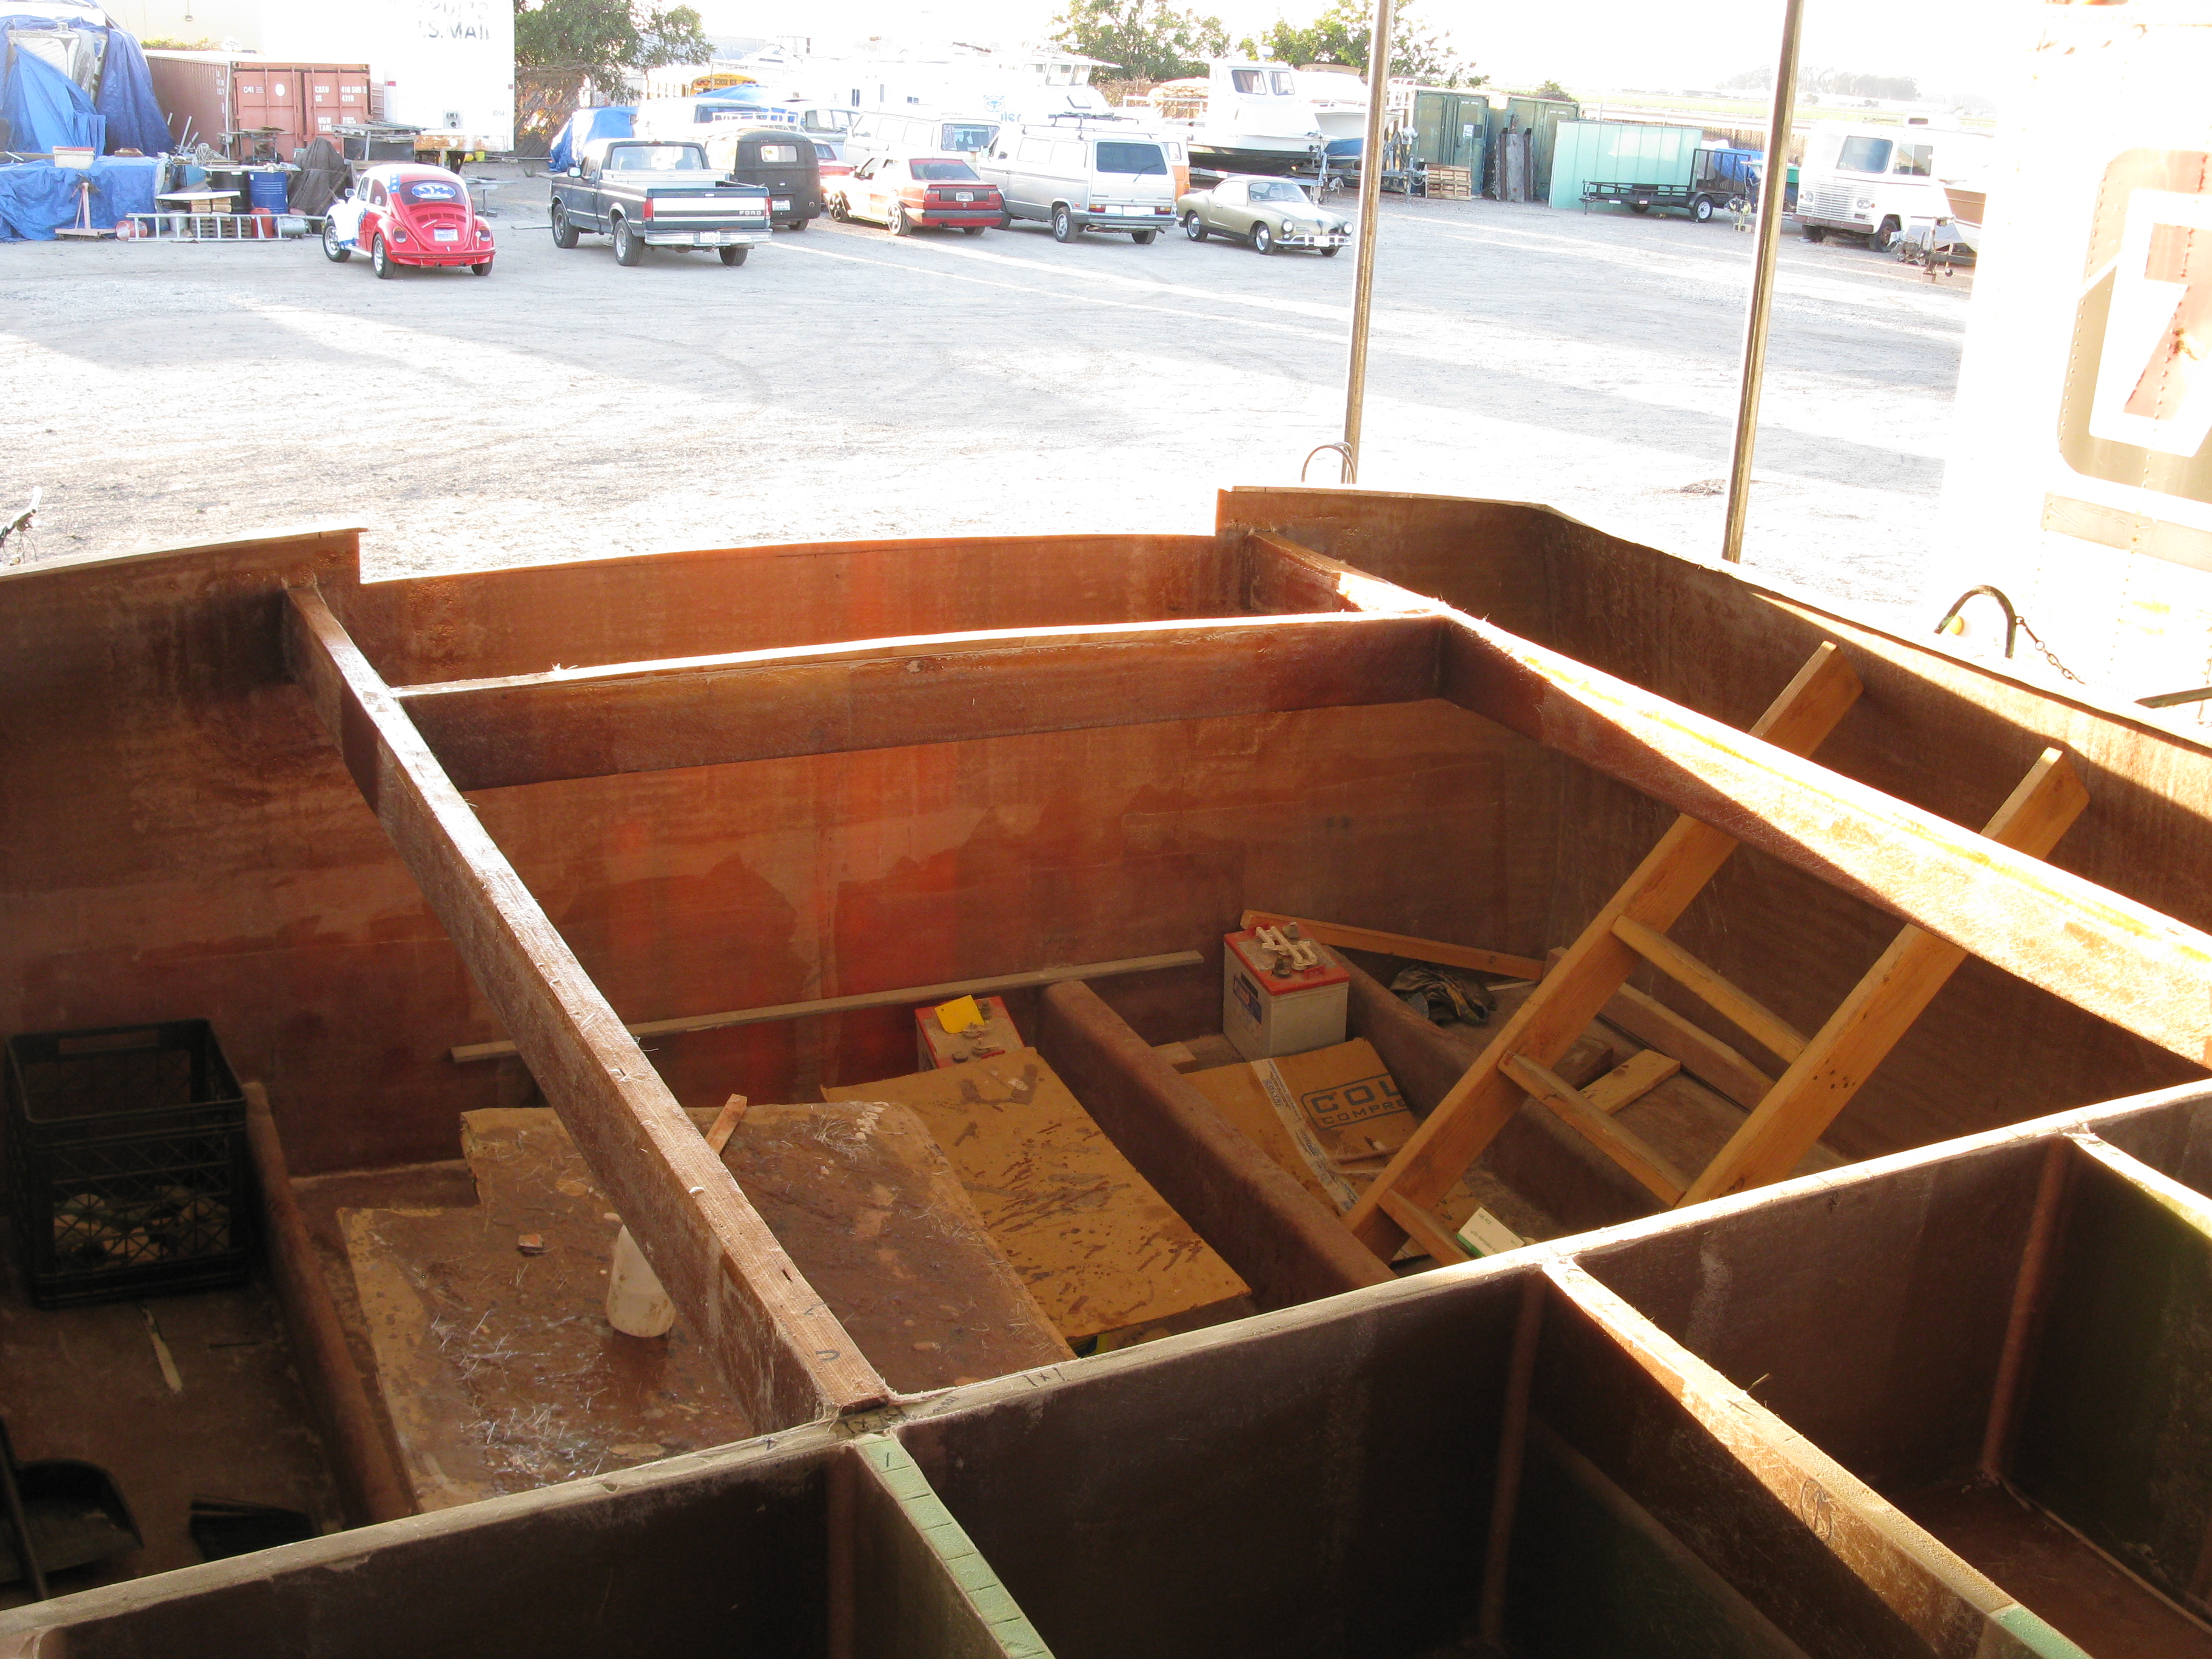
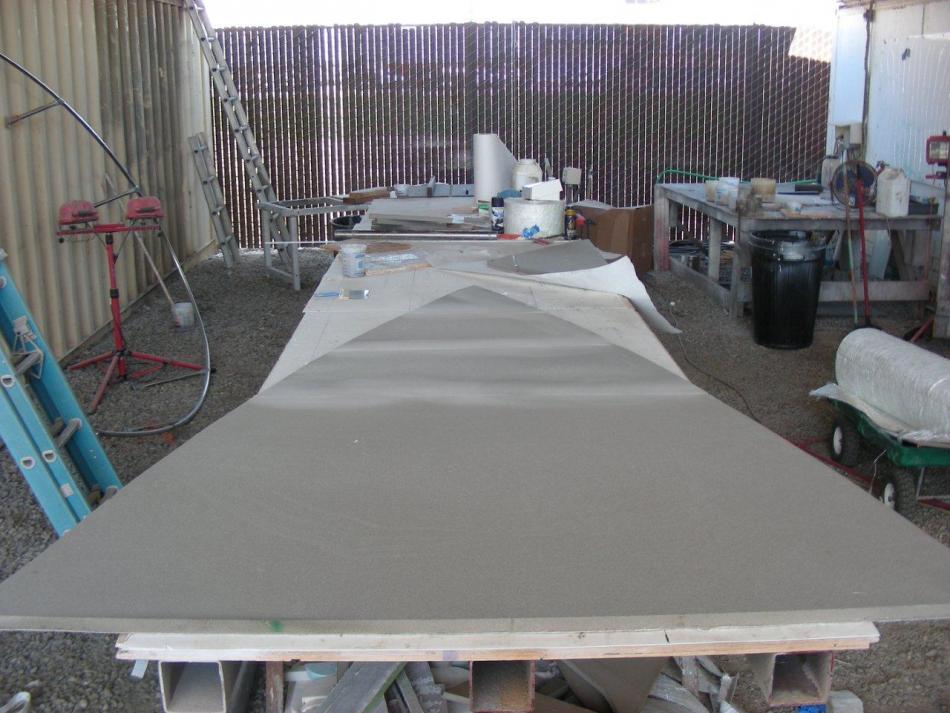
After receiving the hull it was time for work to begin… First up, decisions on tankage and deck height. We’ll start by building the first two main structural panels for tanks/deck, etc. Base core is 1″ H-80 Divinycell – with first layer of 25 ounce bi-axial with 1 oz. mat cover – 100% isophthalic tooling resin. 100% Isophthalic Tooling Resin is very high strength, low shrinkage and chemical resistant.
It has much better properties than orthrophathalic laminating resin. Vinyl ester resin is used for all first “secondary bonds” or like a “tack coat” per se.

Next up is to start building up structure near where the water tanks and bunks will end up.
The next day starts work on the following sections:
- Work up front on the water tank.
- Port side fuel tank.
- Starboard side fuel tank.
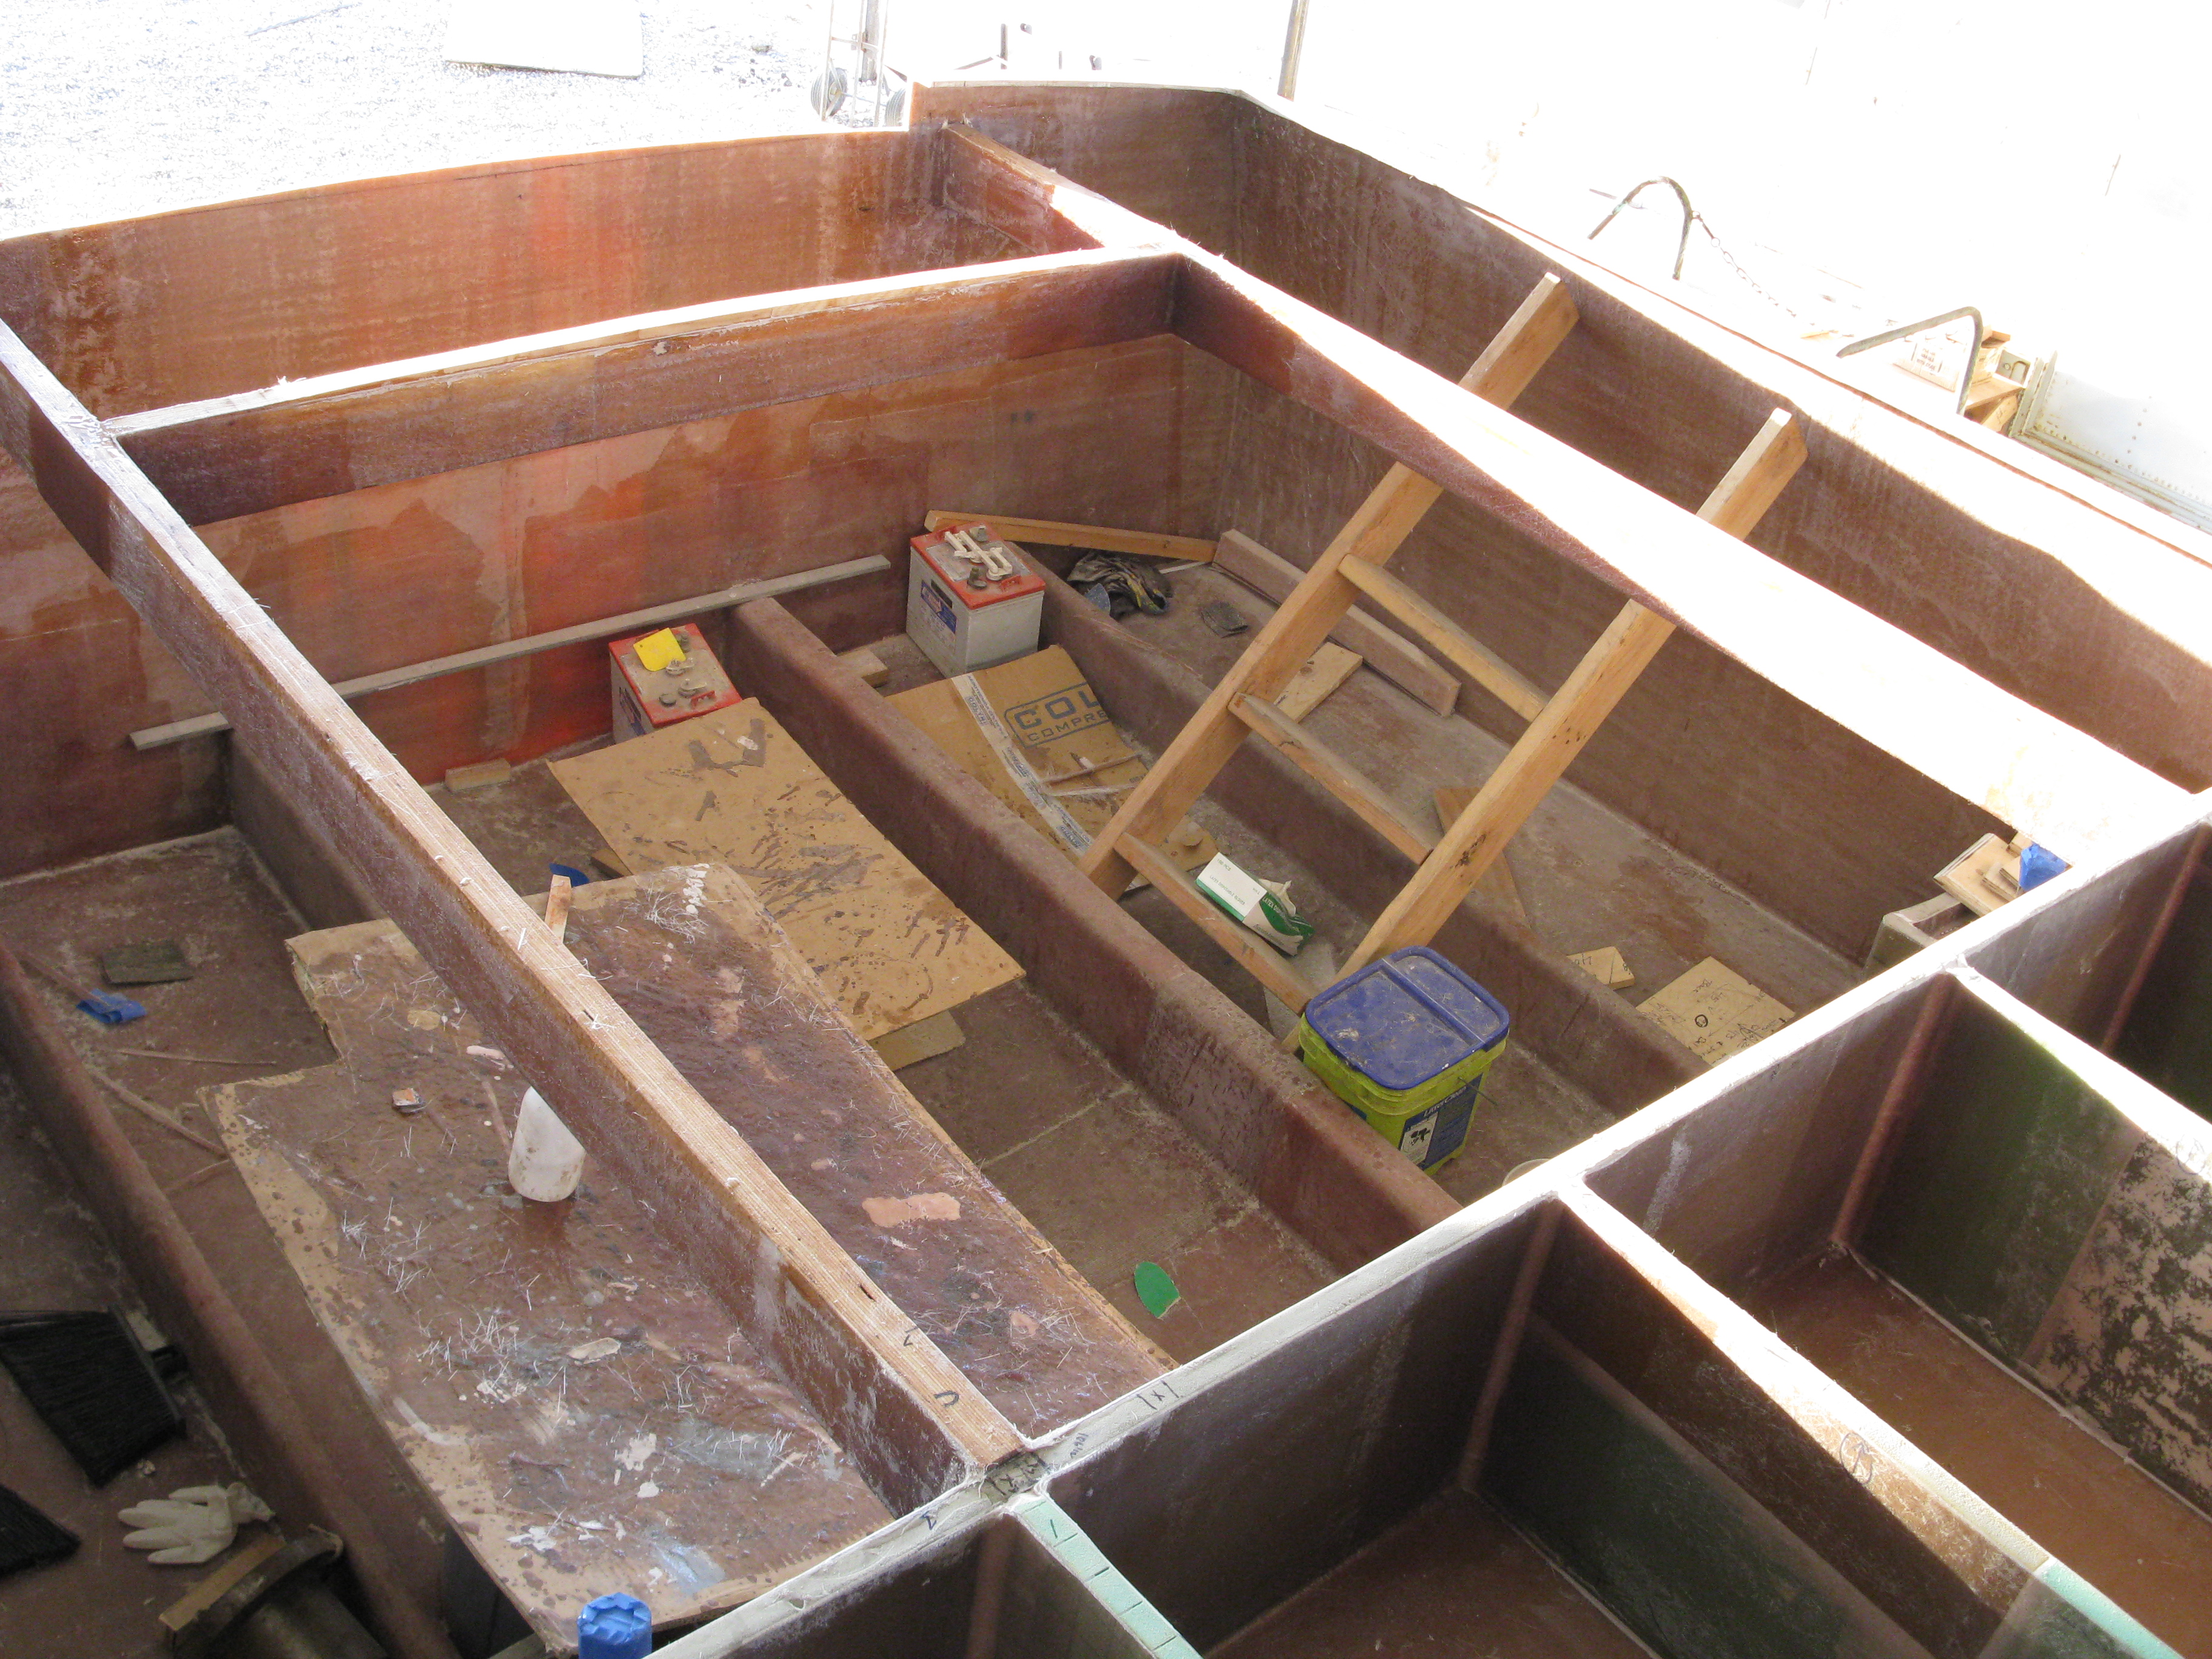
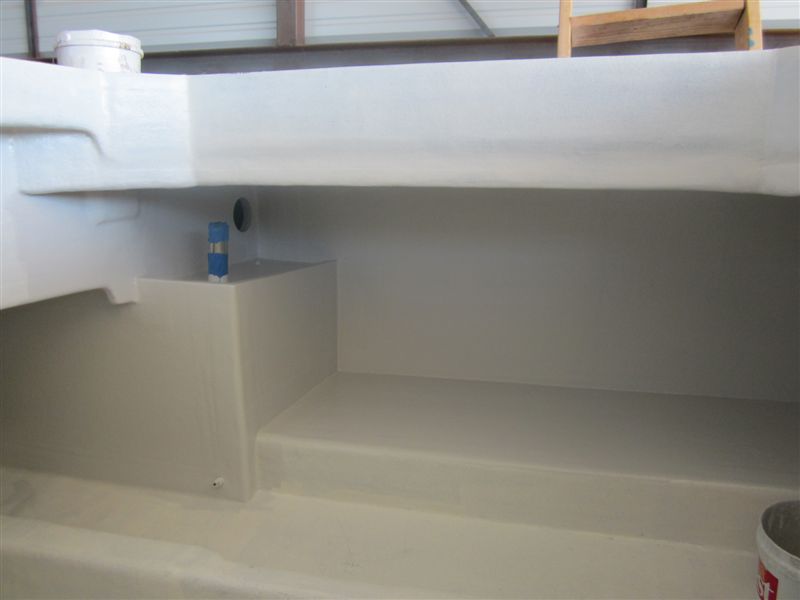
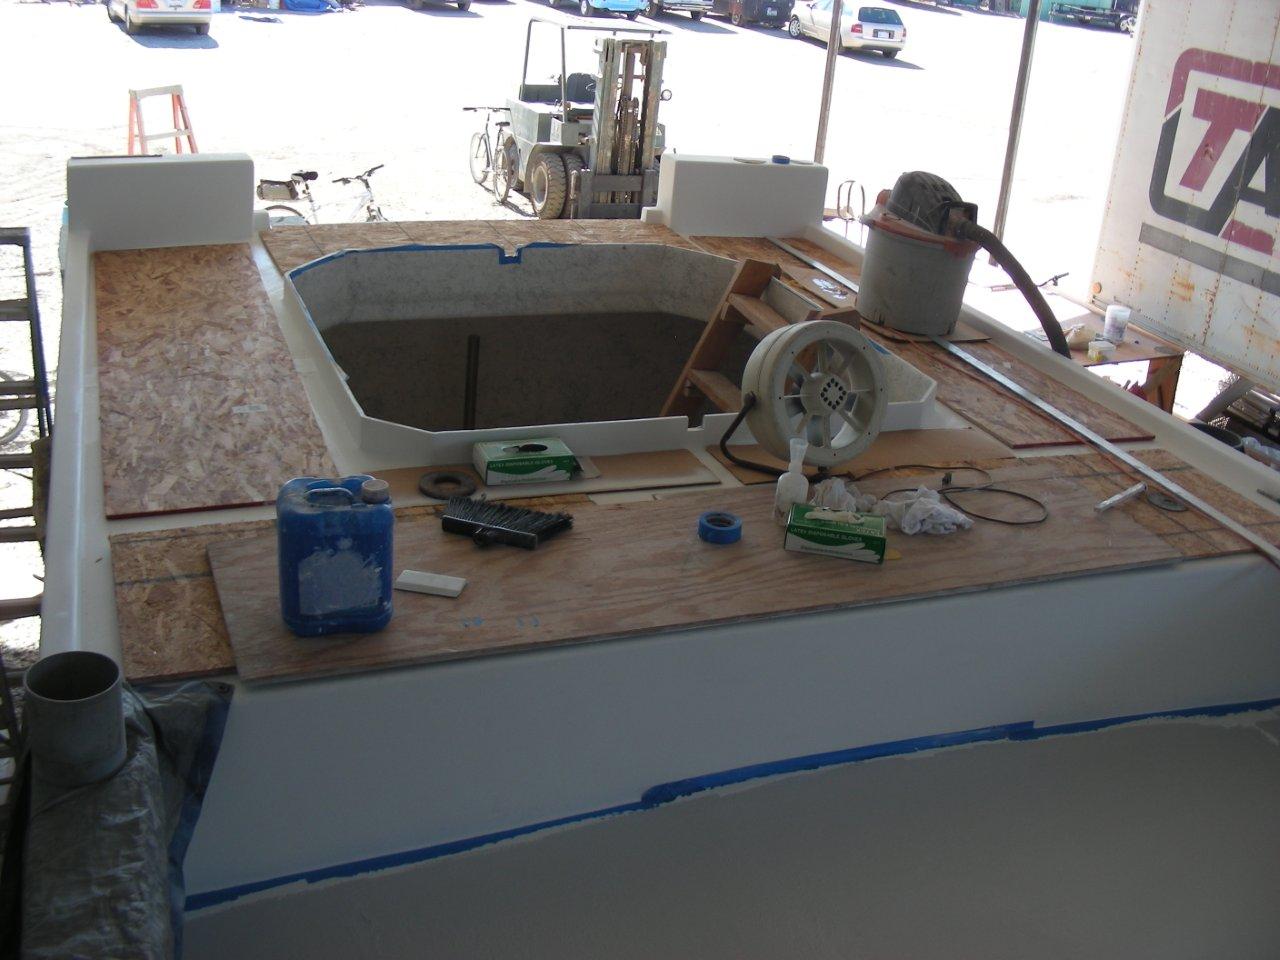
Integral Fuel Tanks
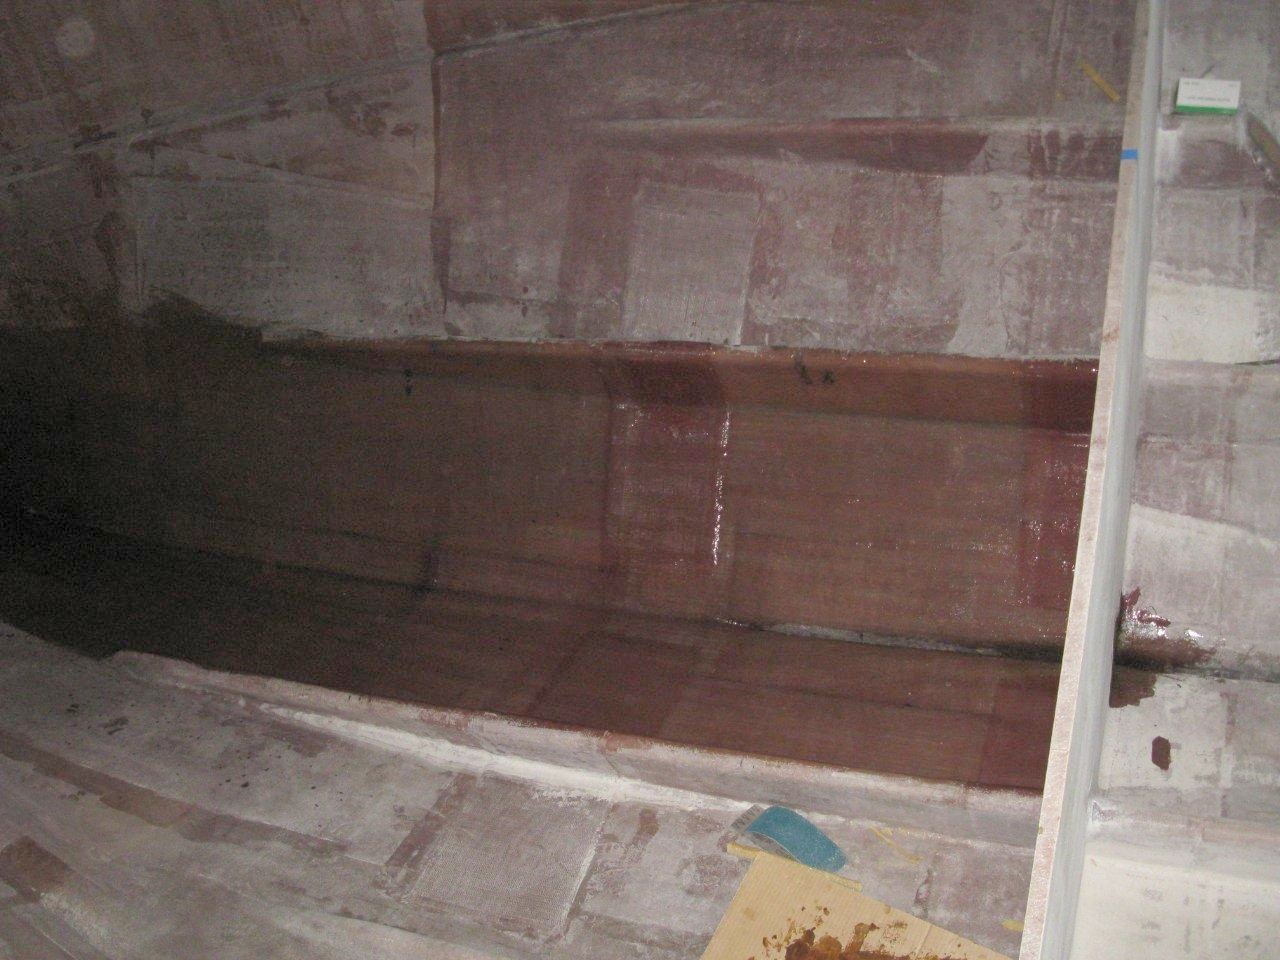
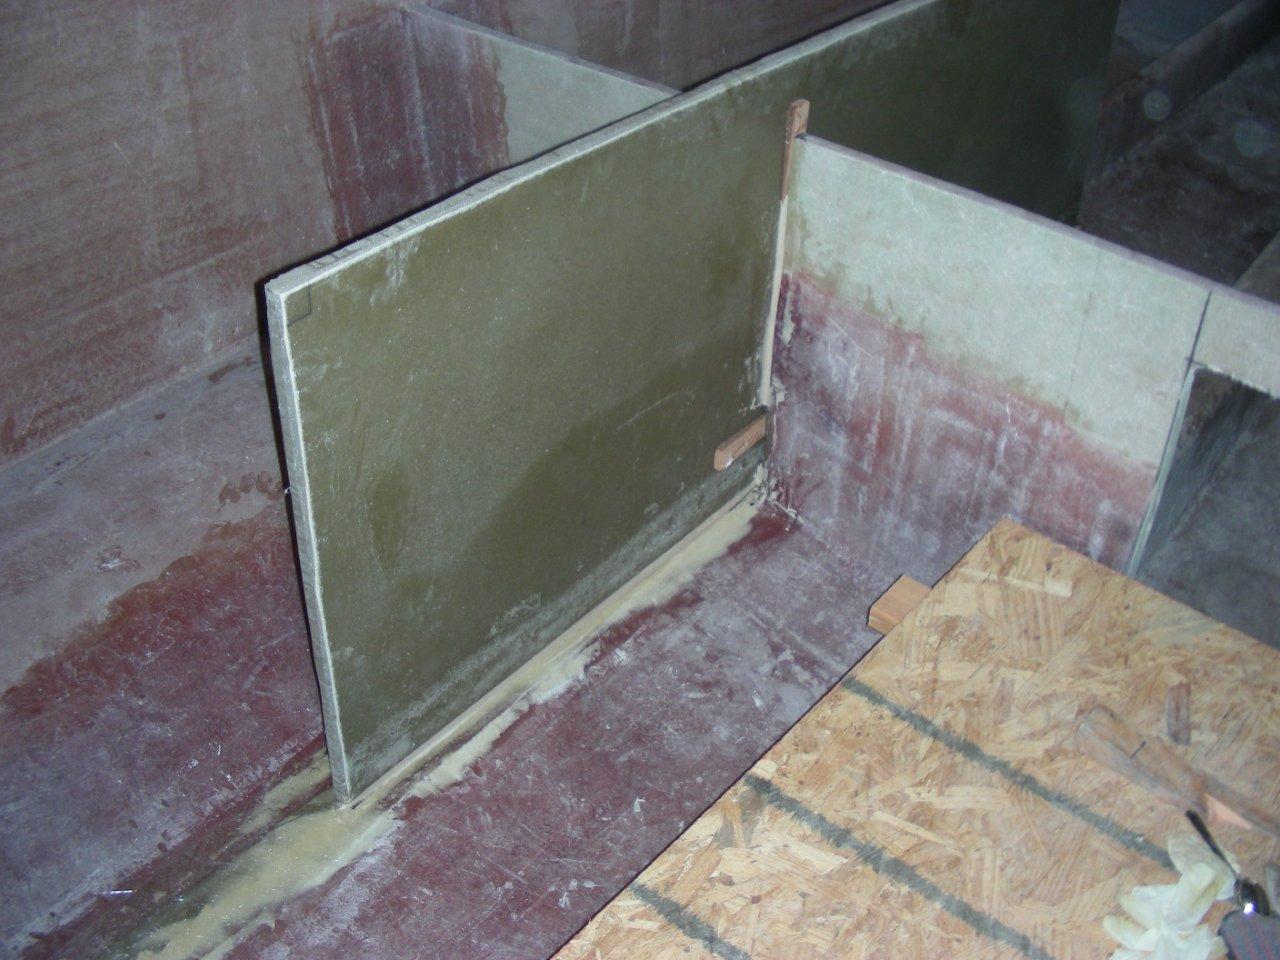
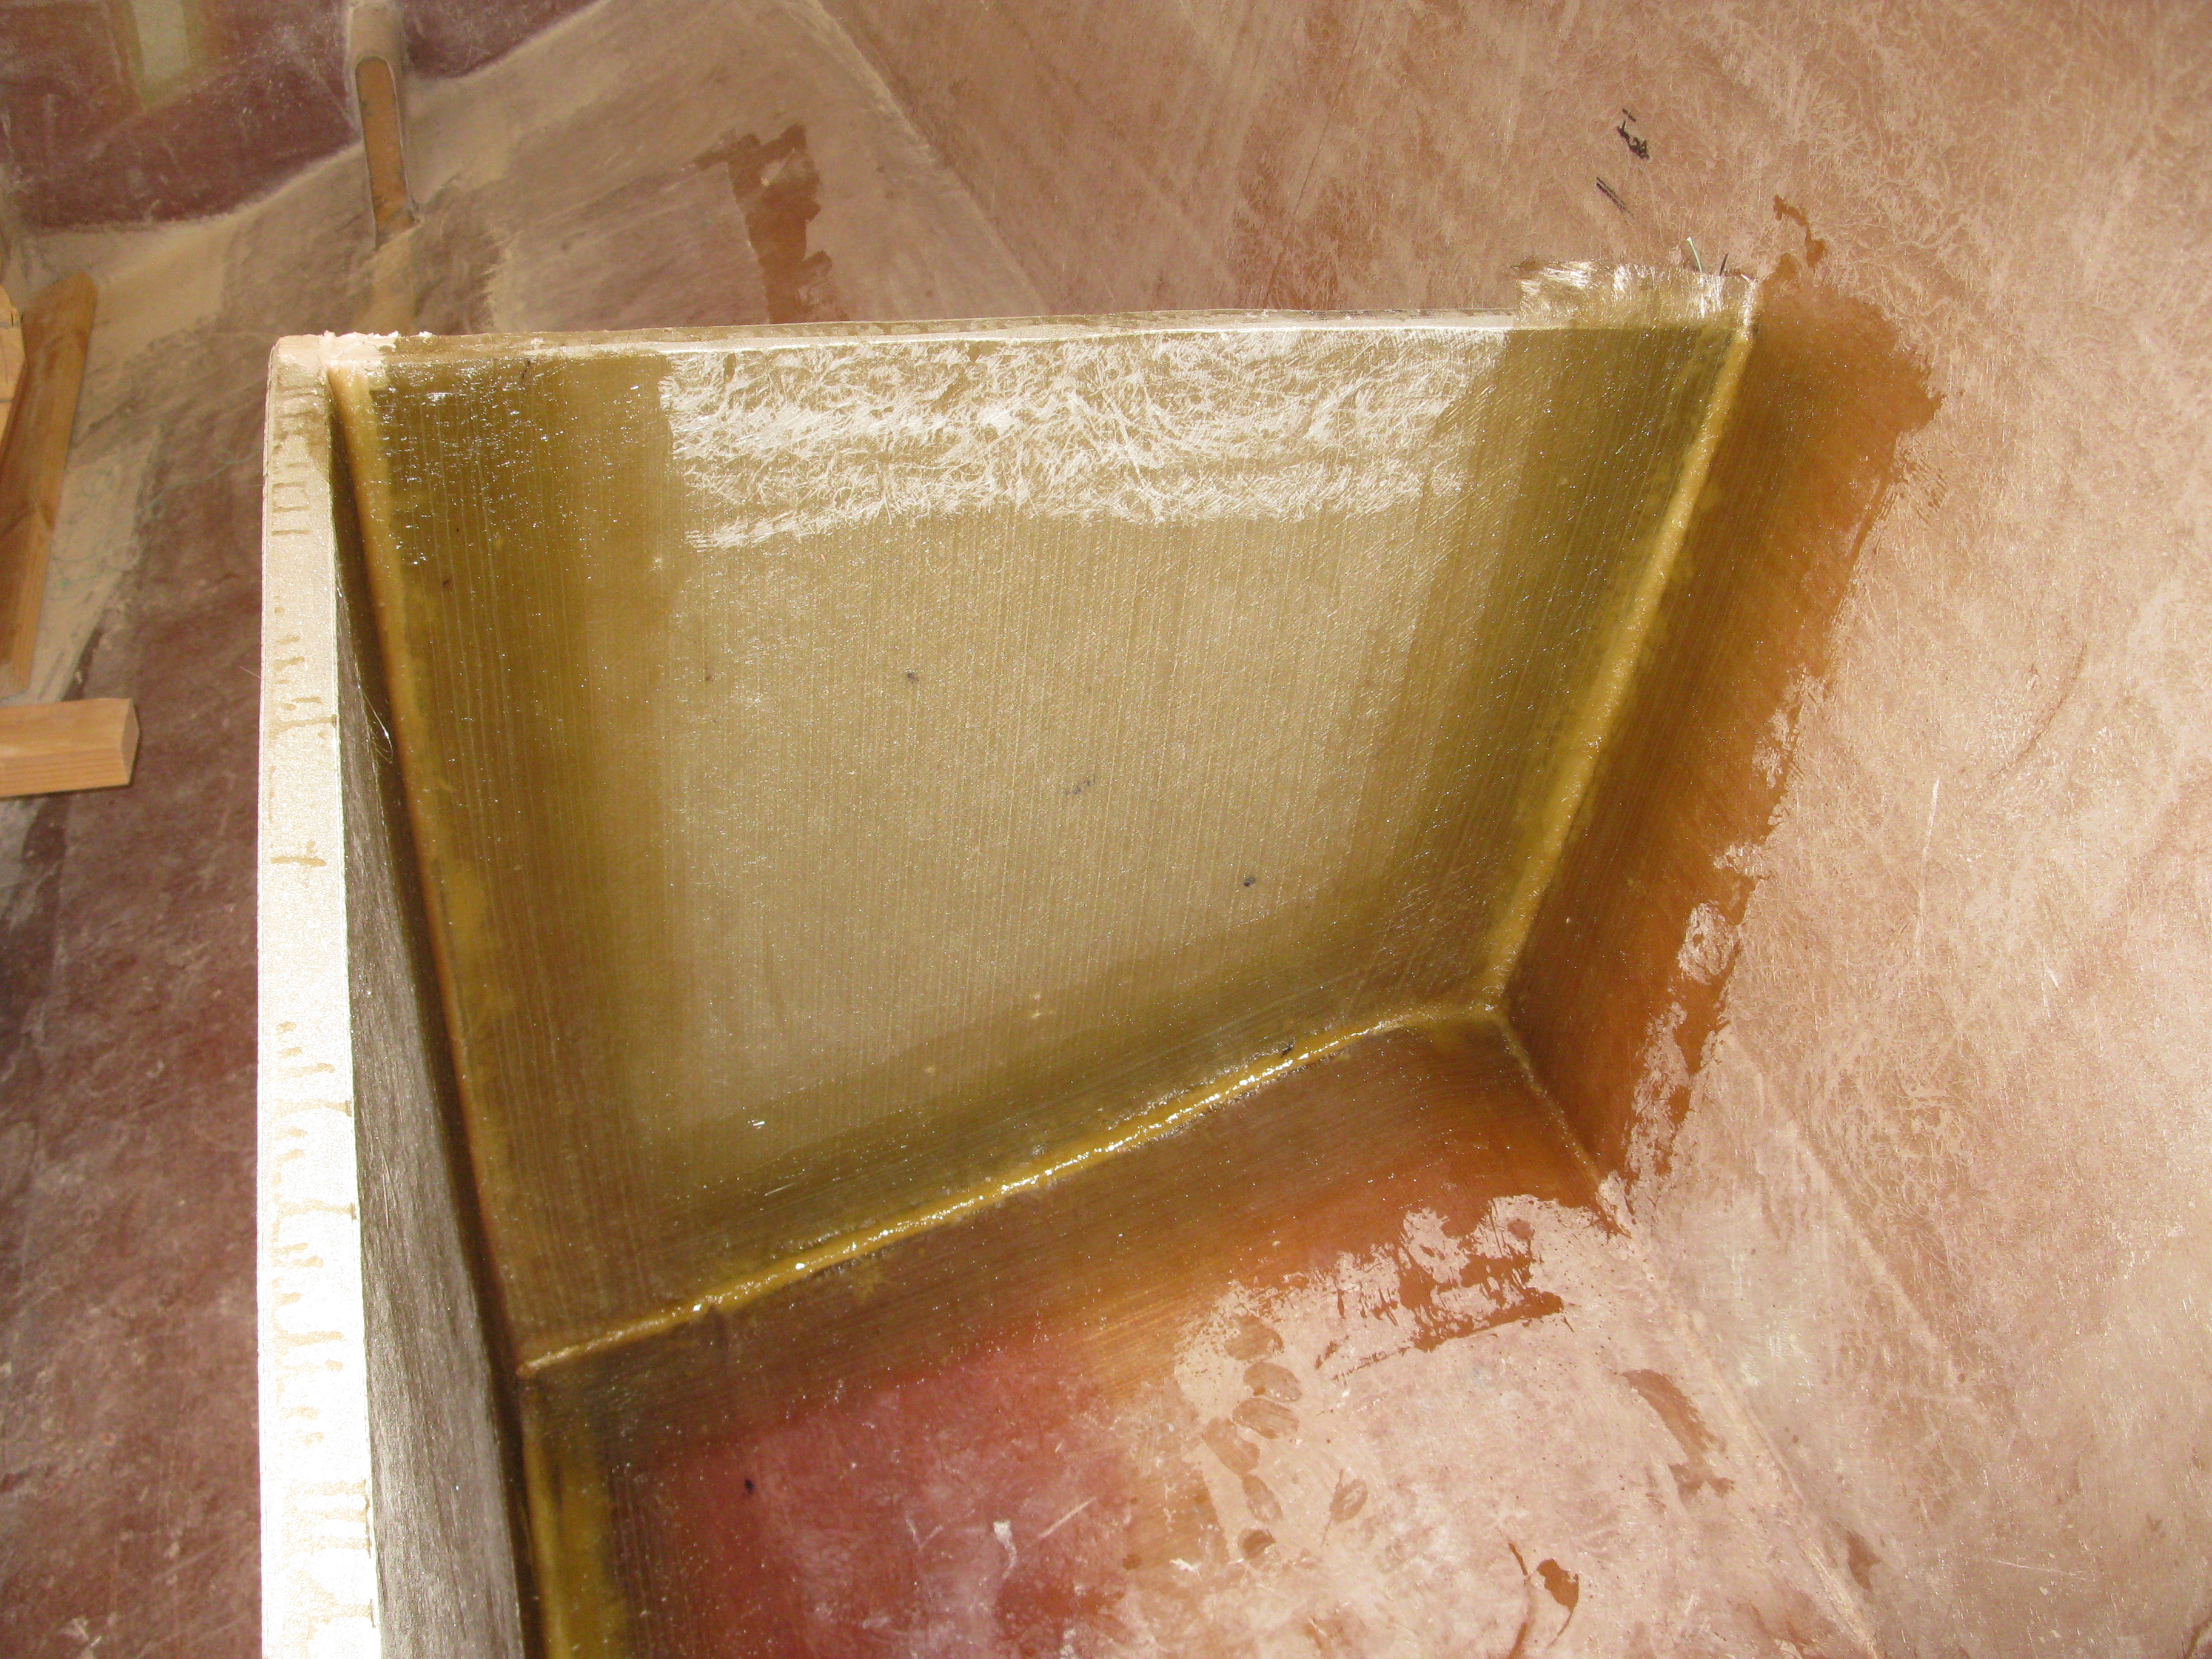
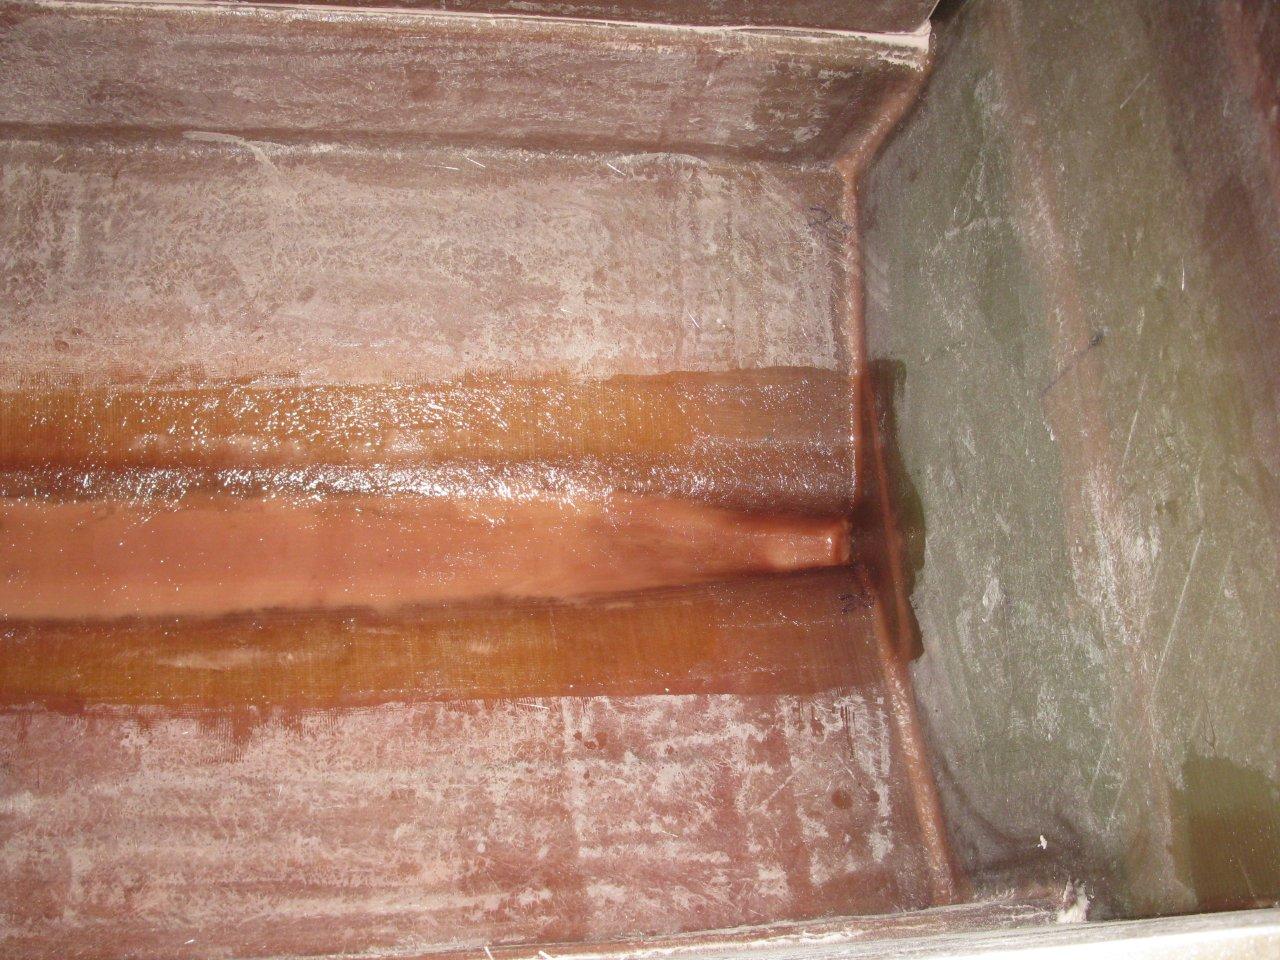
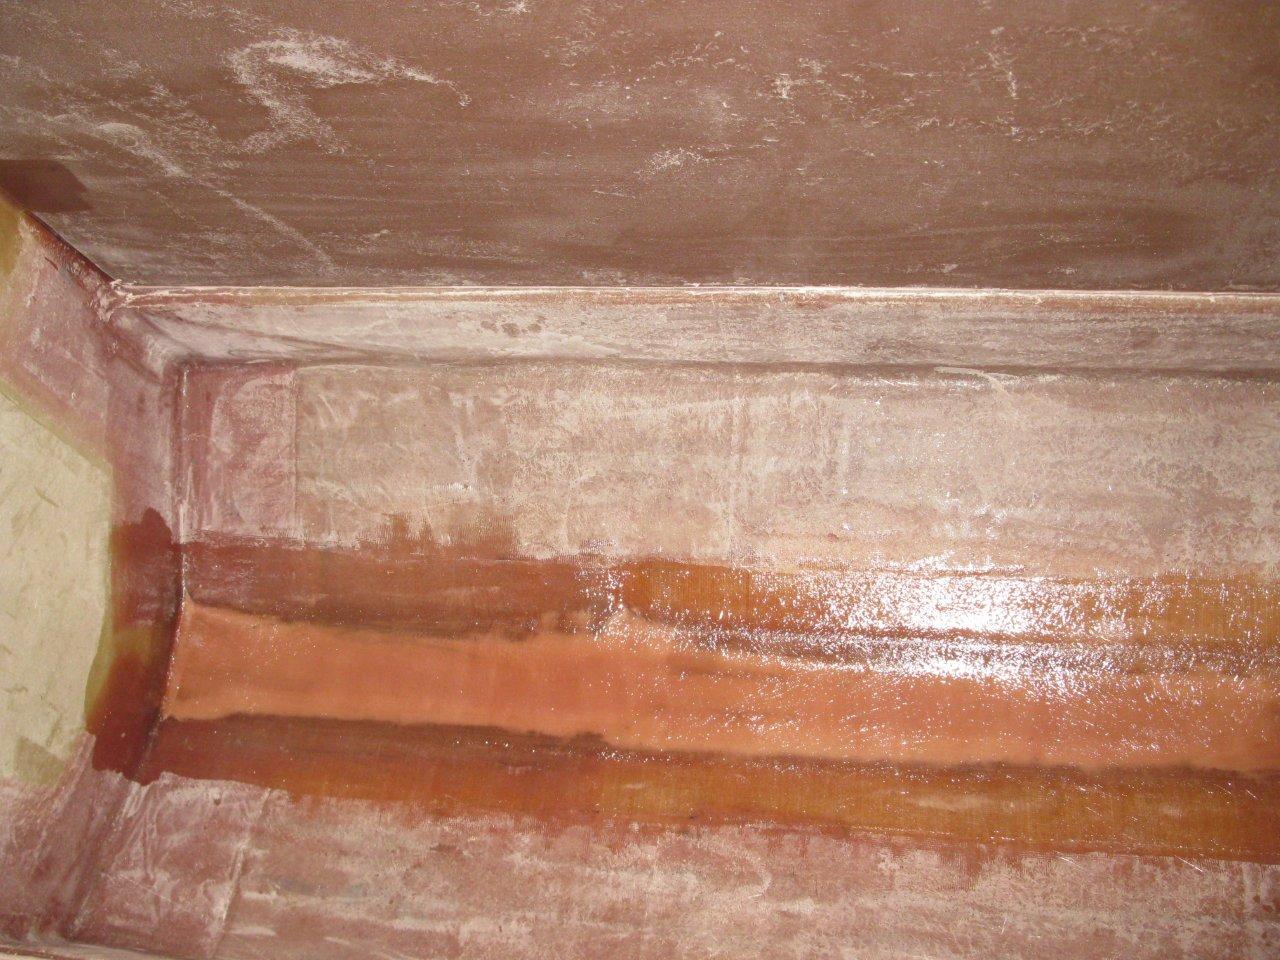
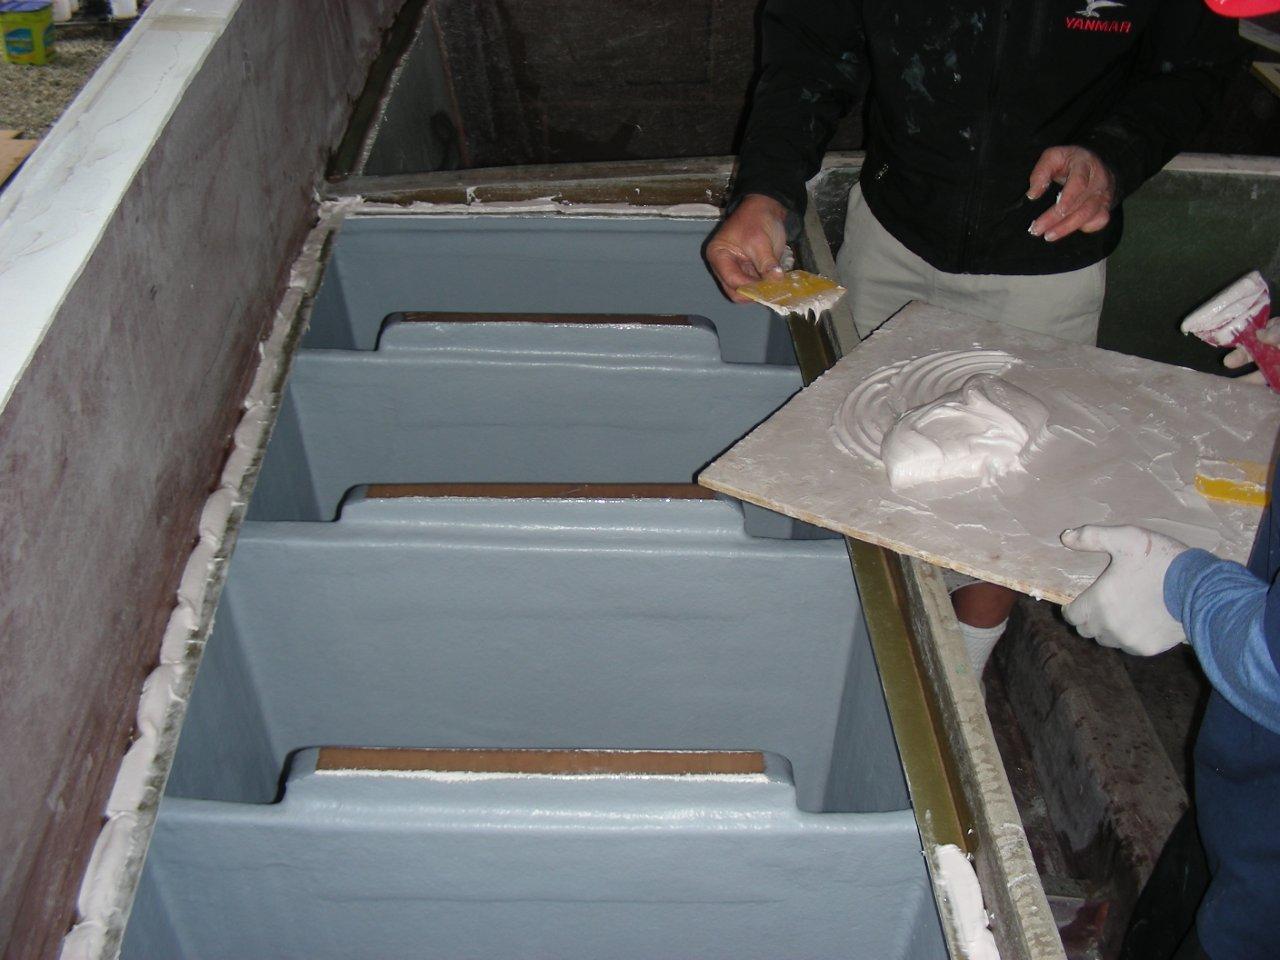
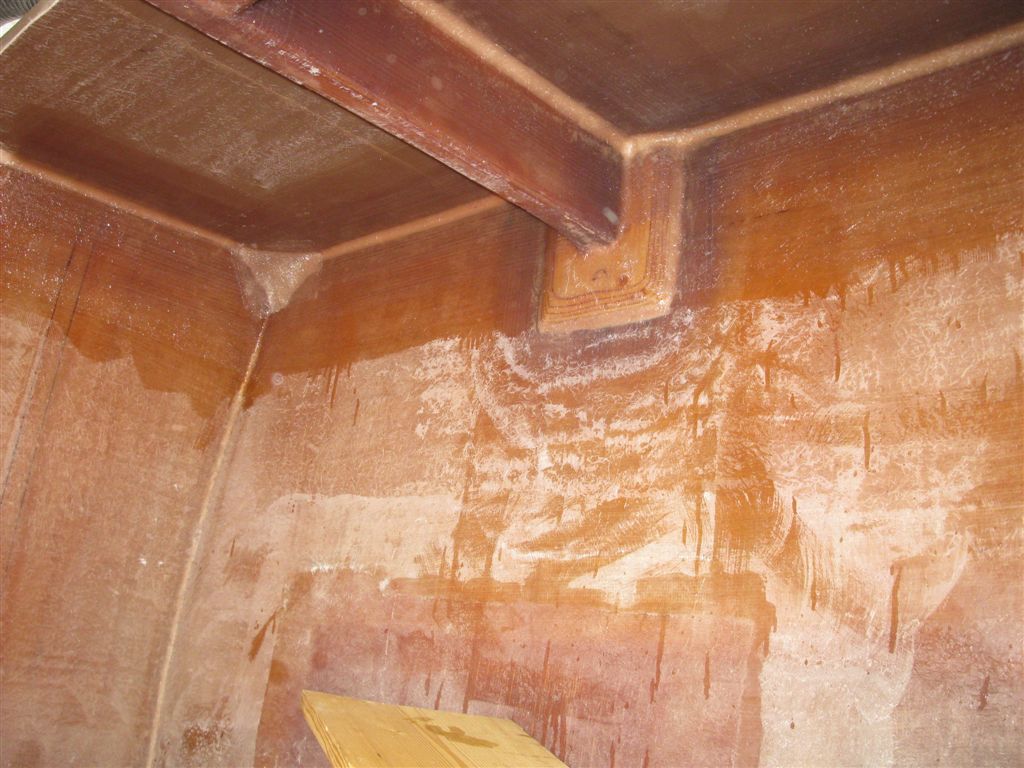
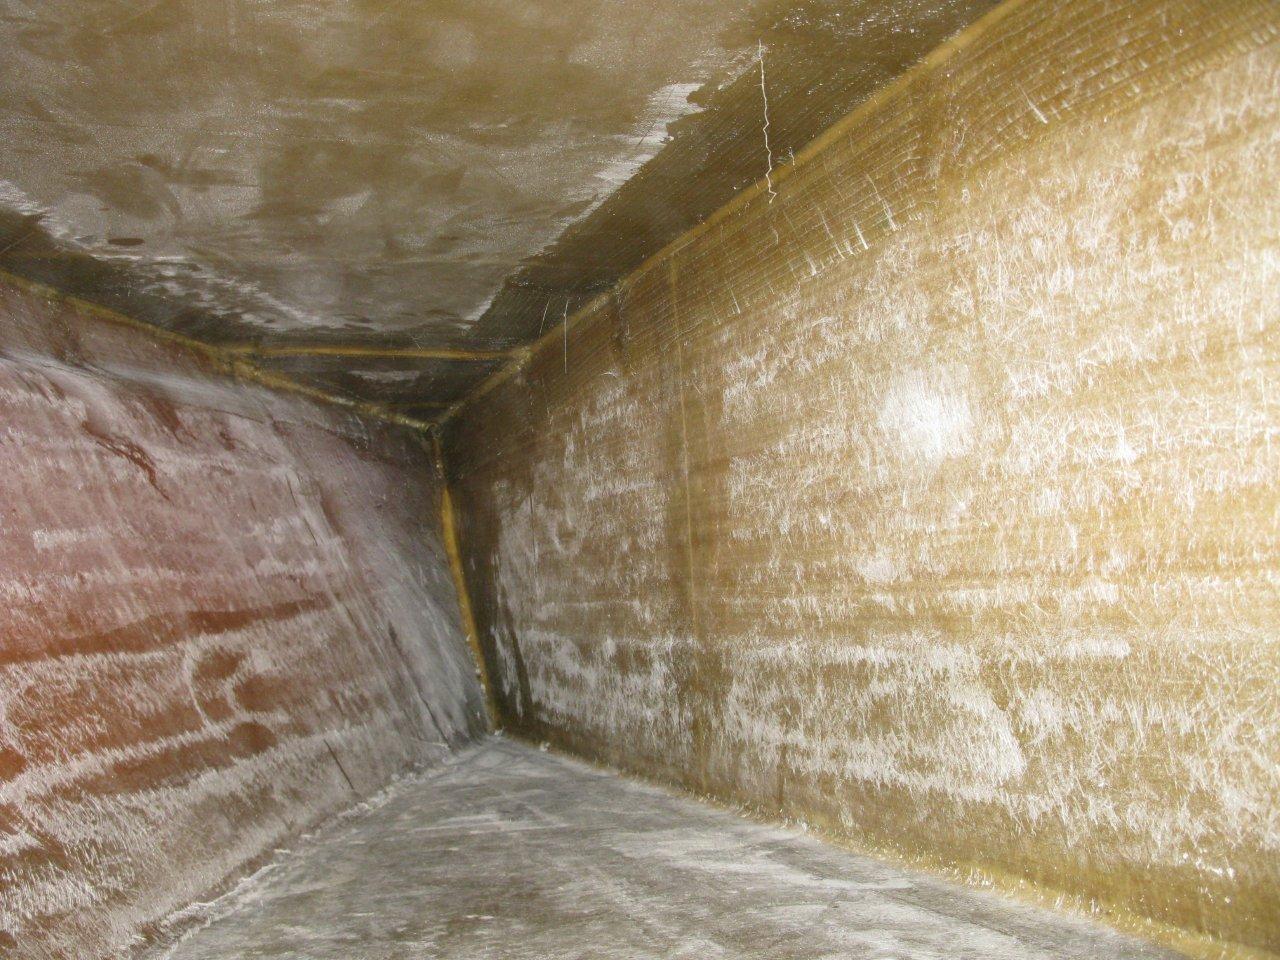
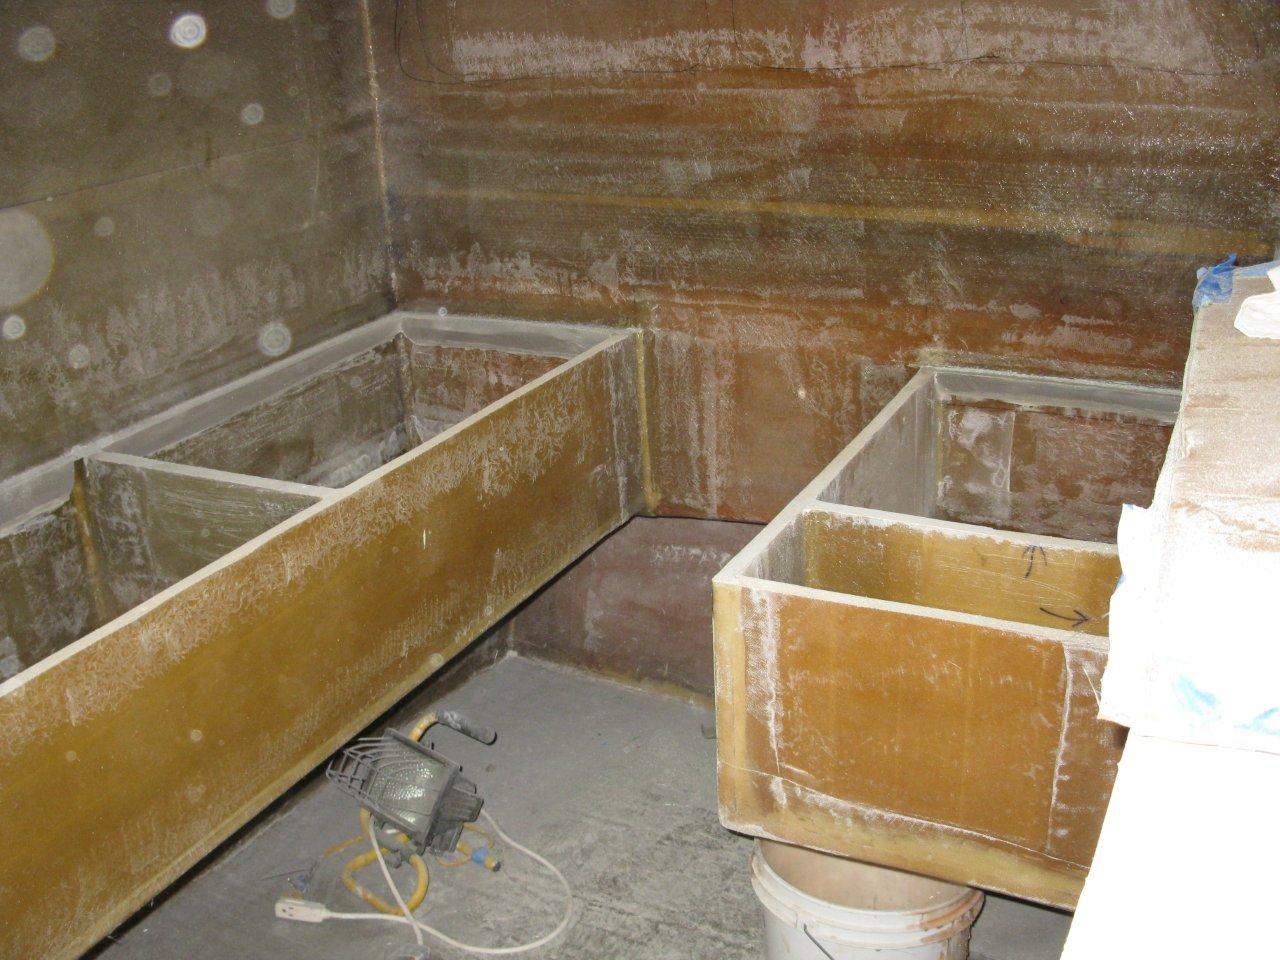
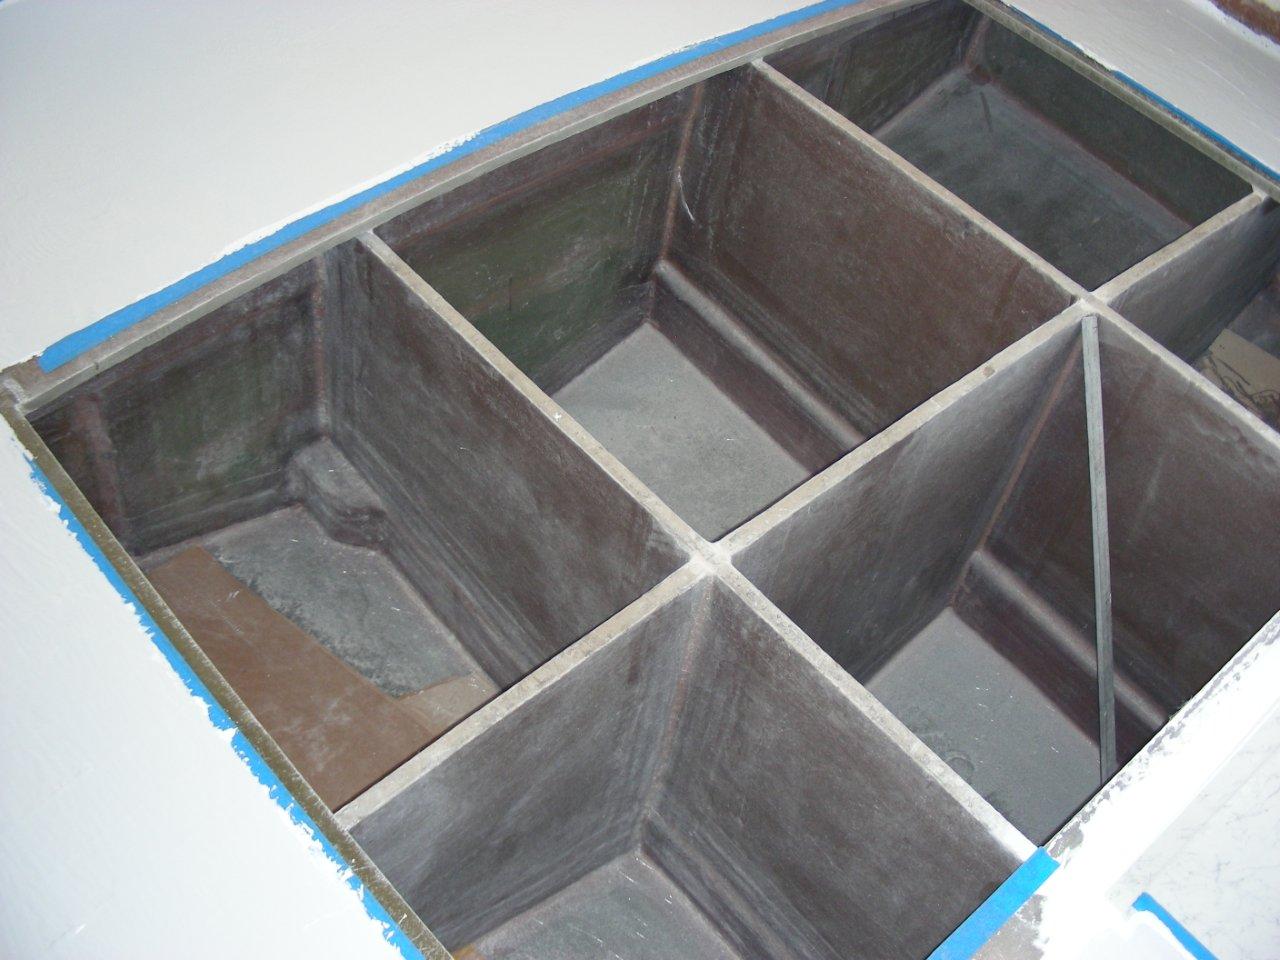
Next up, the fuel tanks are being built as a part of the boats hull and will be “integral”. All tanks including fresh and black water are custom built with composites. The tanks will be “boxed stringers”, part of bulkheads, deck supports, fish holds, etc.

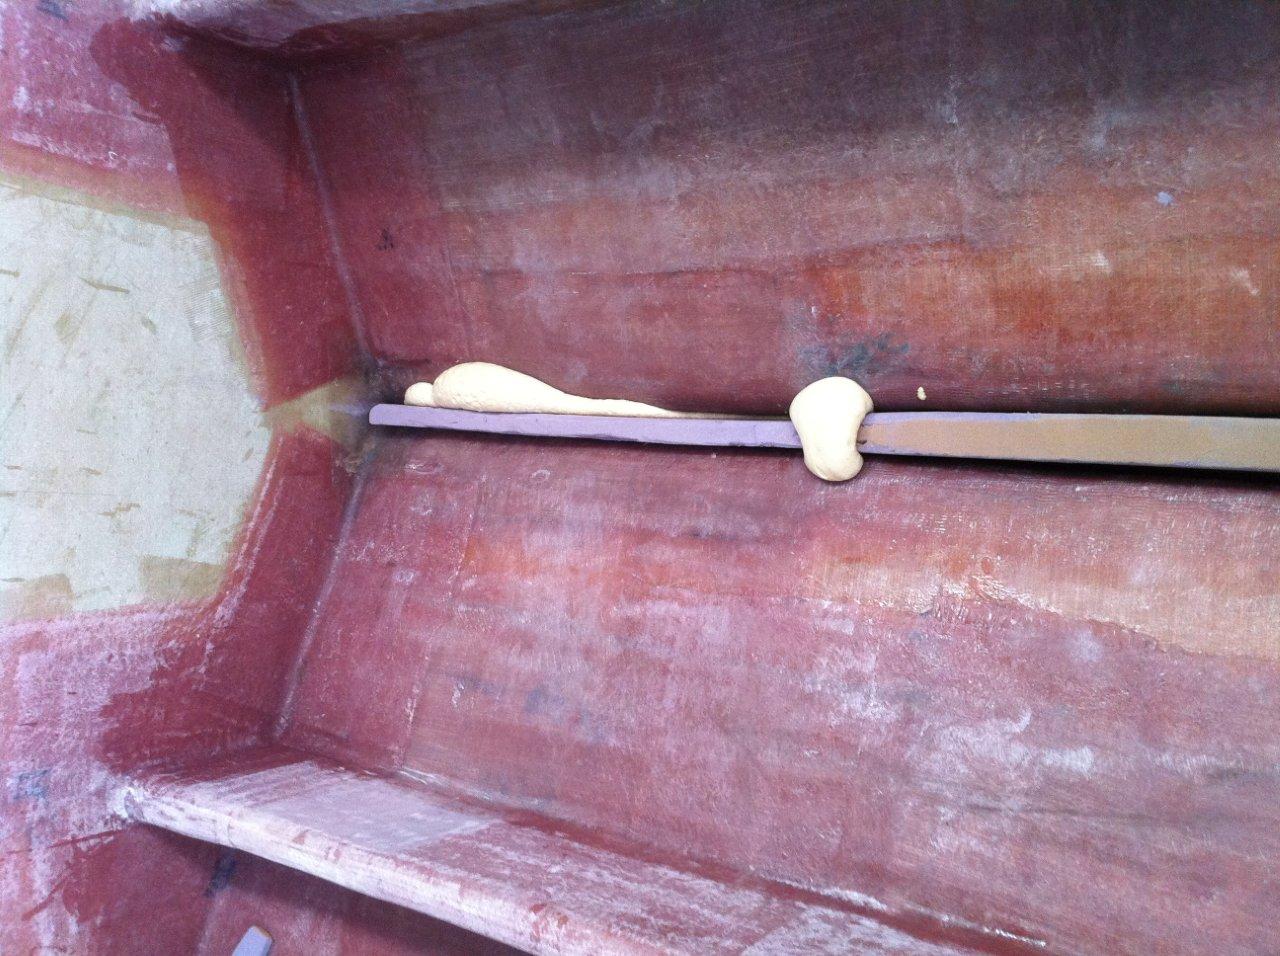
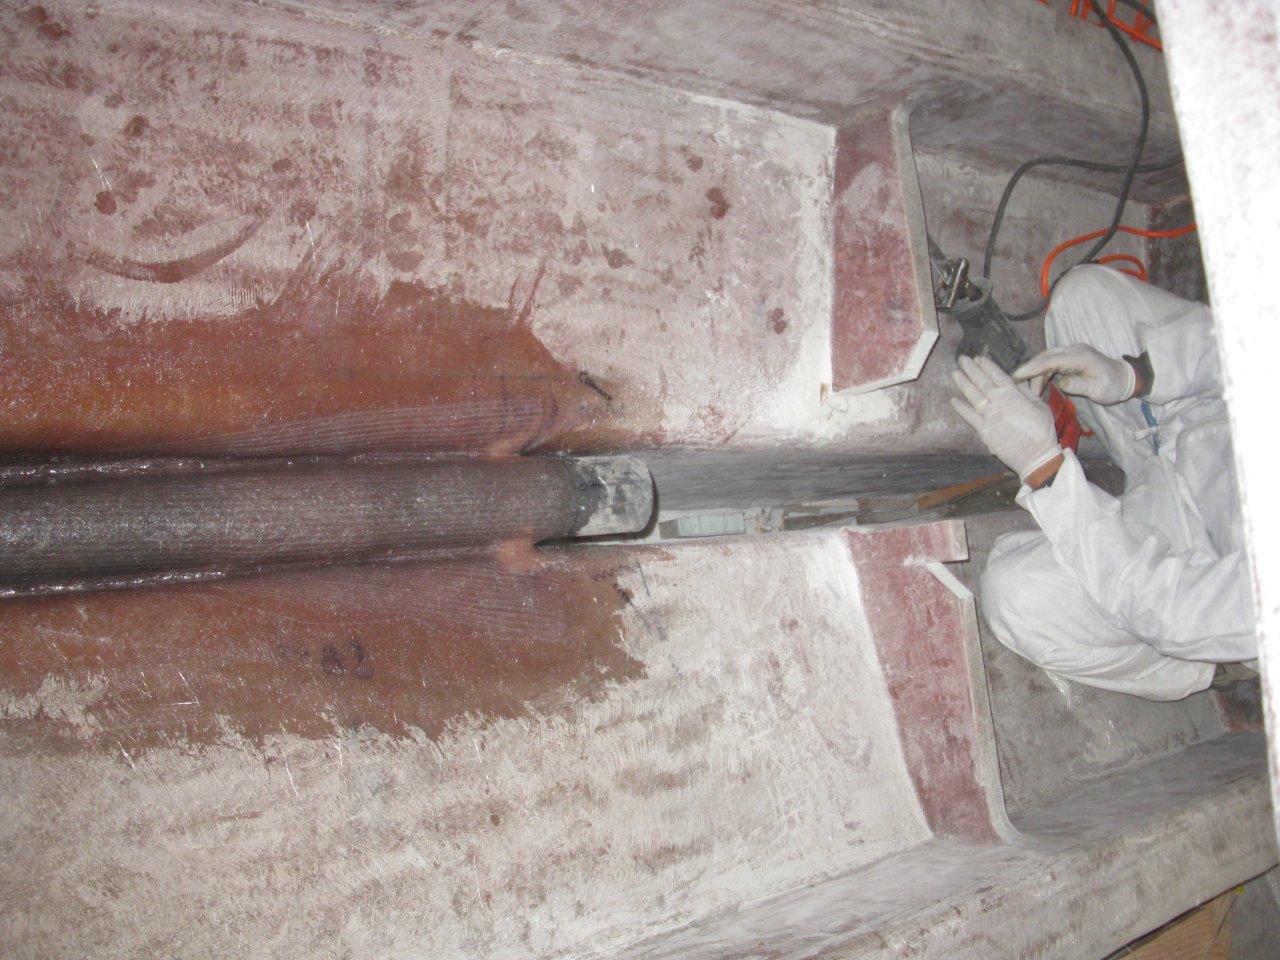
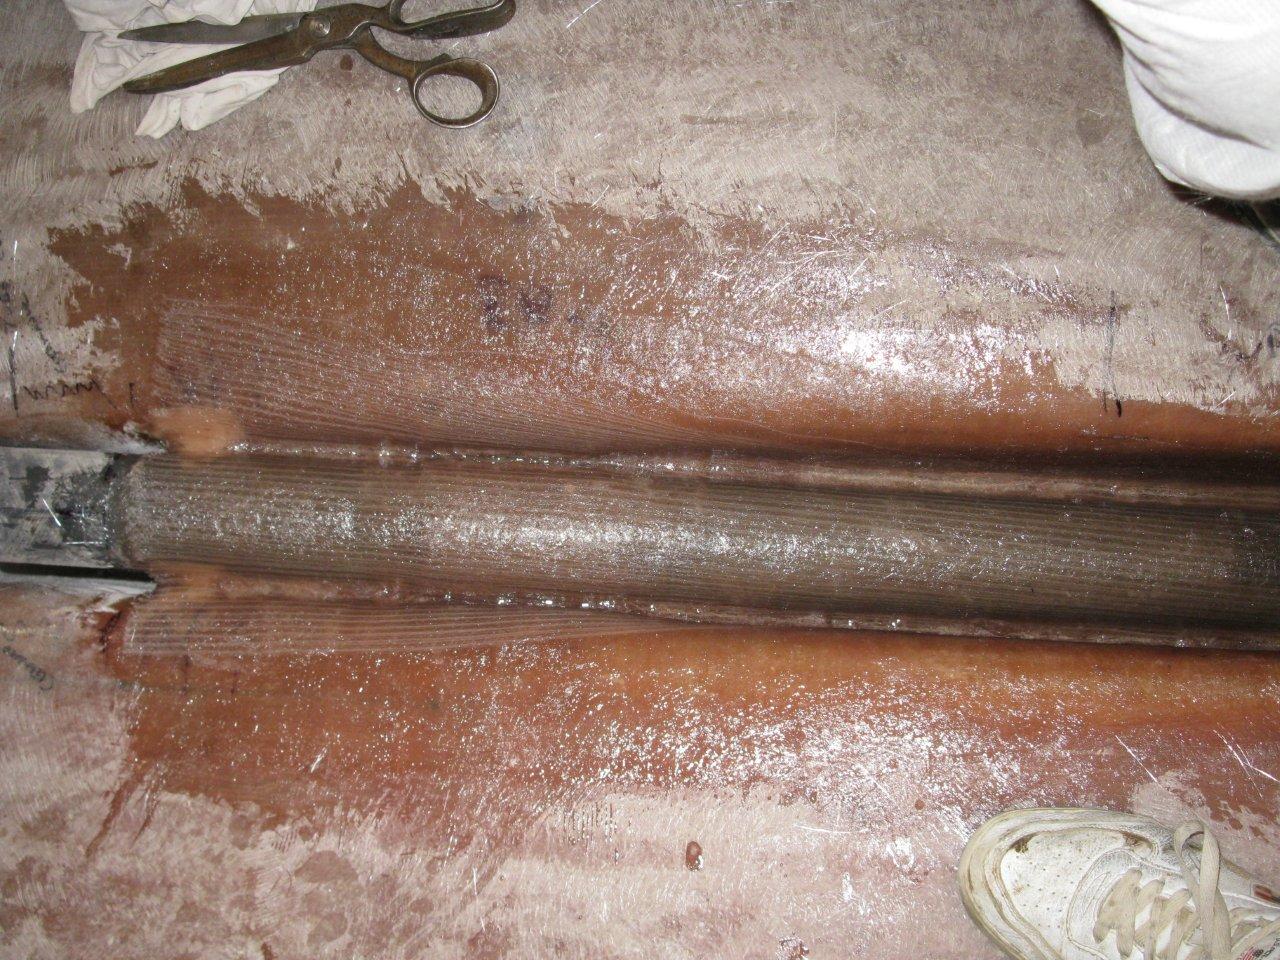
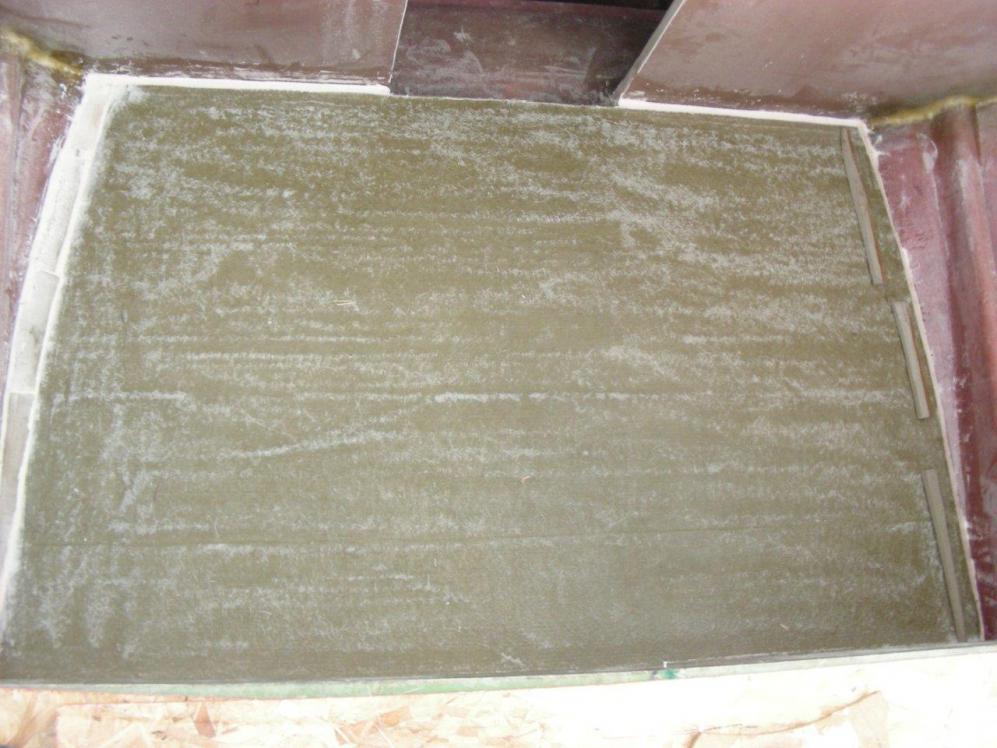
Fuel Tanks are a very slow process. Below you can see the structural taping inside of both main tanks which consisted of finished coving w/ micro ballons and iso resin–sand/prep, pre-tack w/VE, (1) 6″ wide bi-axial 1708 w/double 3/4 oz mat, (1) 8″ wide bi-axial 1708 w/double 3/4 oz mat, (1) Finish 1 oz. Overlap in corners as necessary.
Next week includes more glassing of the integral fuel tanks.
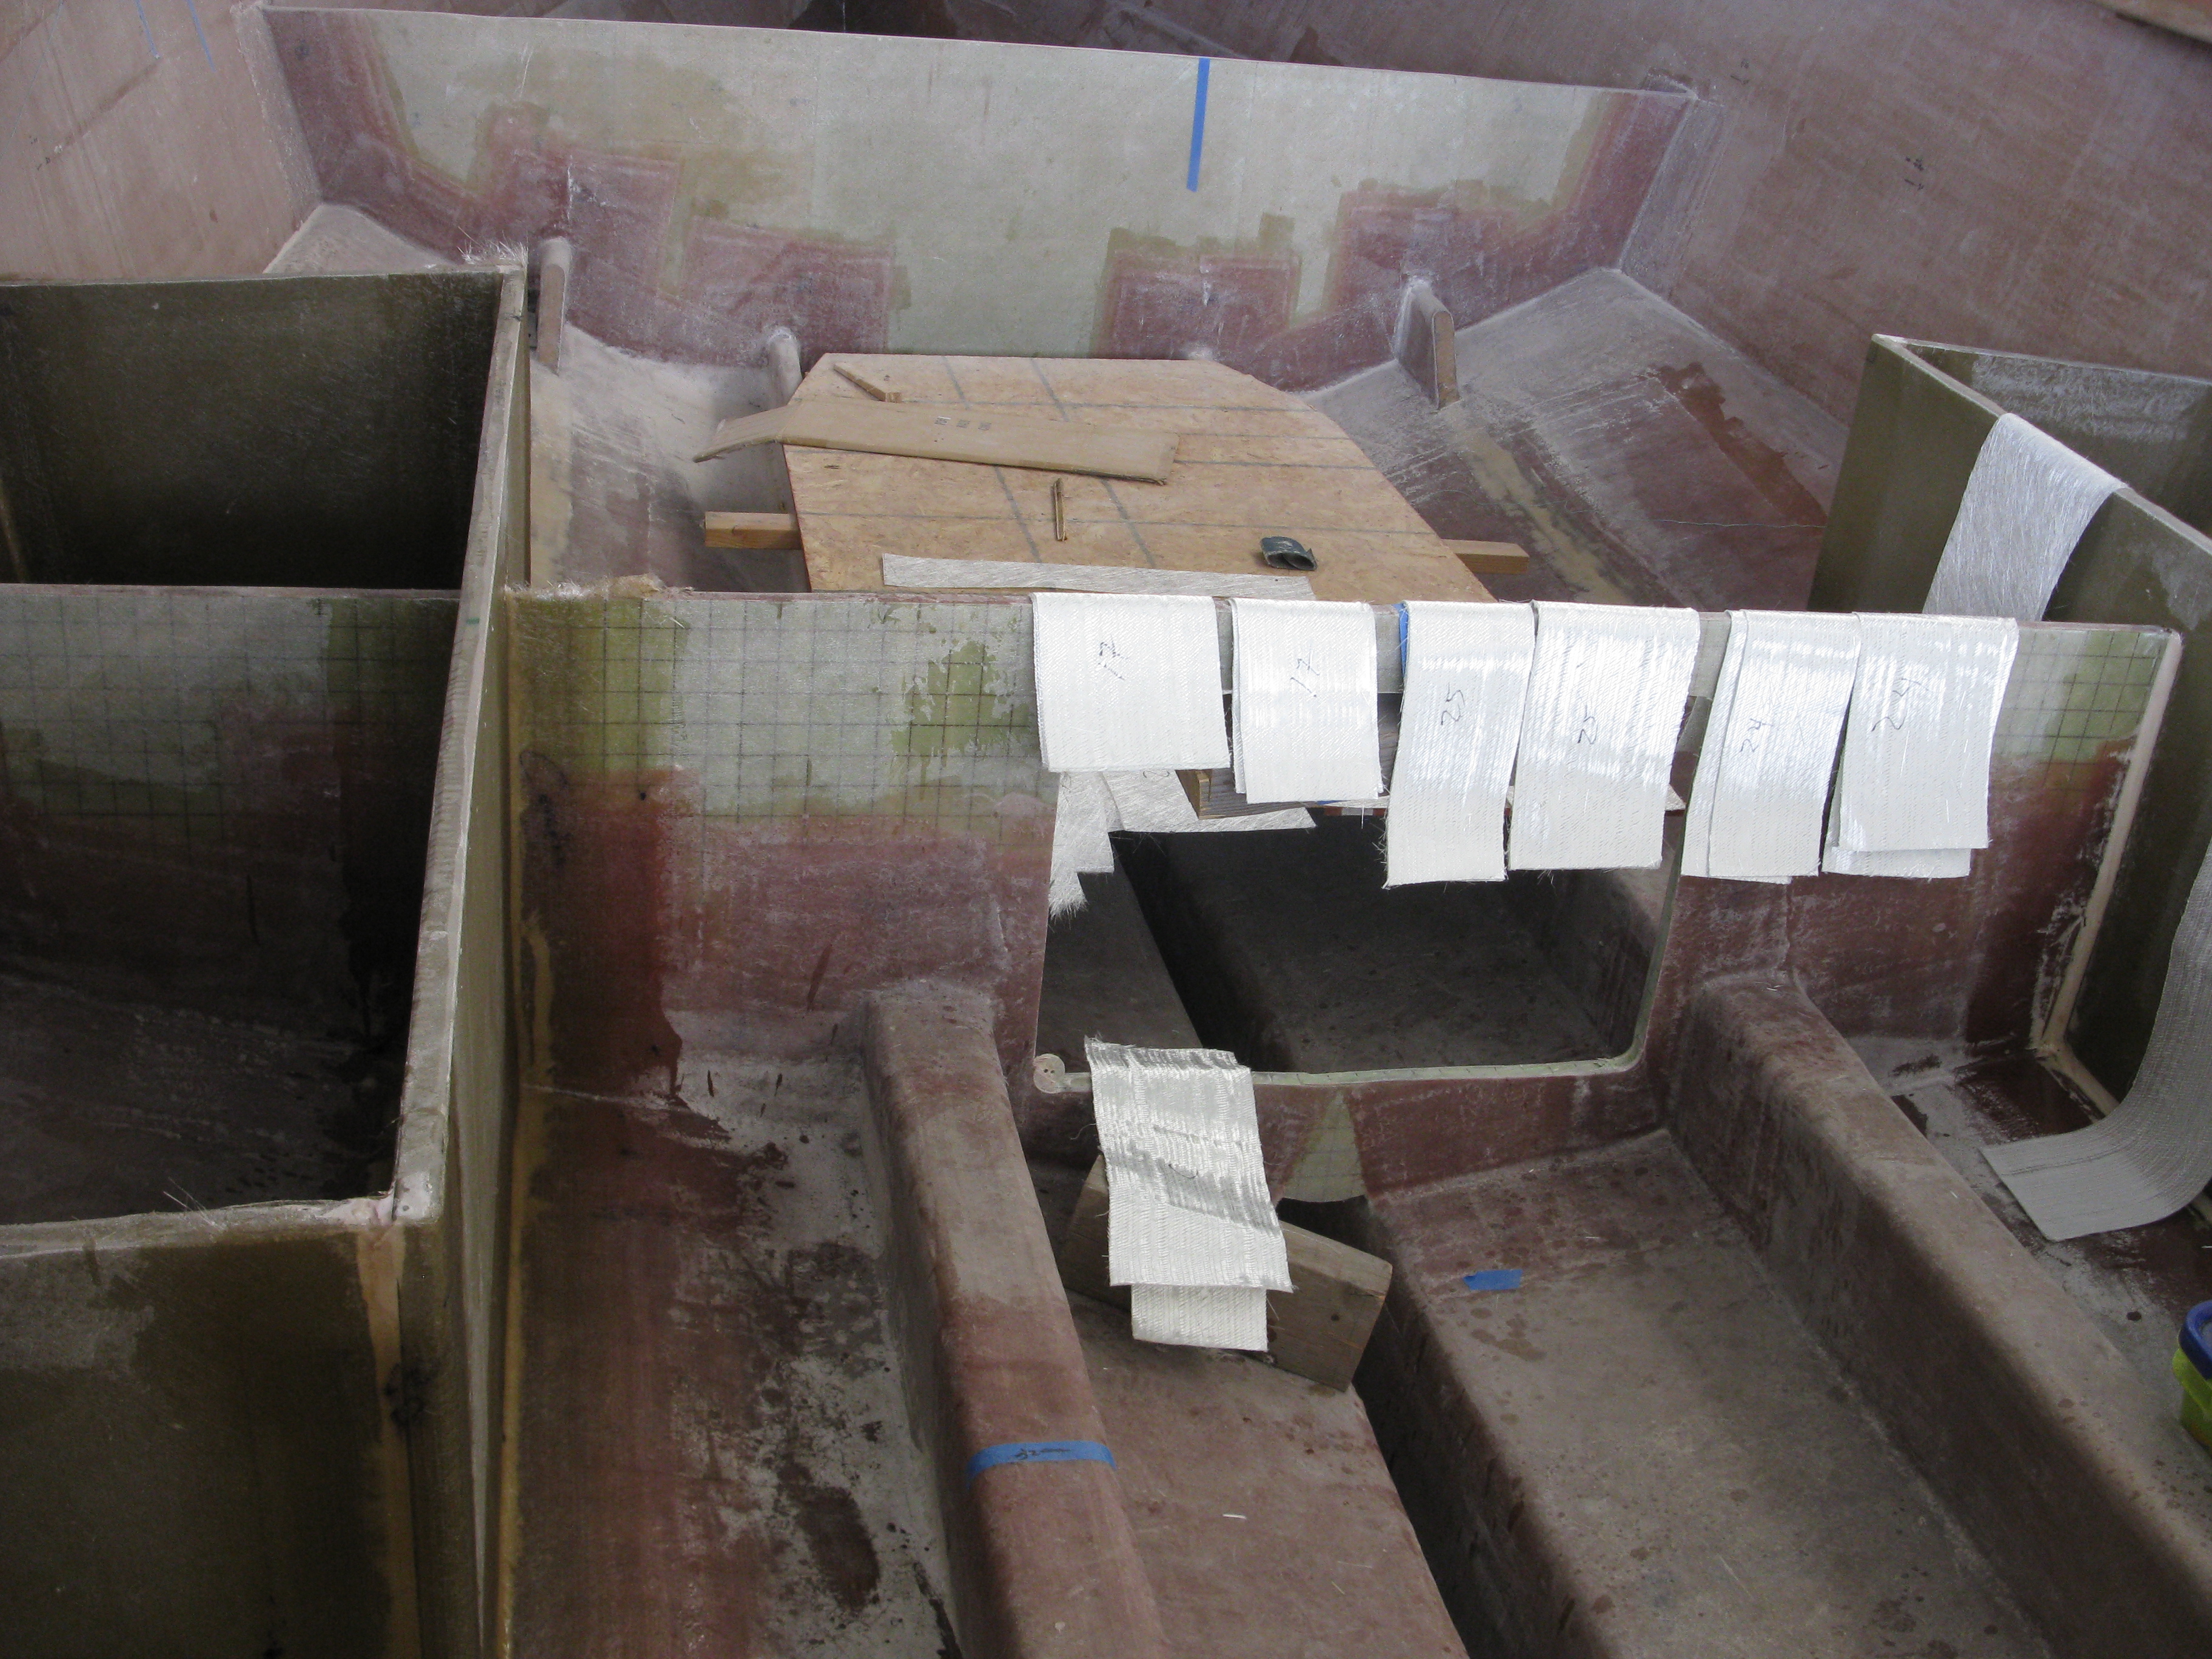
Next, the fuel tank baffles are installed. At this point, the first part of the front deck support should be completed. This is the start of setting the deck line aft.
Deck Height and Crown
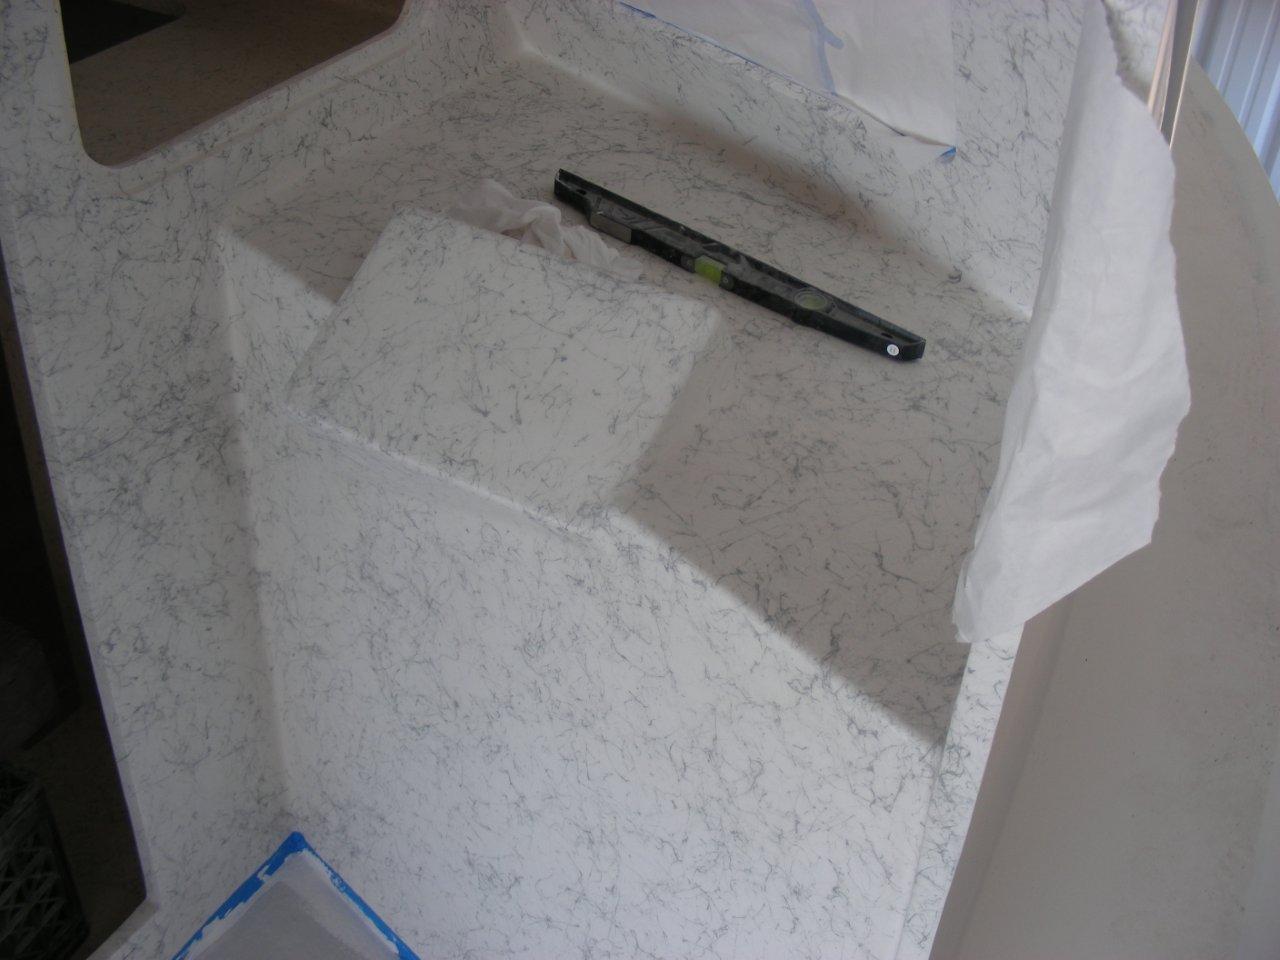
Now is the critical time to begin setting the deck height and crown setting.
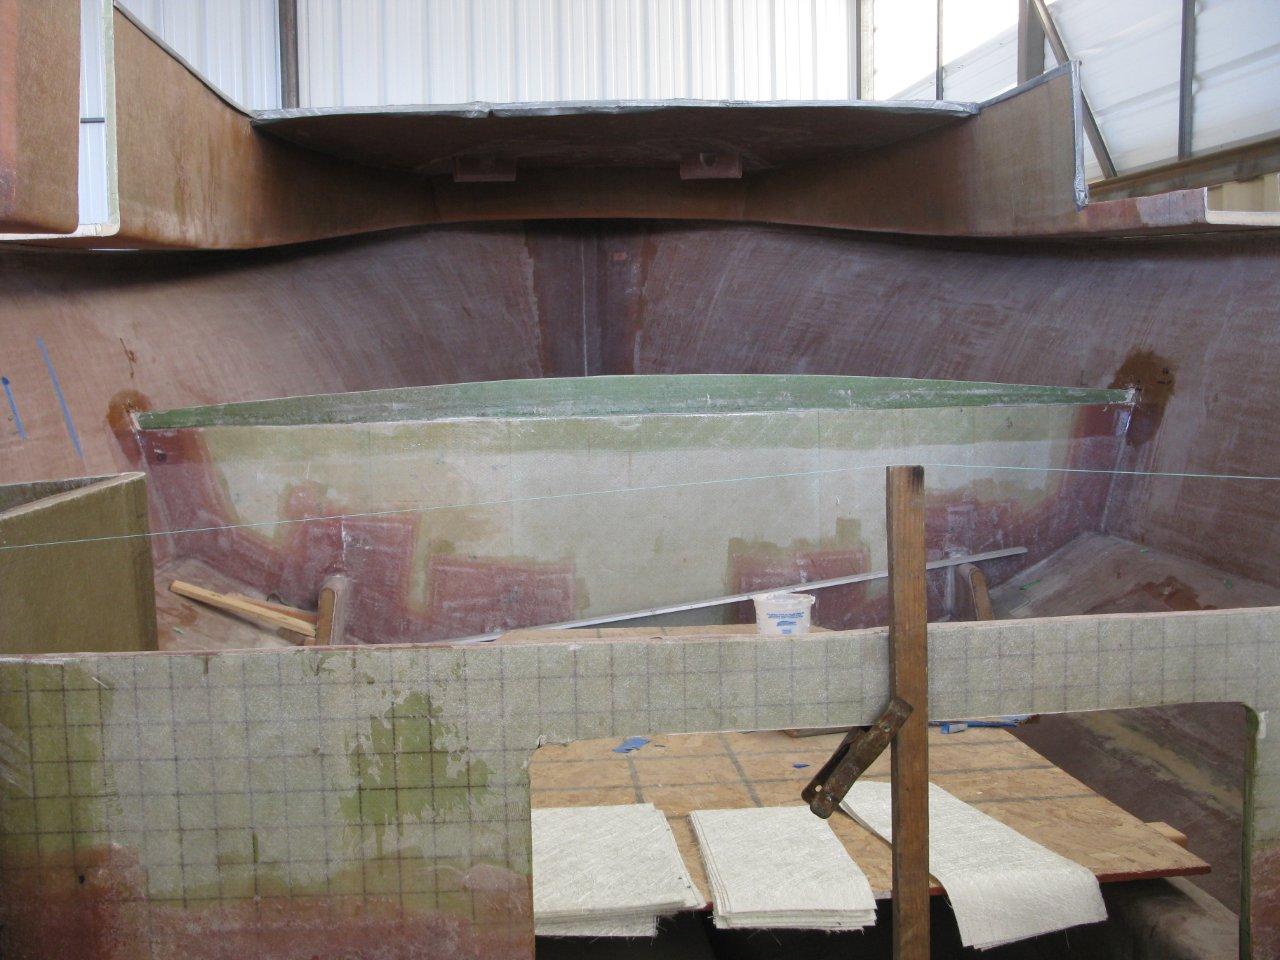
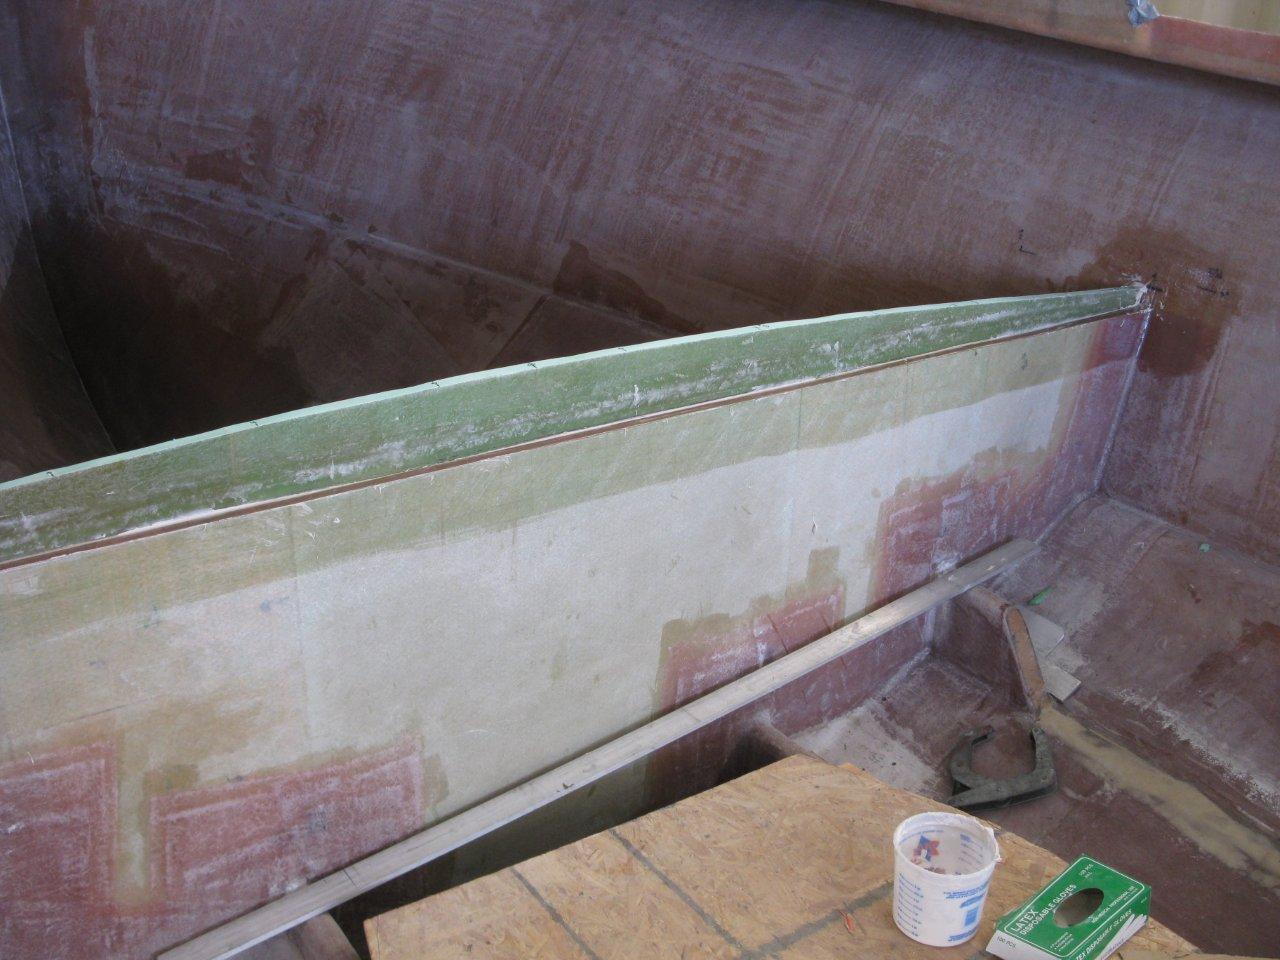


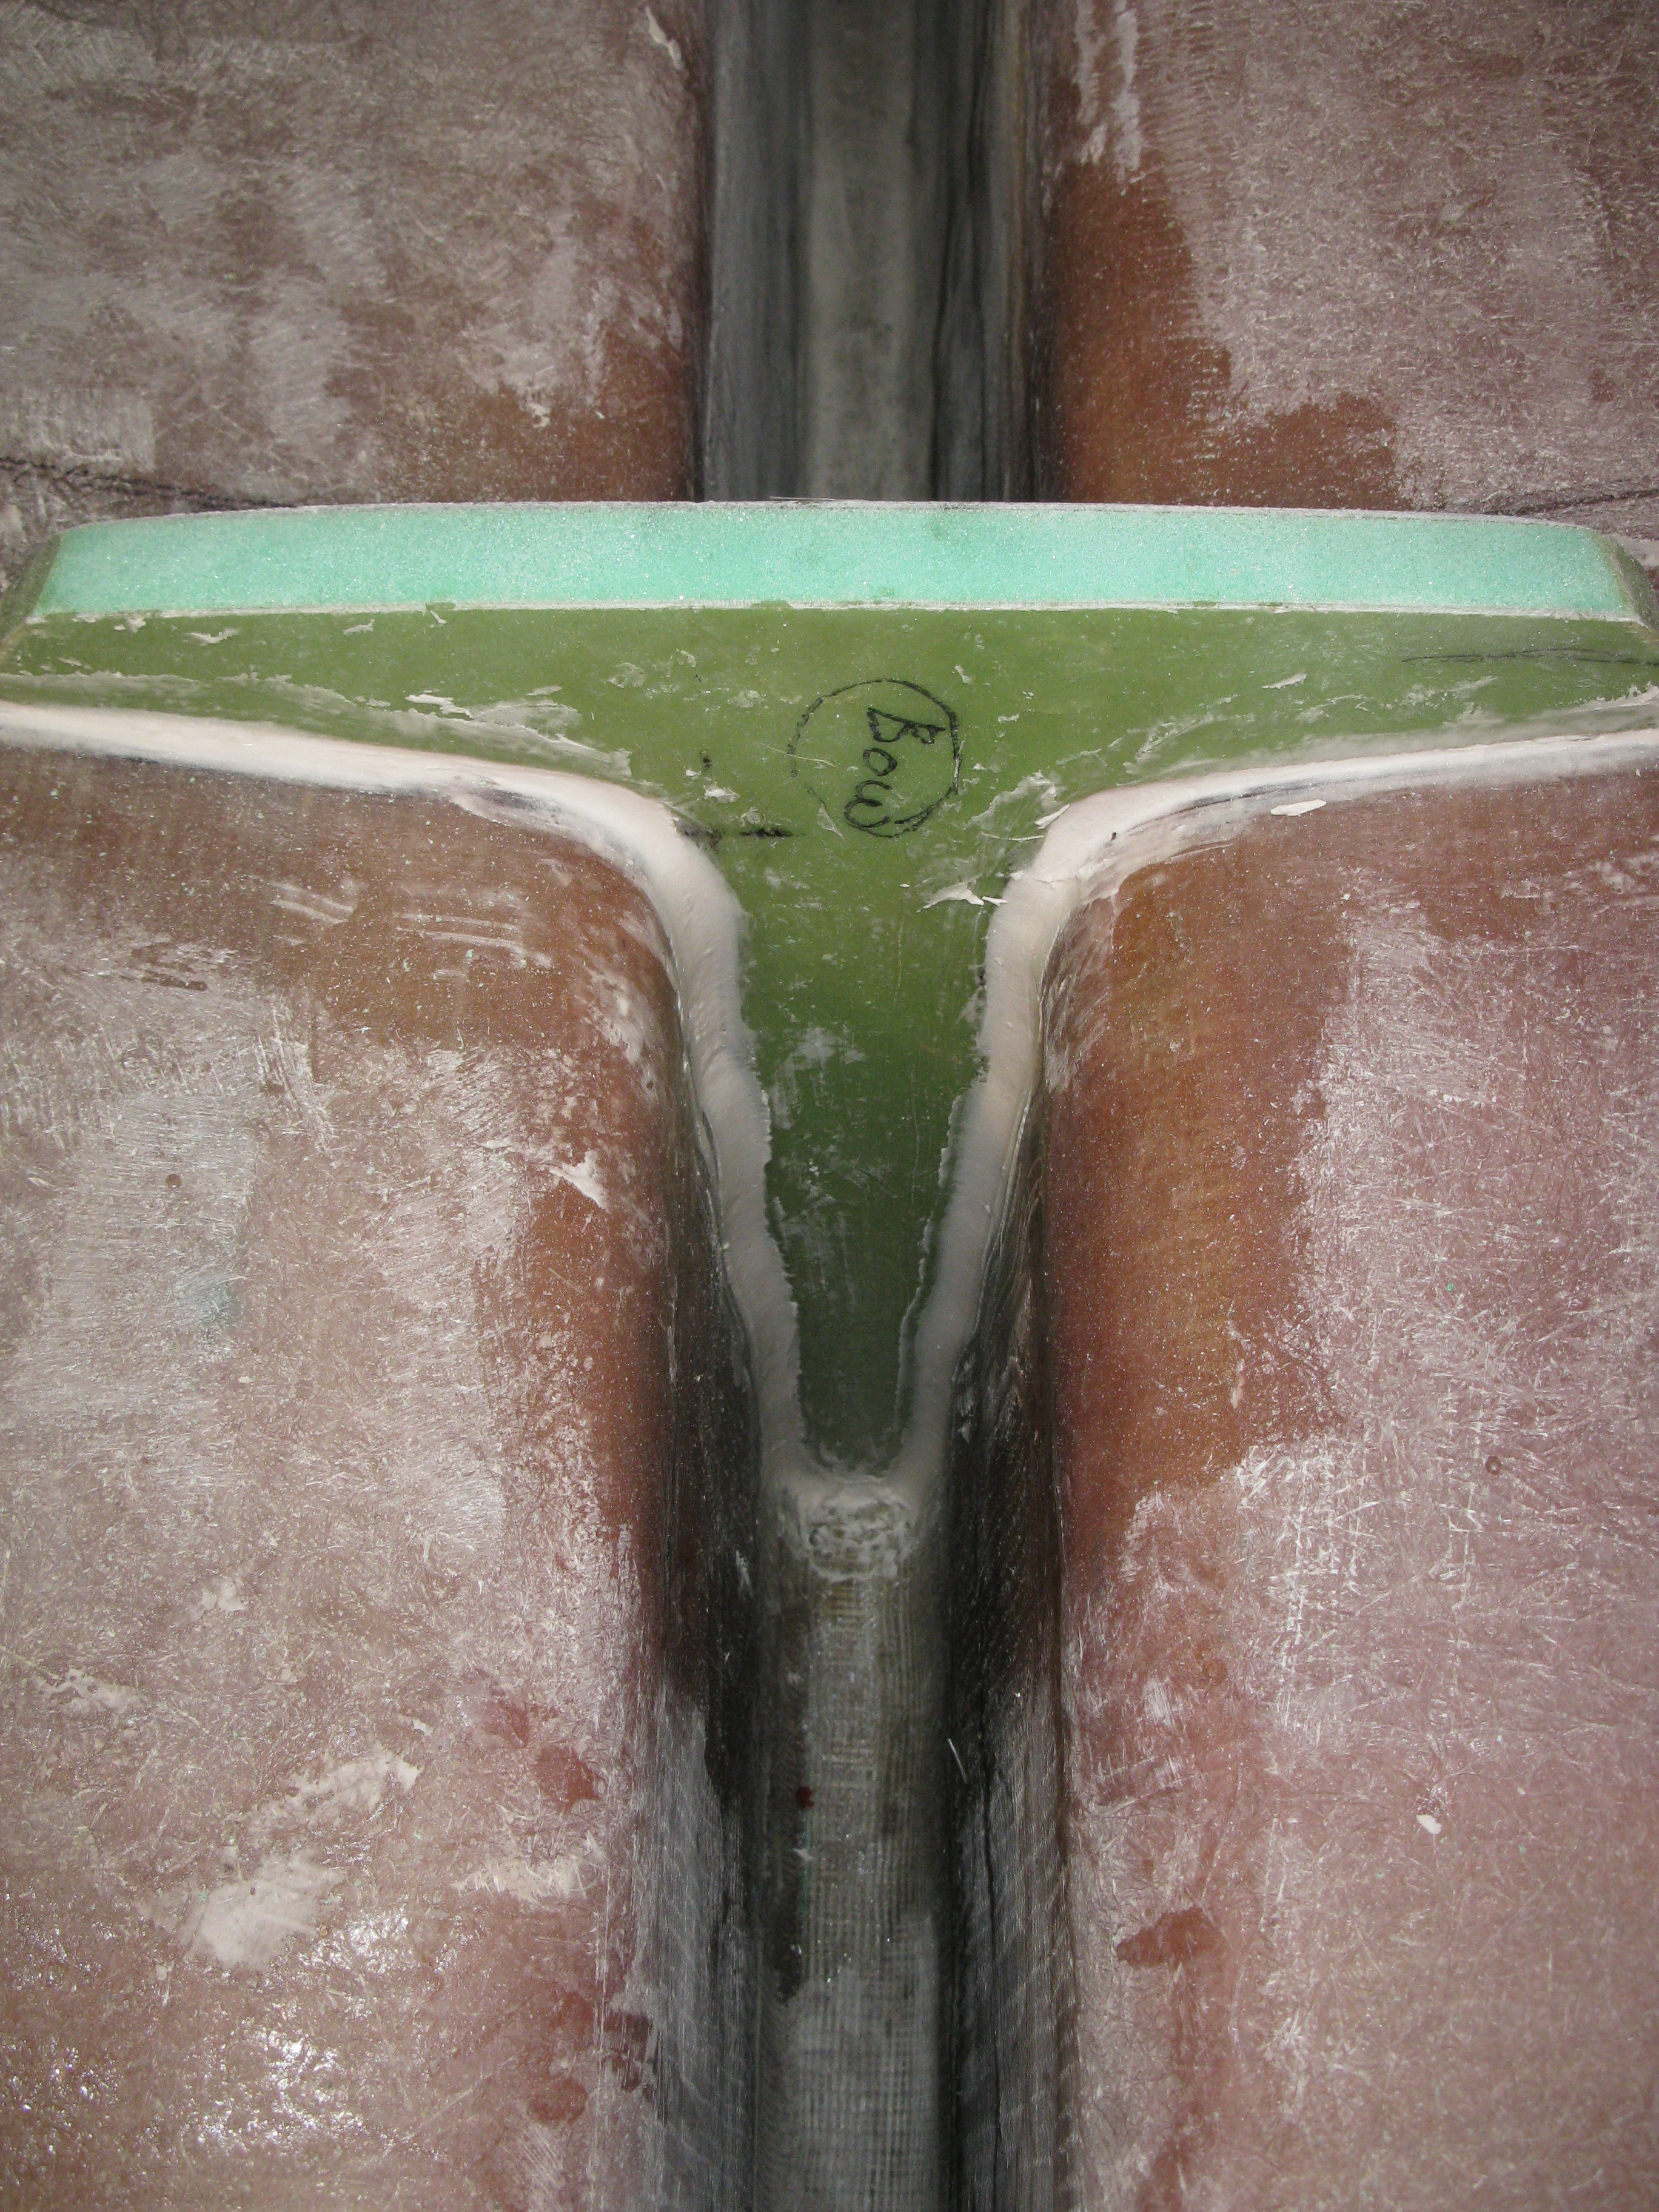
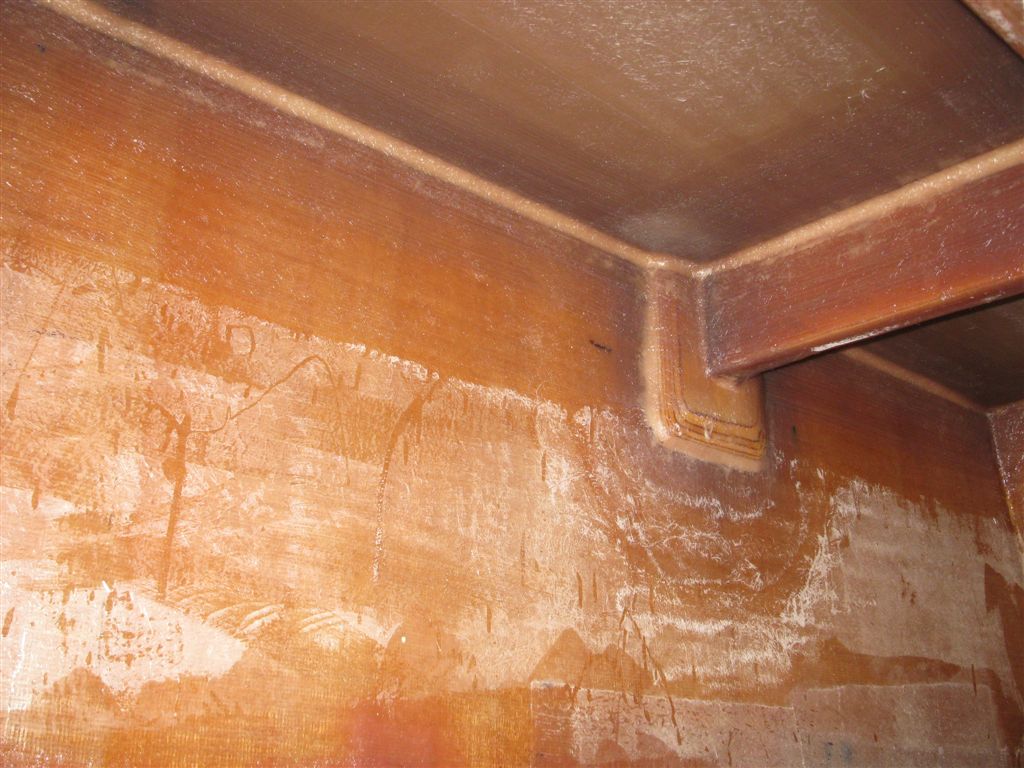
It has been a few days of measuring, cutting, fitting and glassing of the three composite deck support / bulkheads. The crown is 3.5″ from the front to 4.5″ at the stern. A cap rail height of 20″-21″ is maintained. All measurements within an 1/8″.

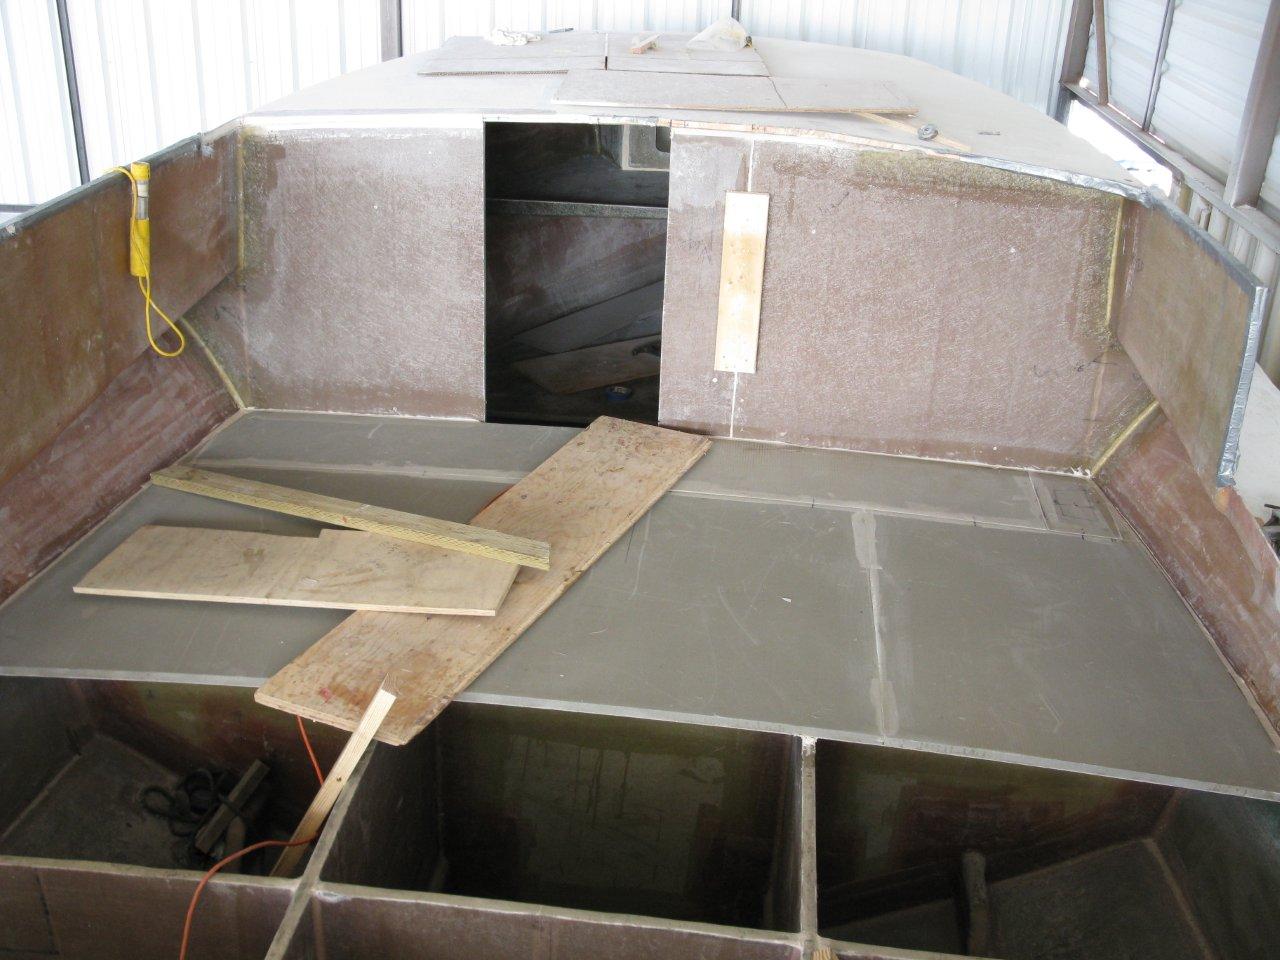
Stringer Modifications, removal & planning…

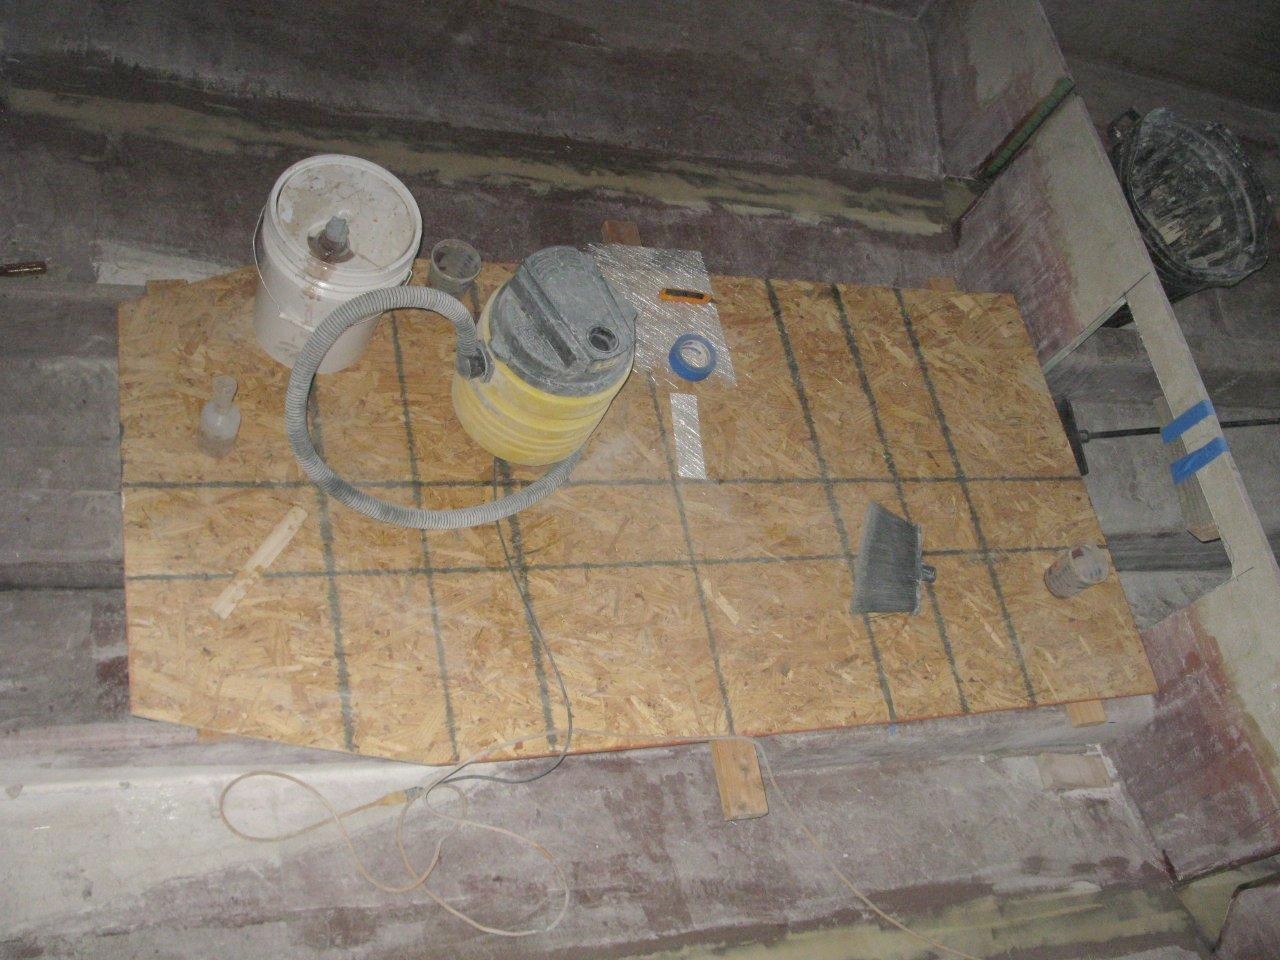
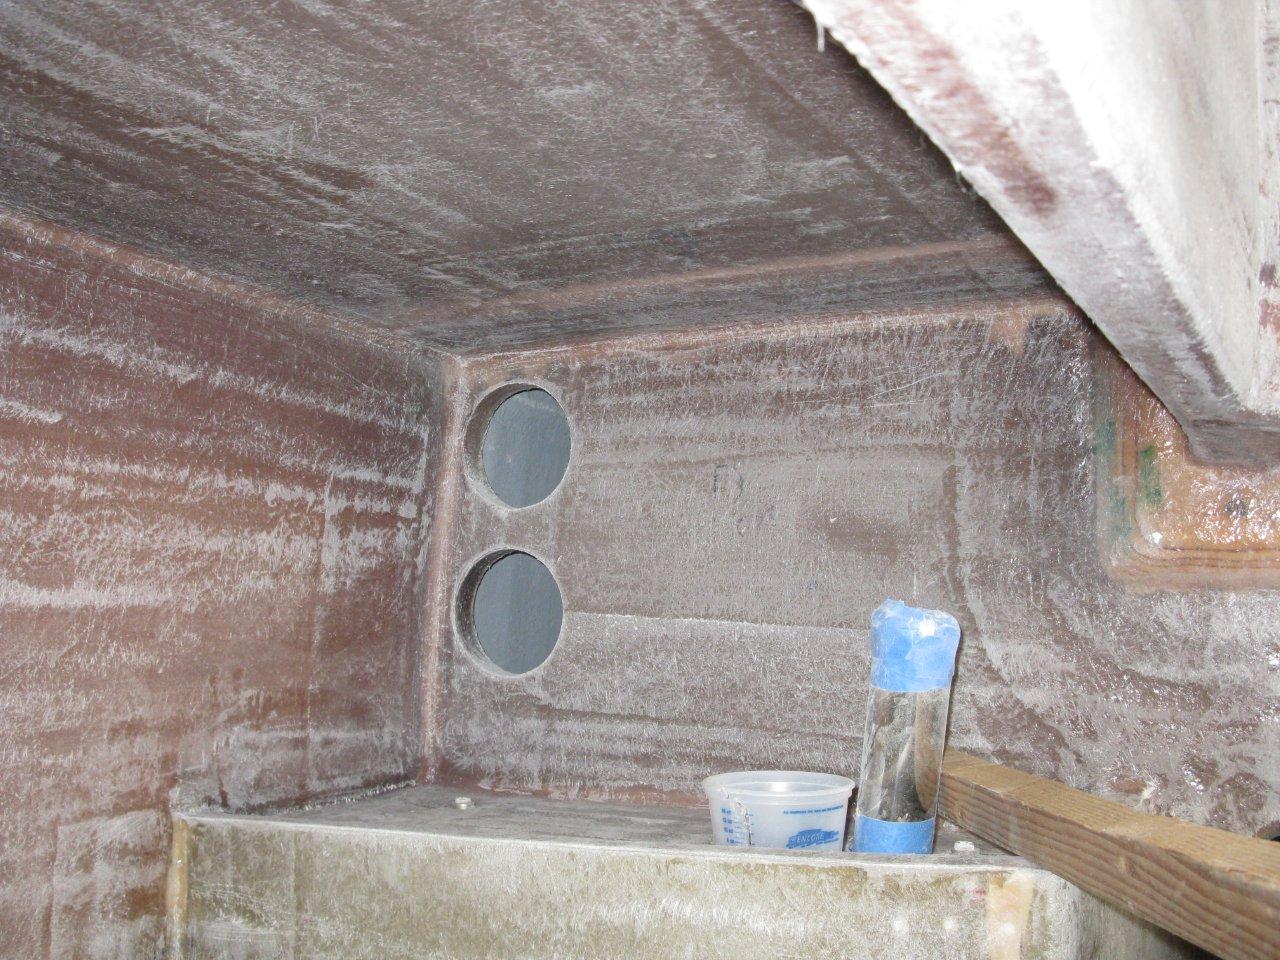
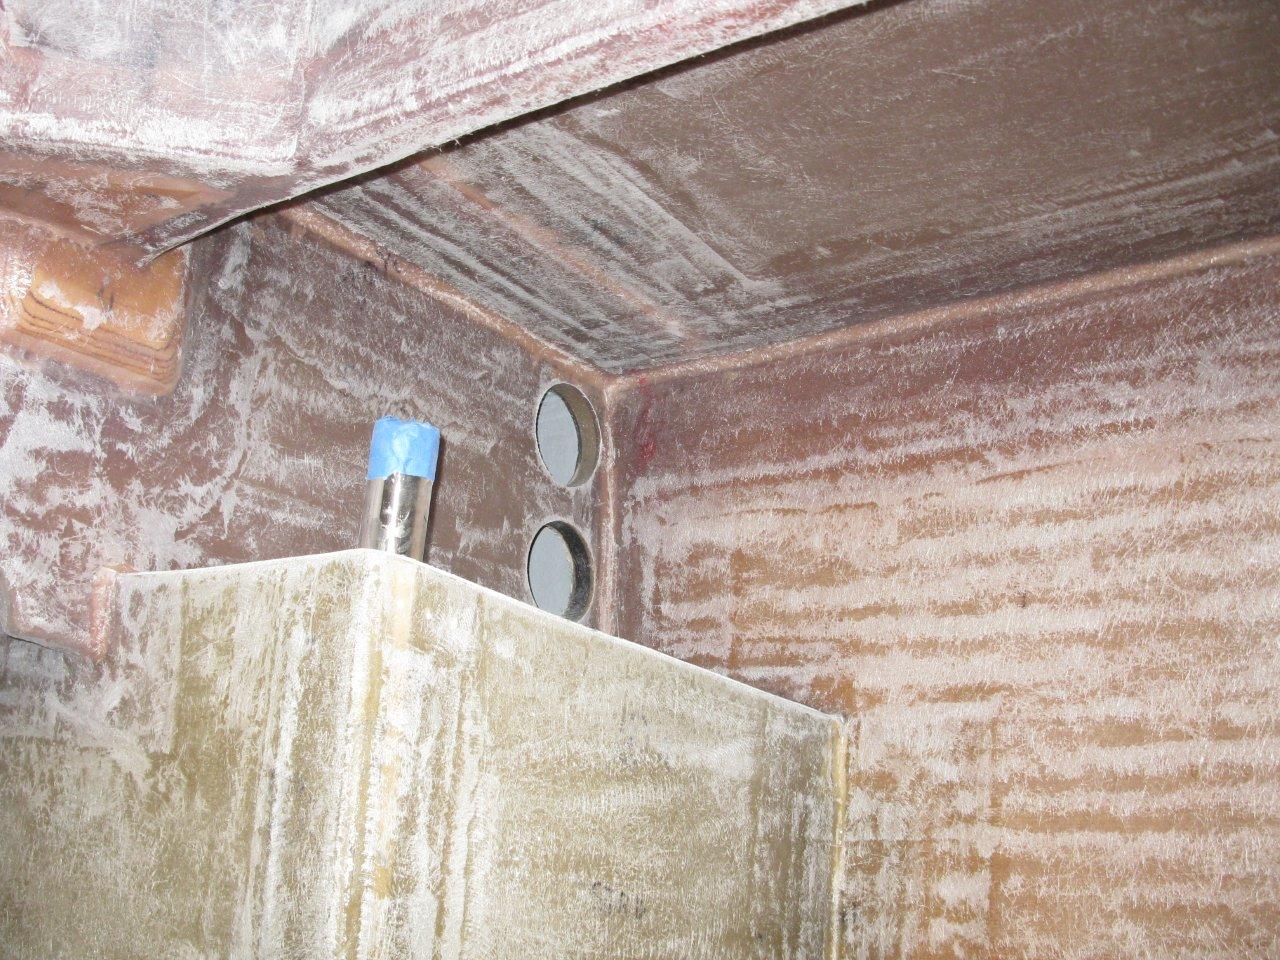
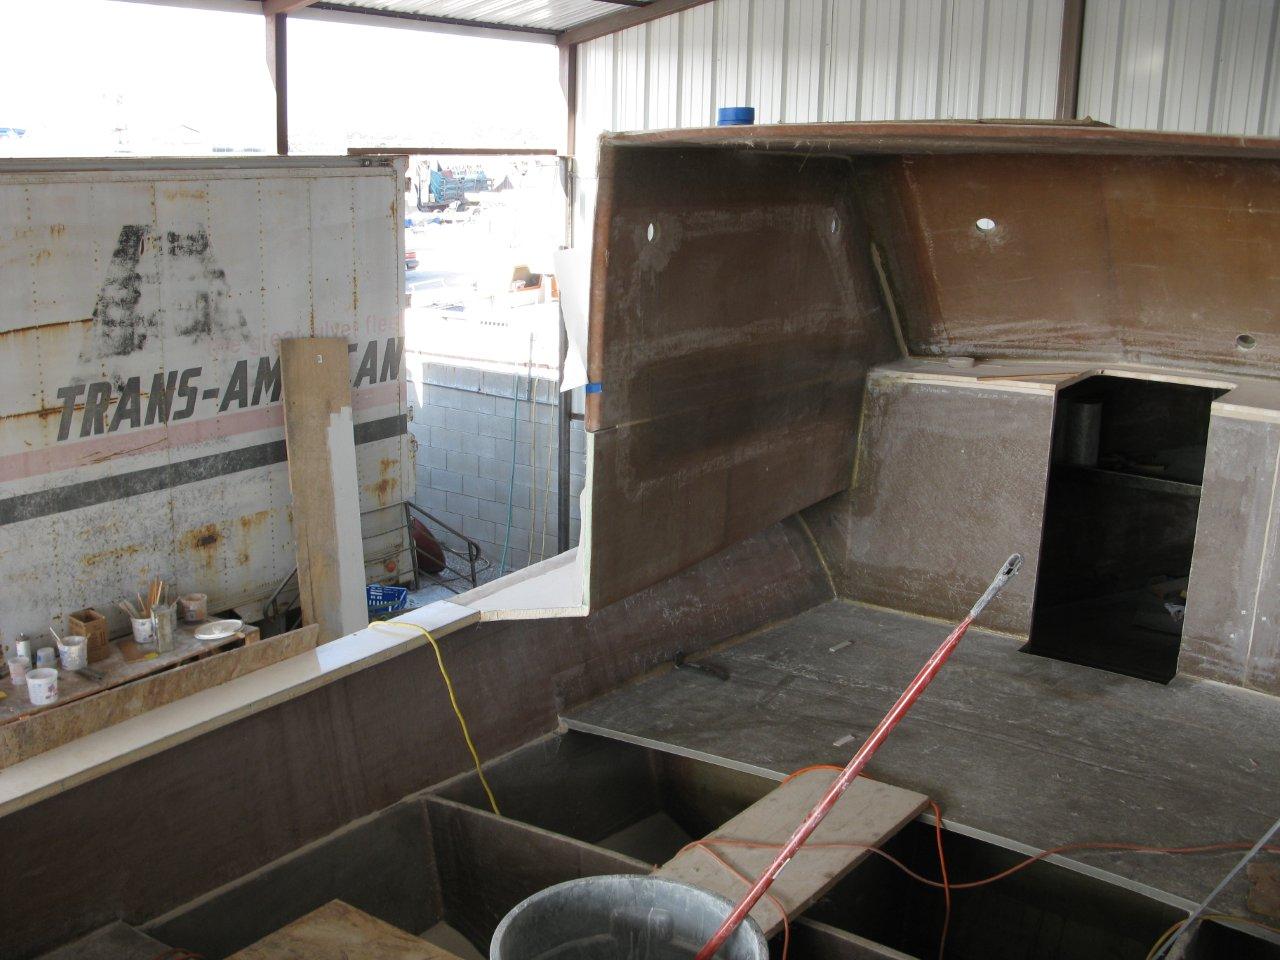
Next, 2 inch structural composite engine room bulkhead…….beginning to “goop” the inside of the fuel tanks. This too is a slow process. Each piece is custom fit…supporting another piece…etc.
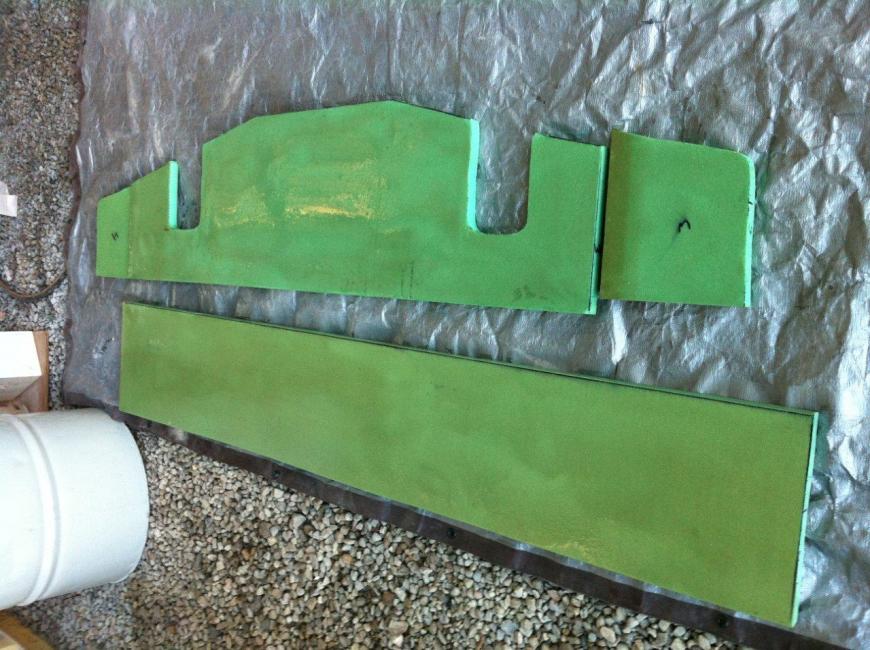
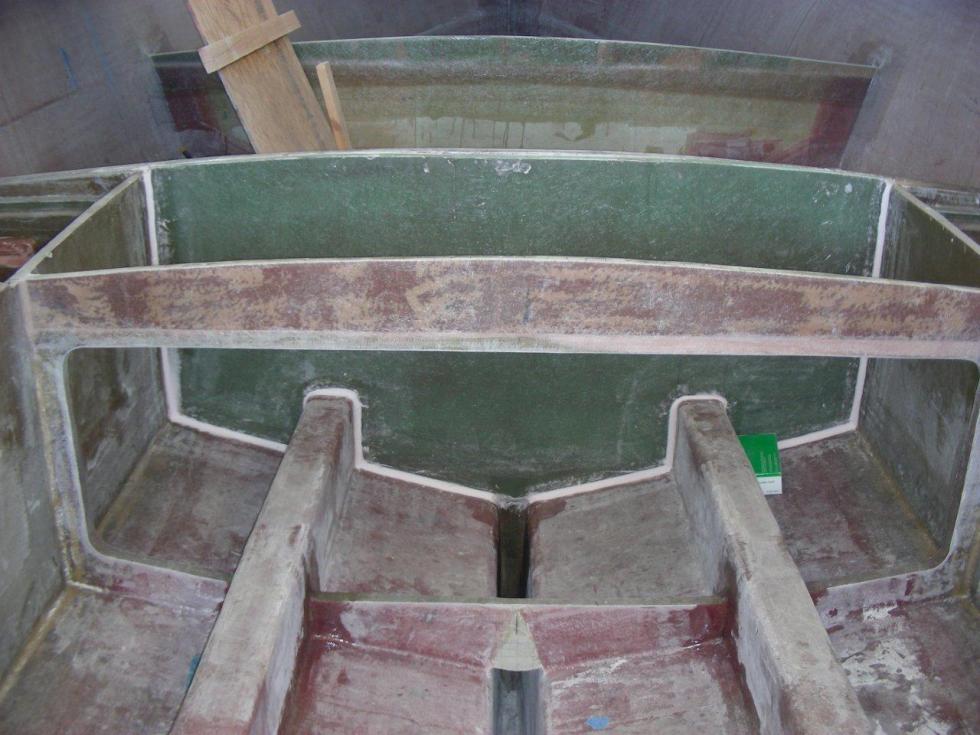
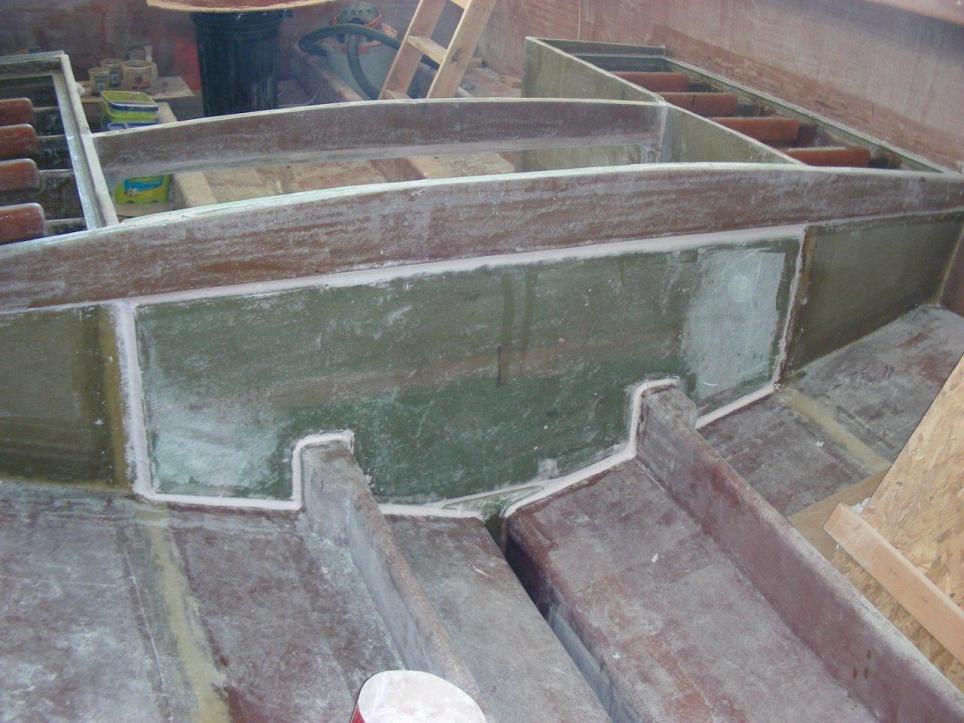
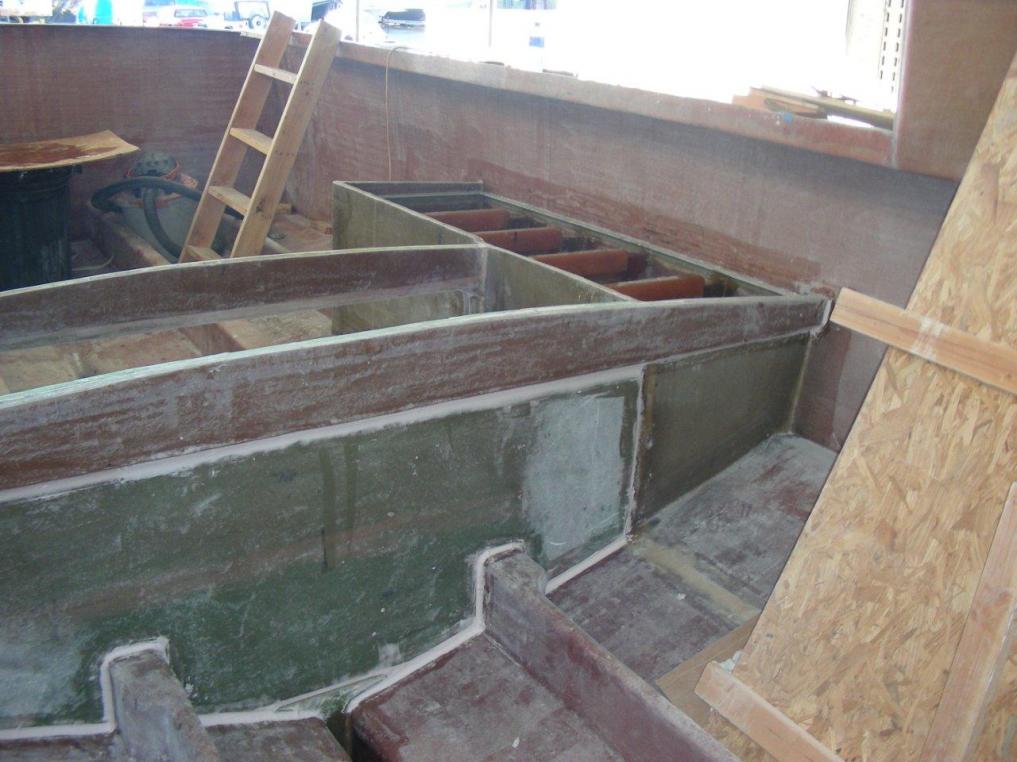

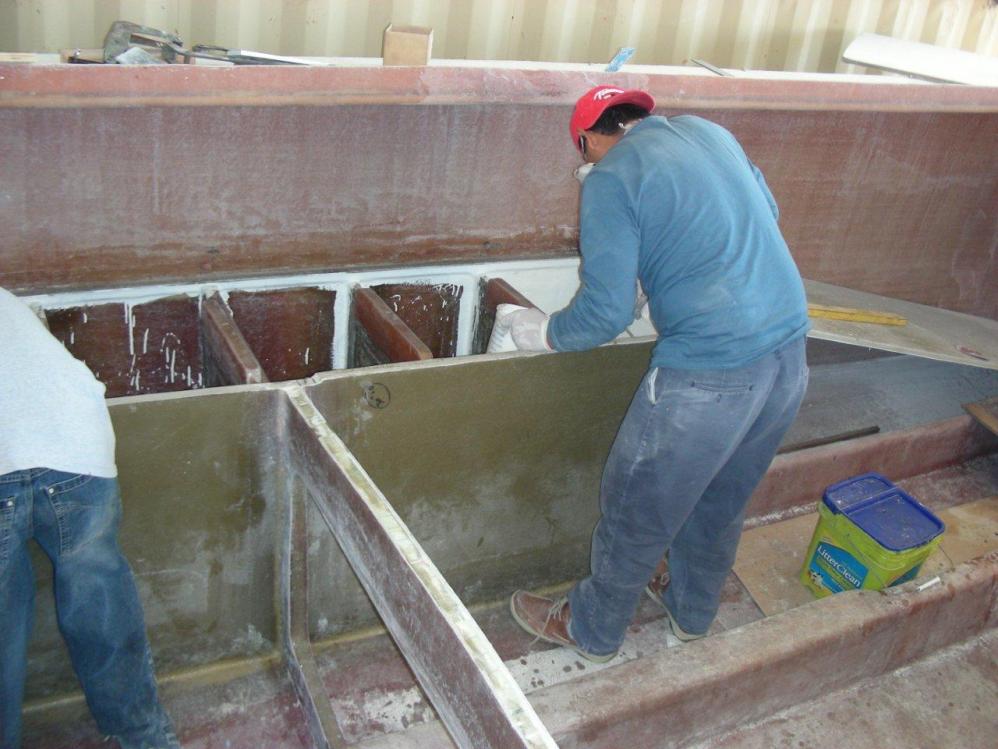

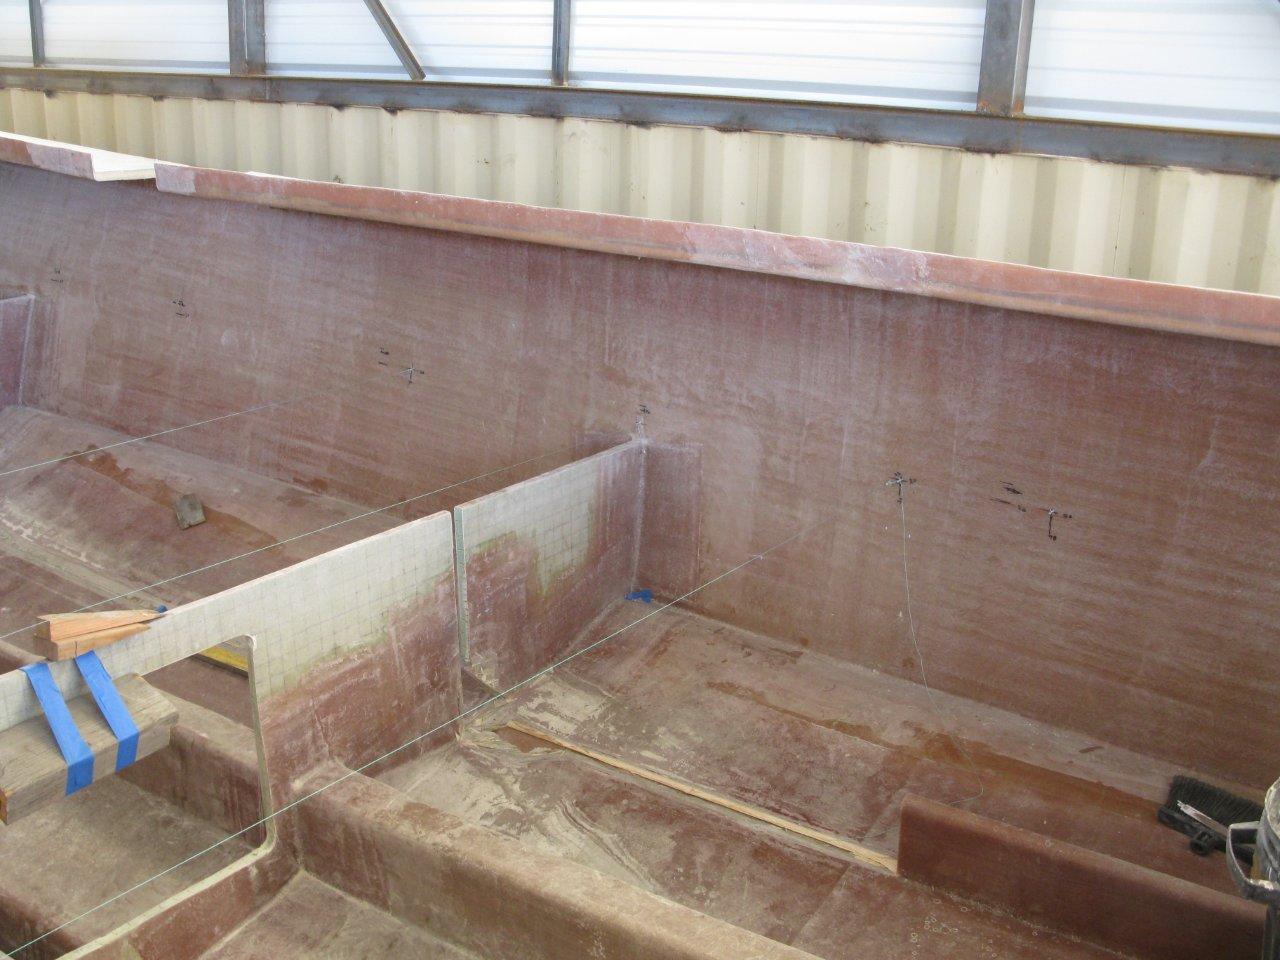
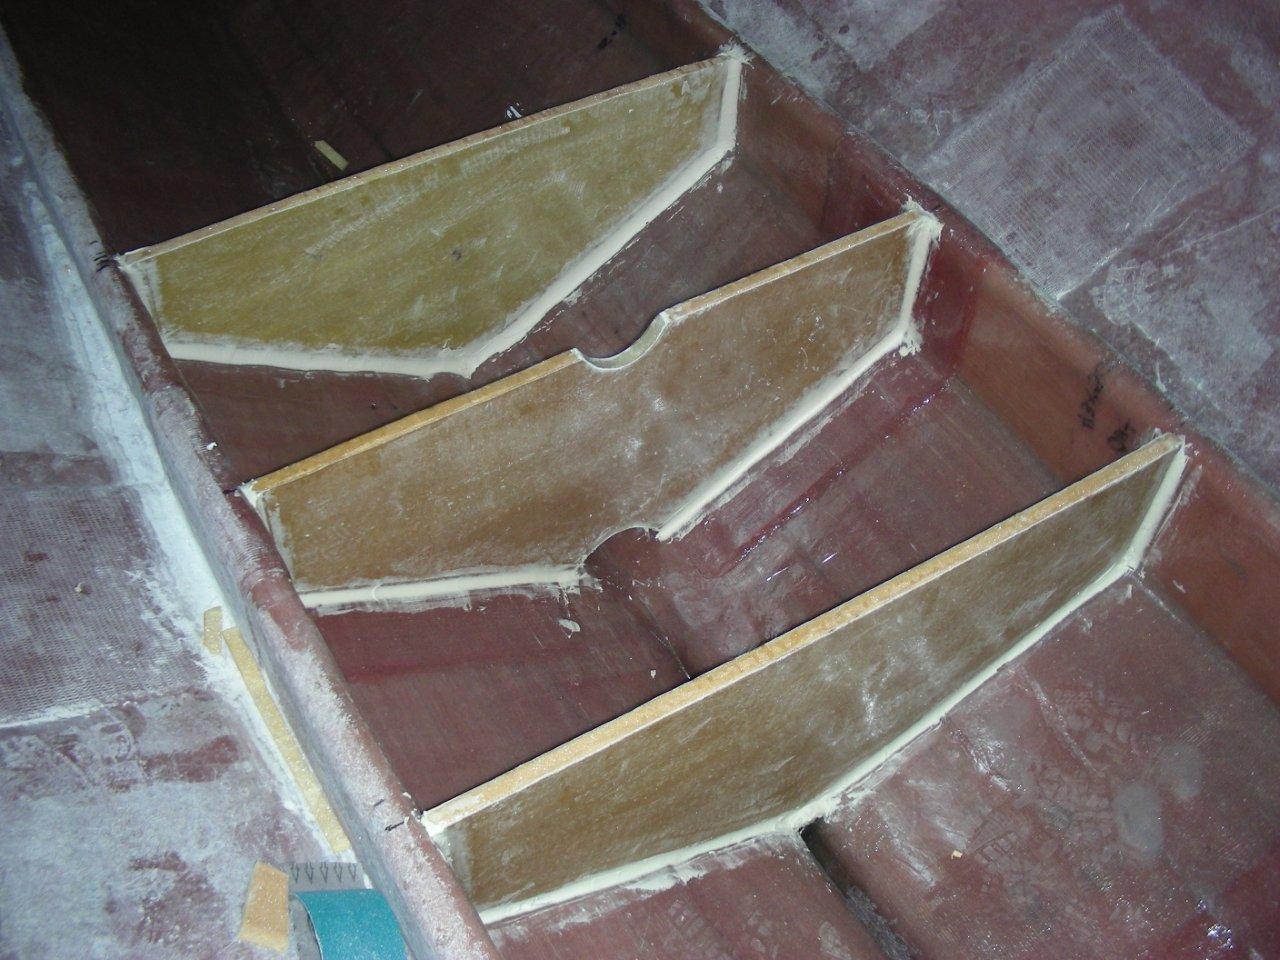
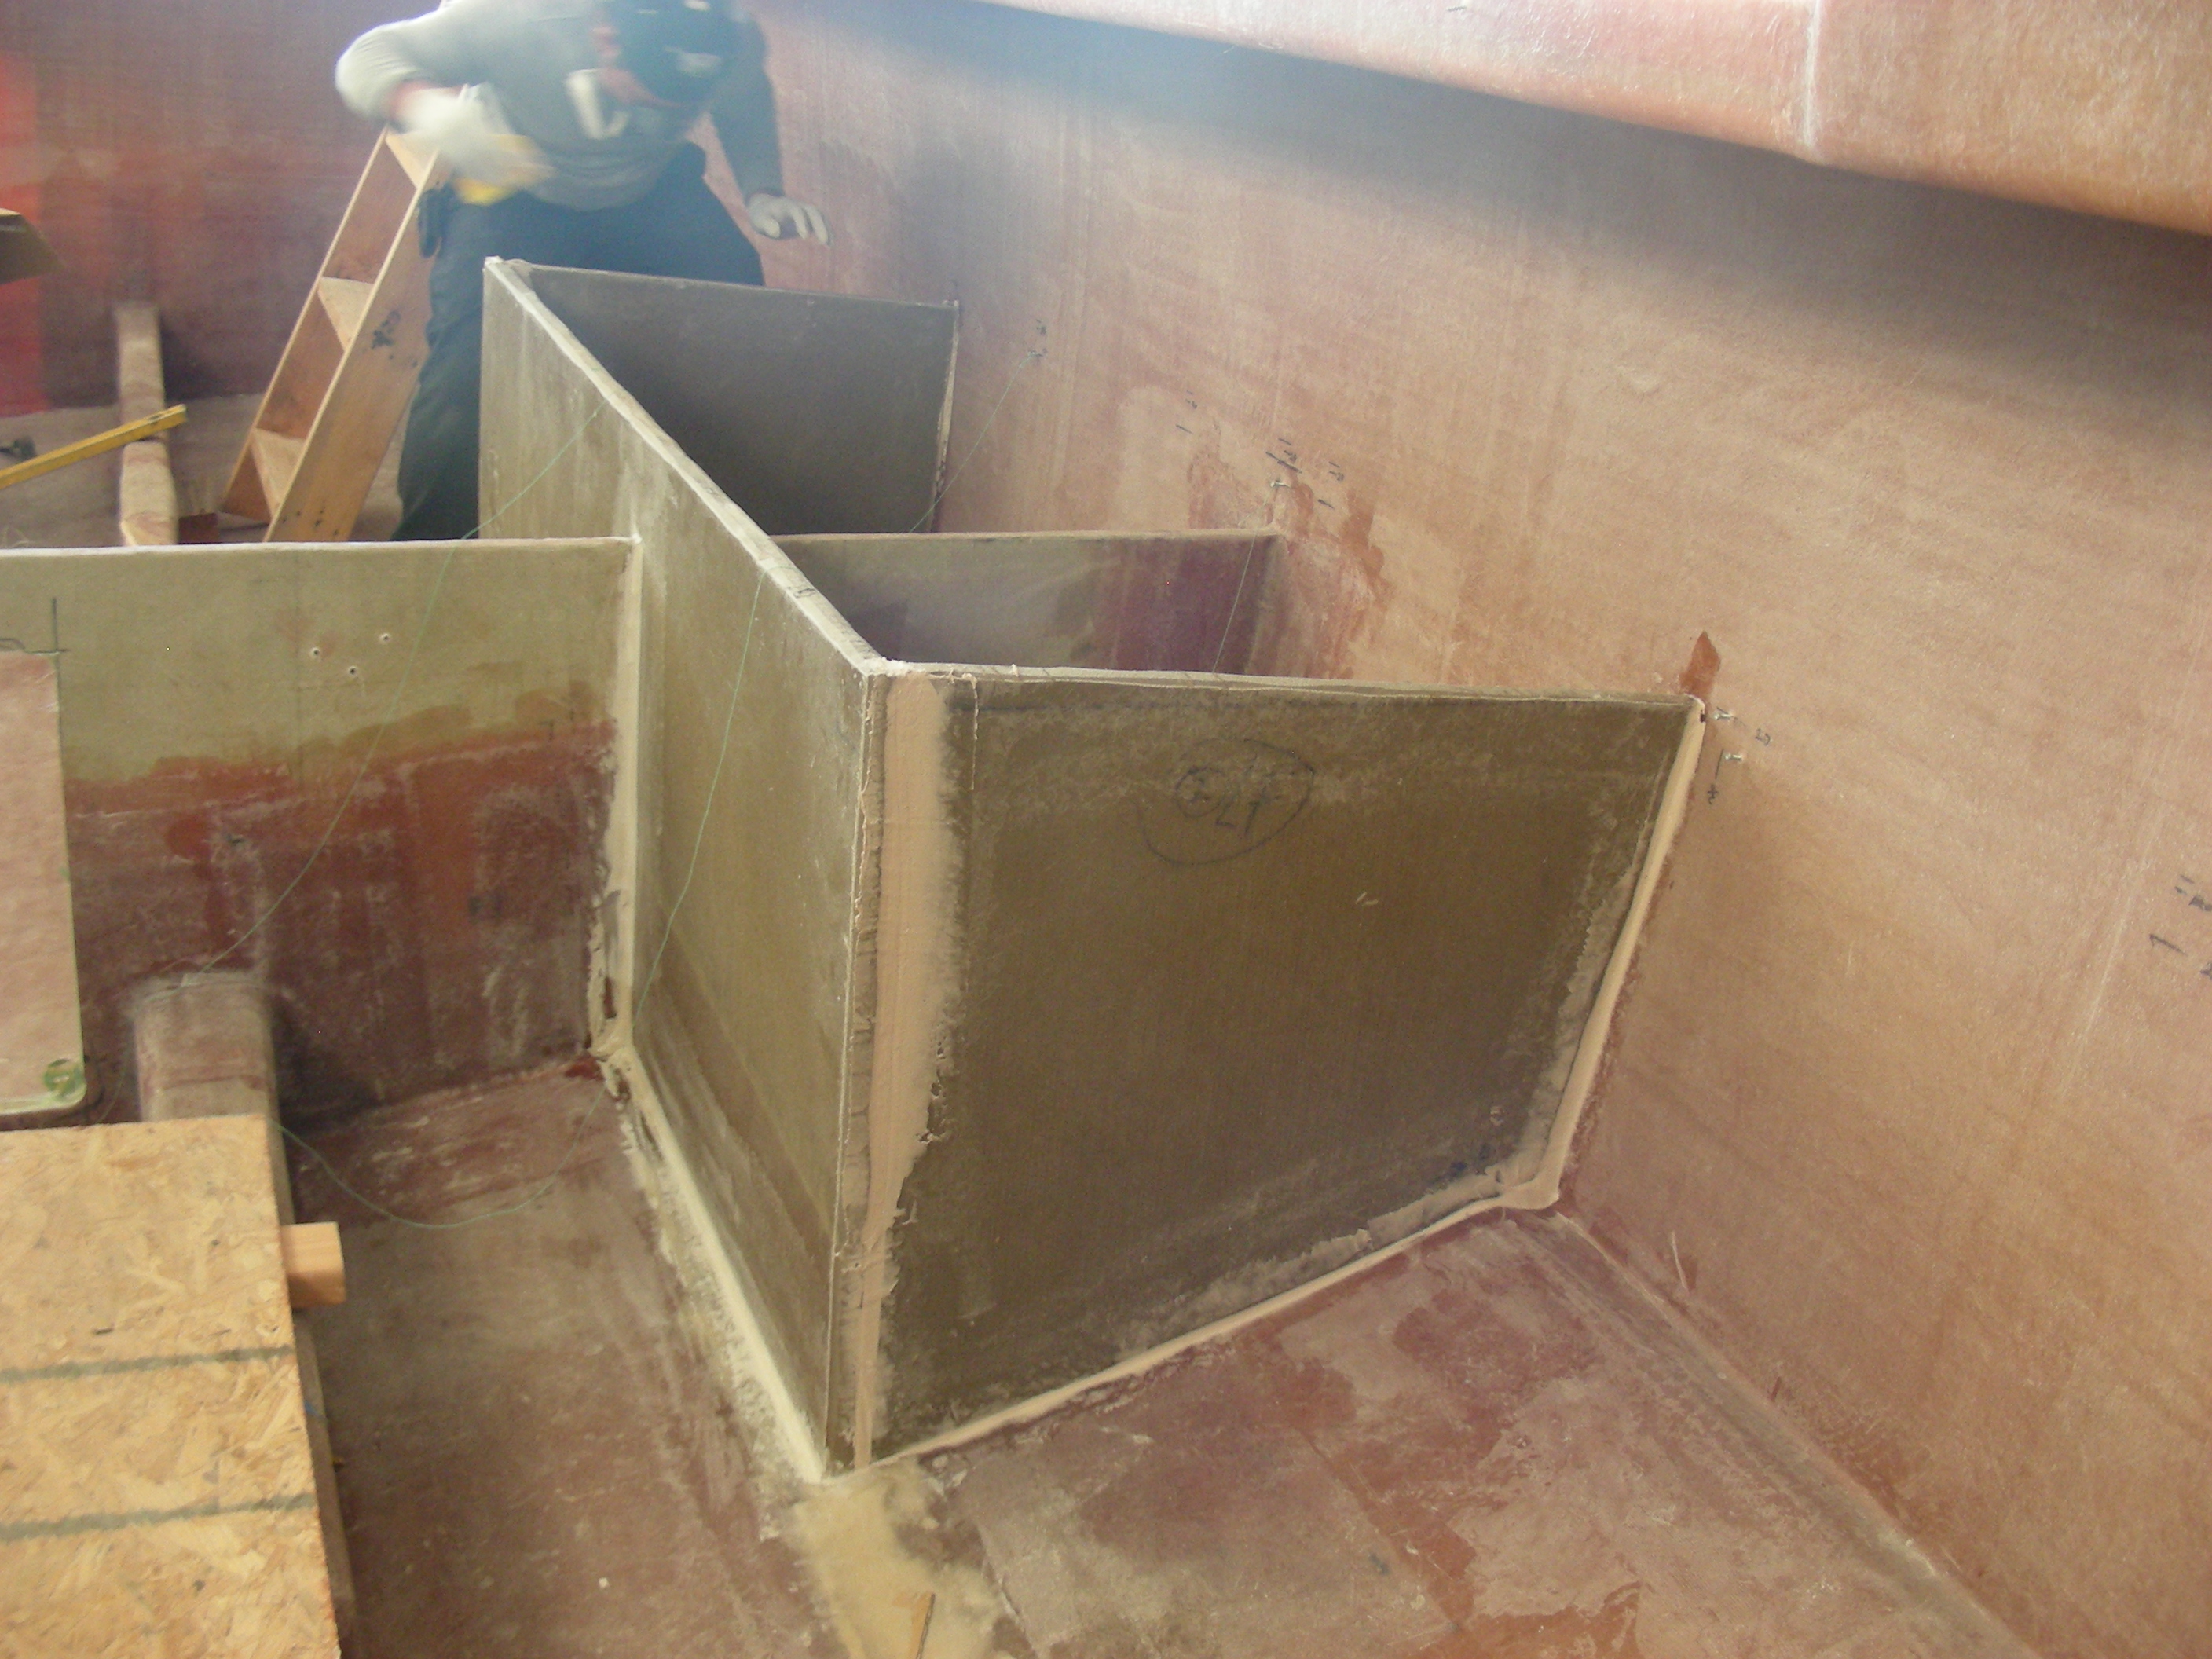
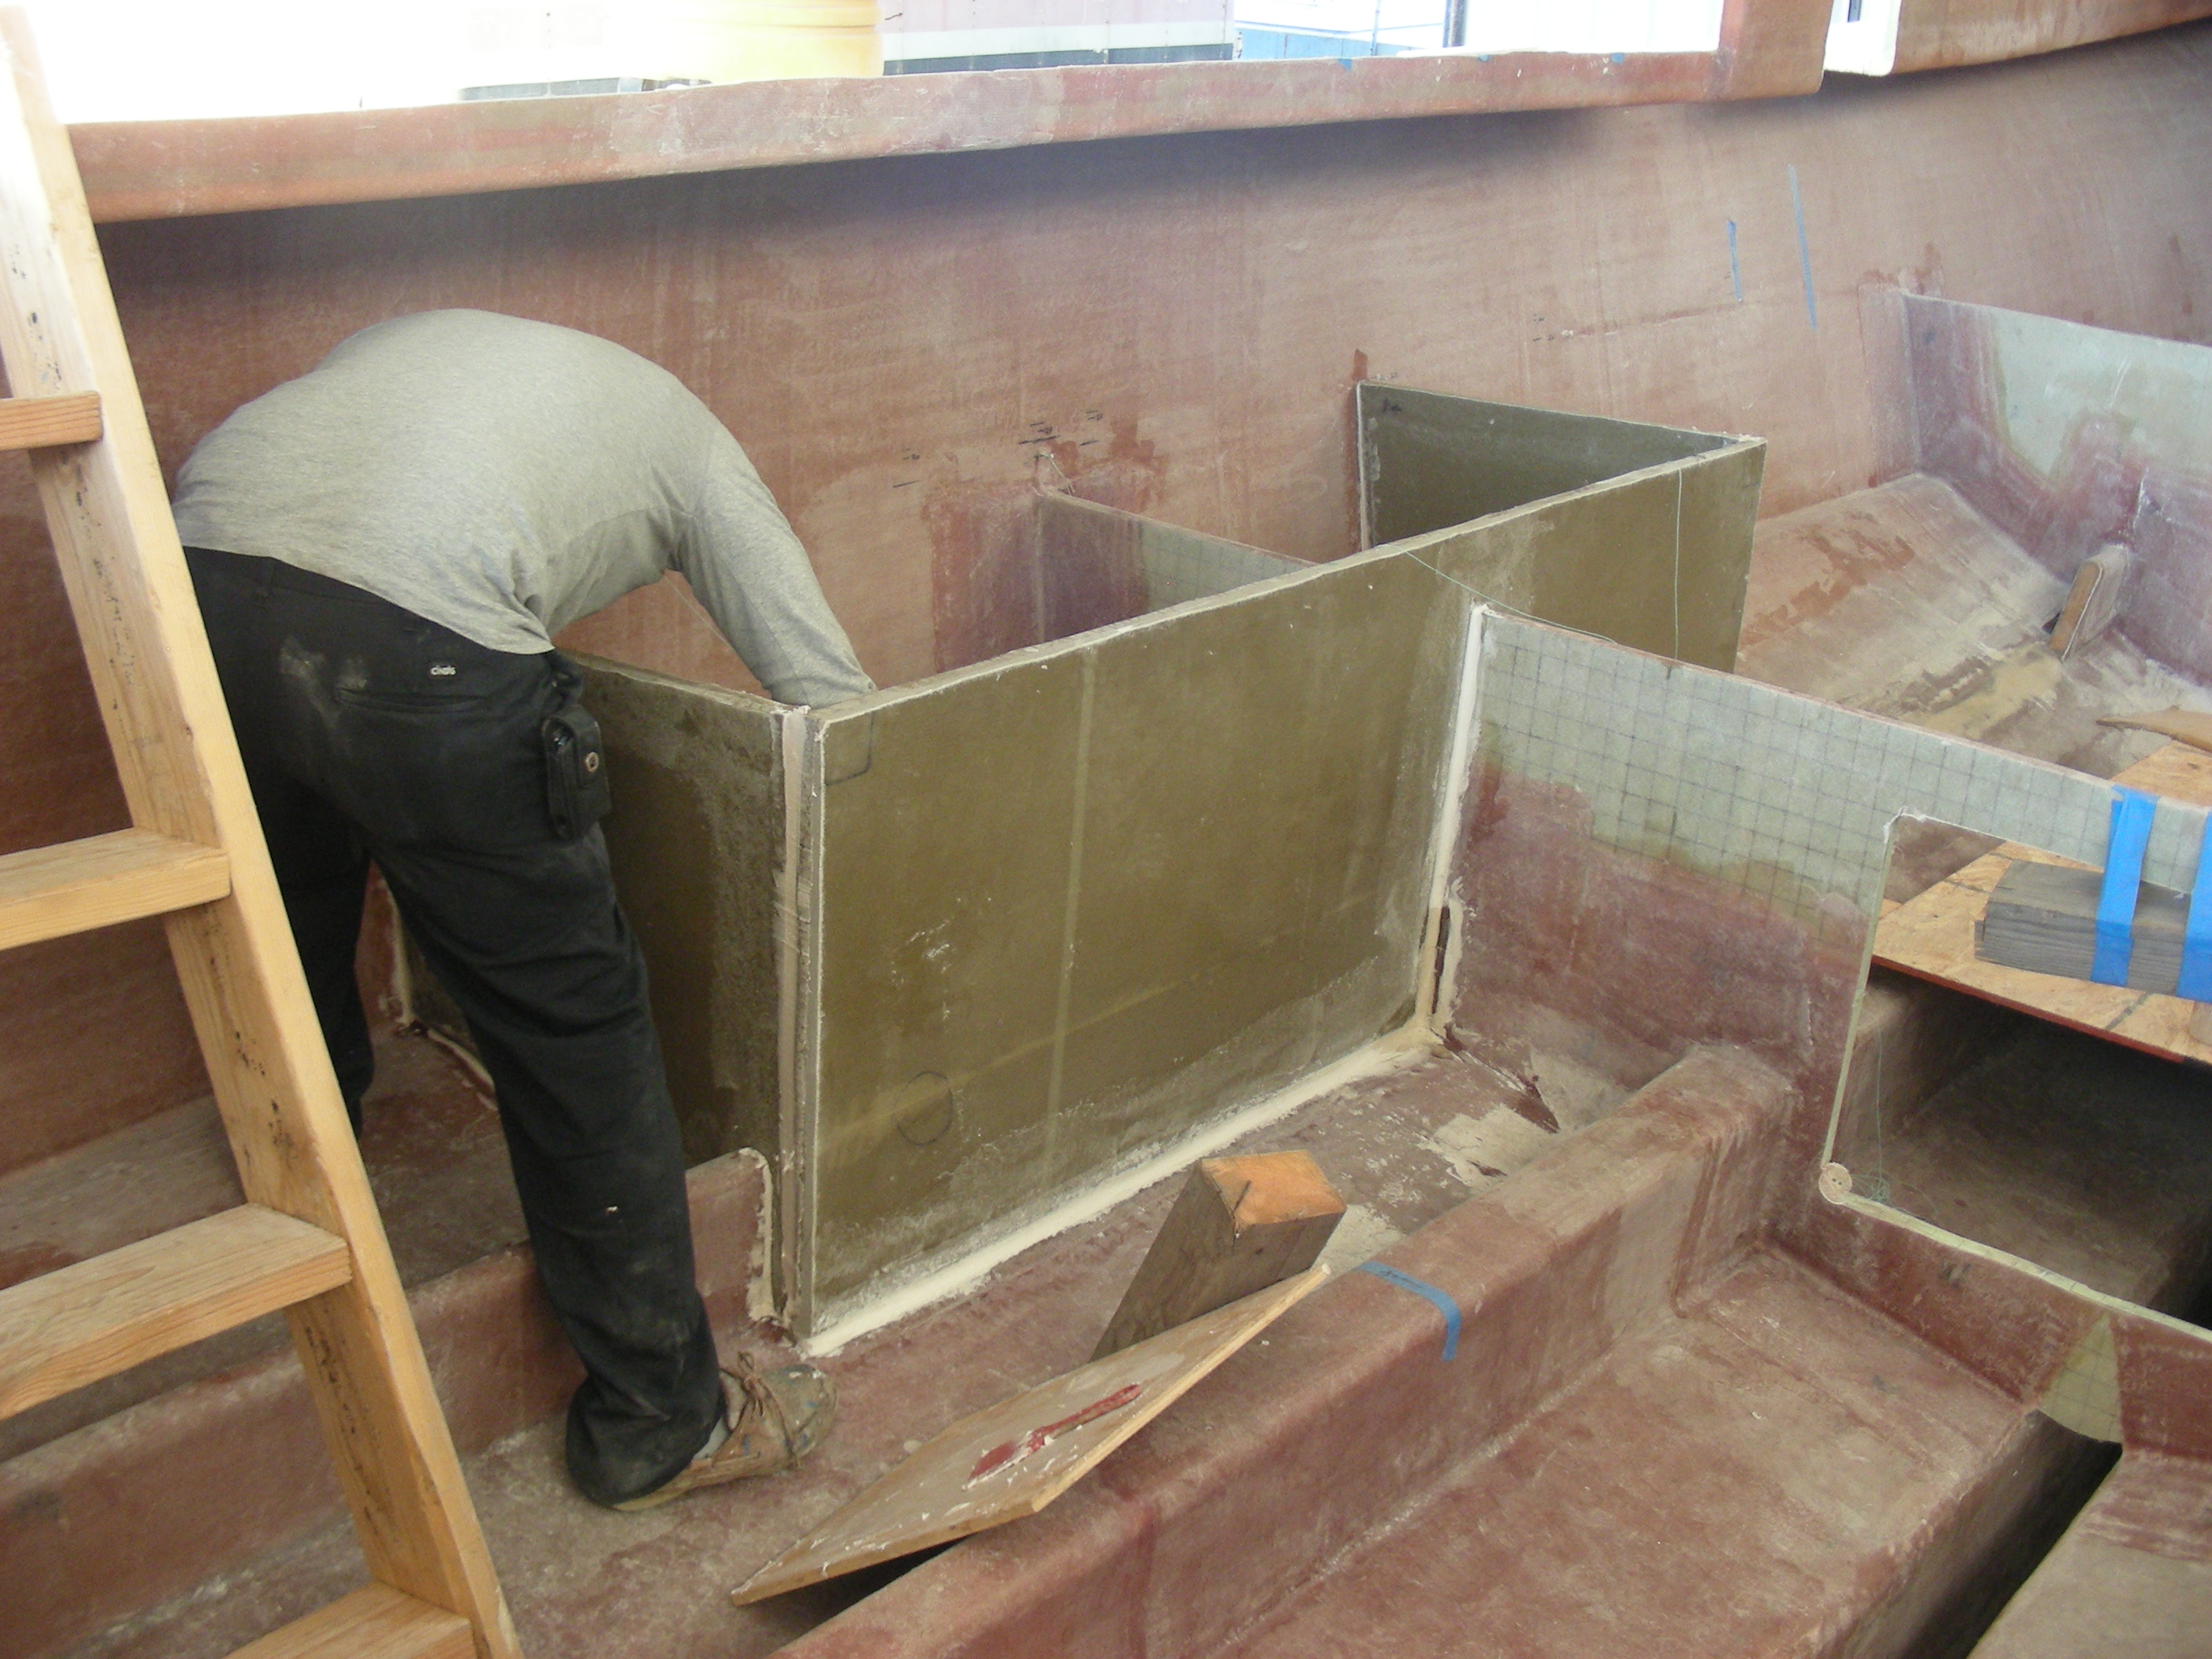
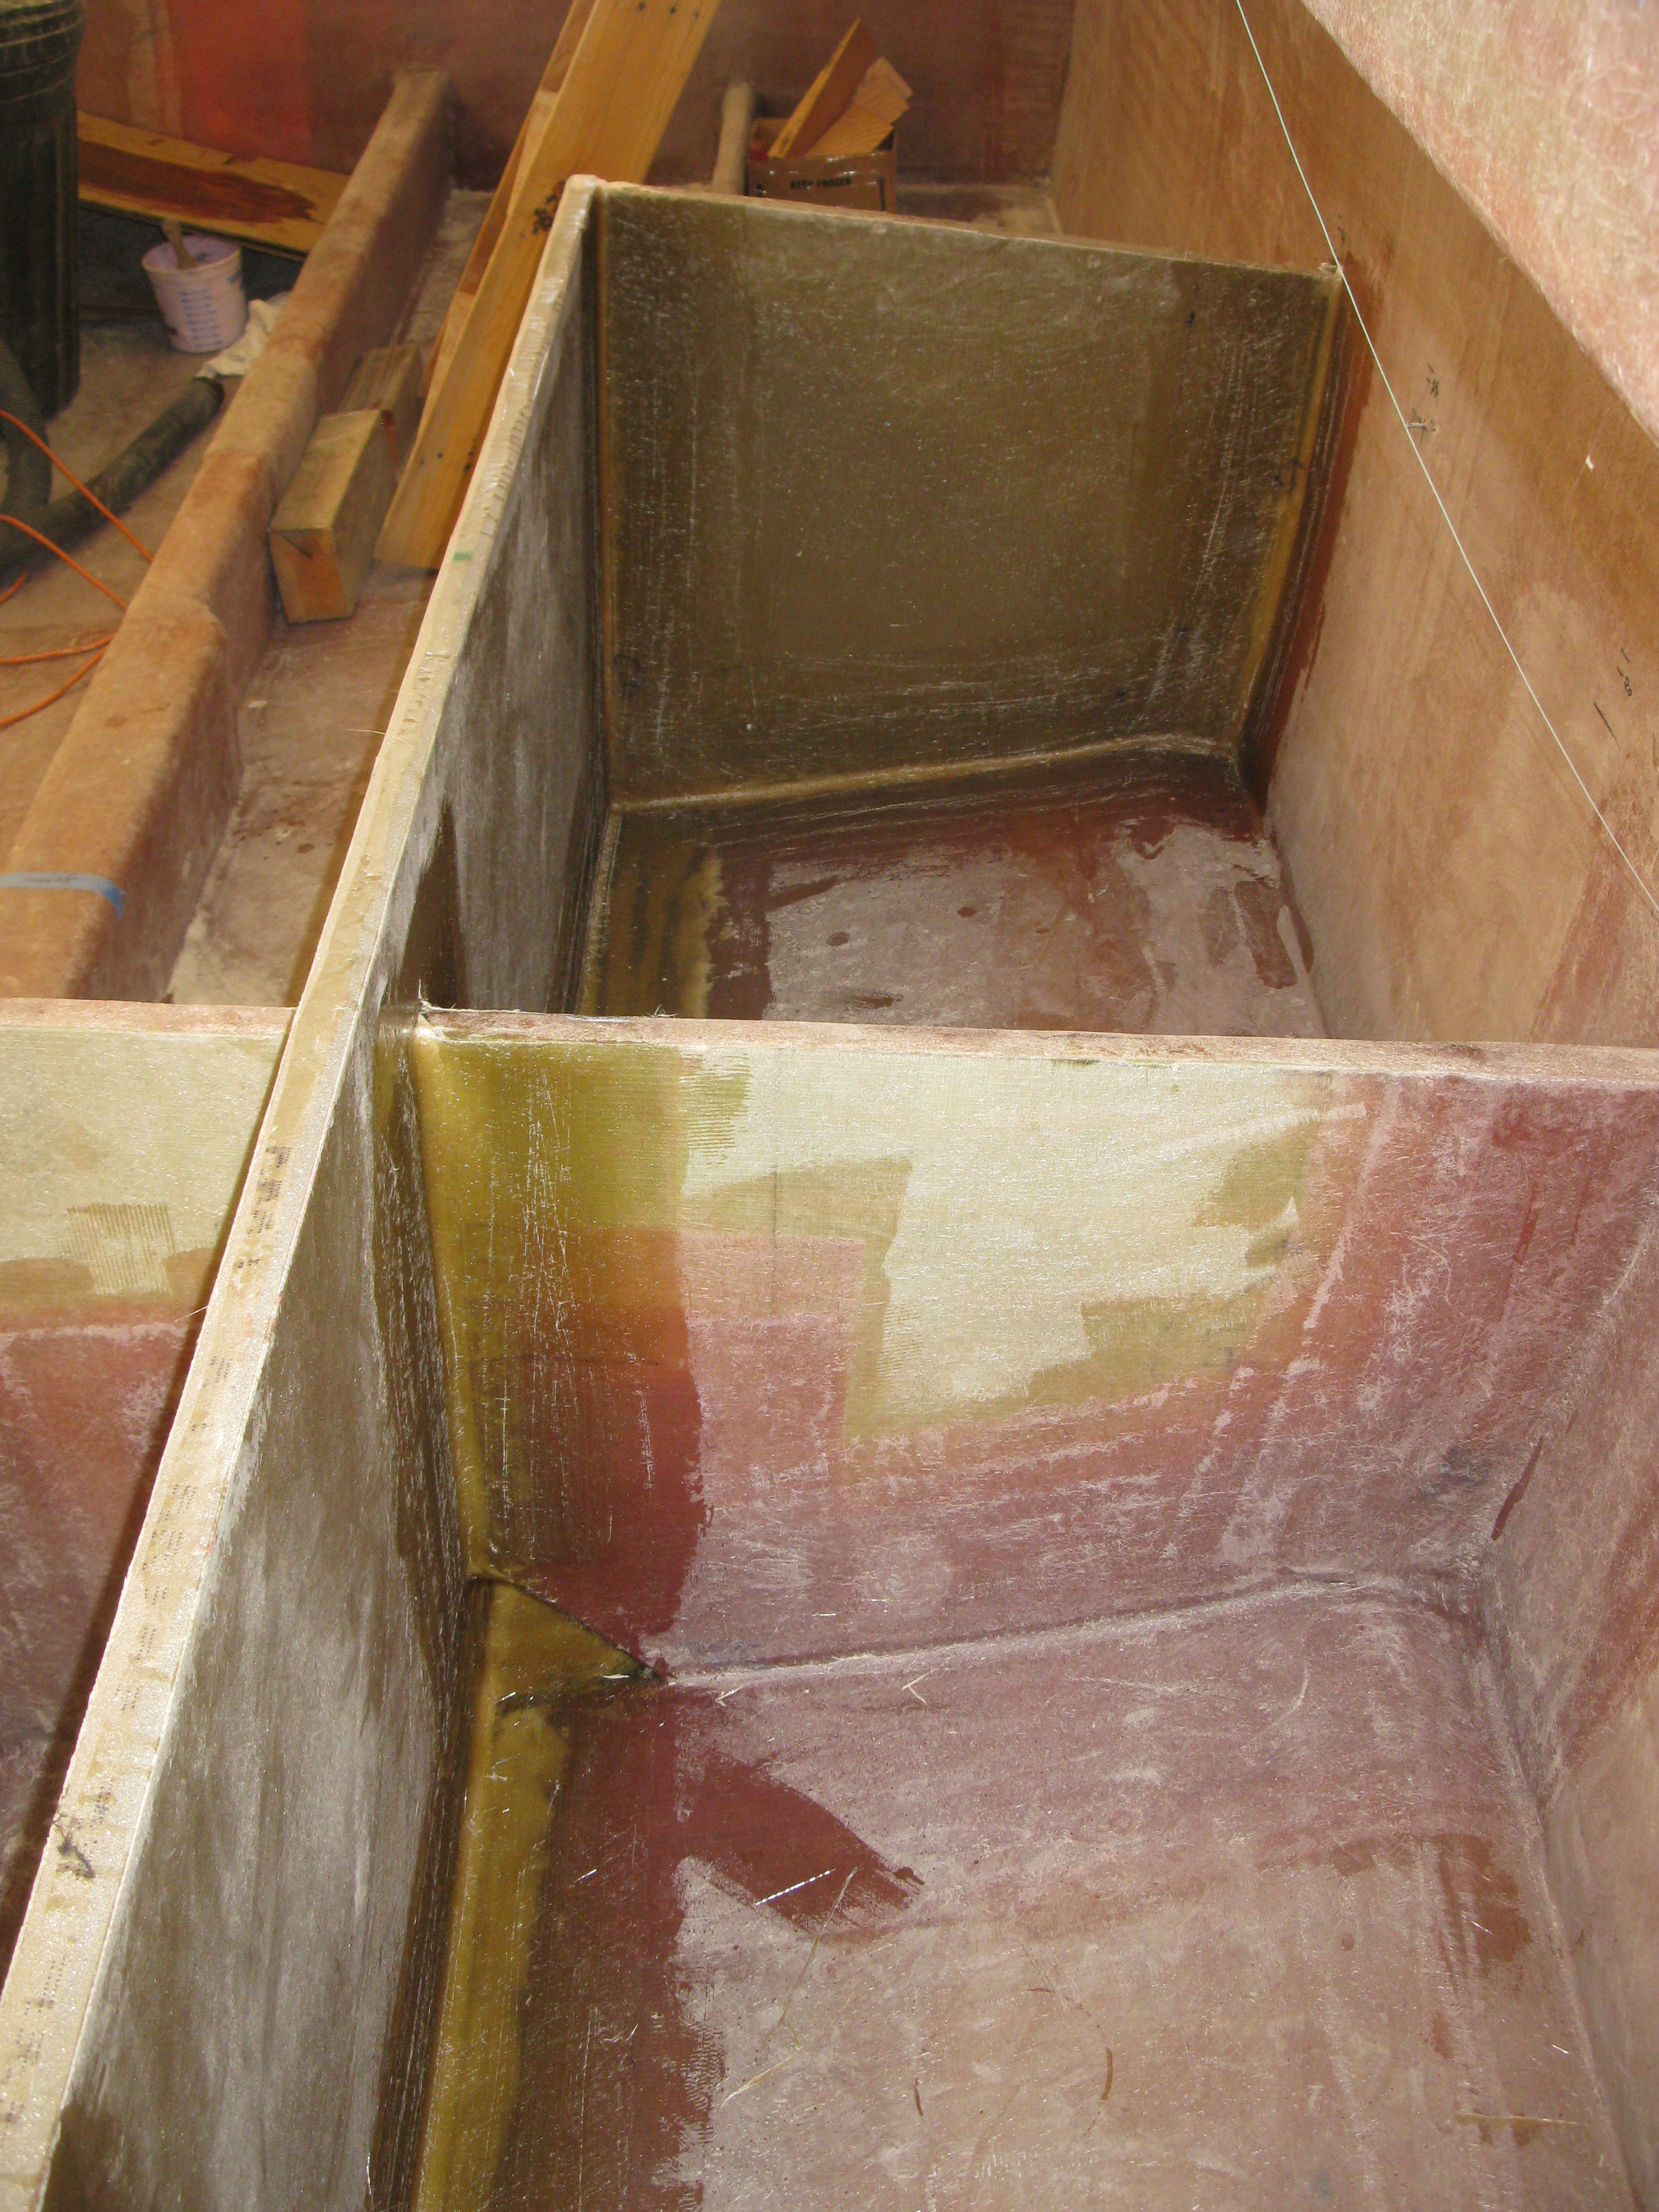
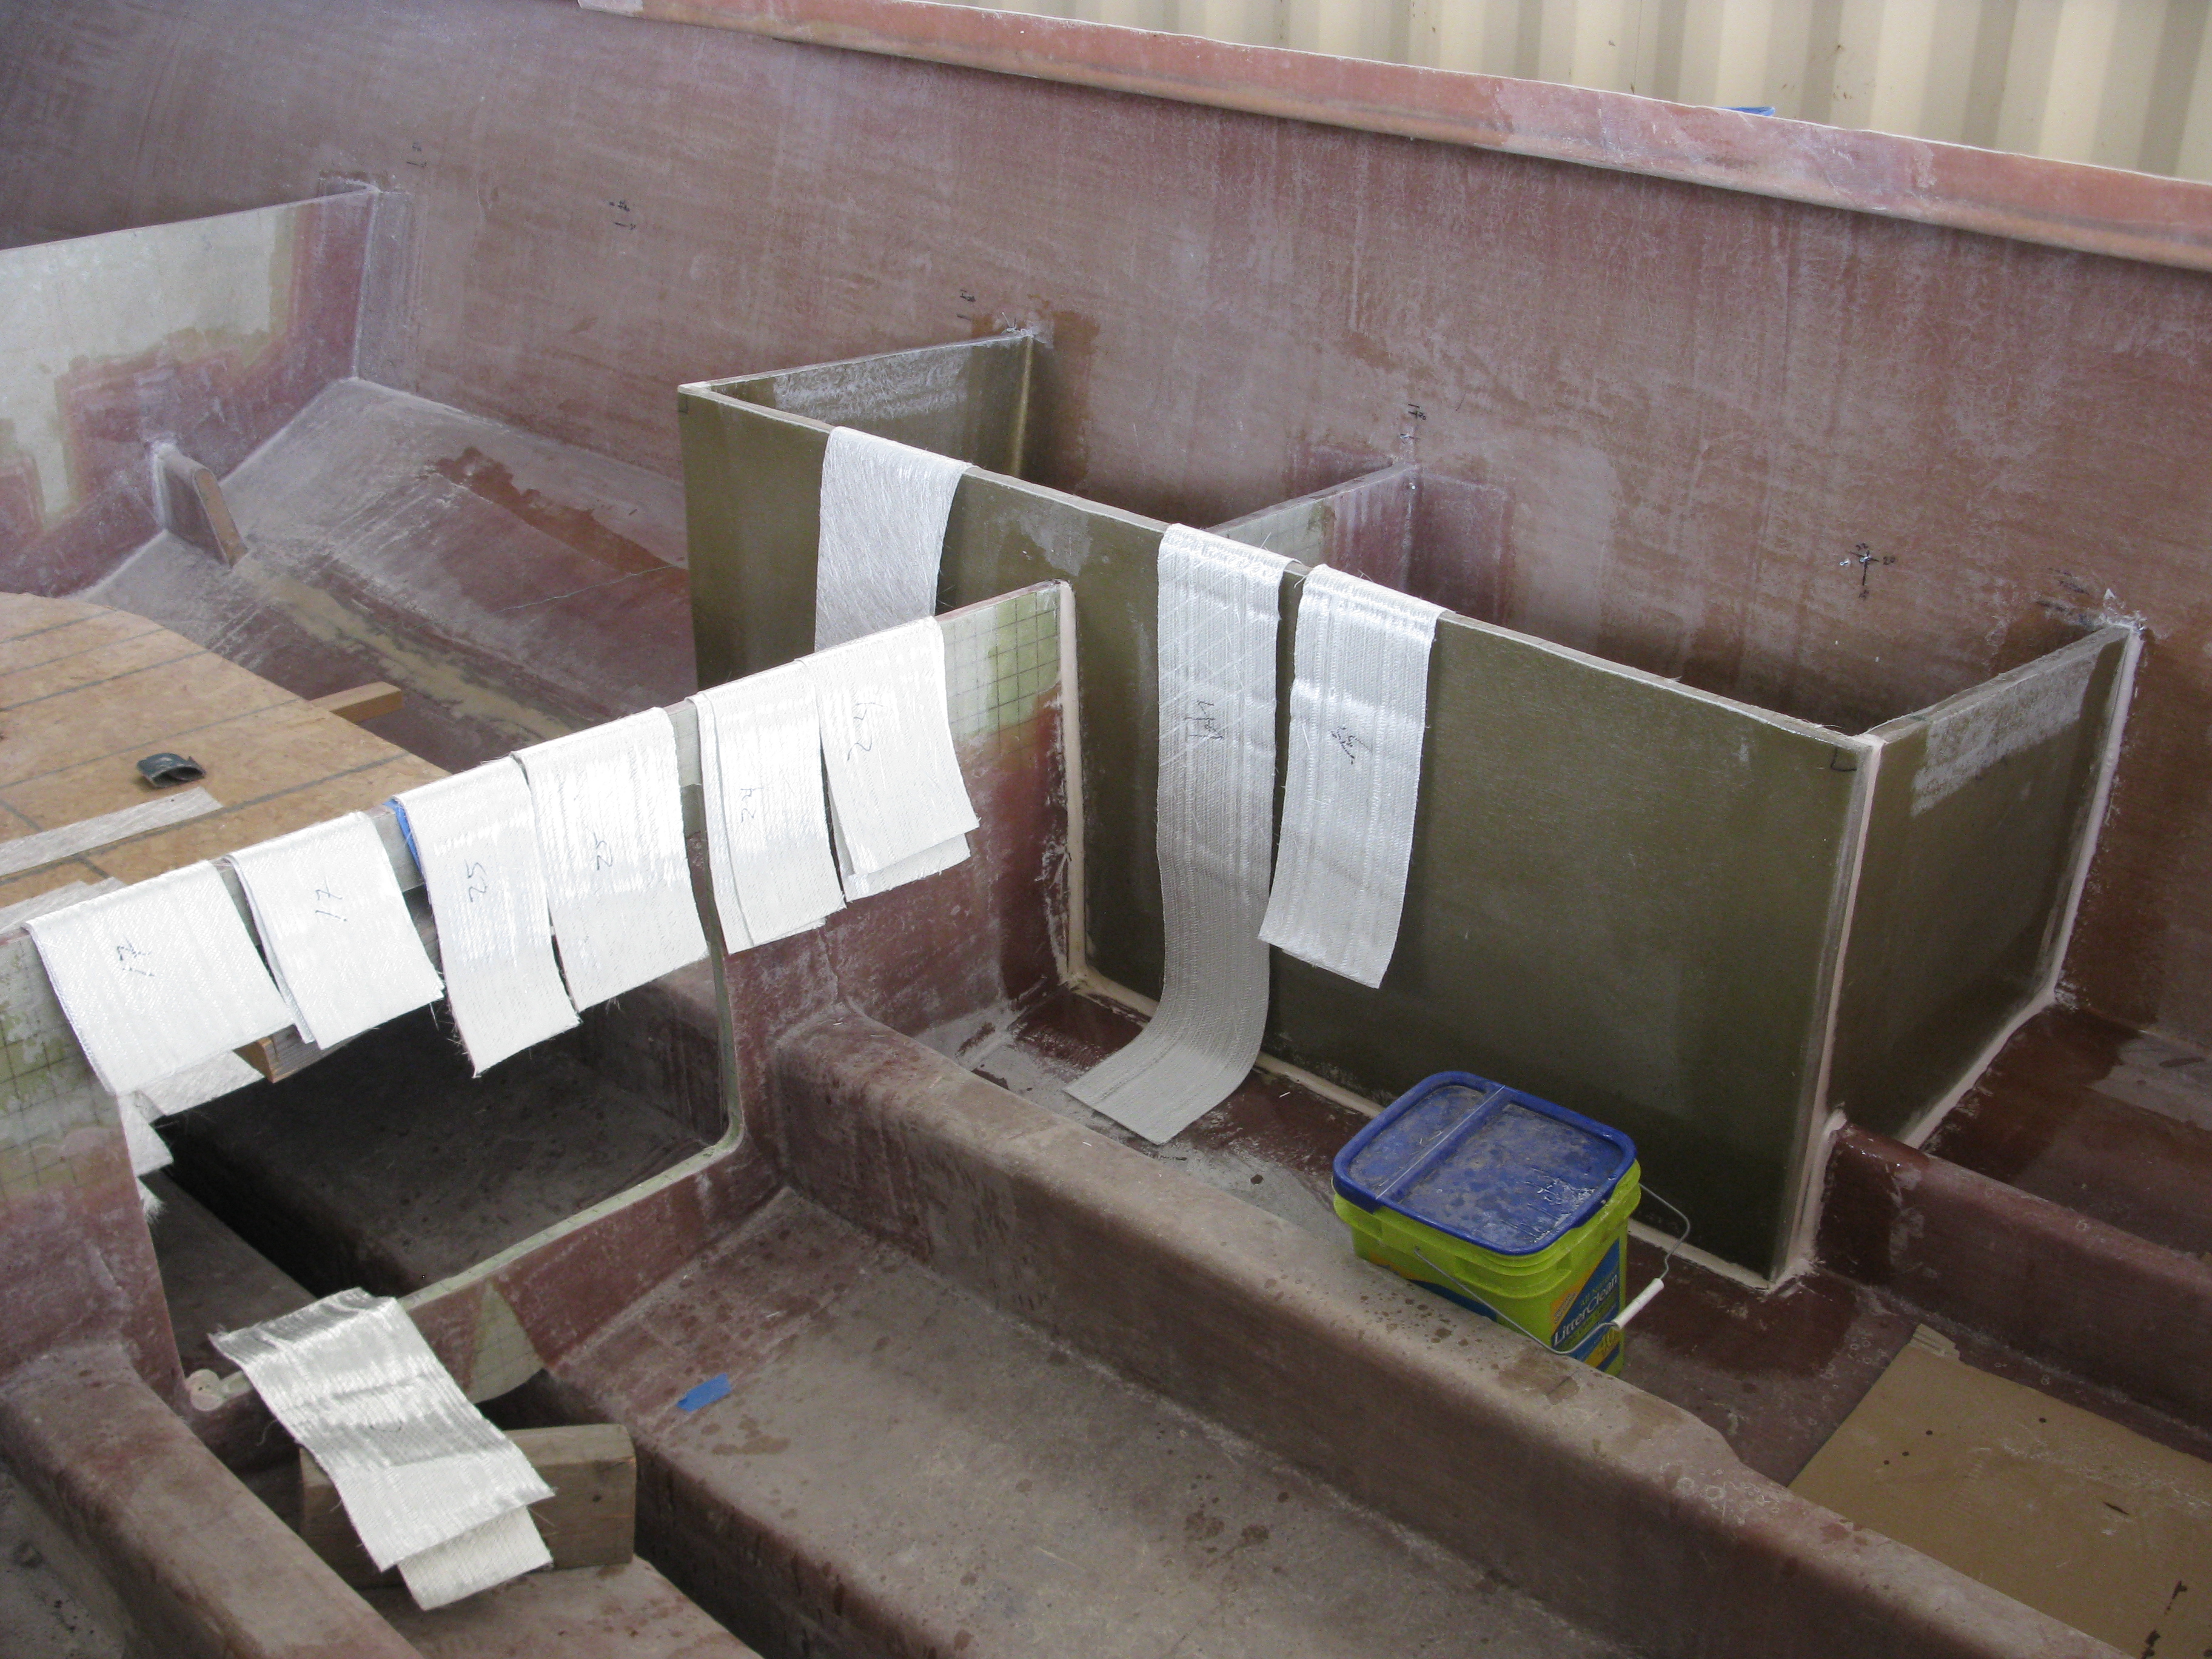
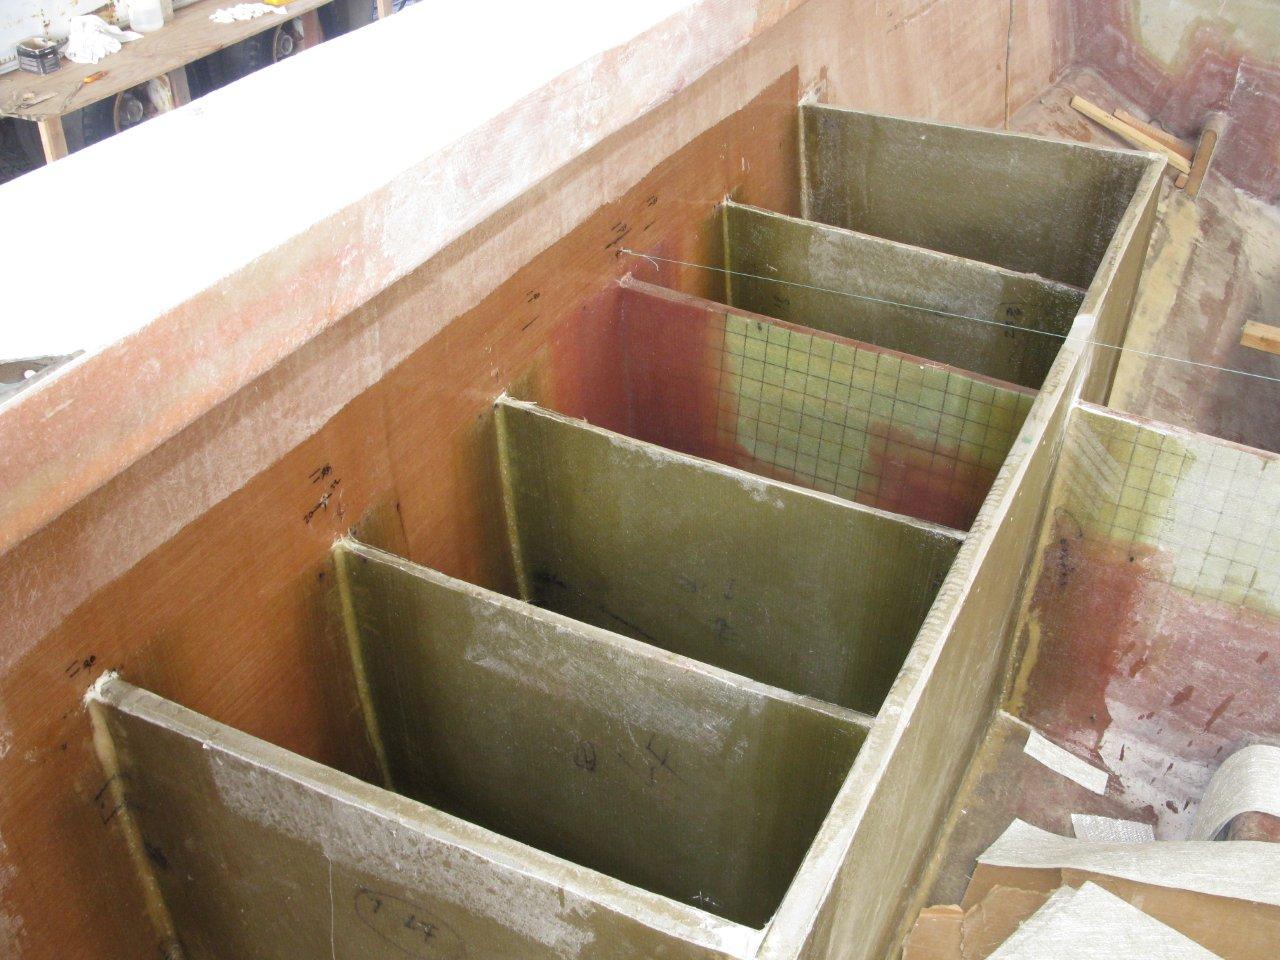
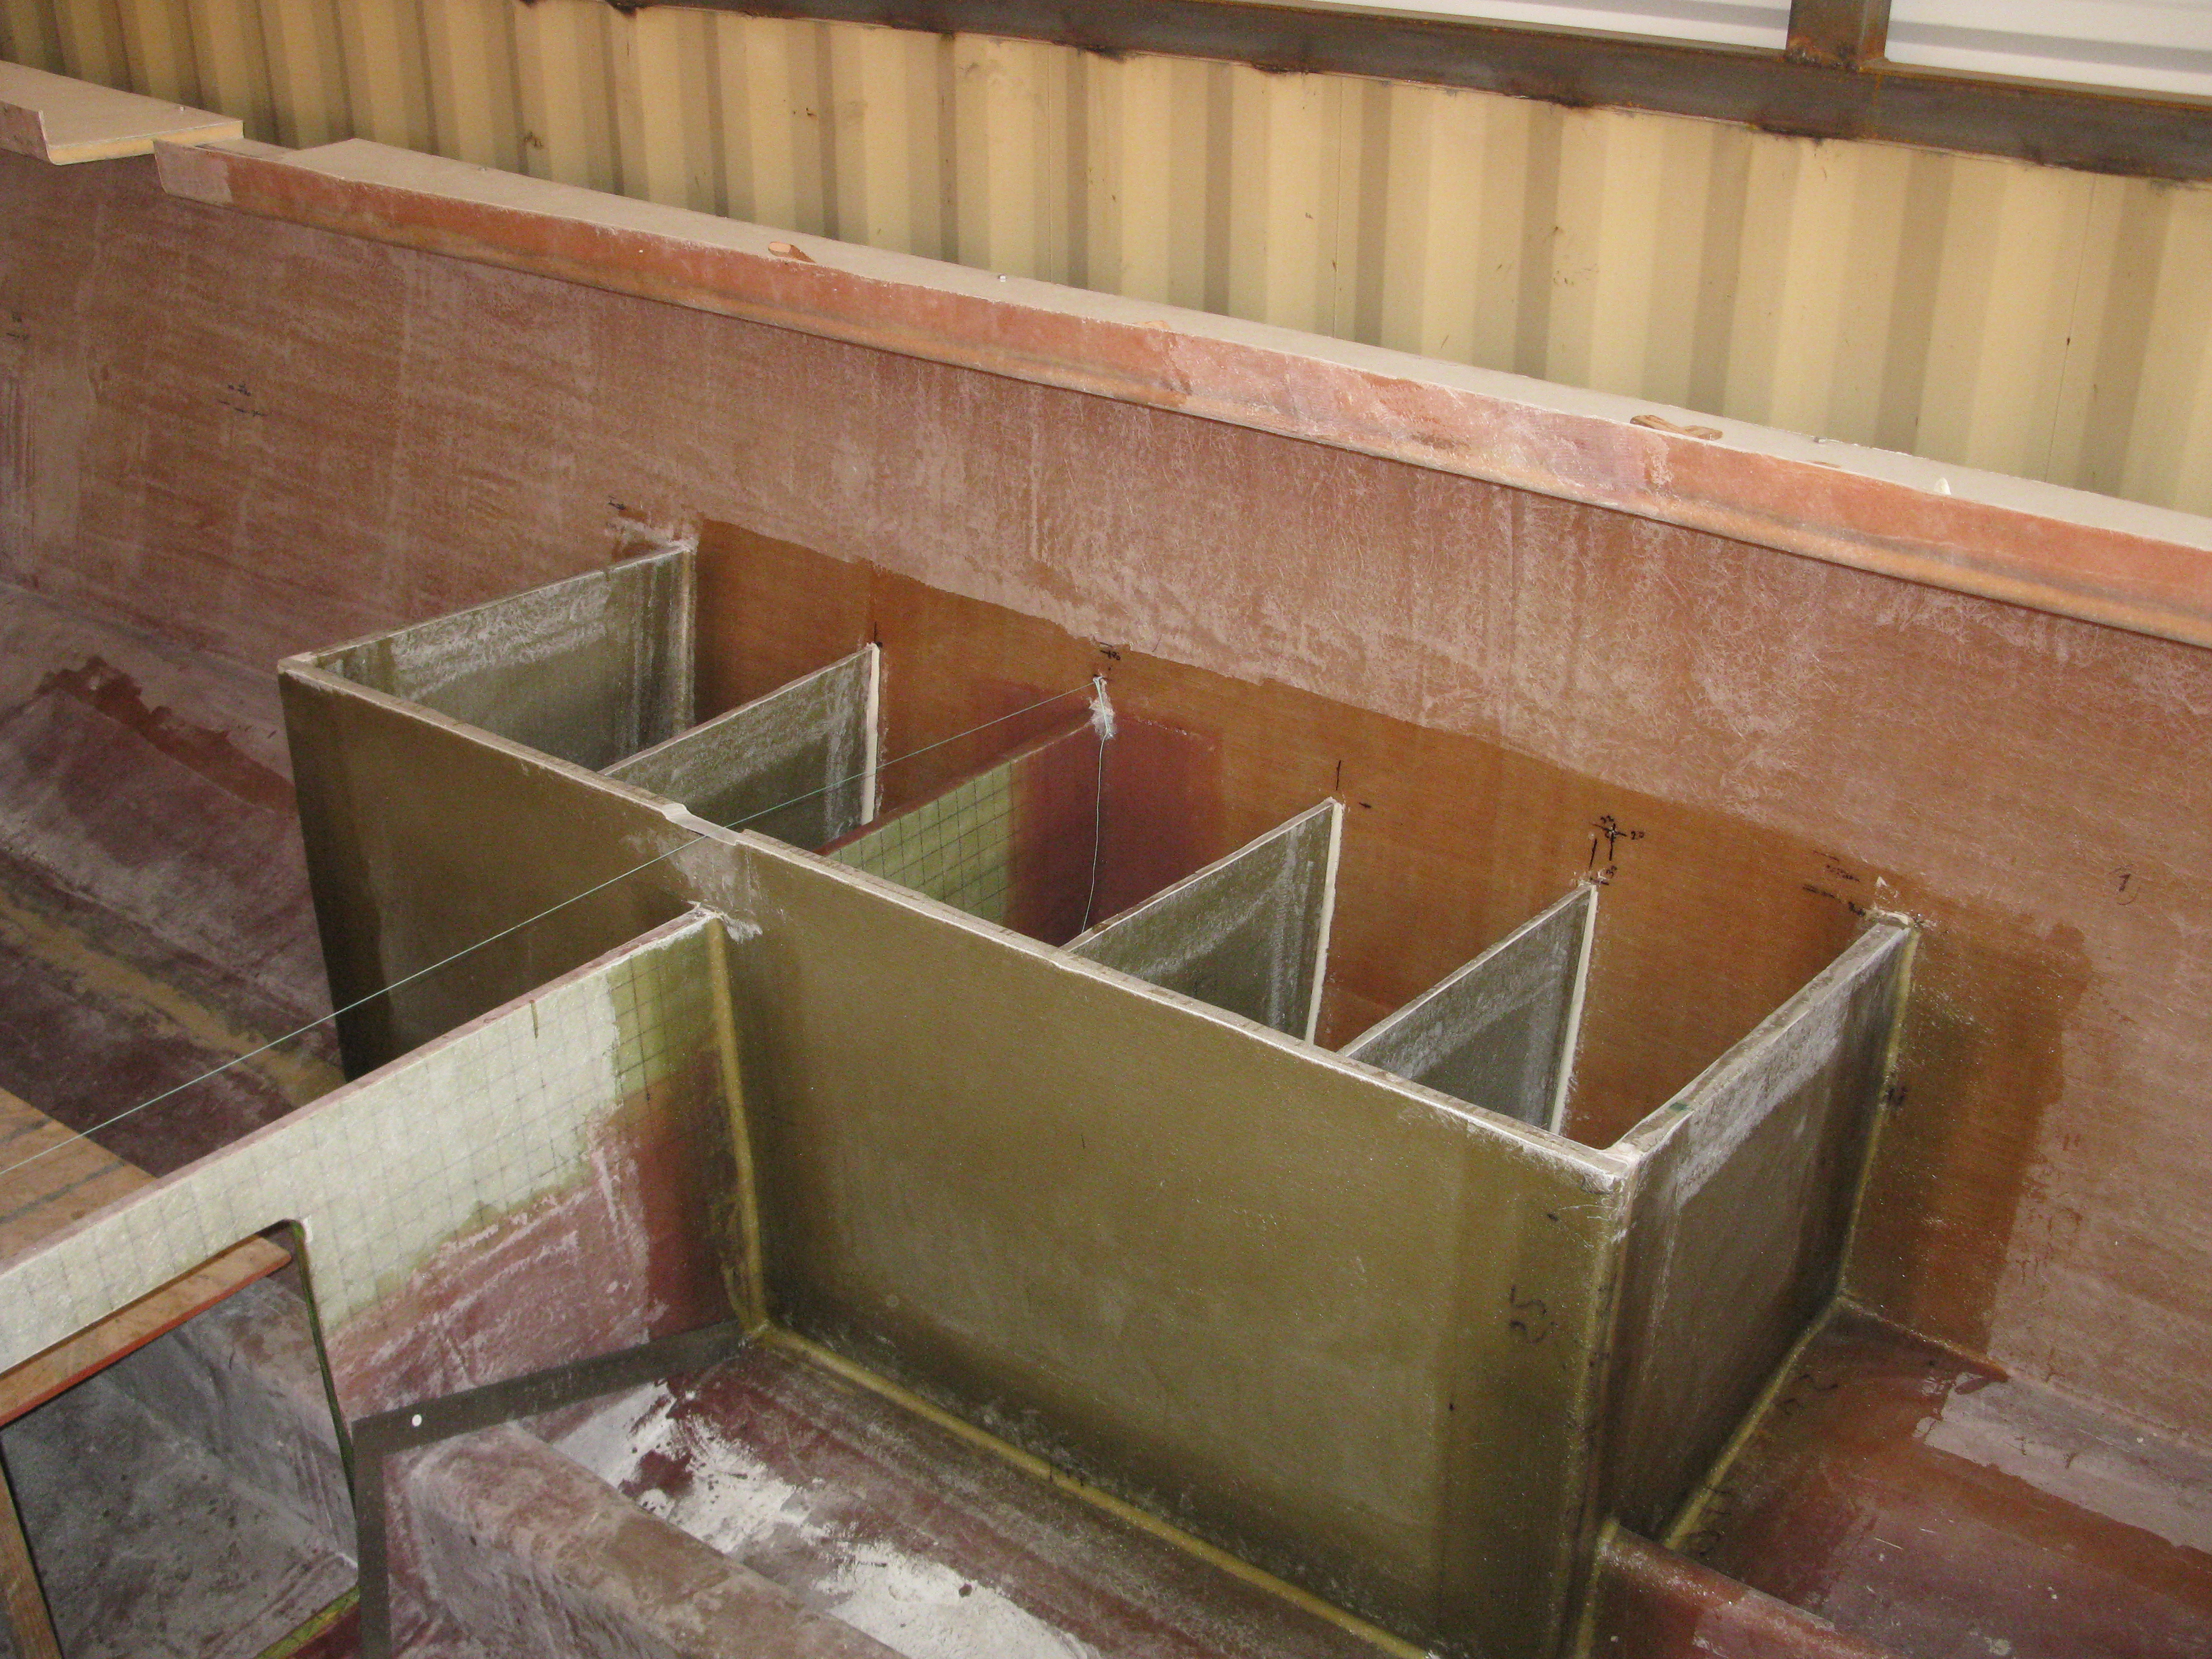
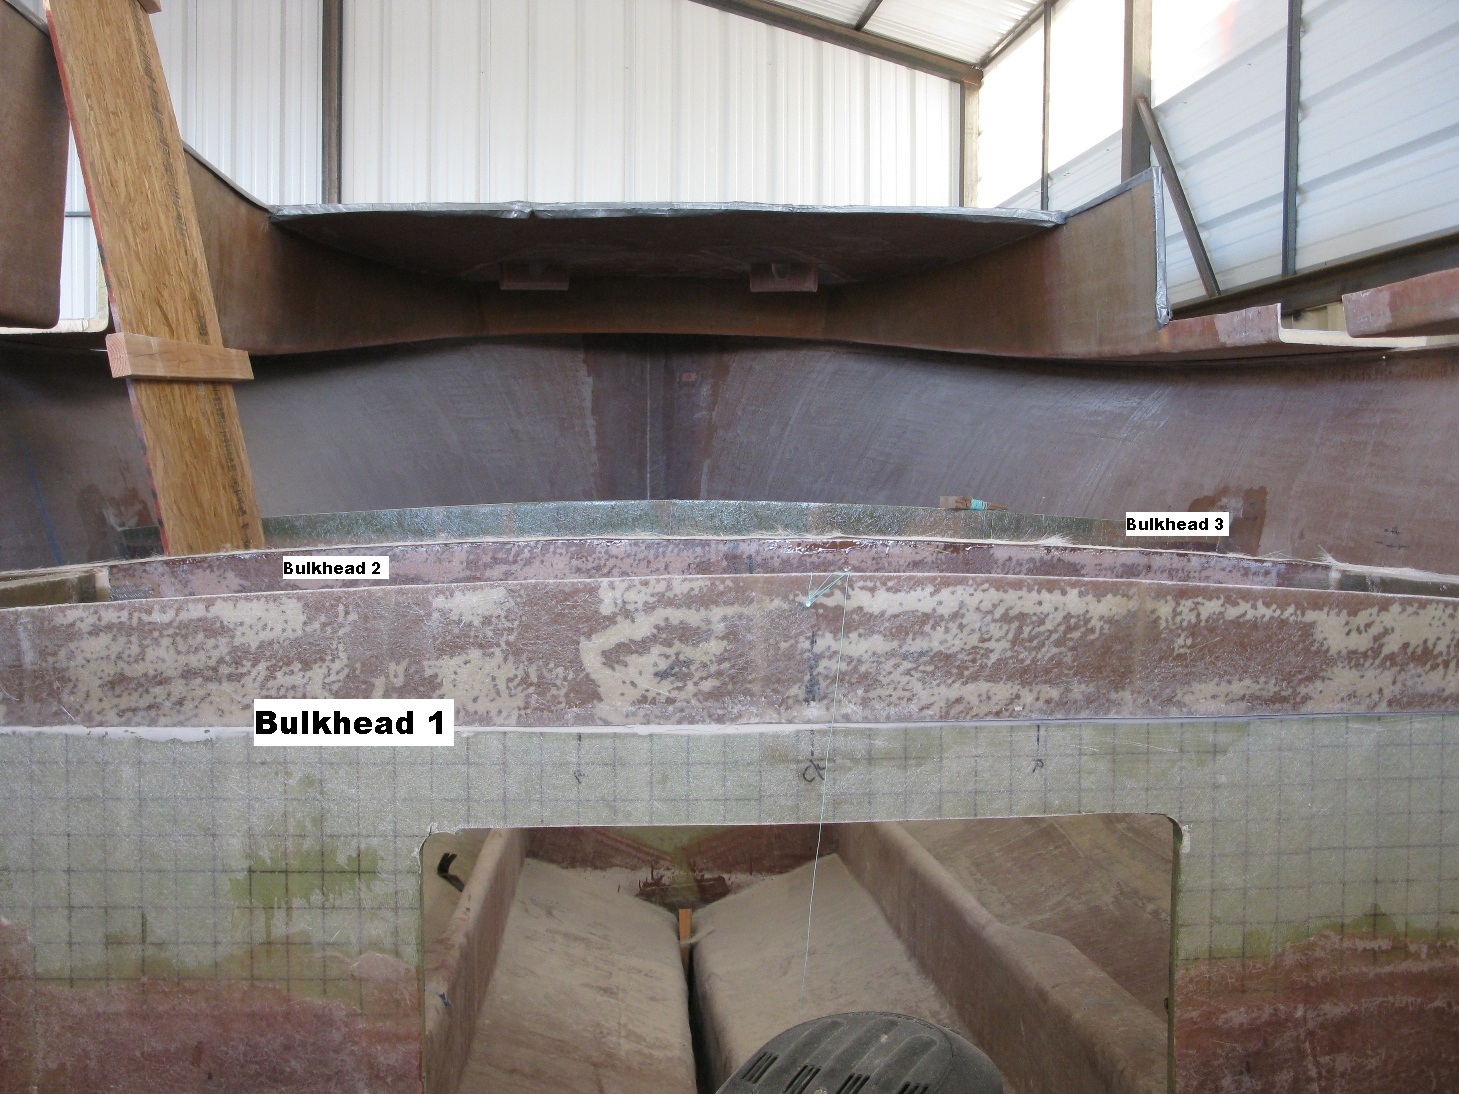
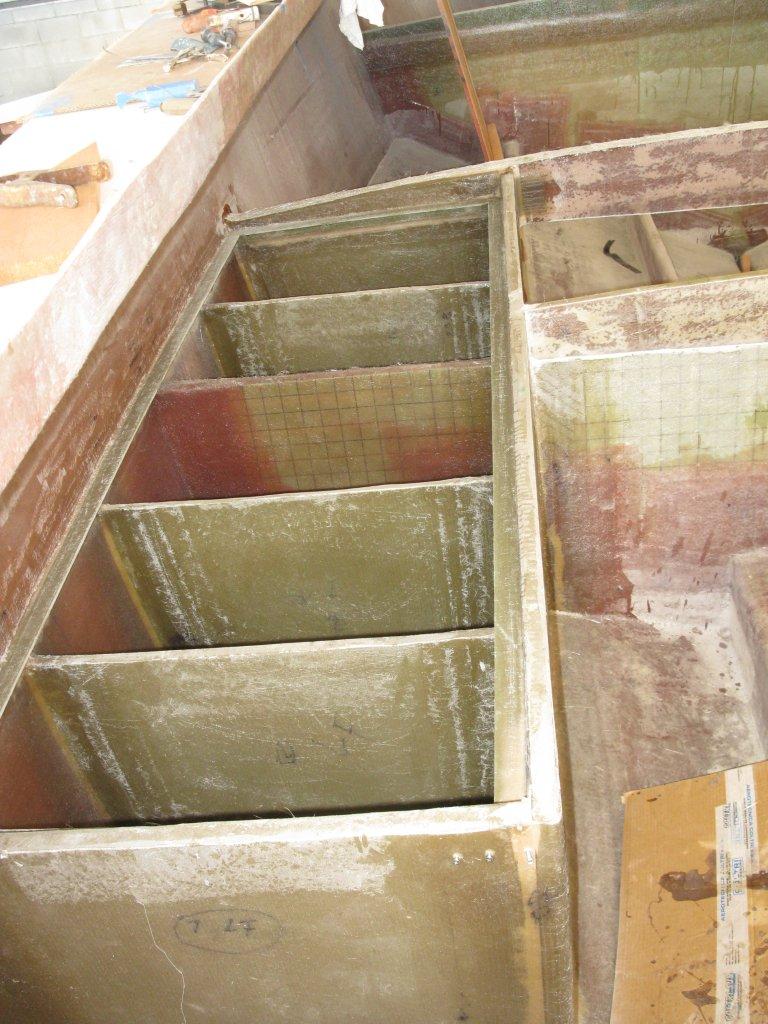
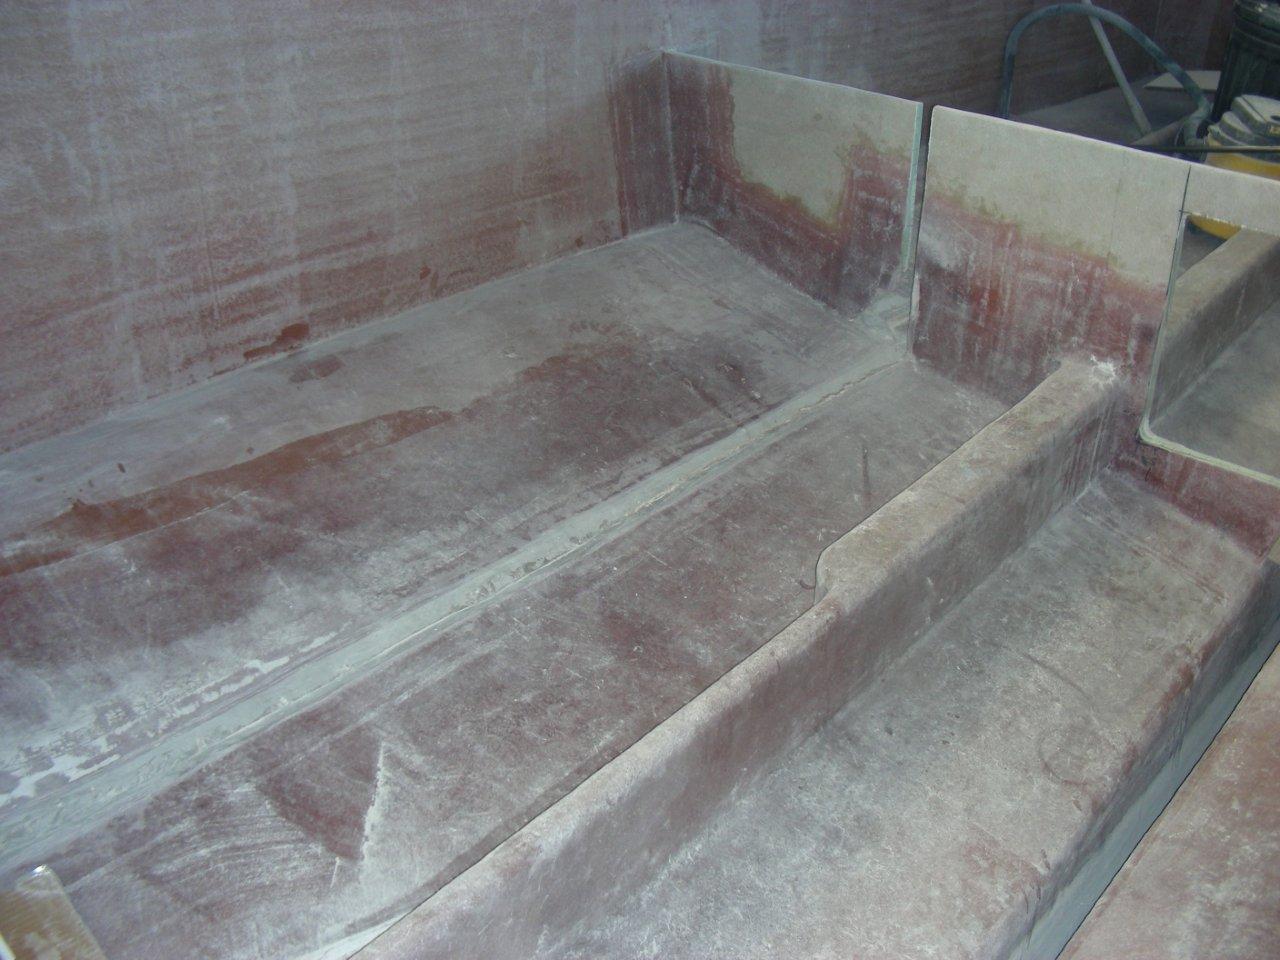
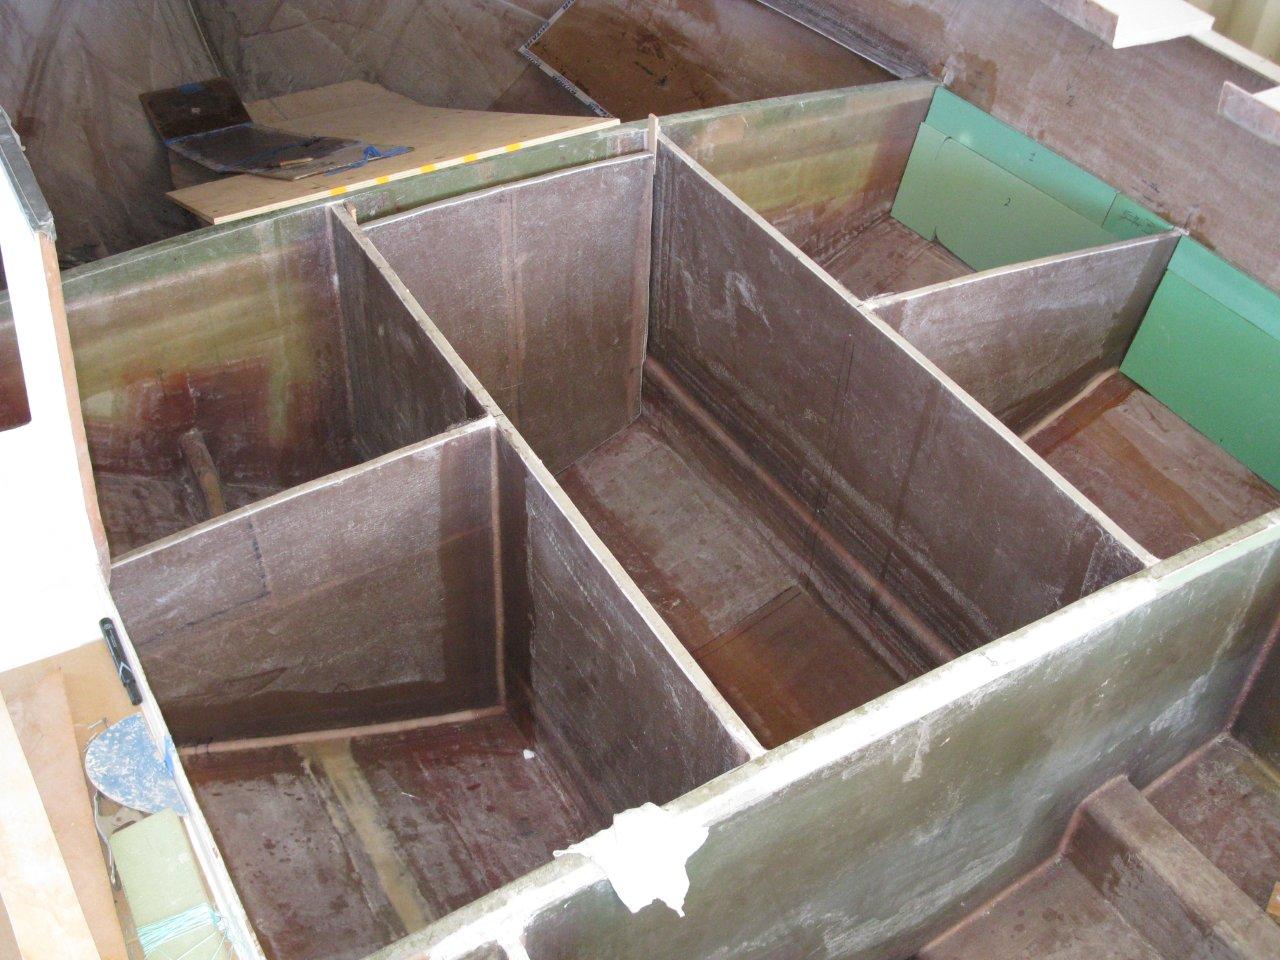
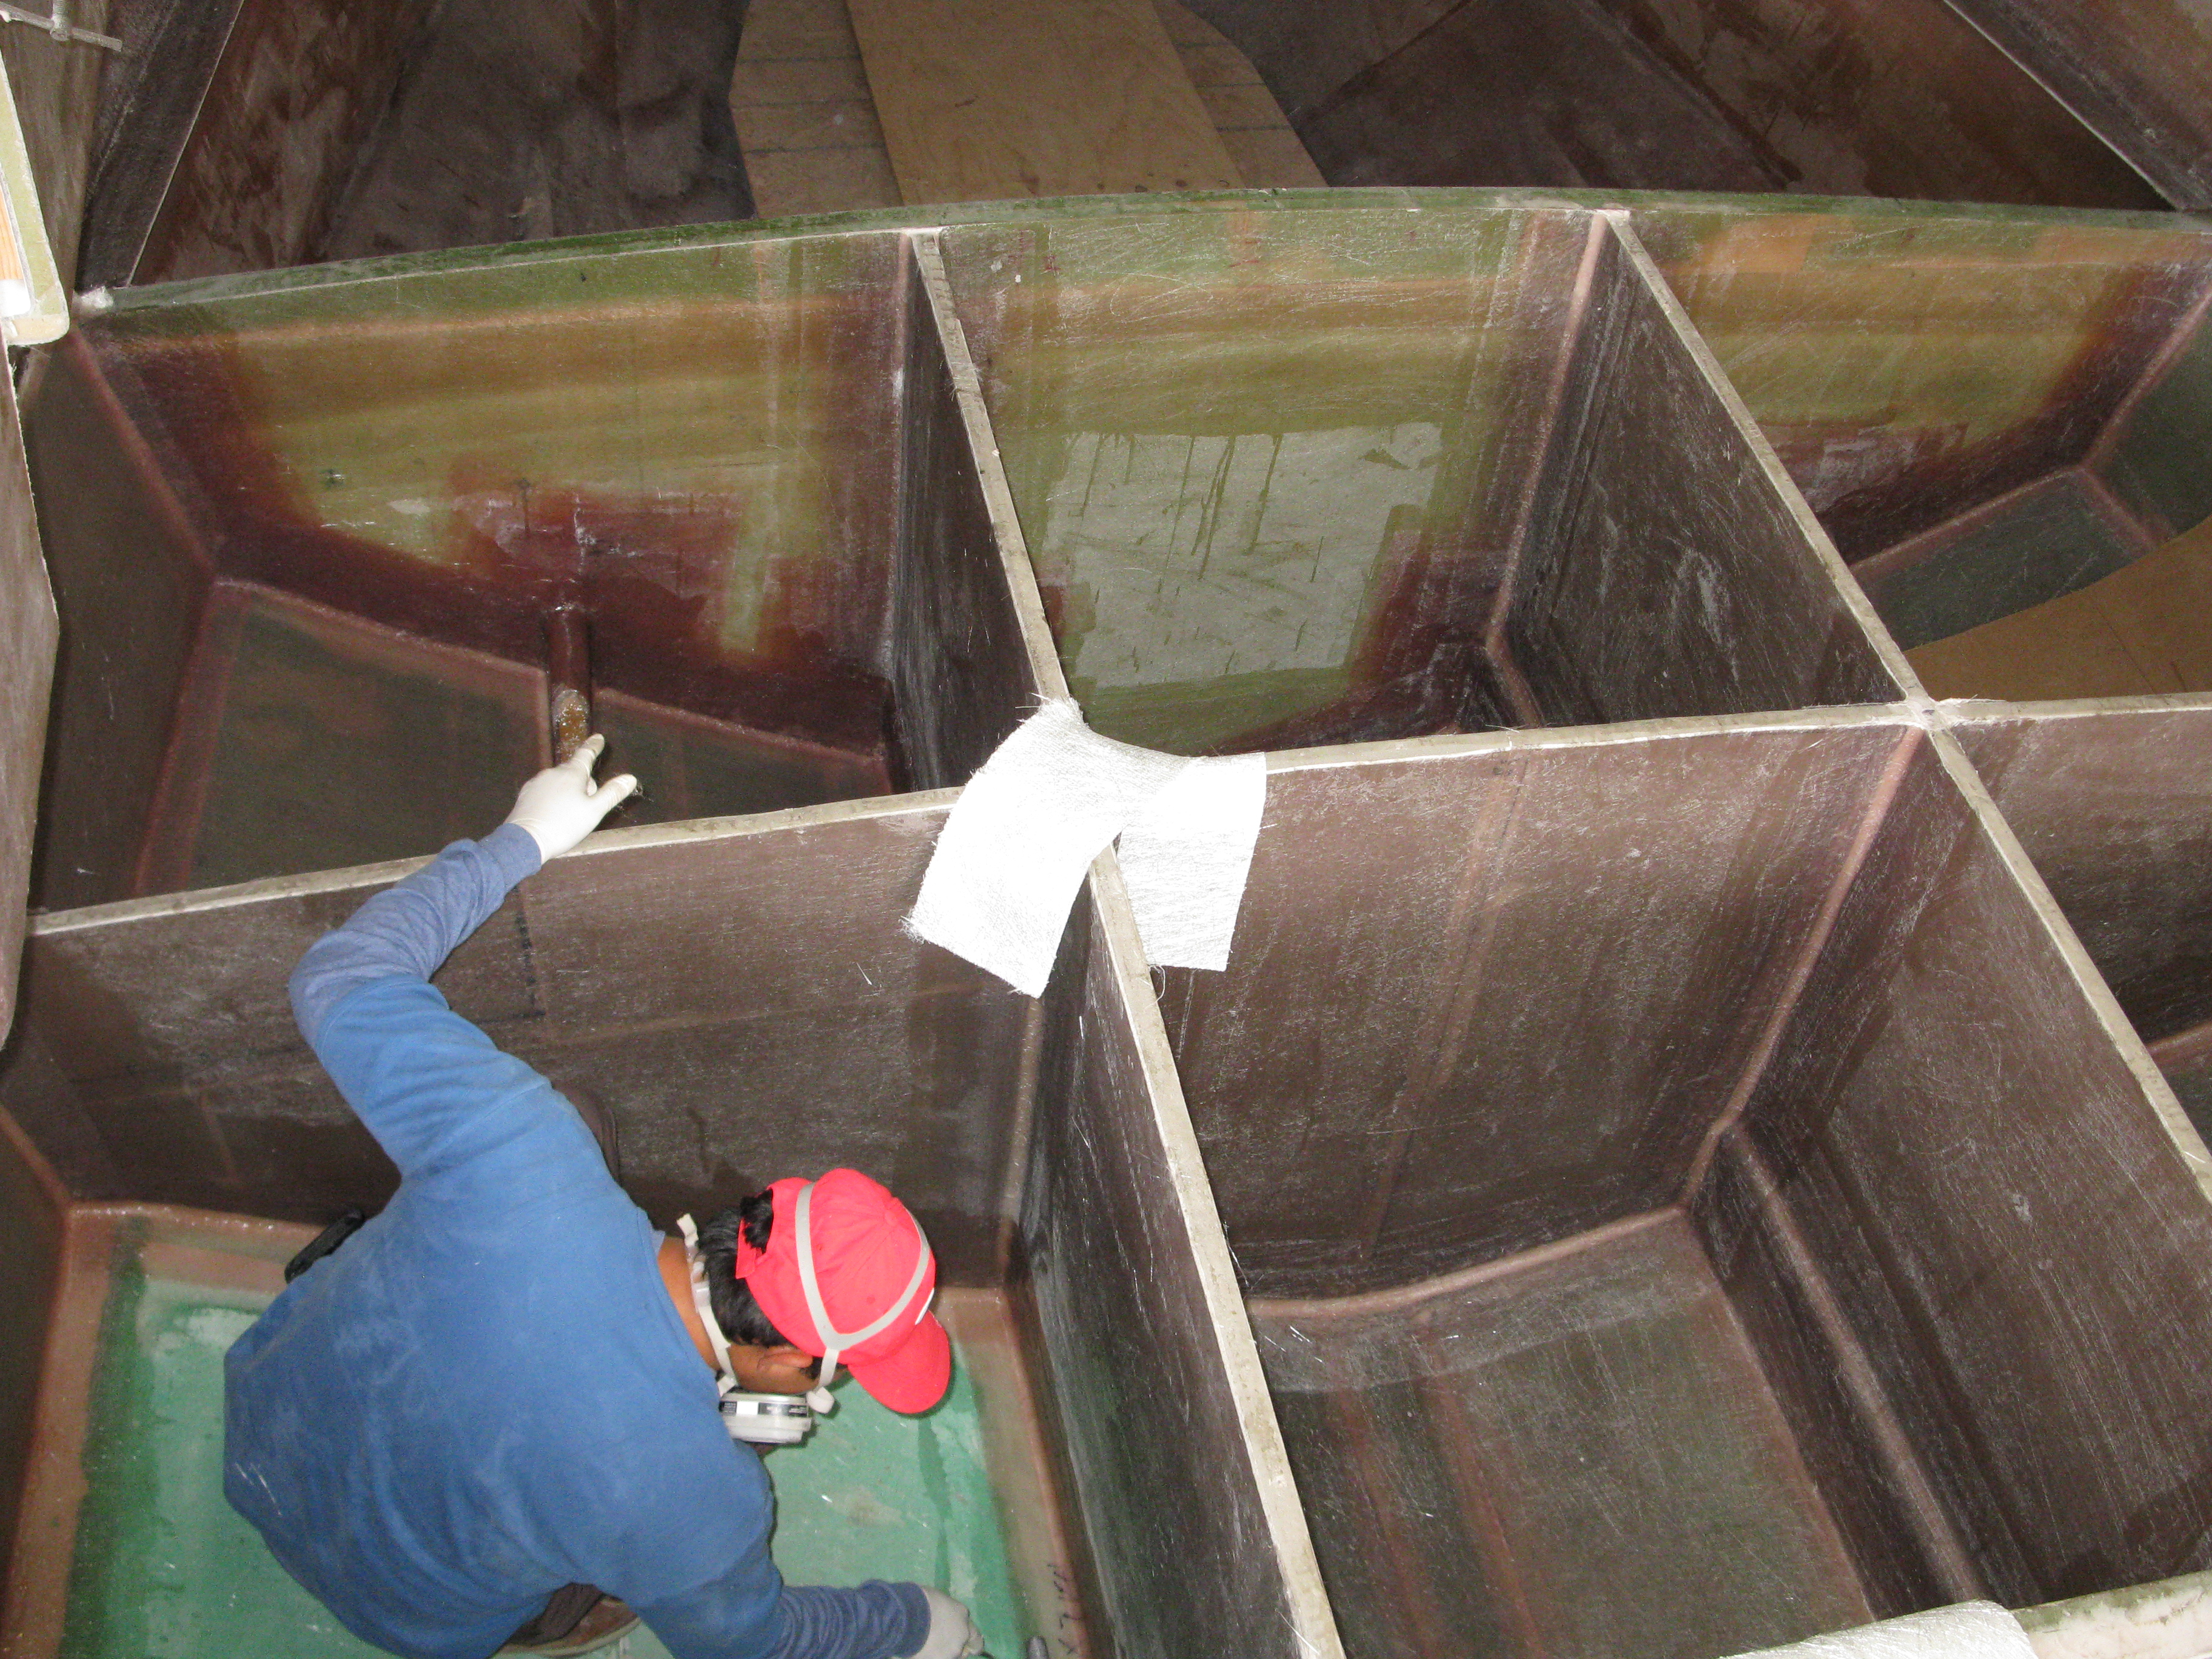
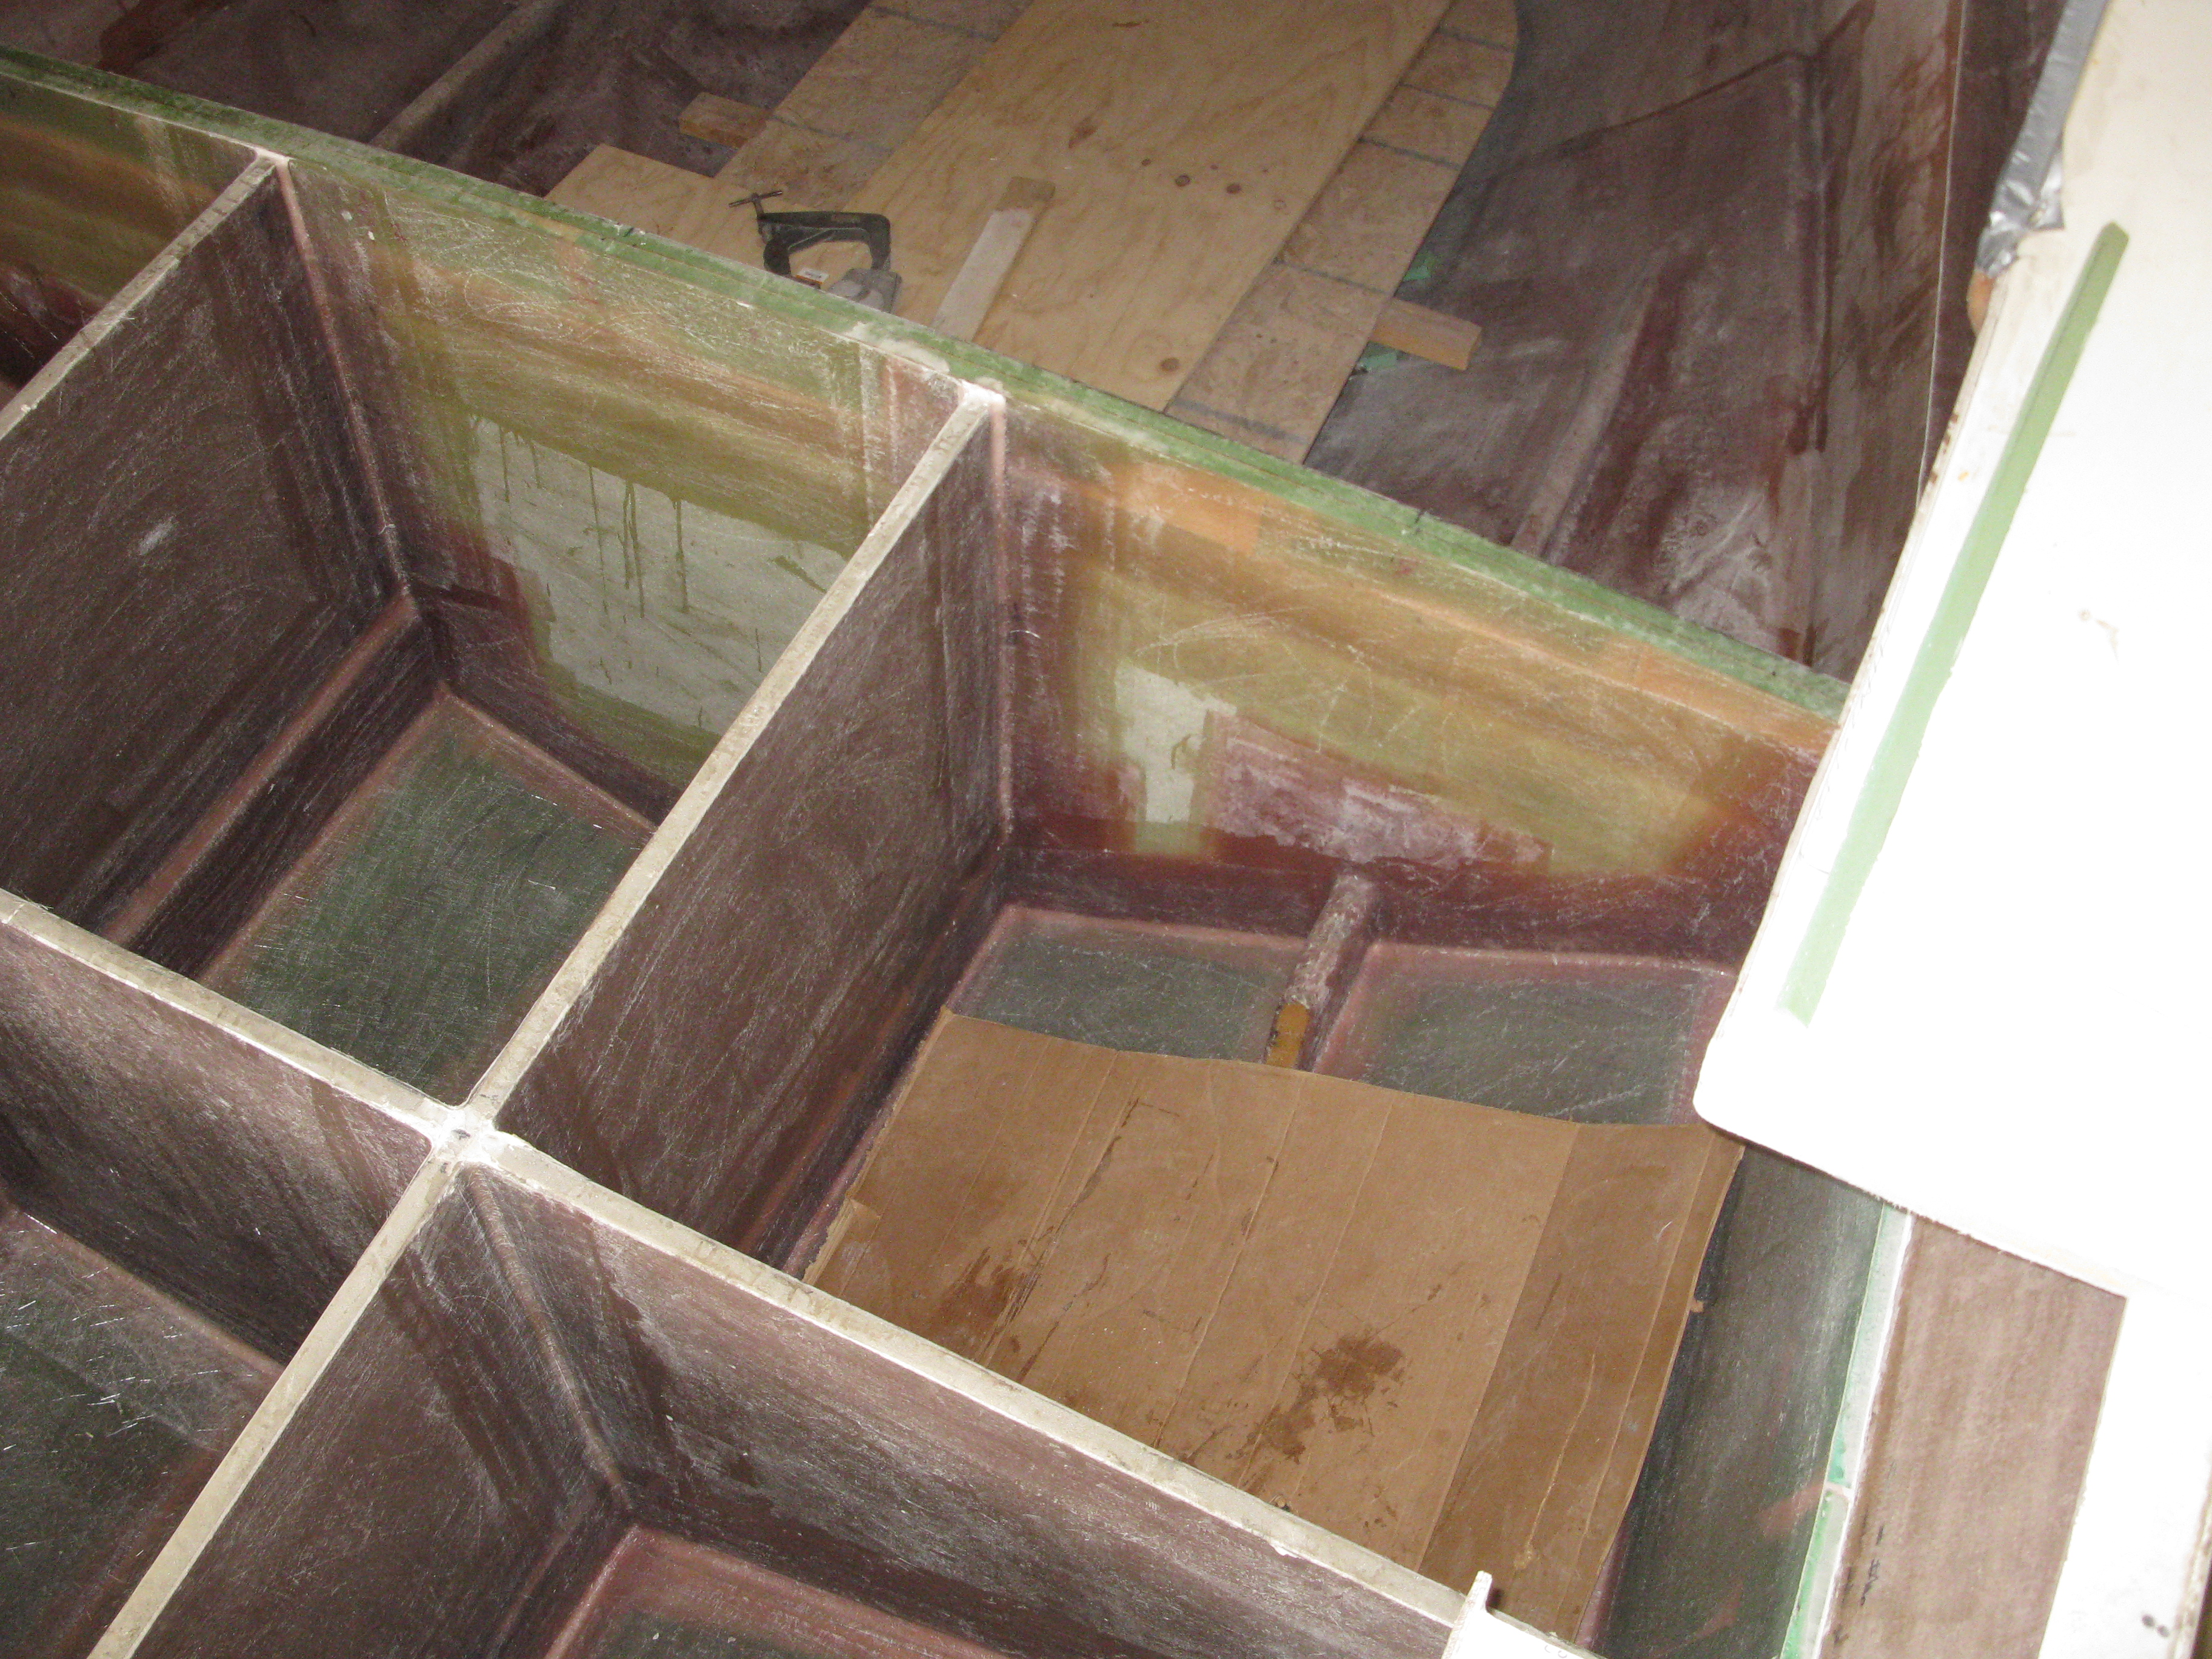
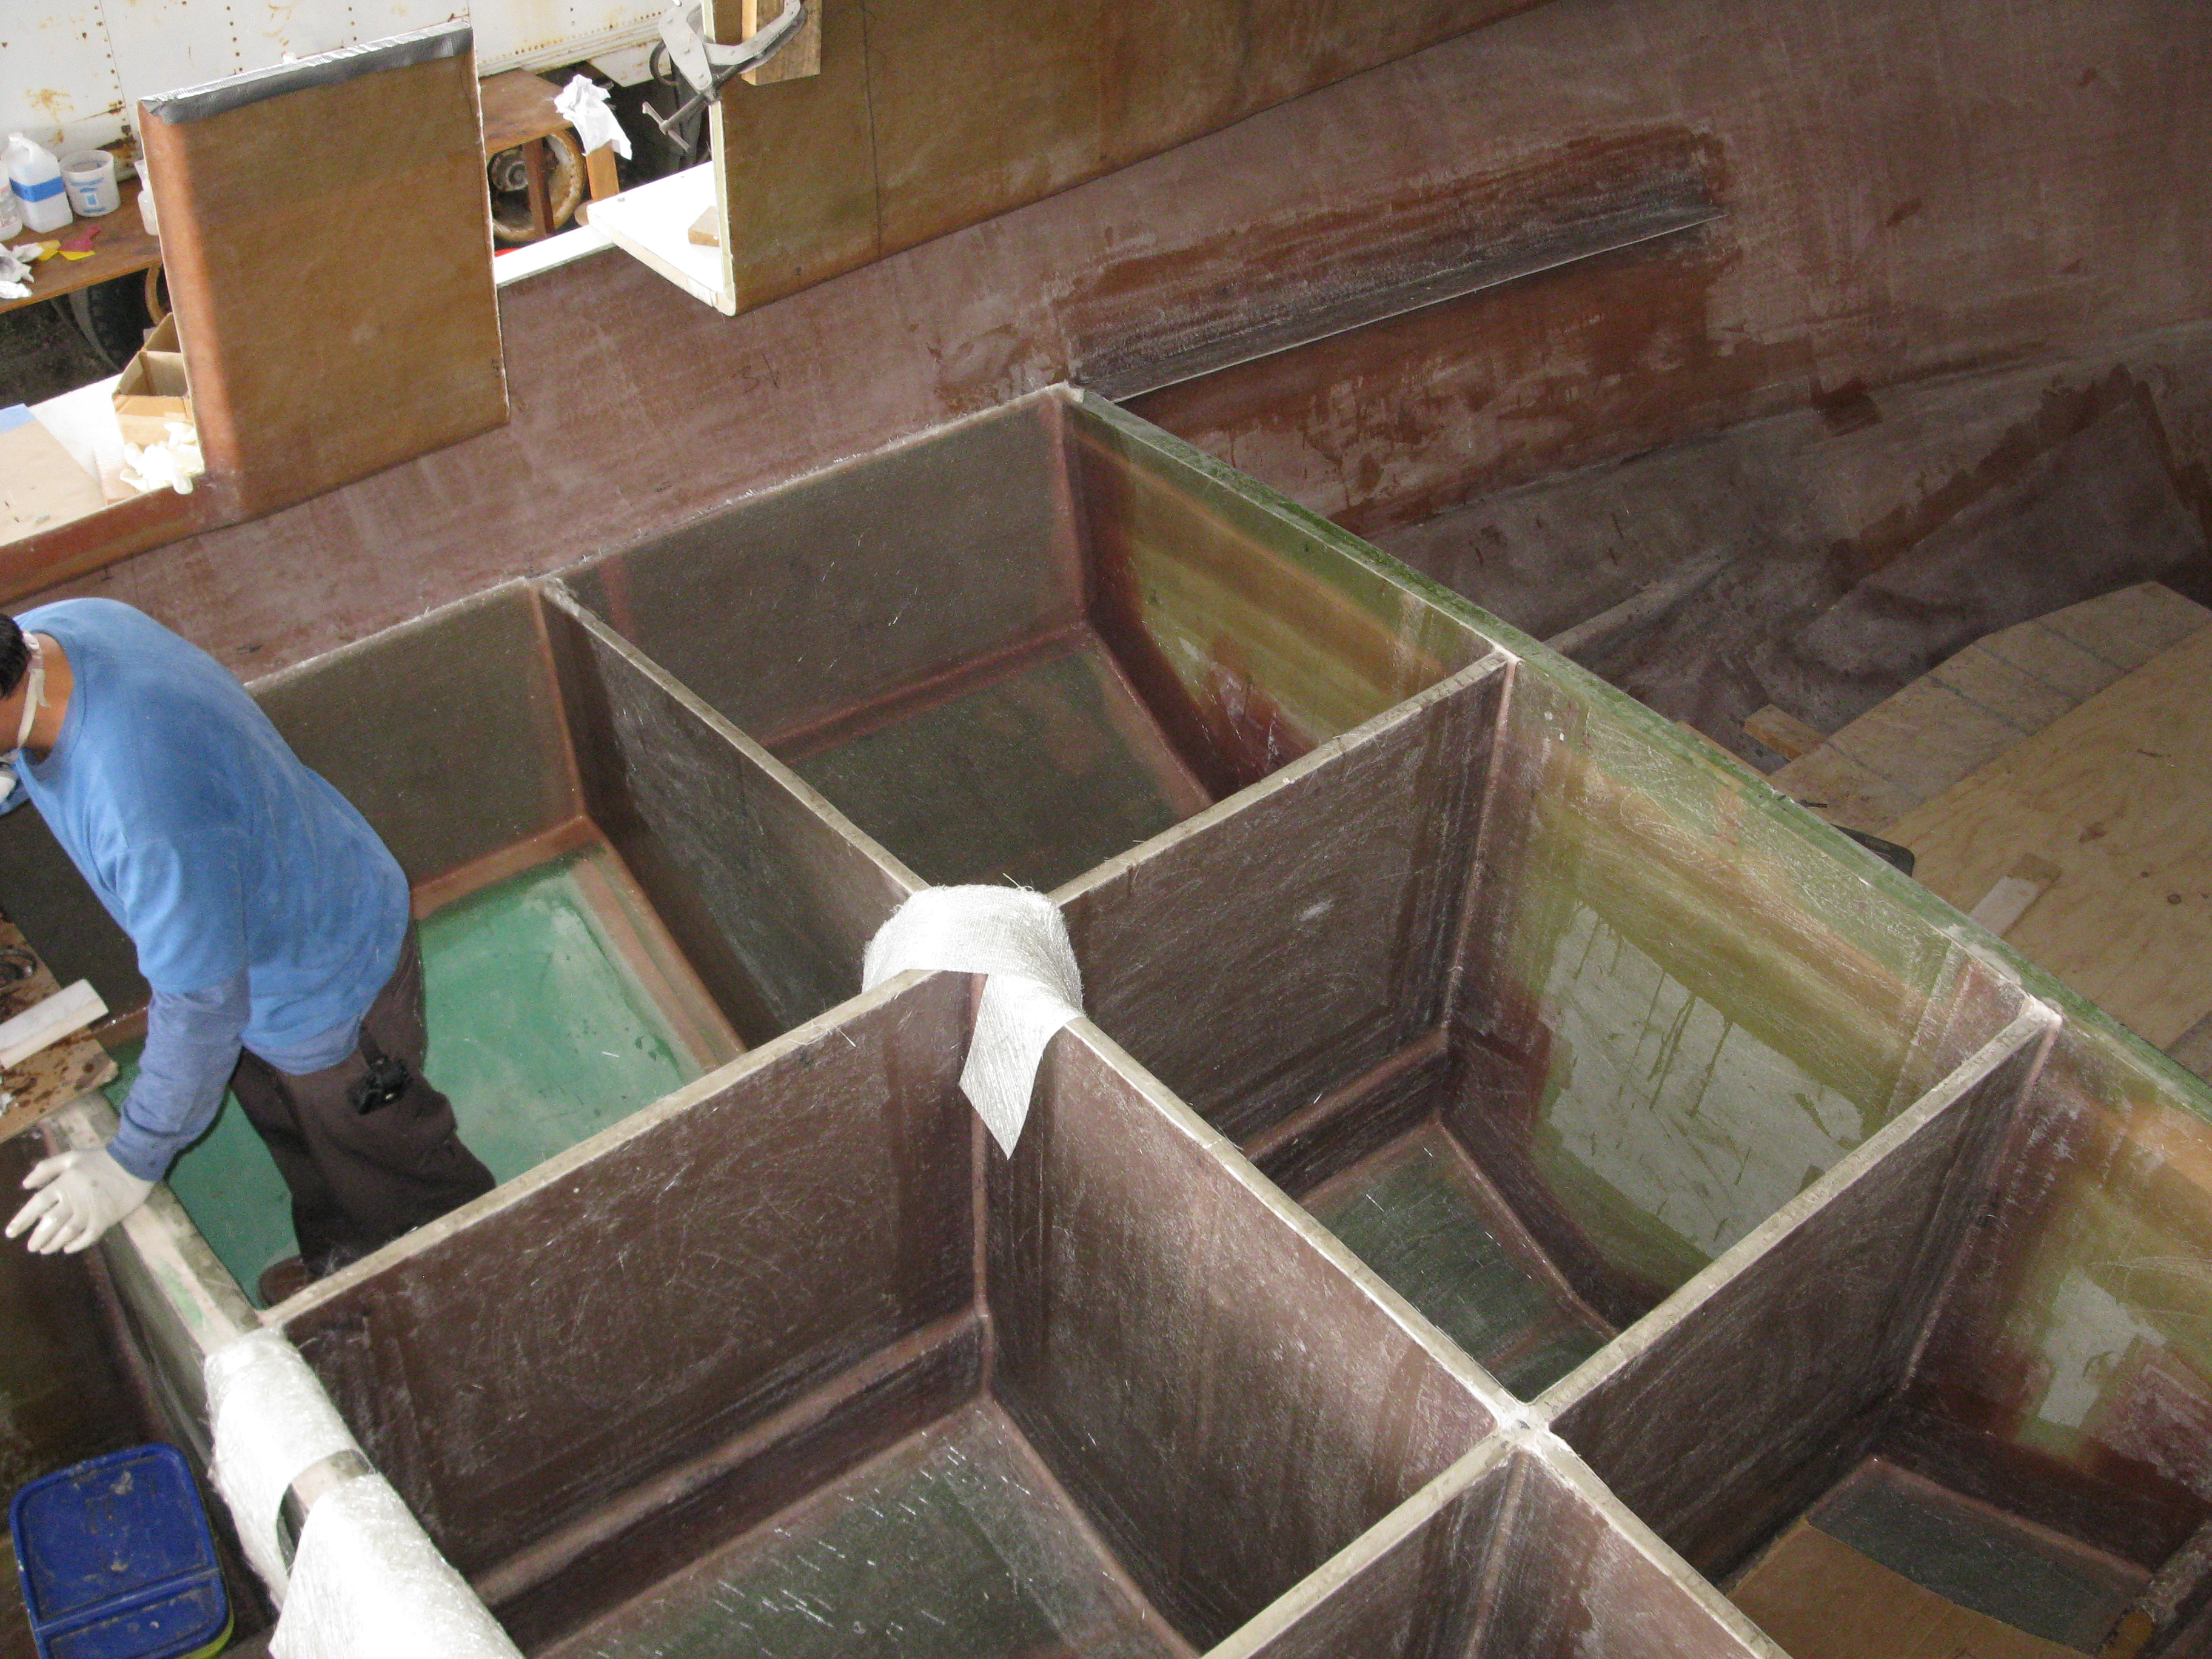
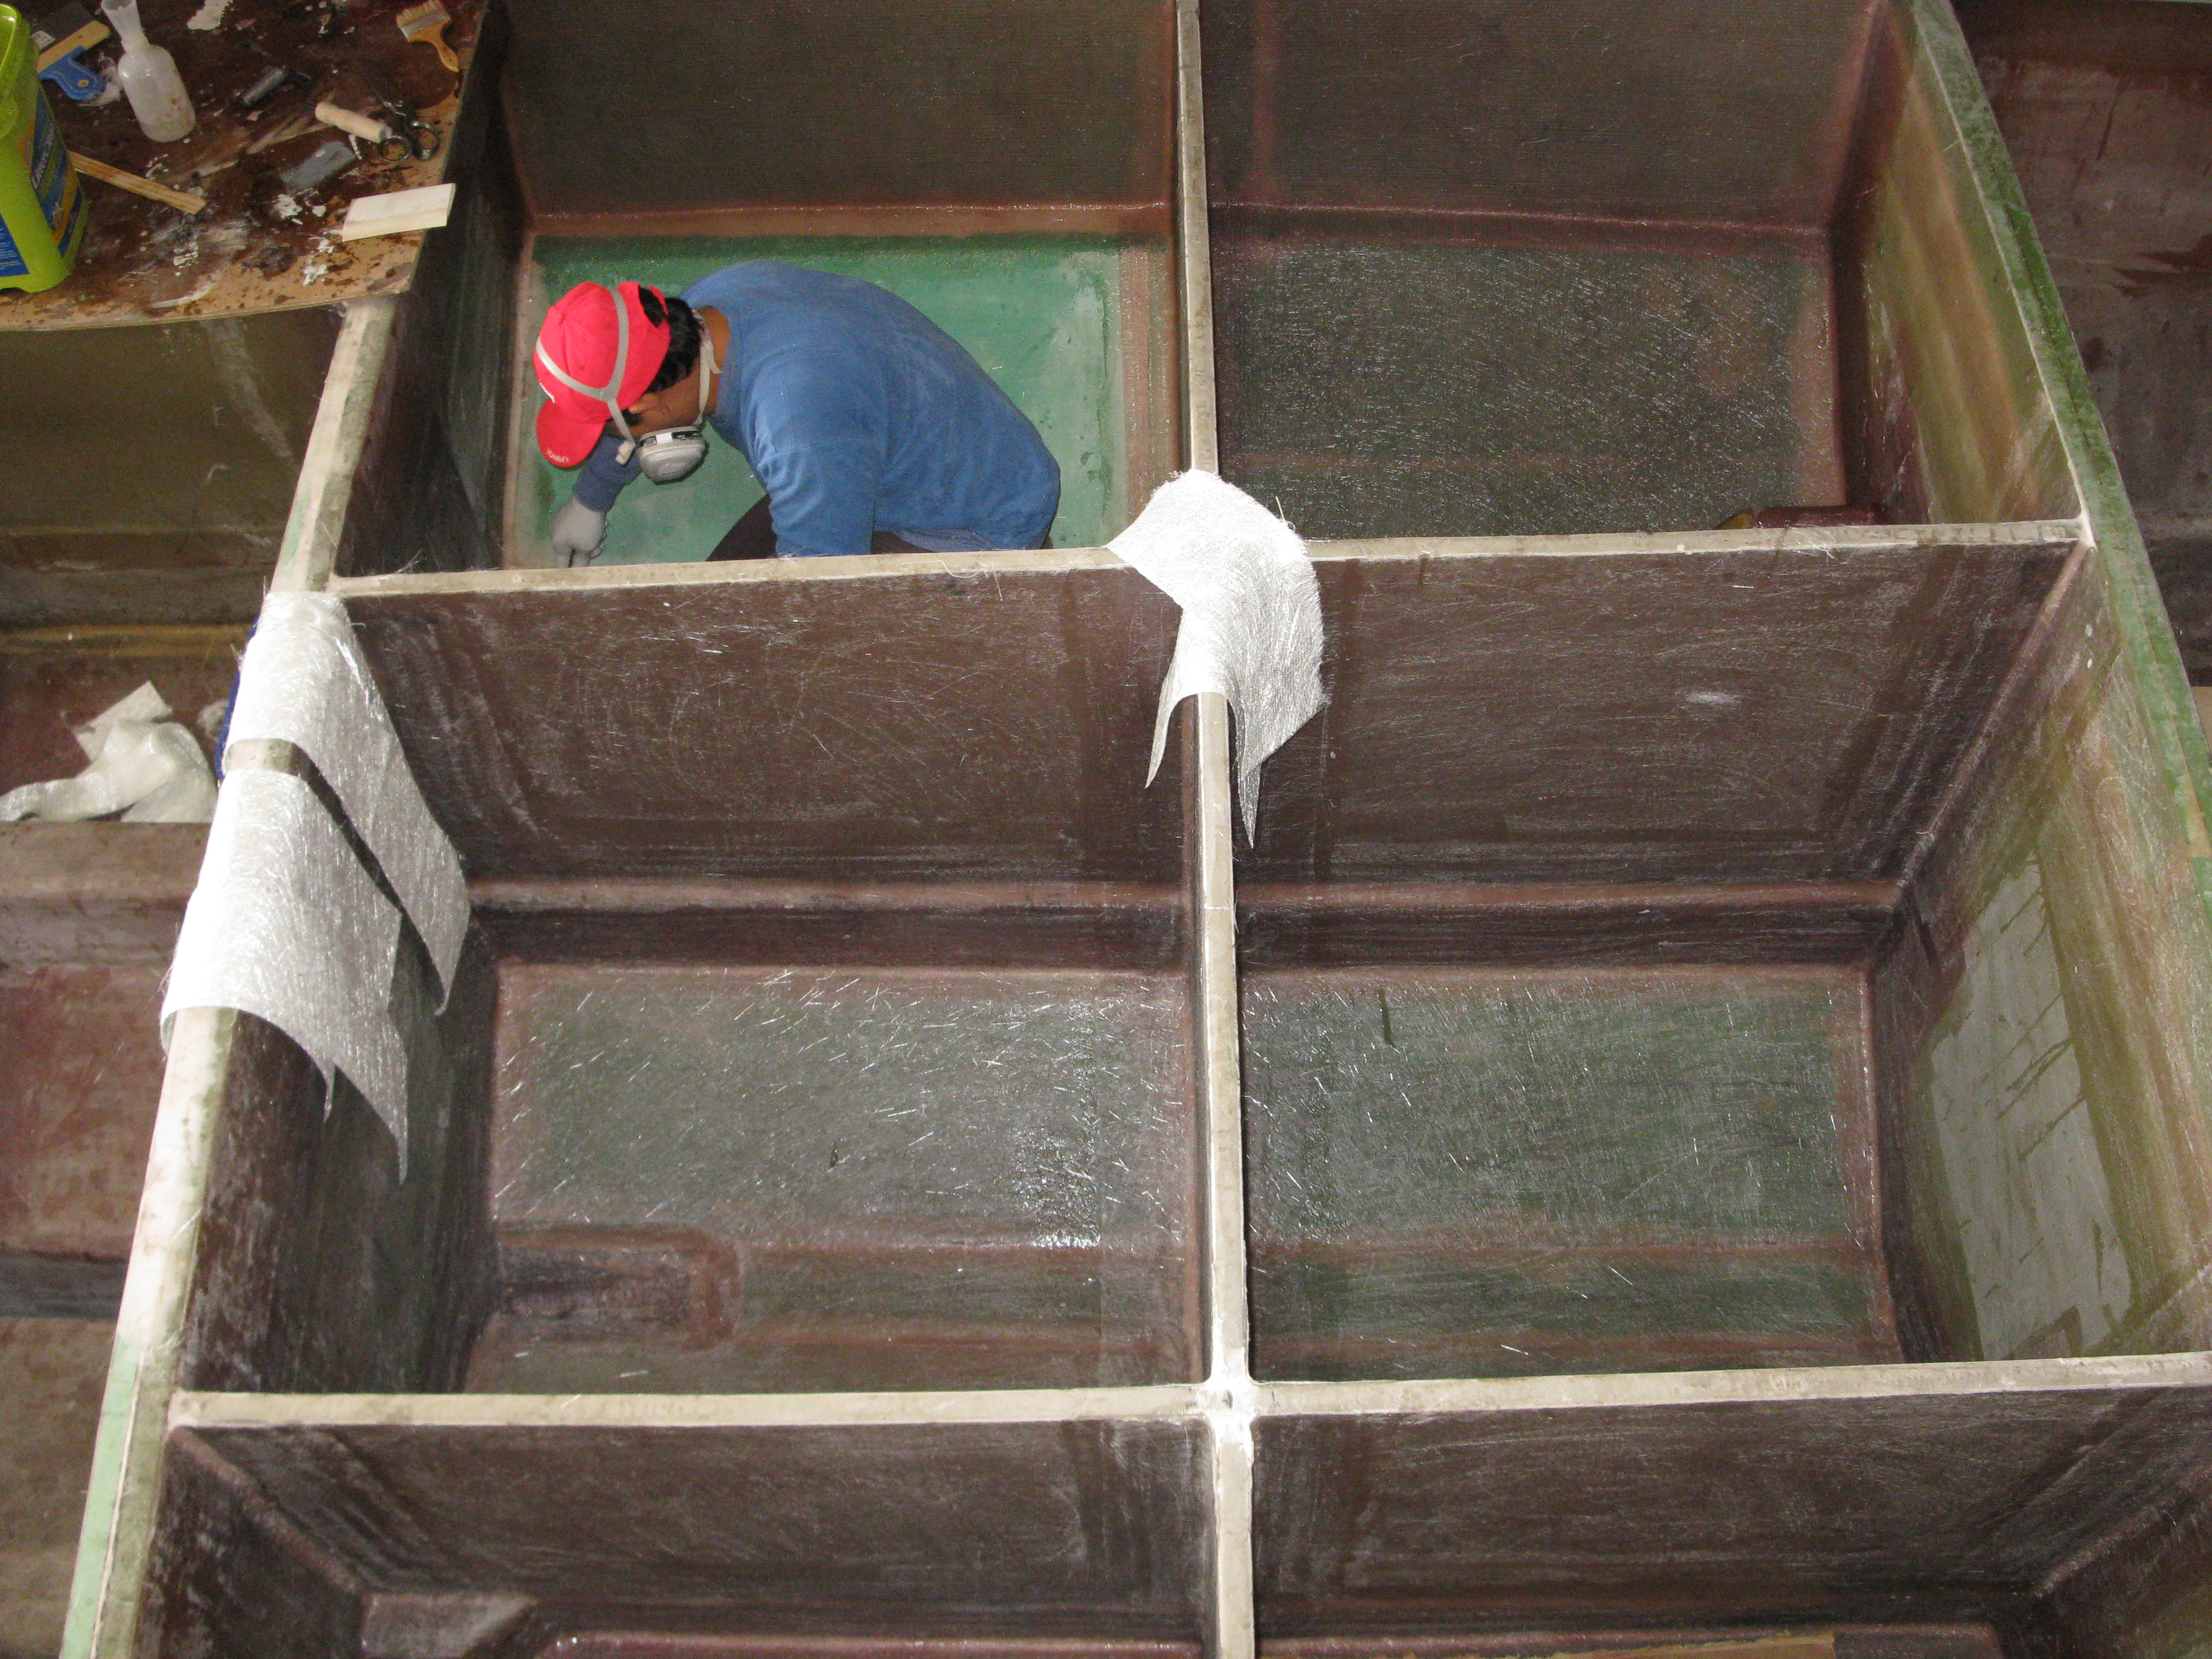
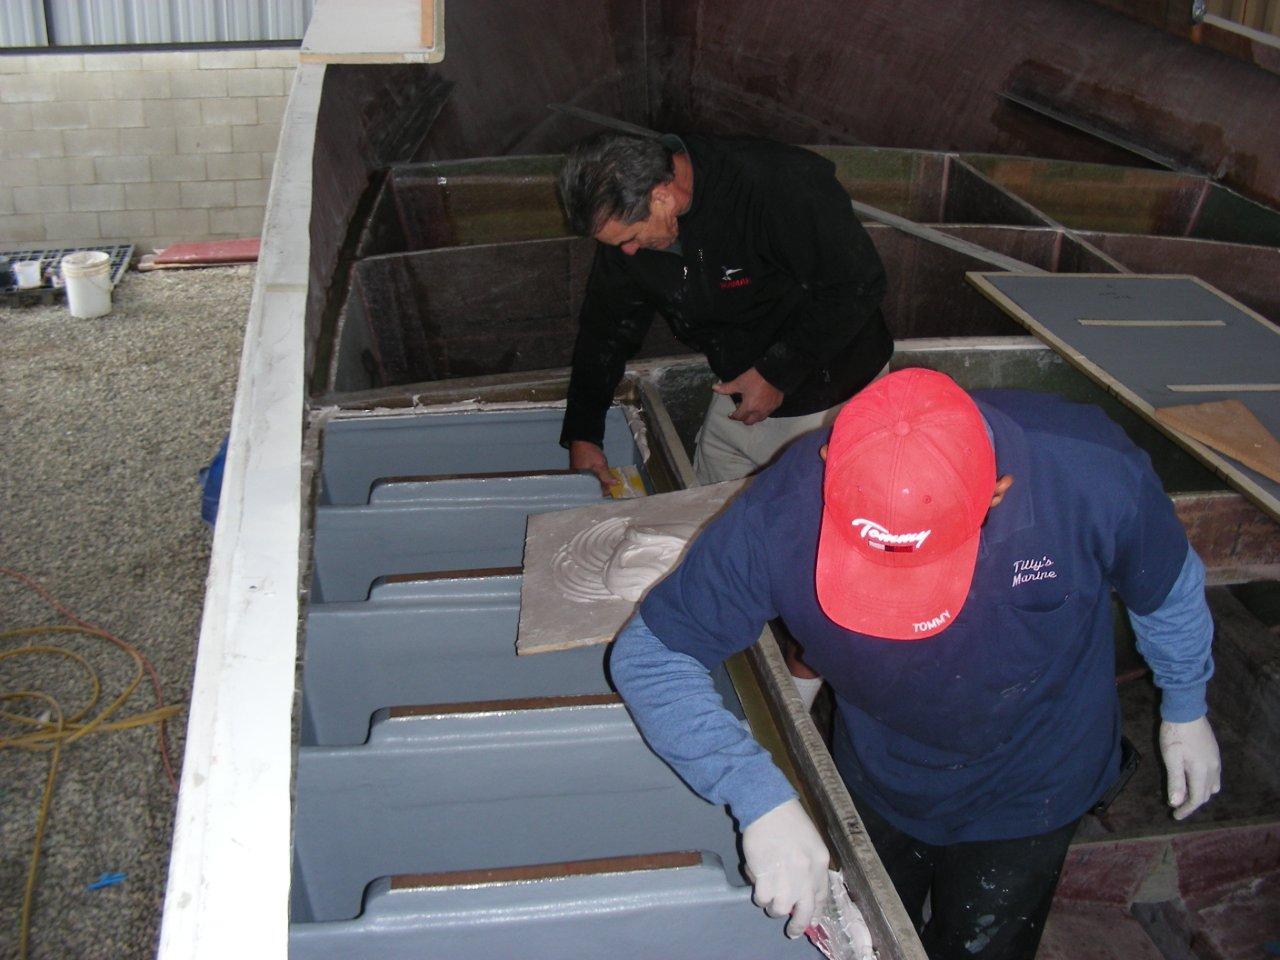
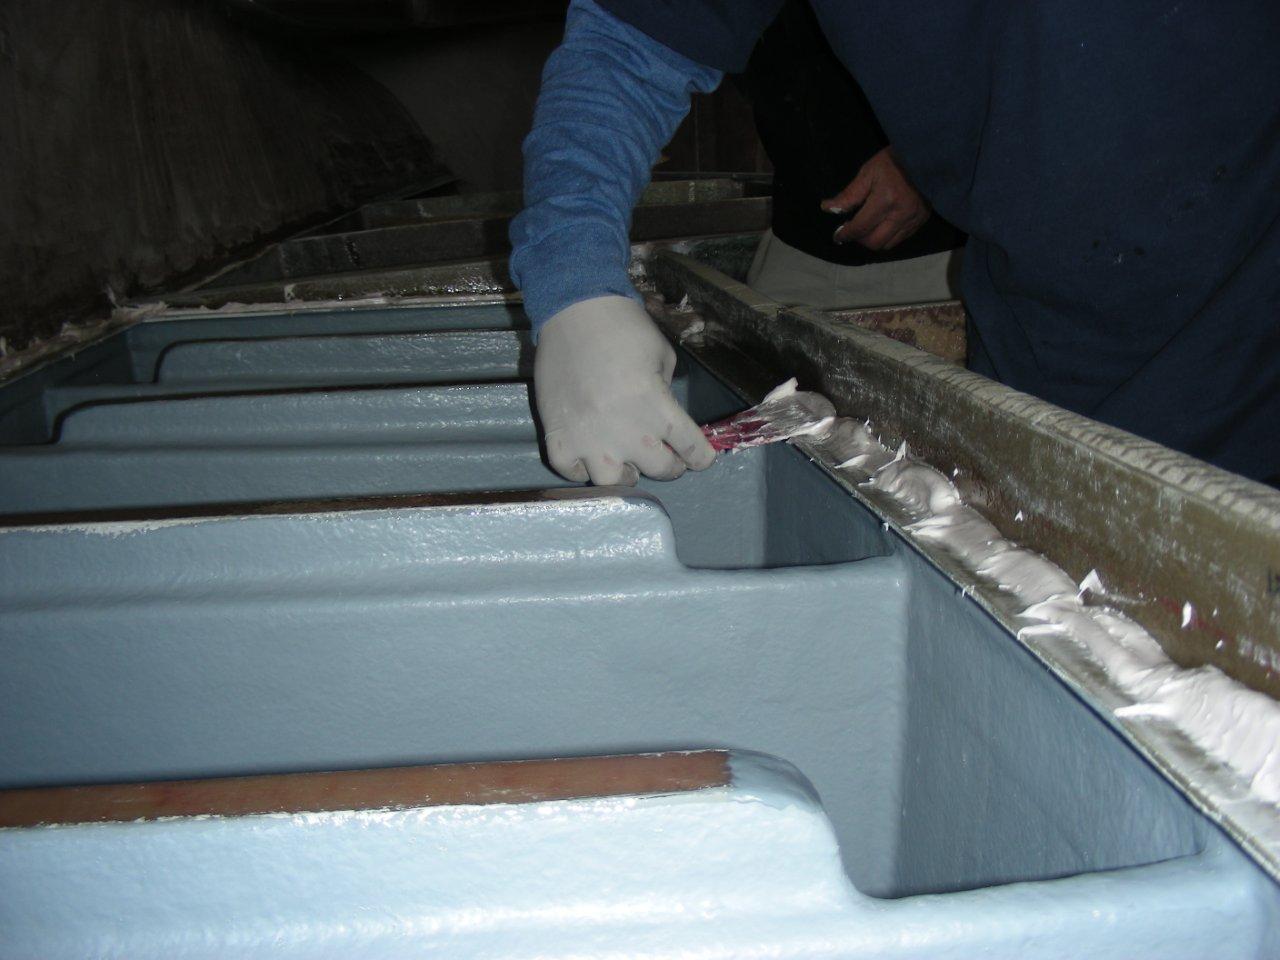
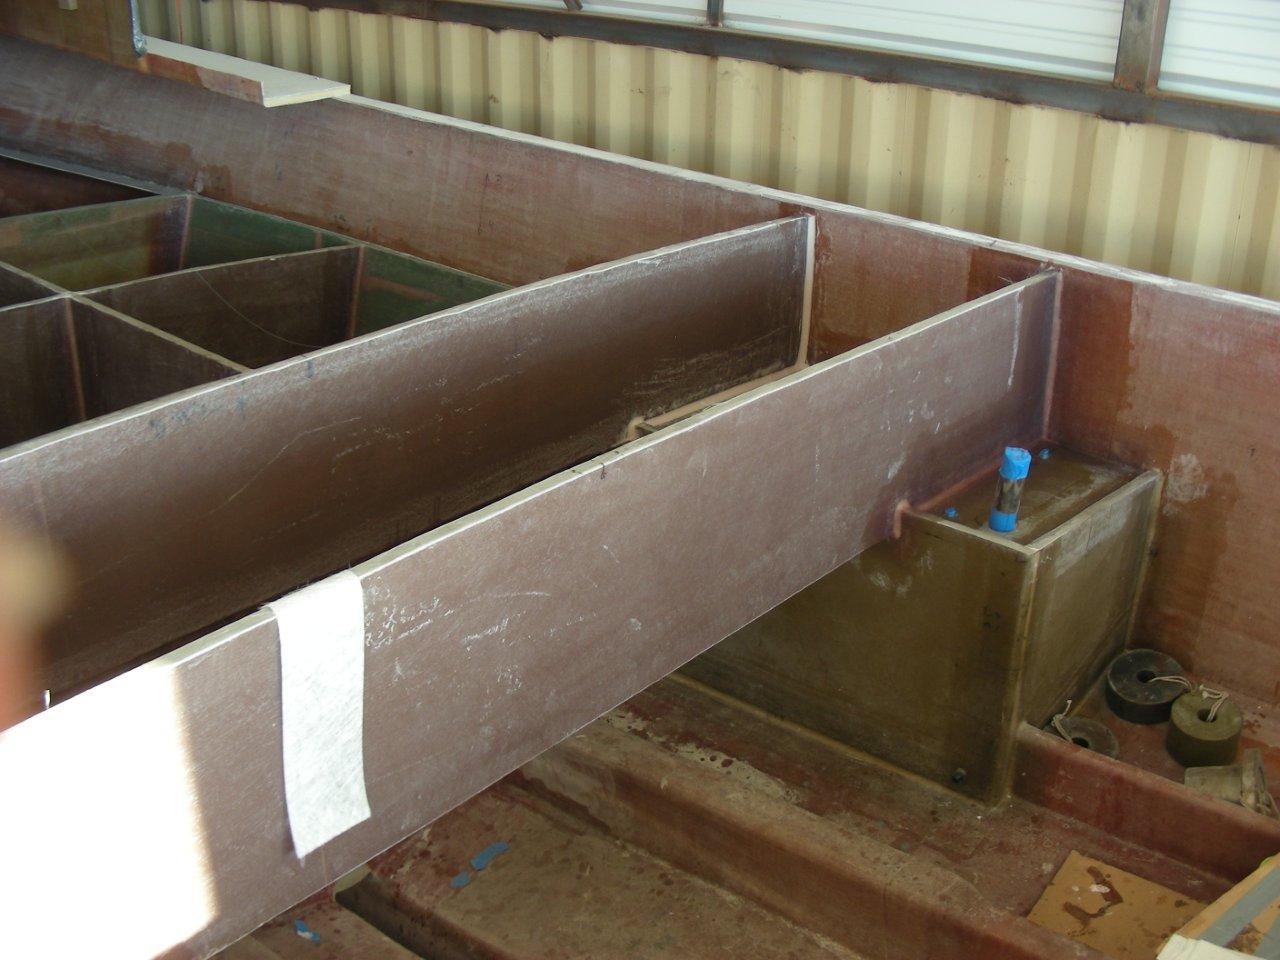
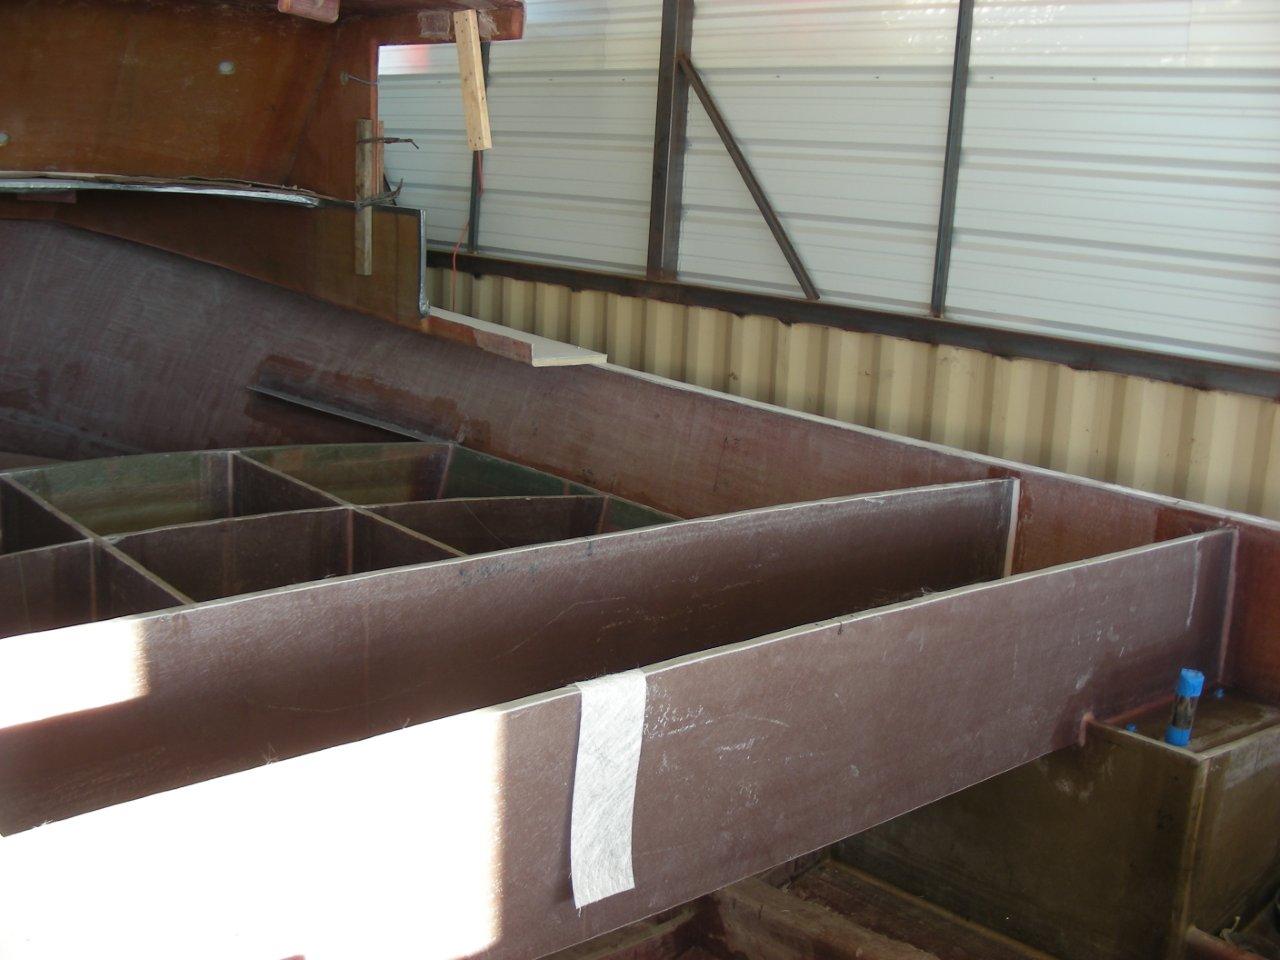
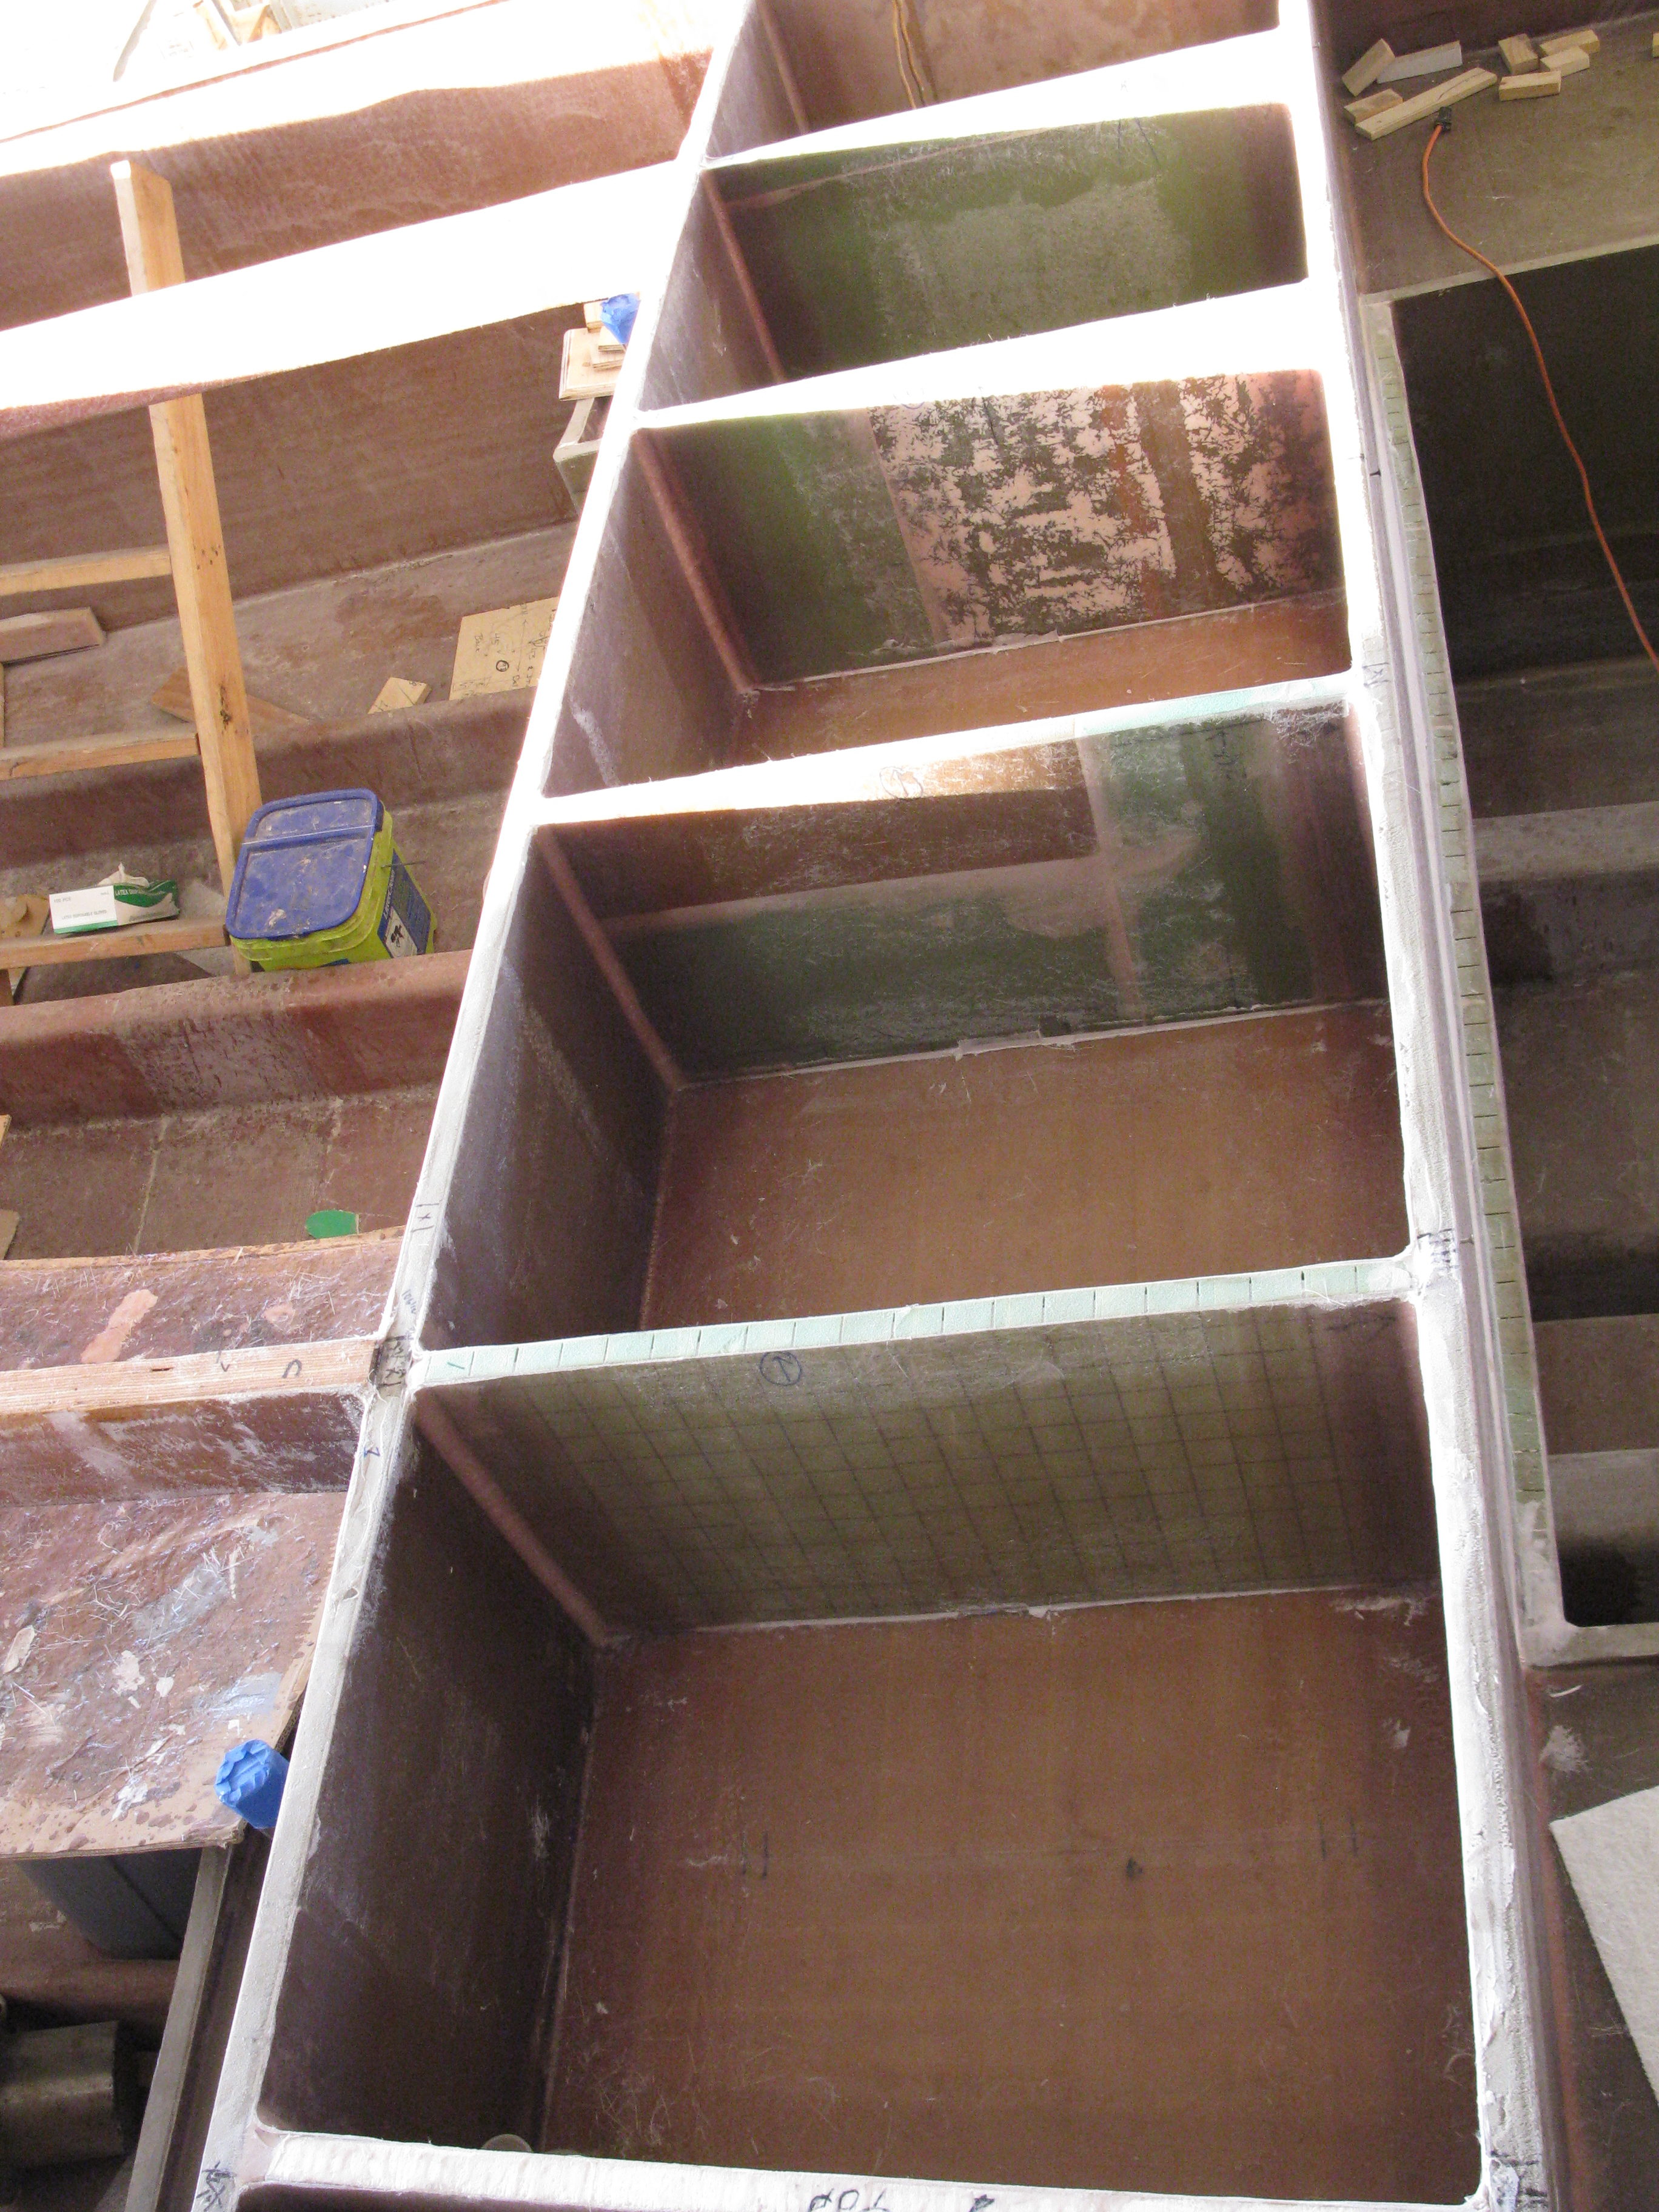
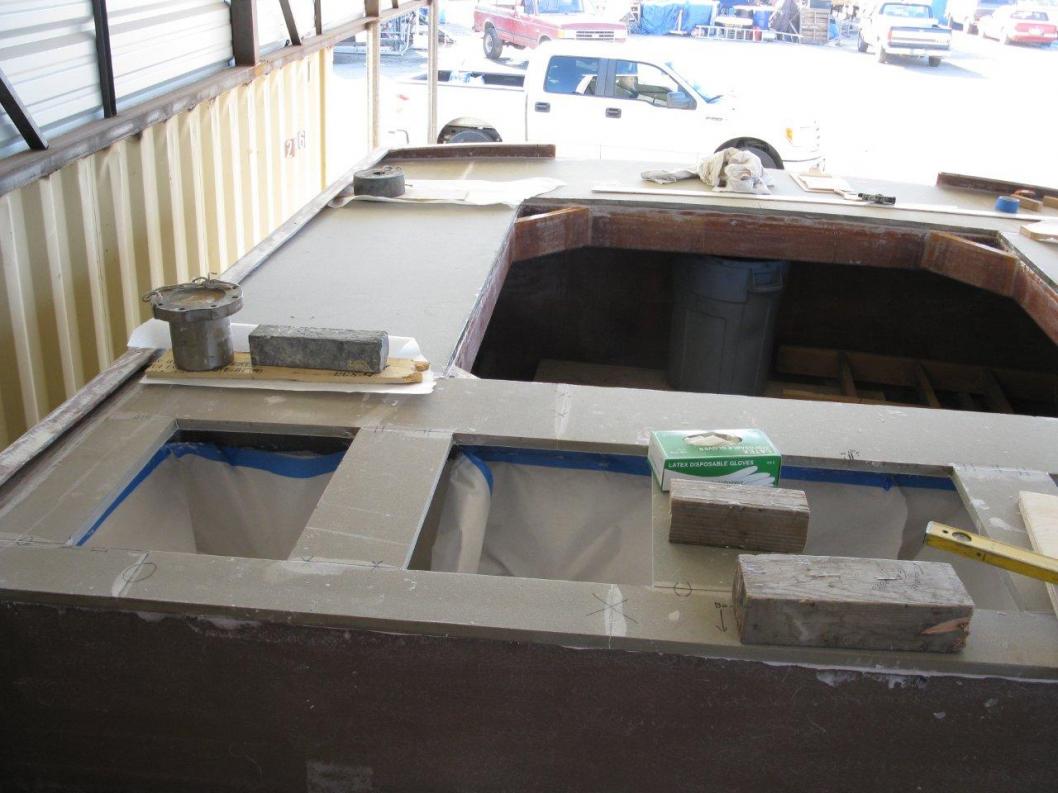
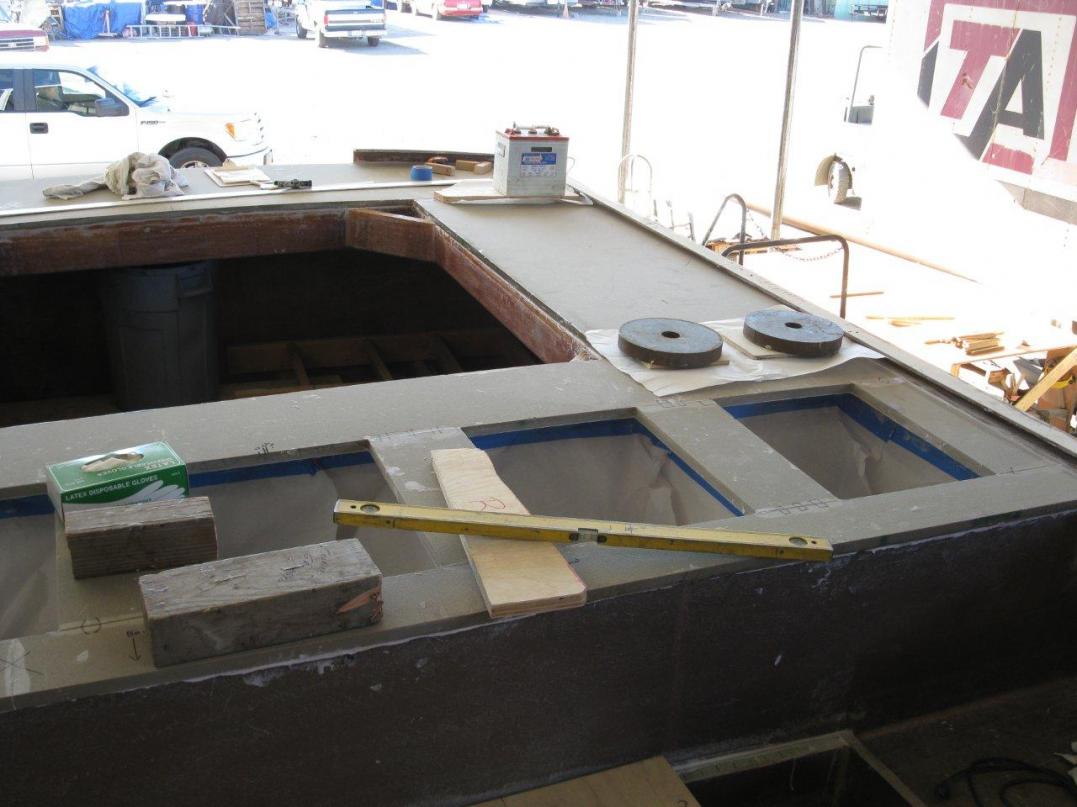
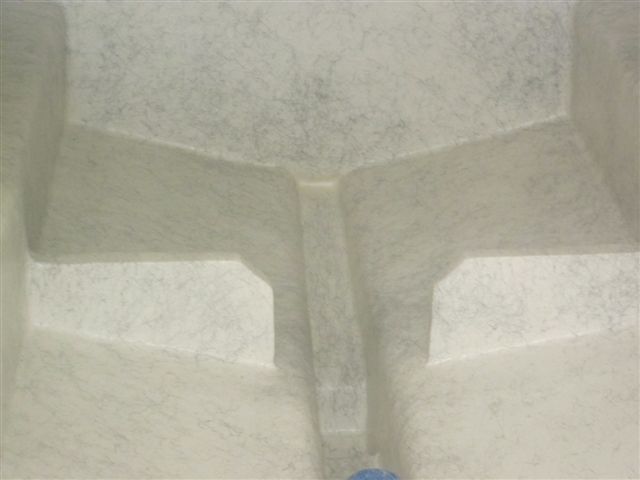
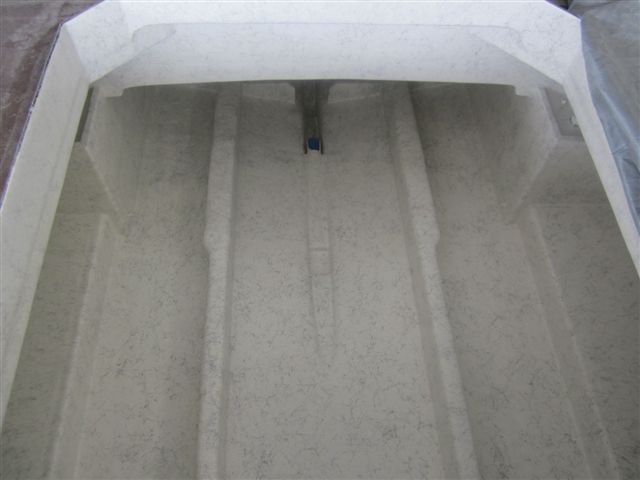
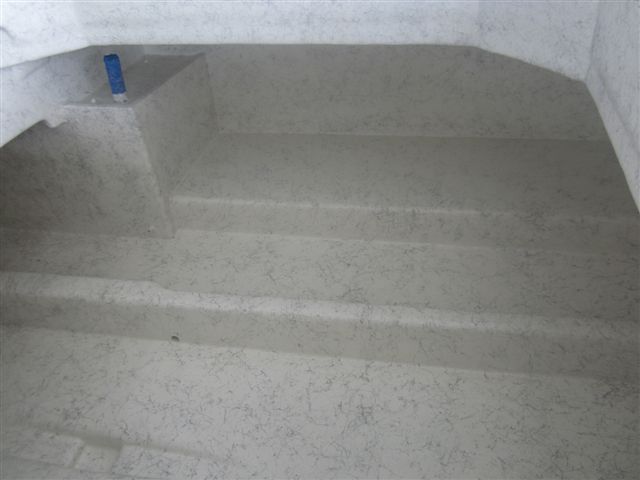
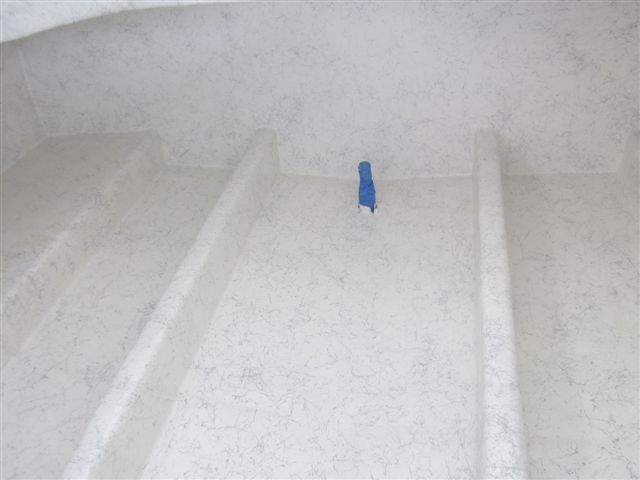
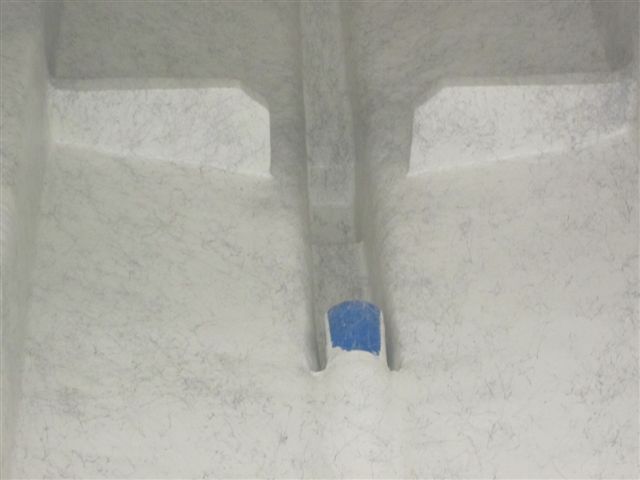
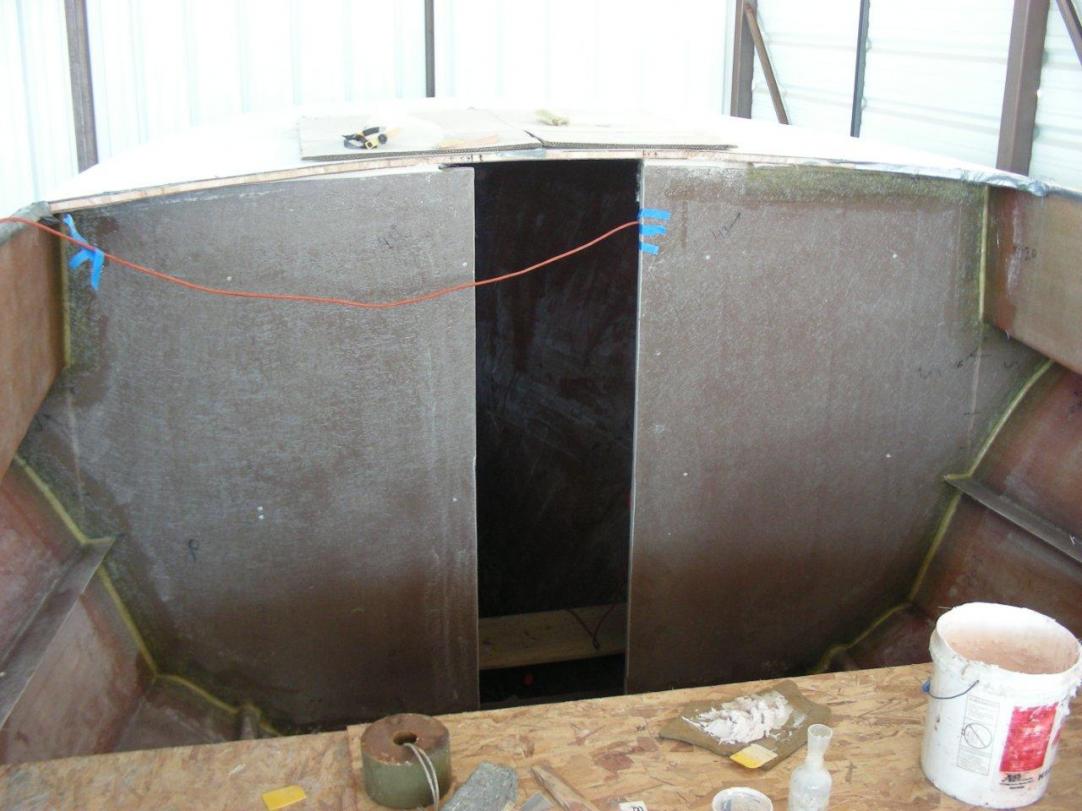
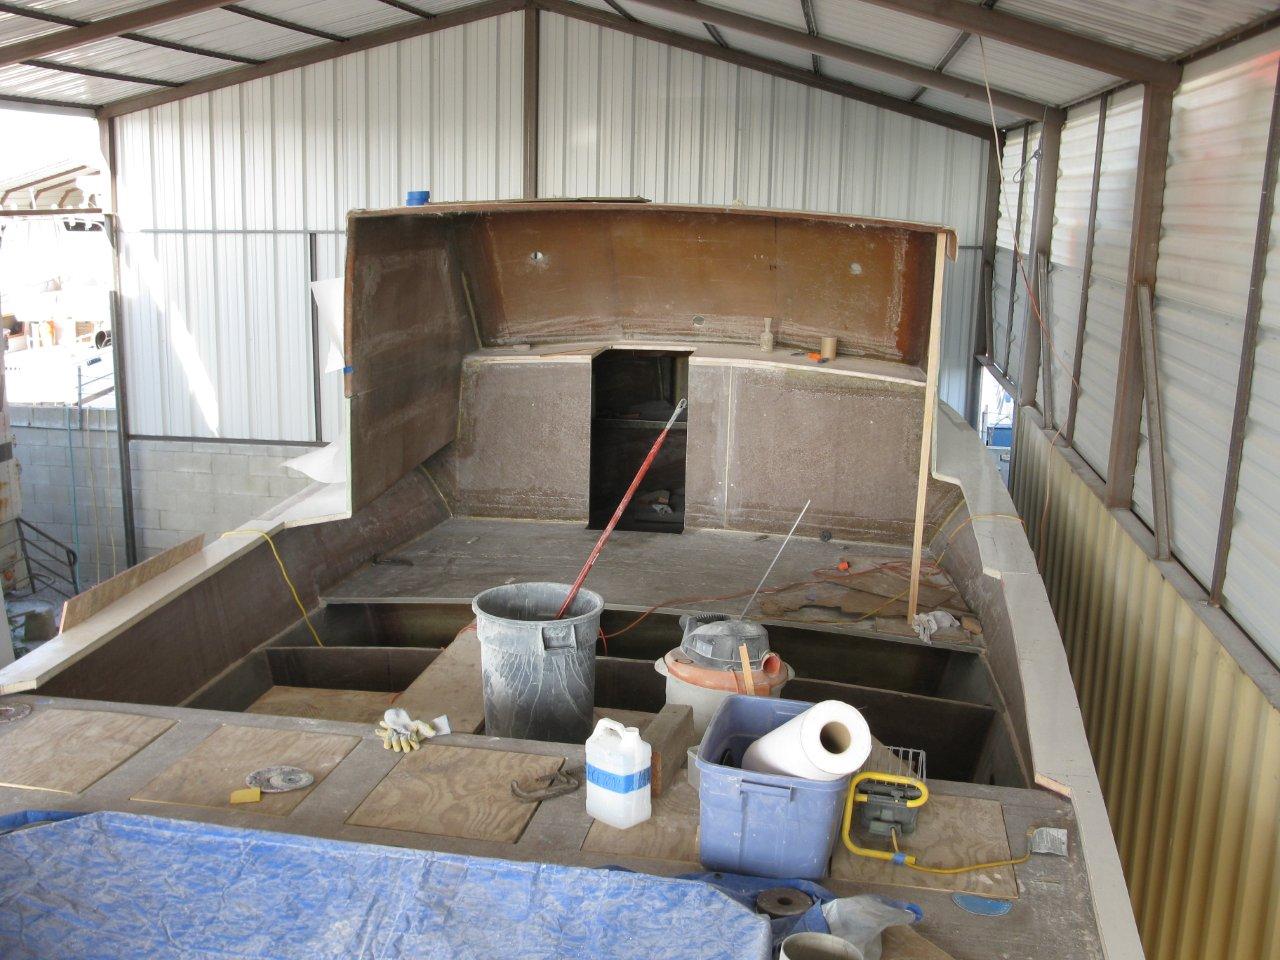
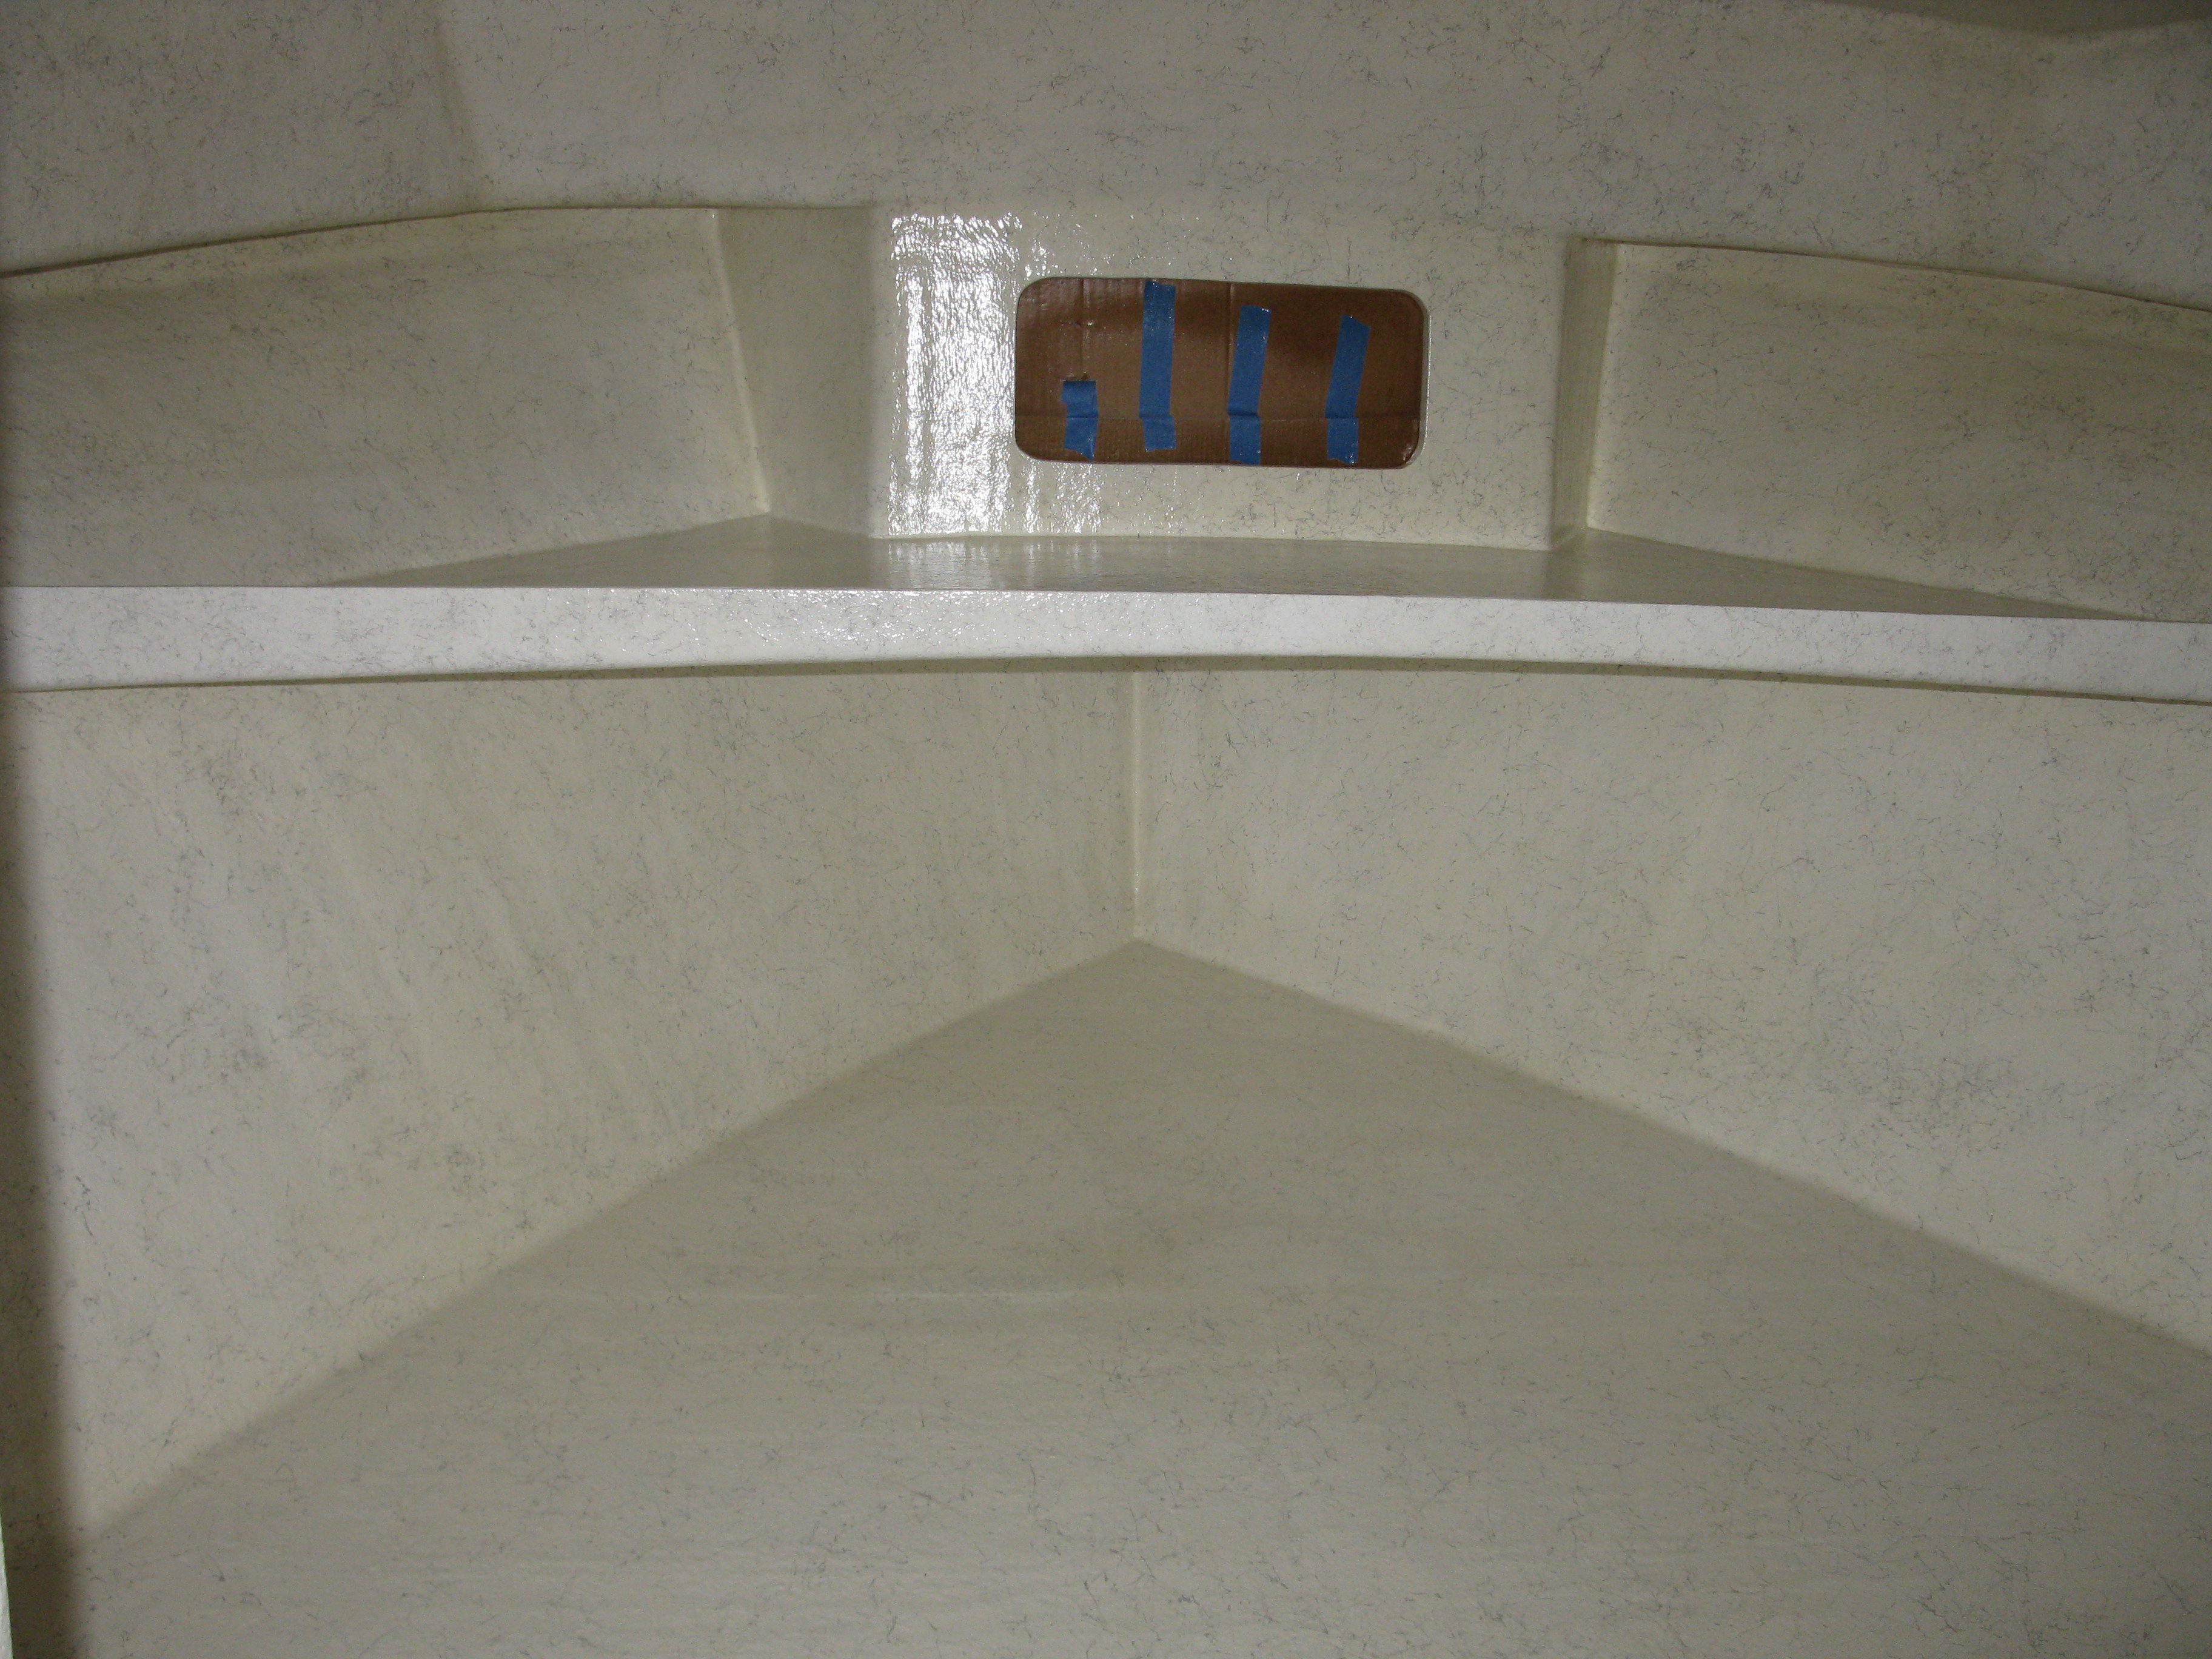
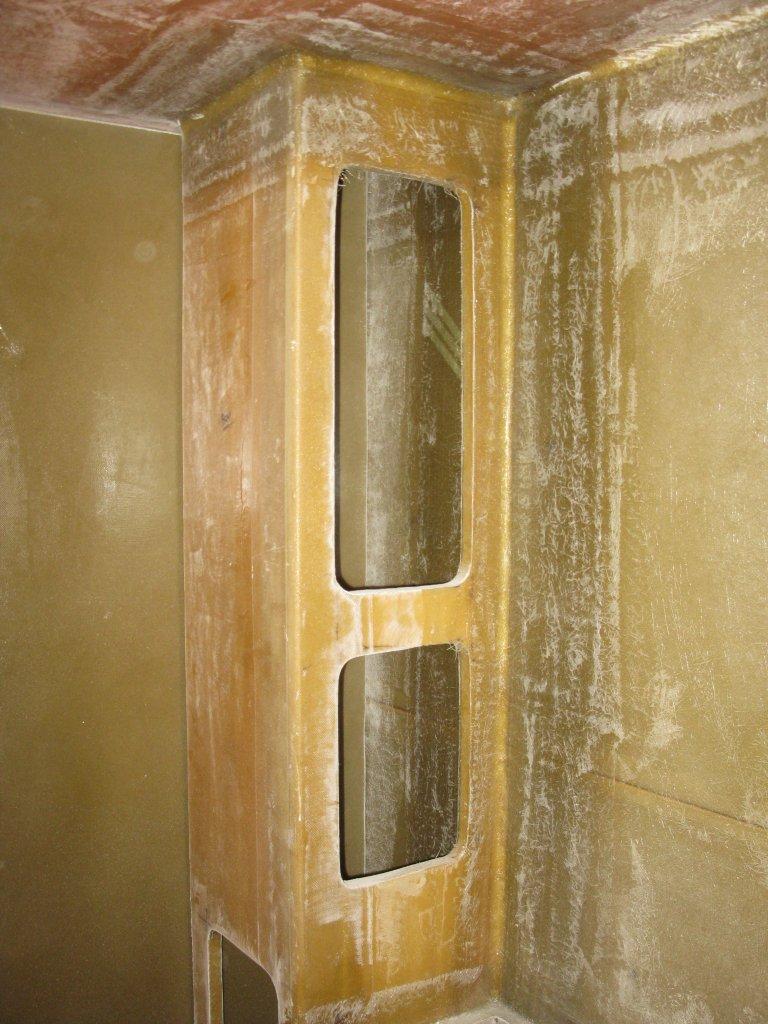
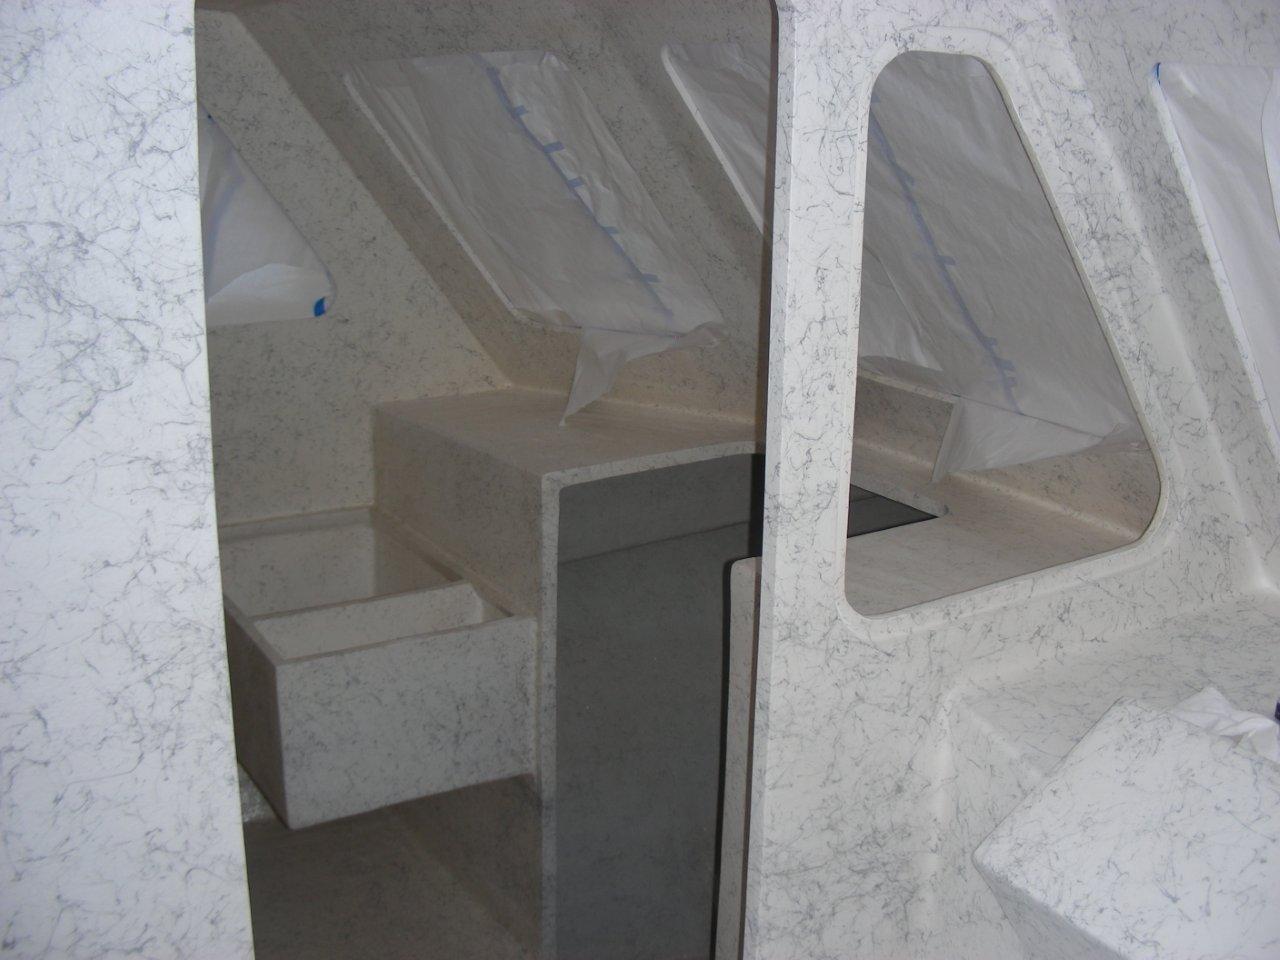
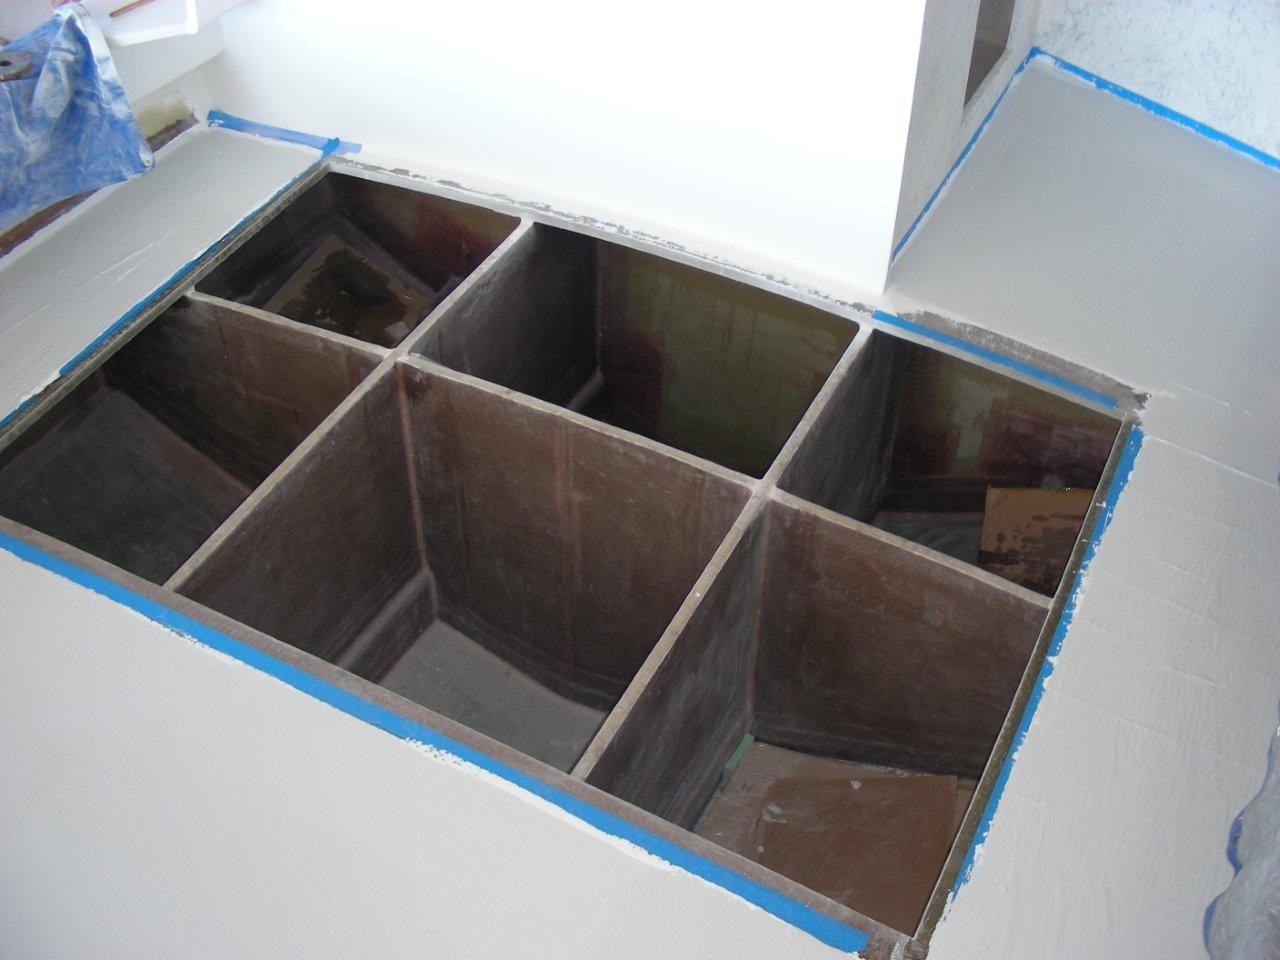
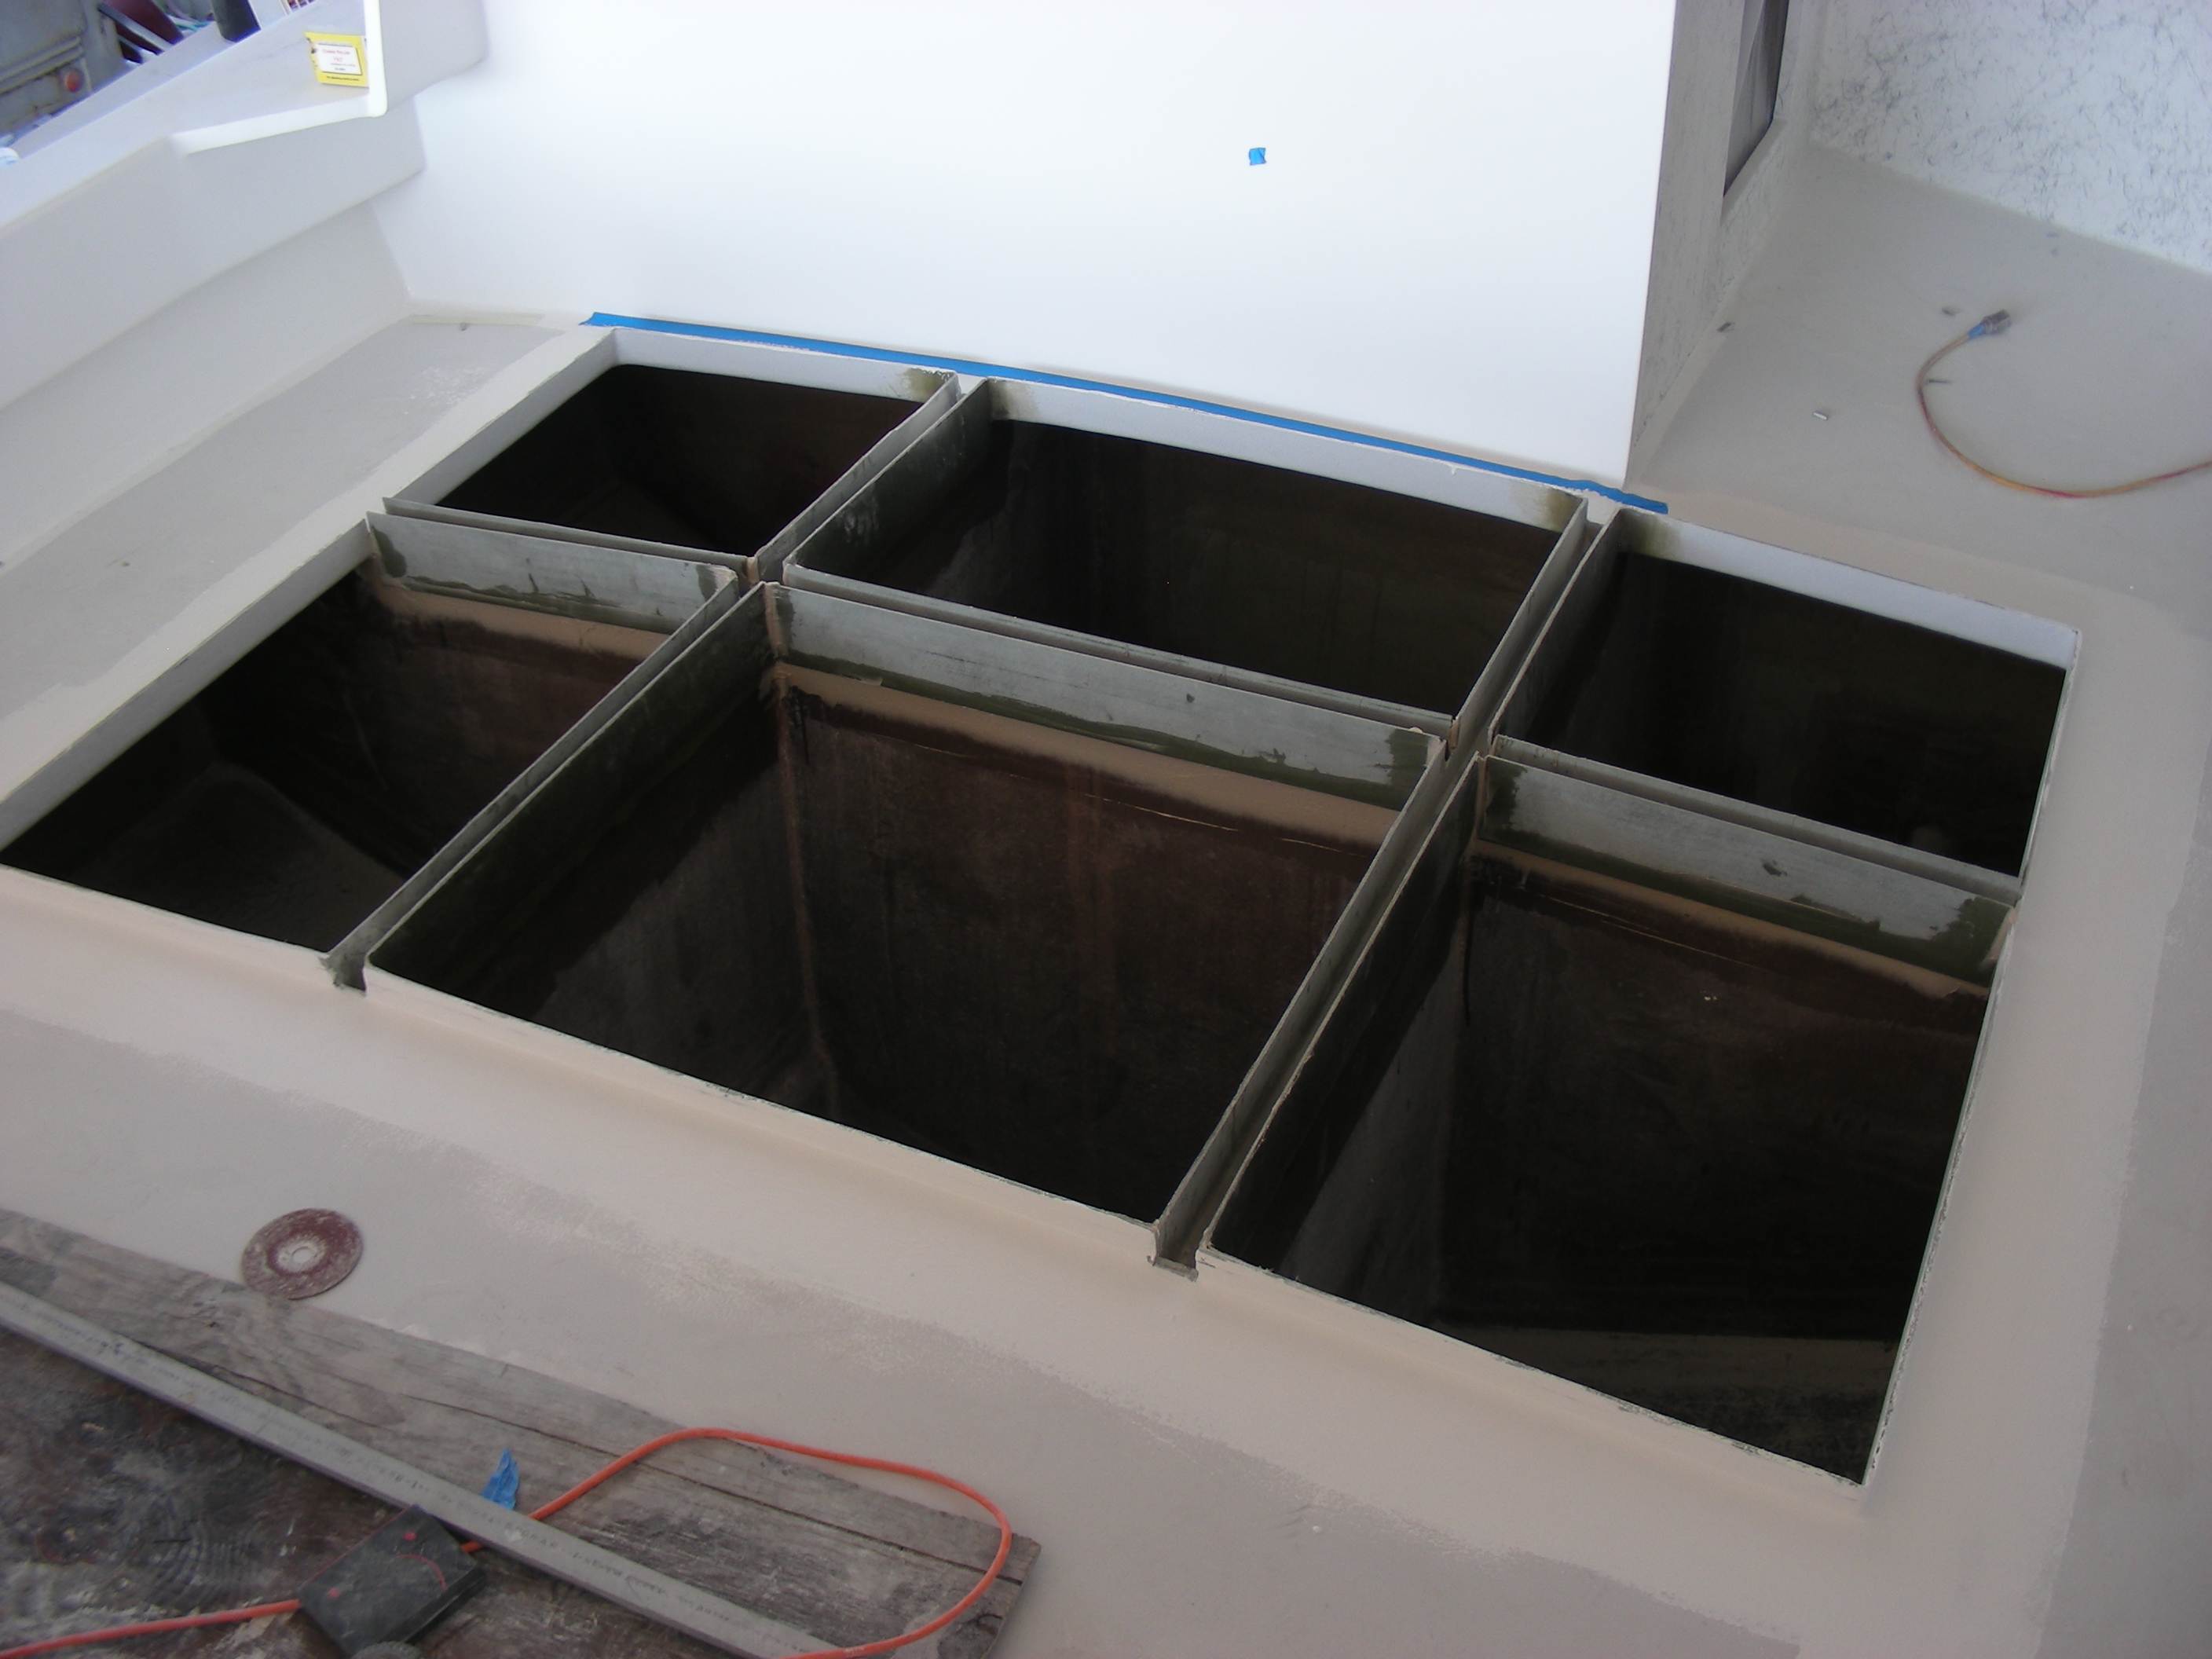
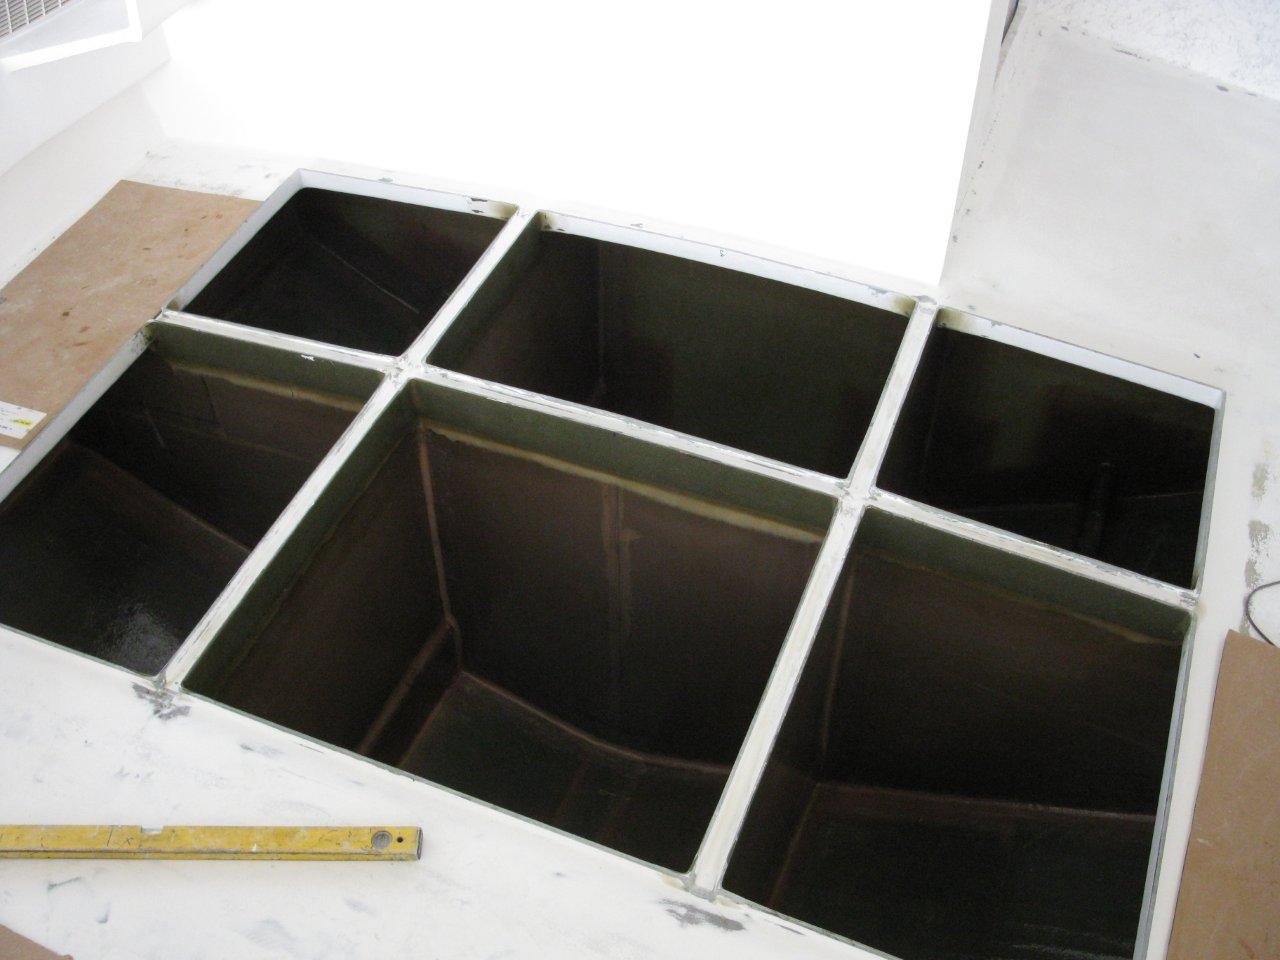
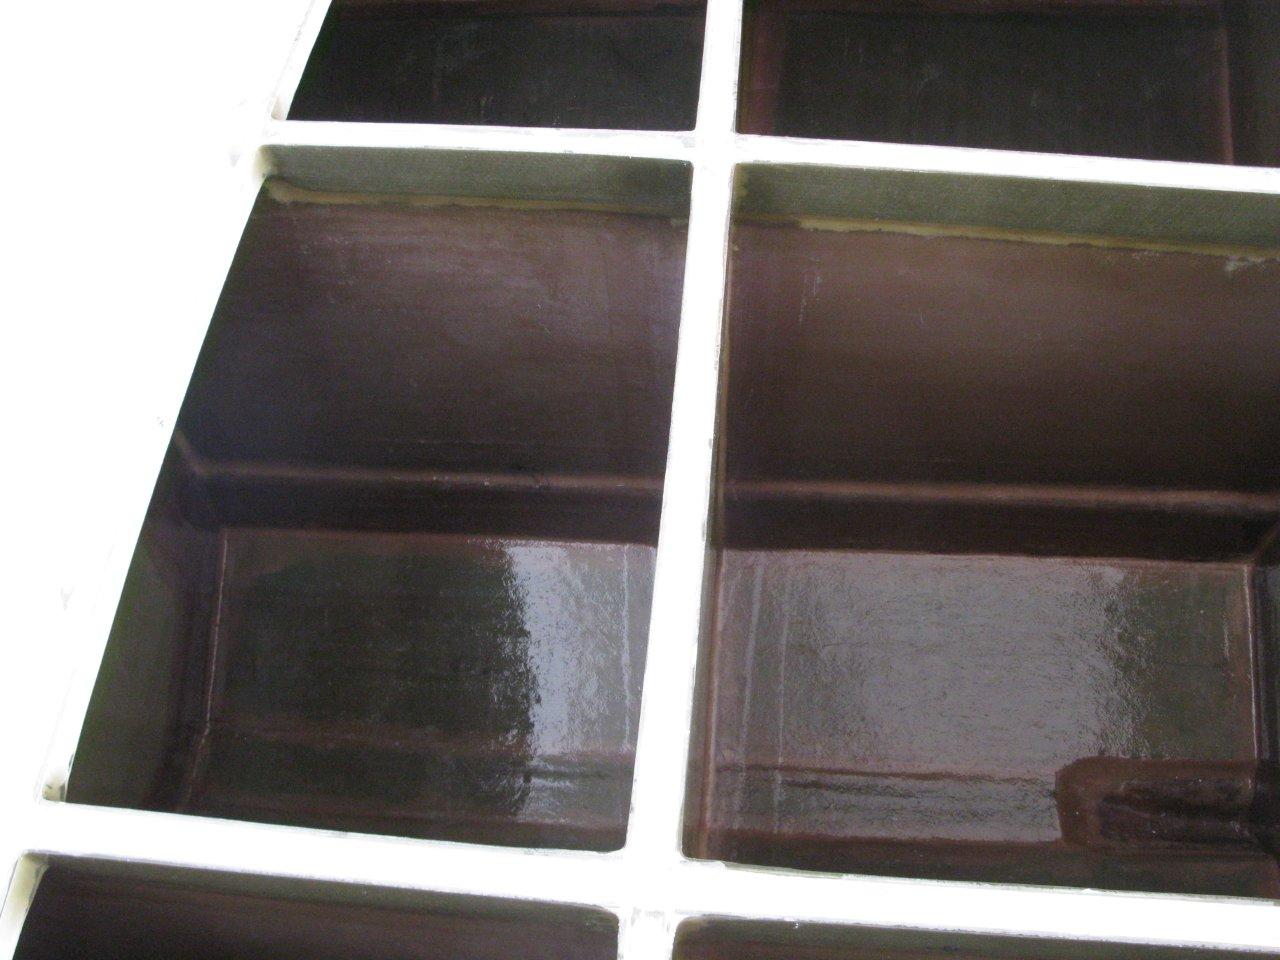
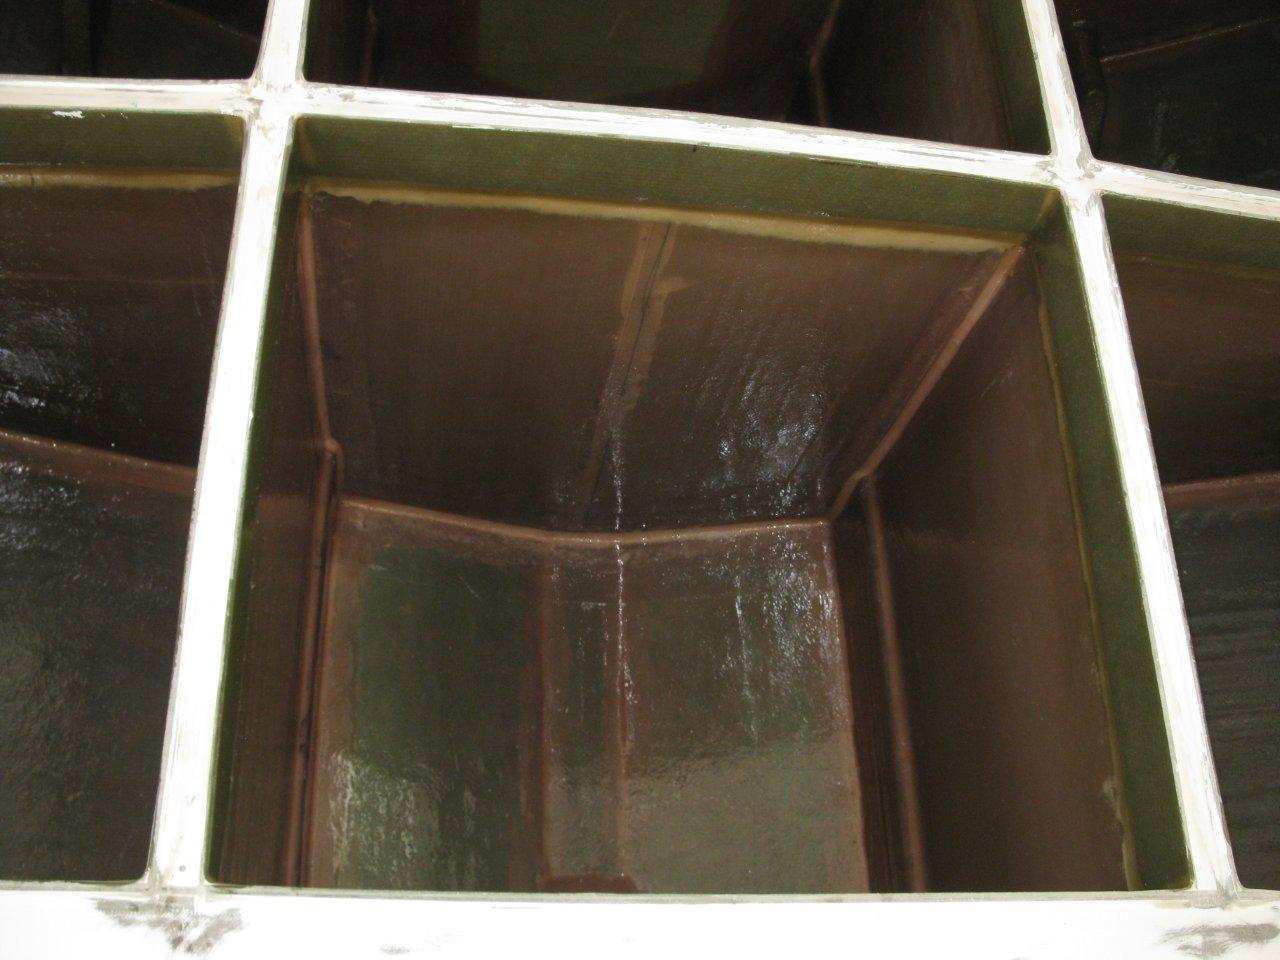
Fish hold dividers and deck supports
This next 2-3 weeks from this point we worked on the tank fittings, tank tops and installing the rest of the fish hold
walls/structural dividers……………Plus the planning for the cabin, rear decks and rails.


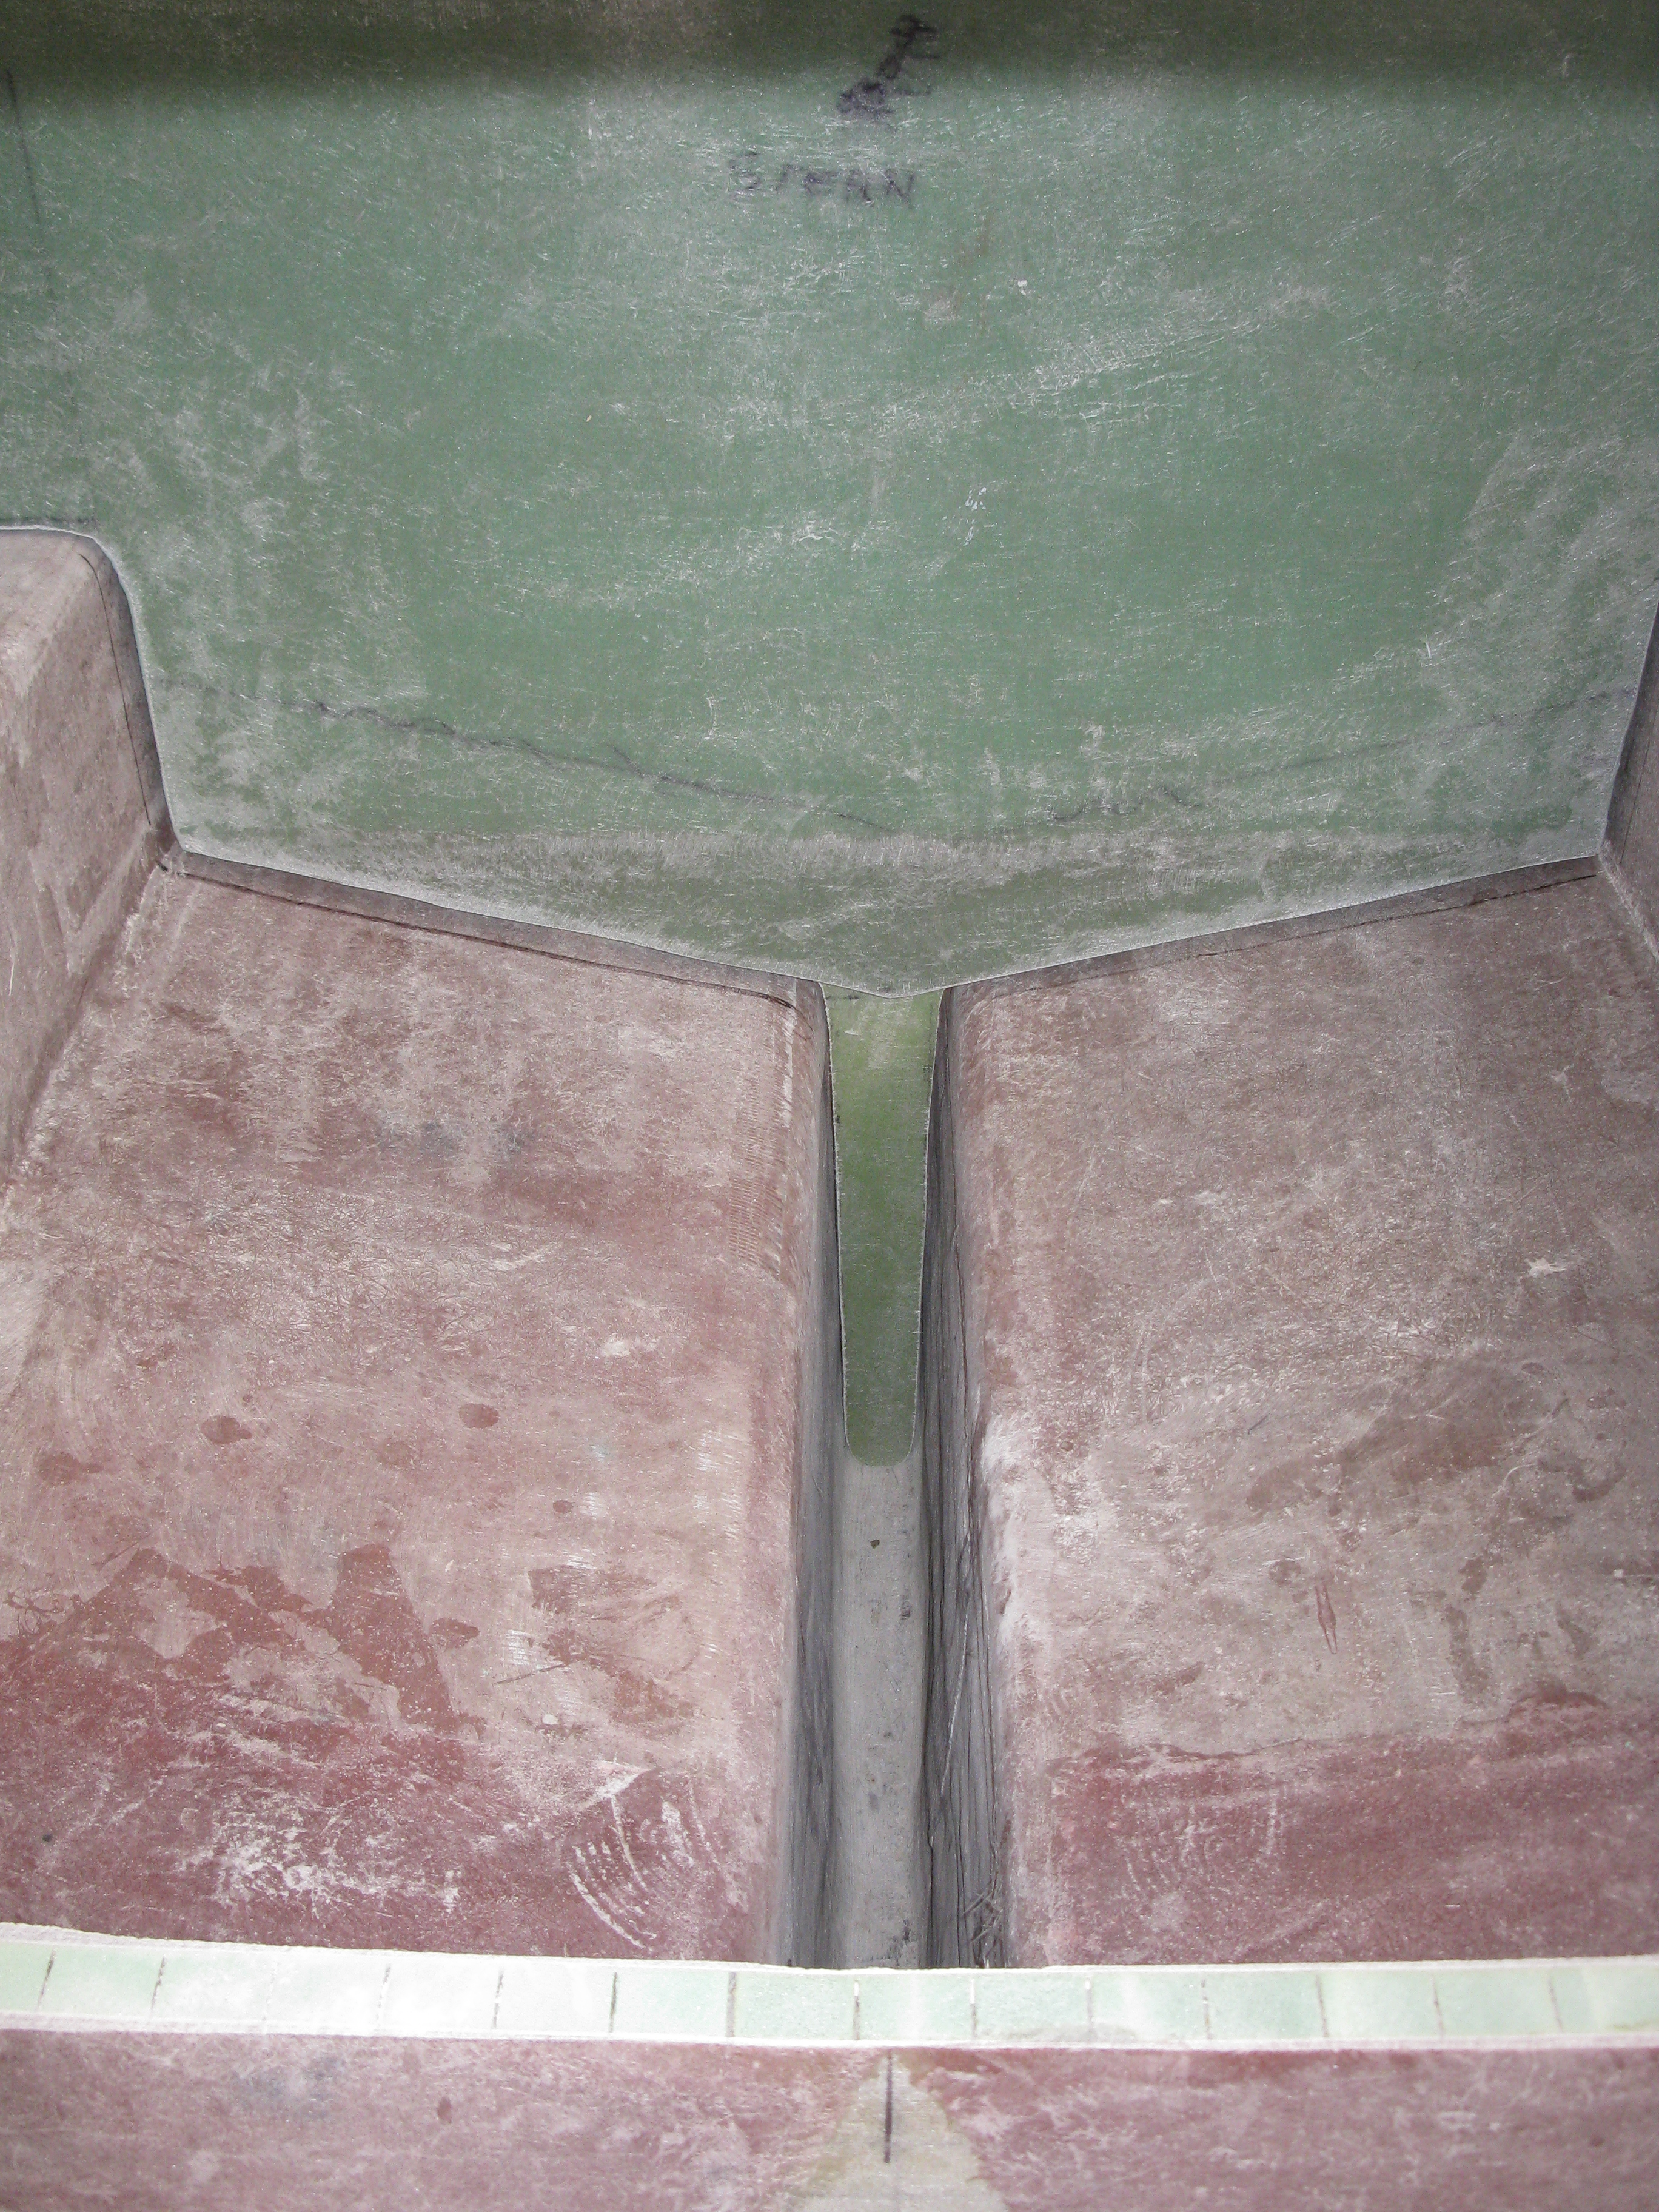
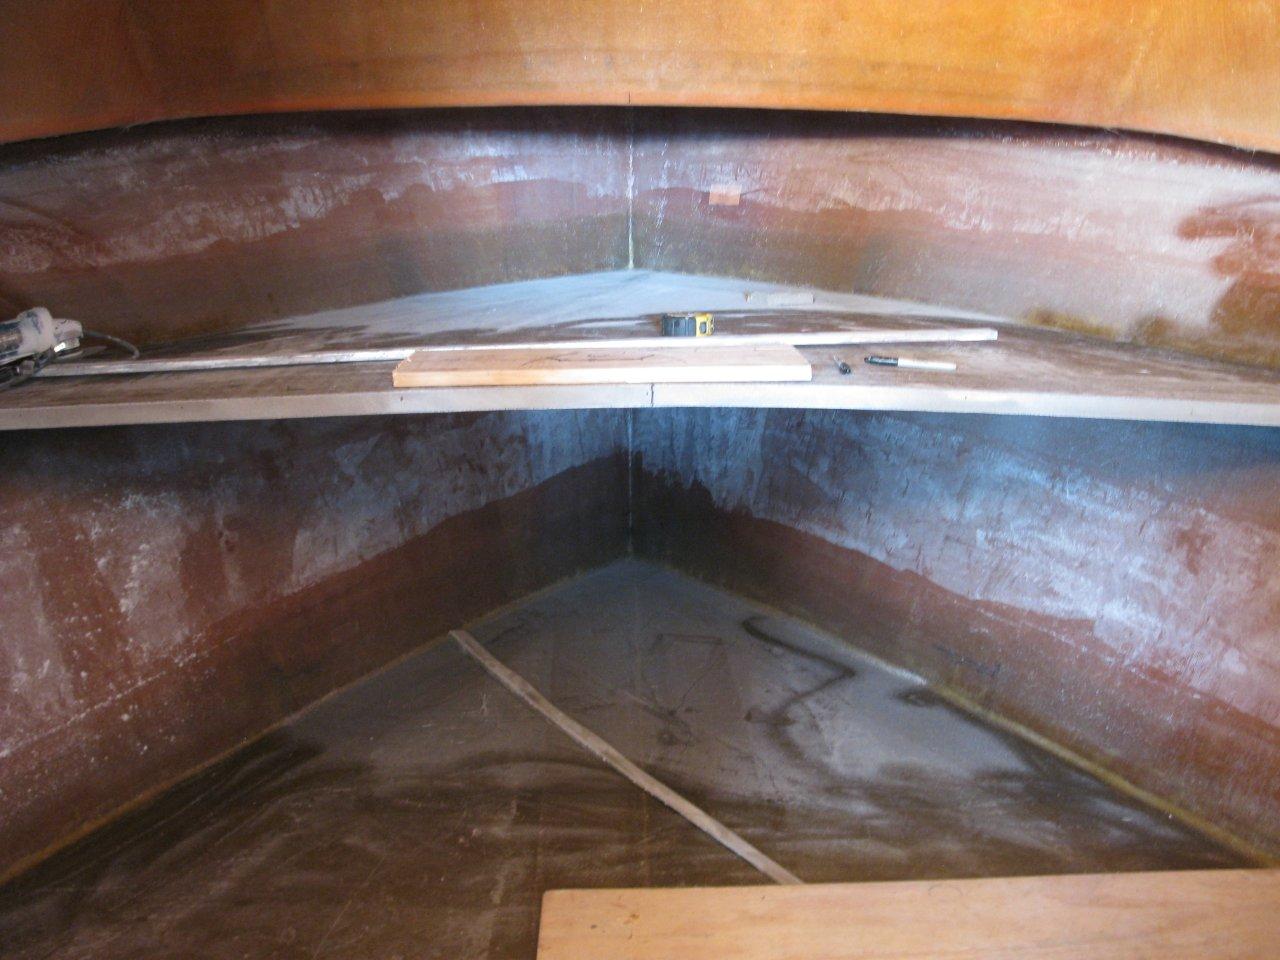
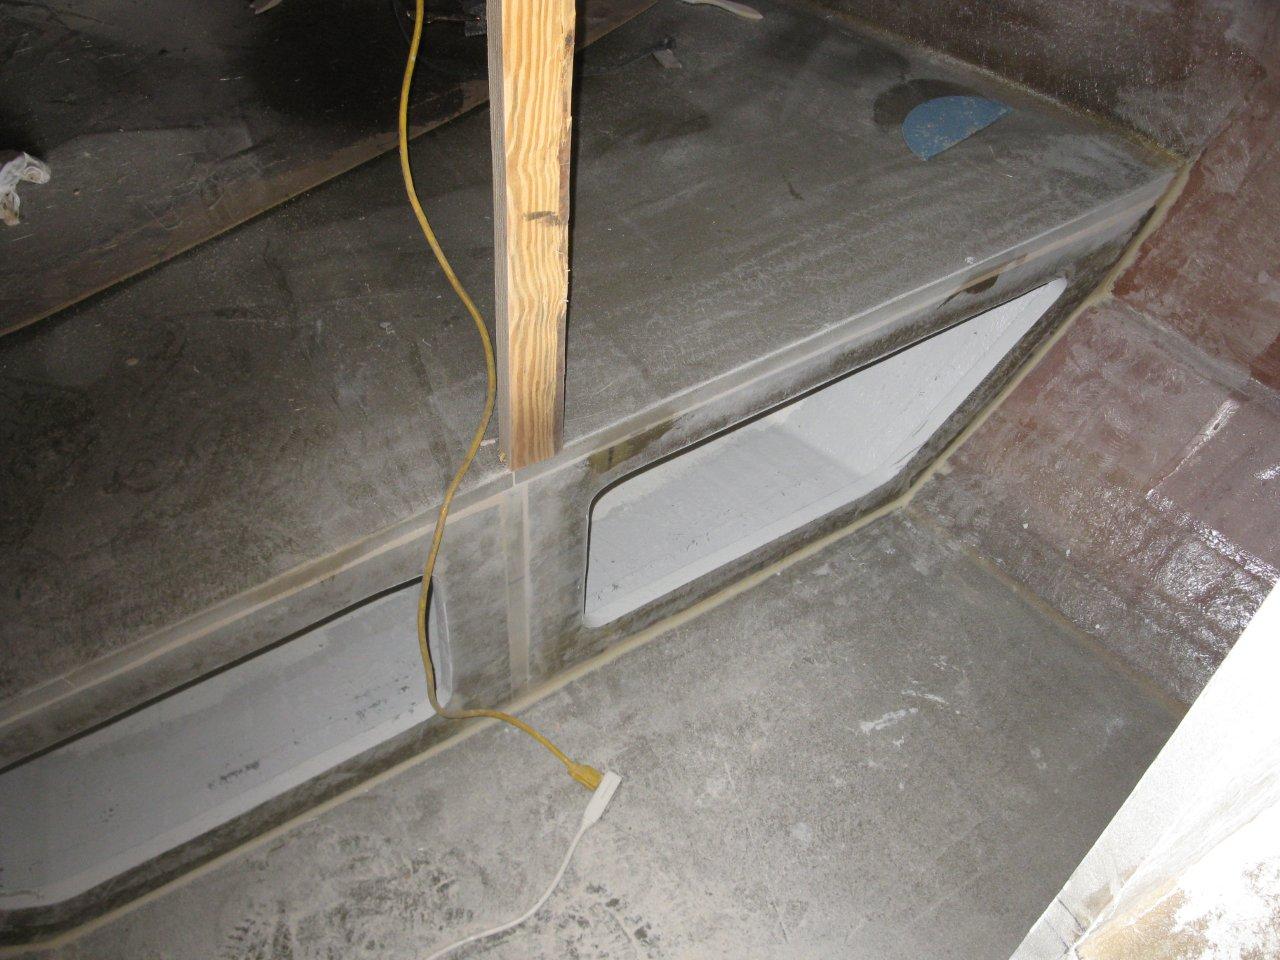
Next up is the filling in and sealing the keel under the center fish hold.

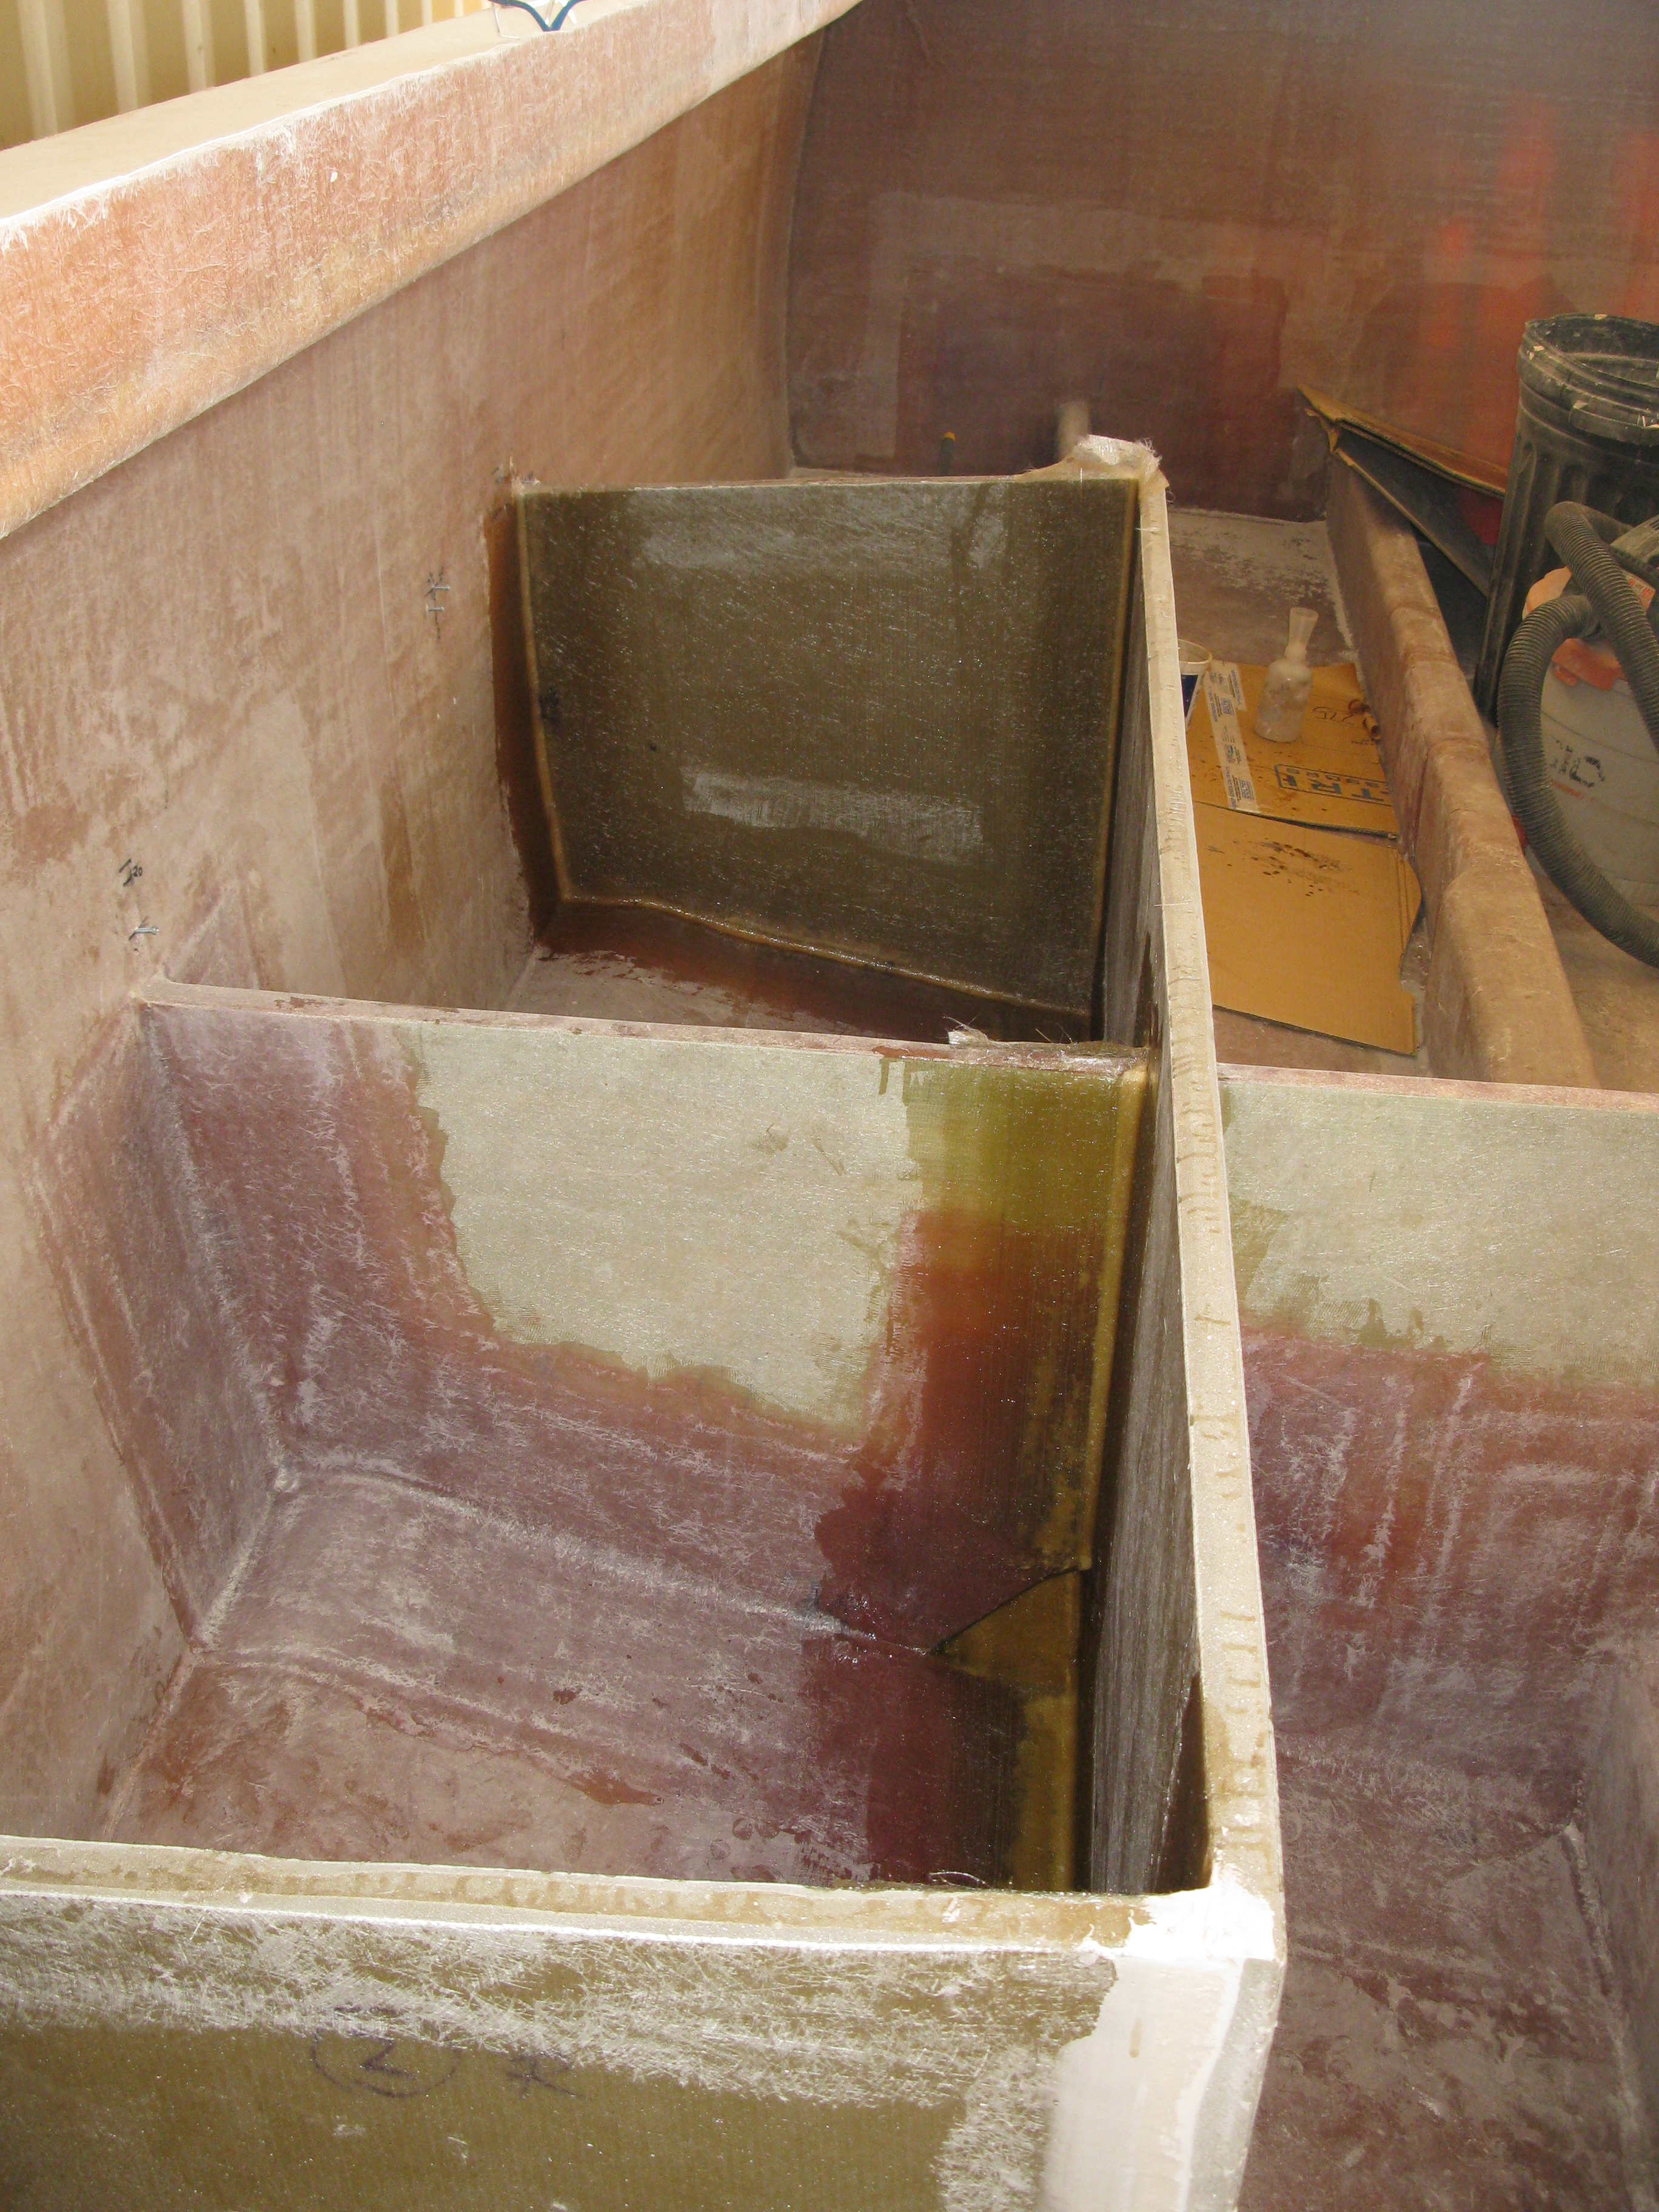
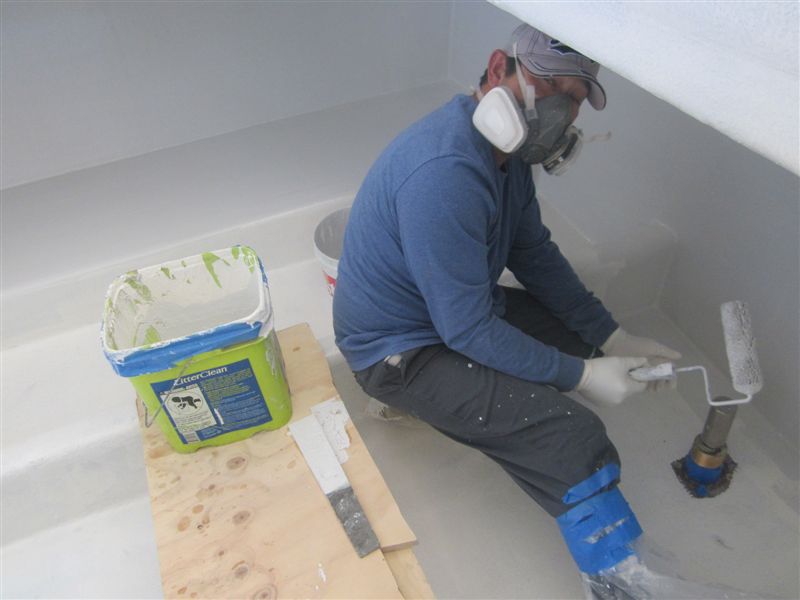
Back to the Fuel Tanks
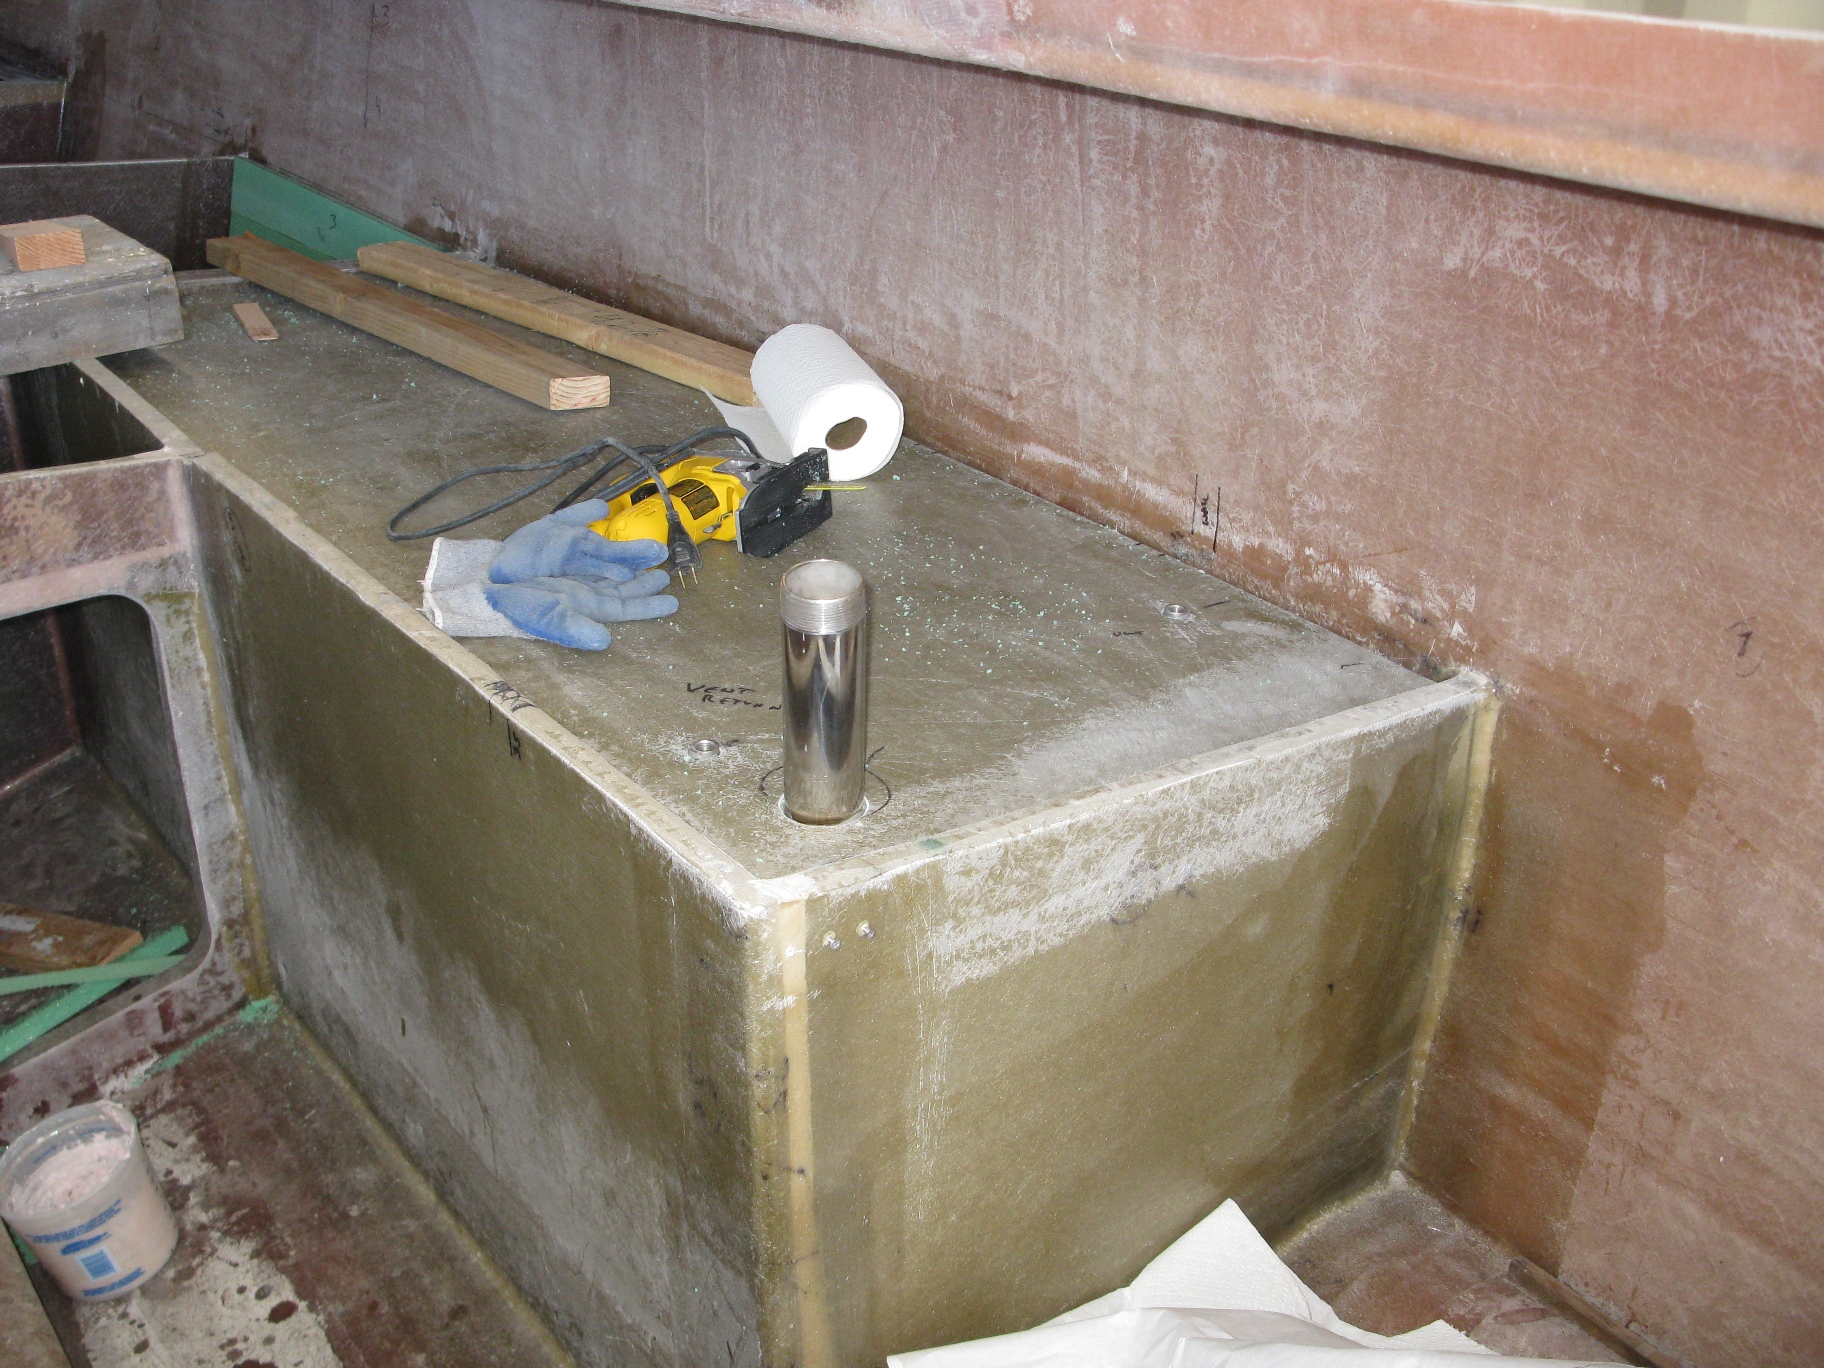
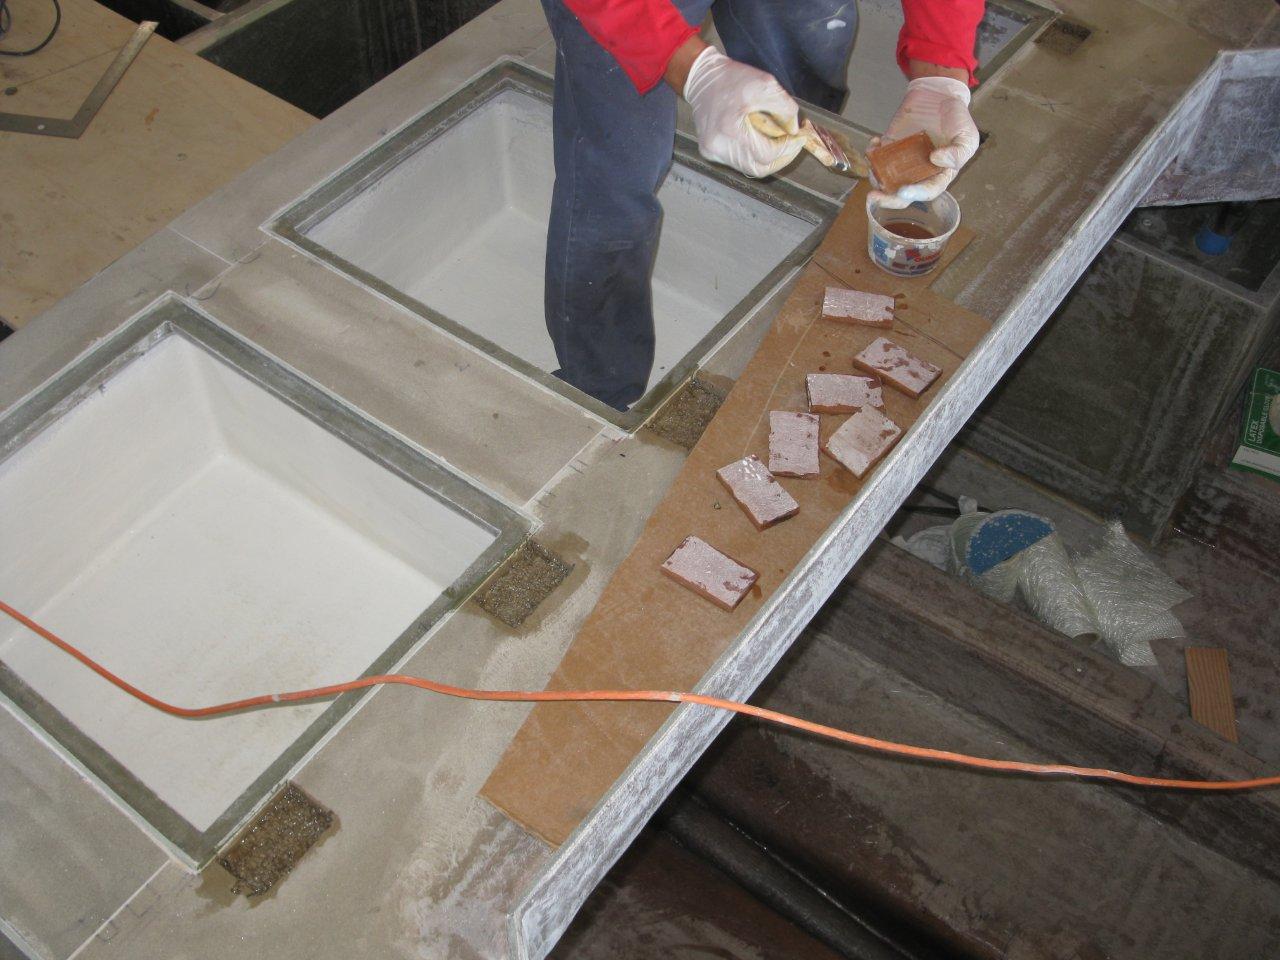
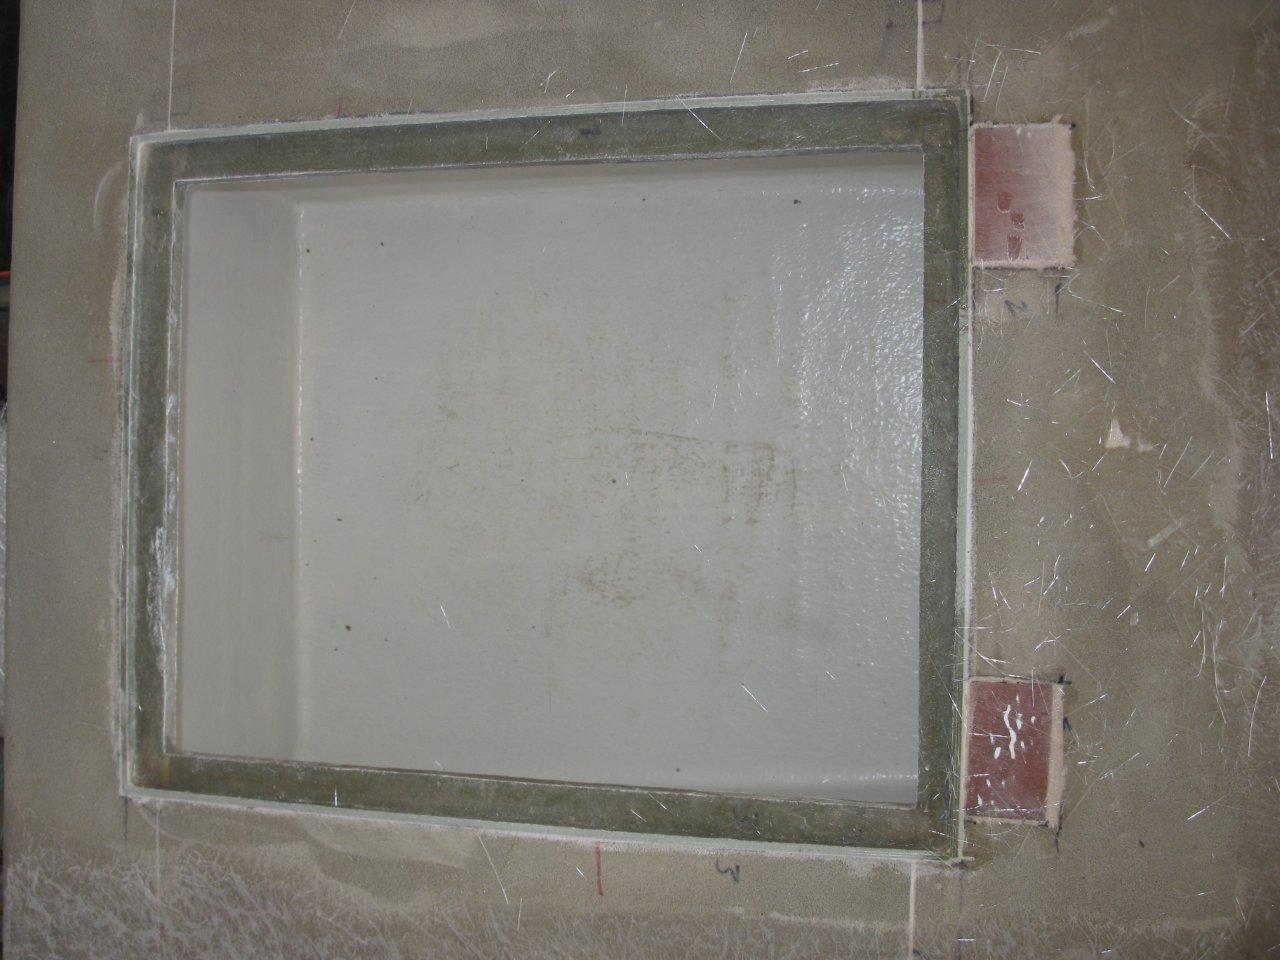
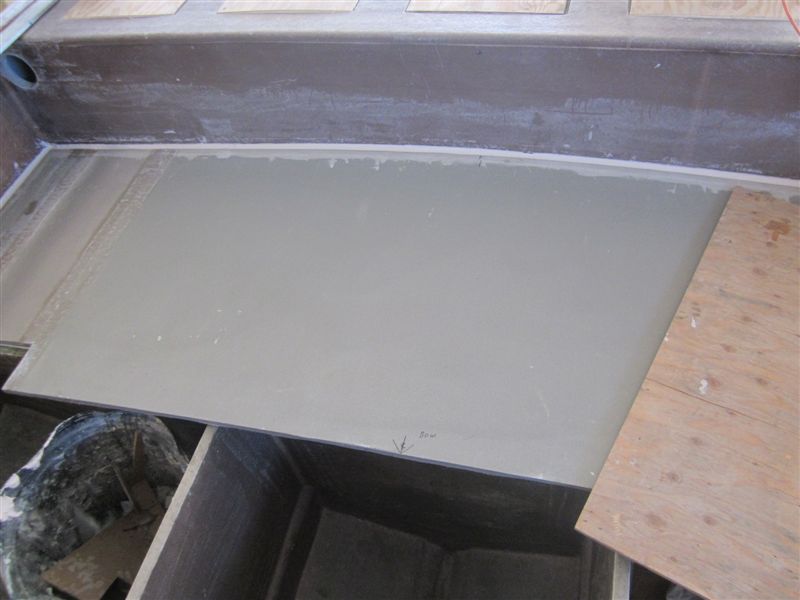
Final preparation of the fuel tank lids


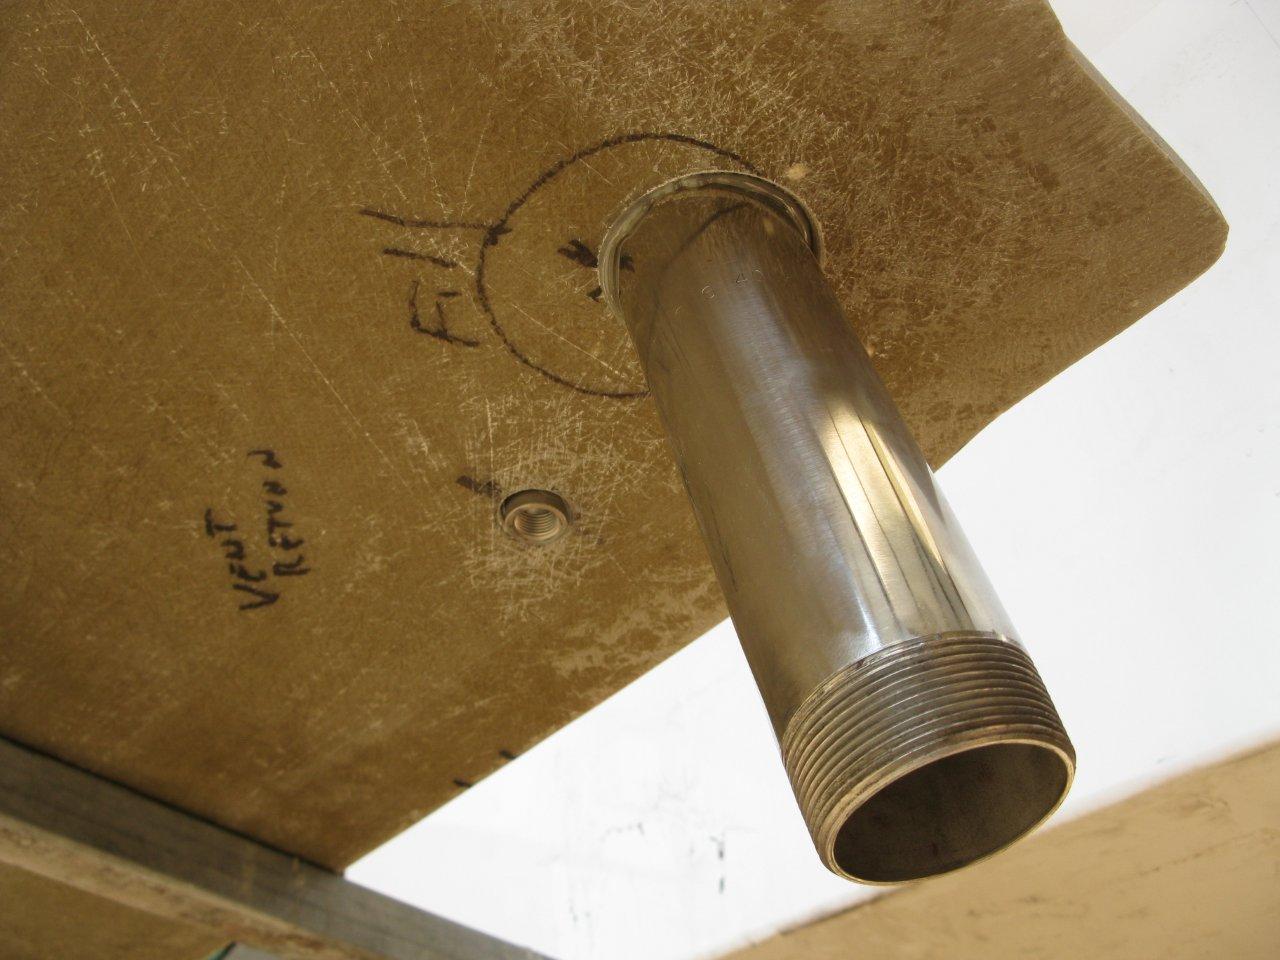
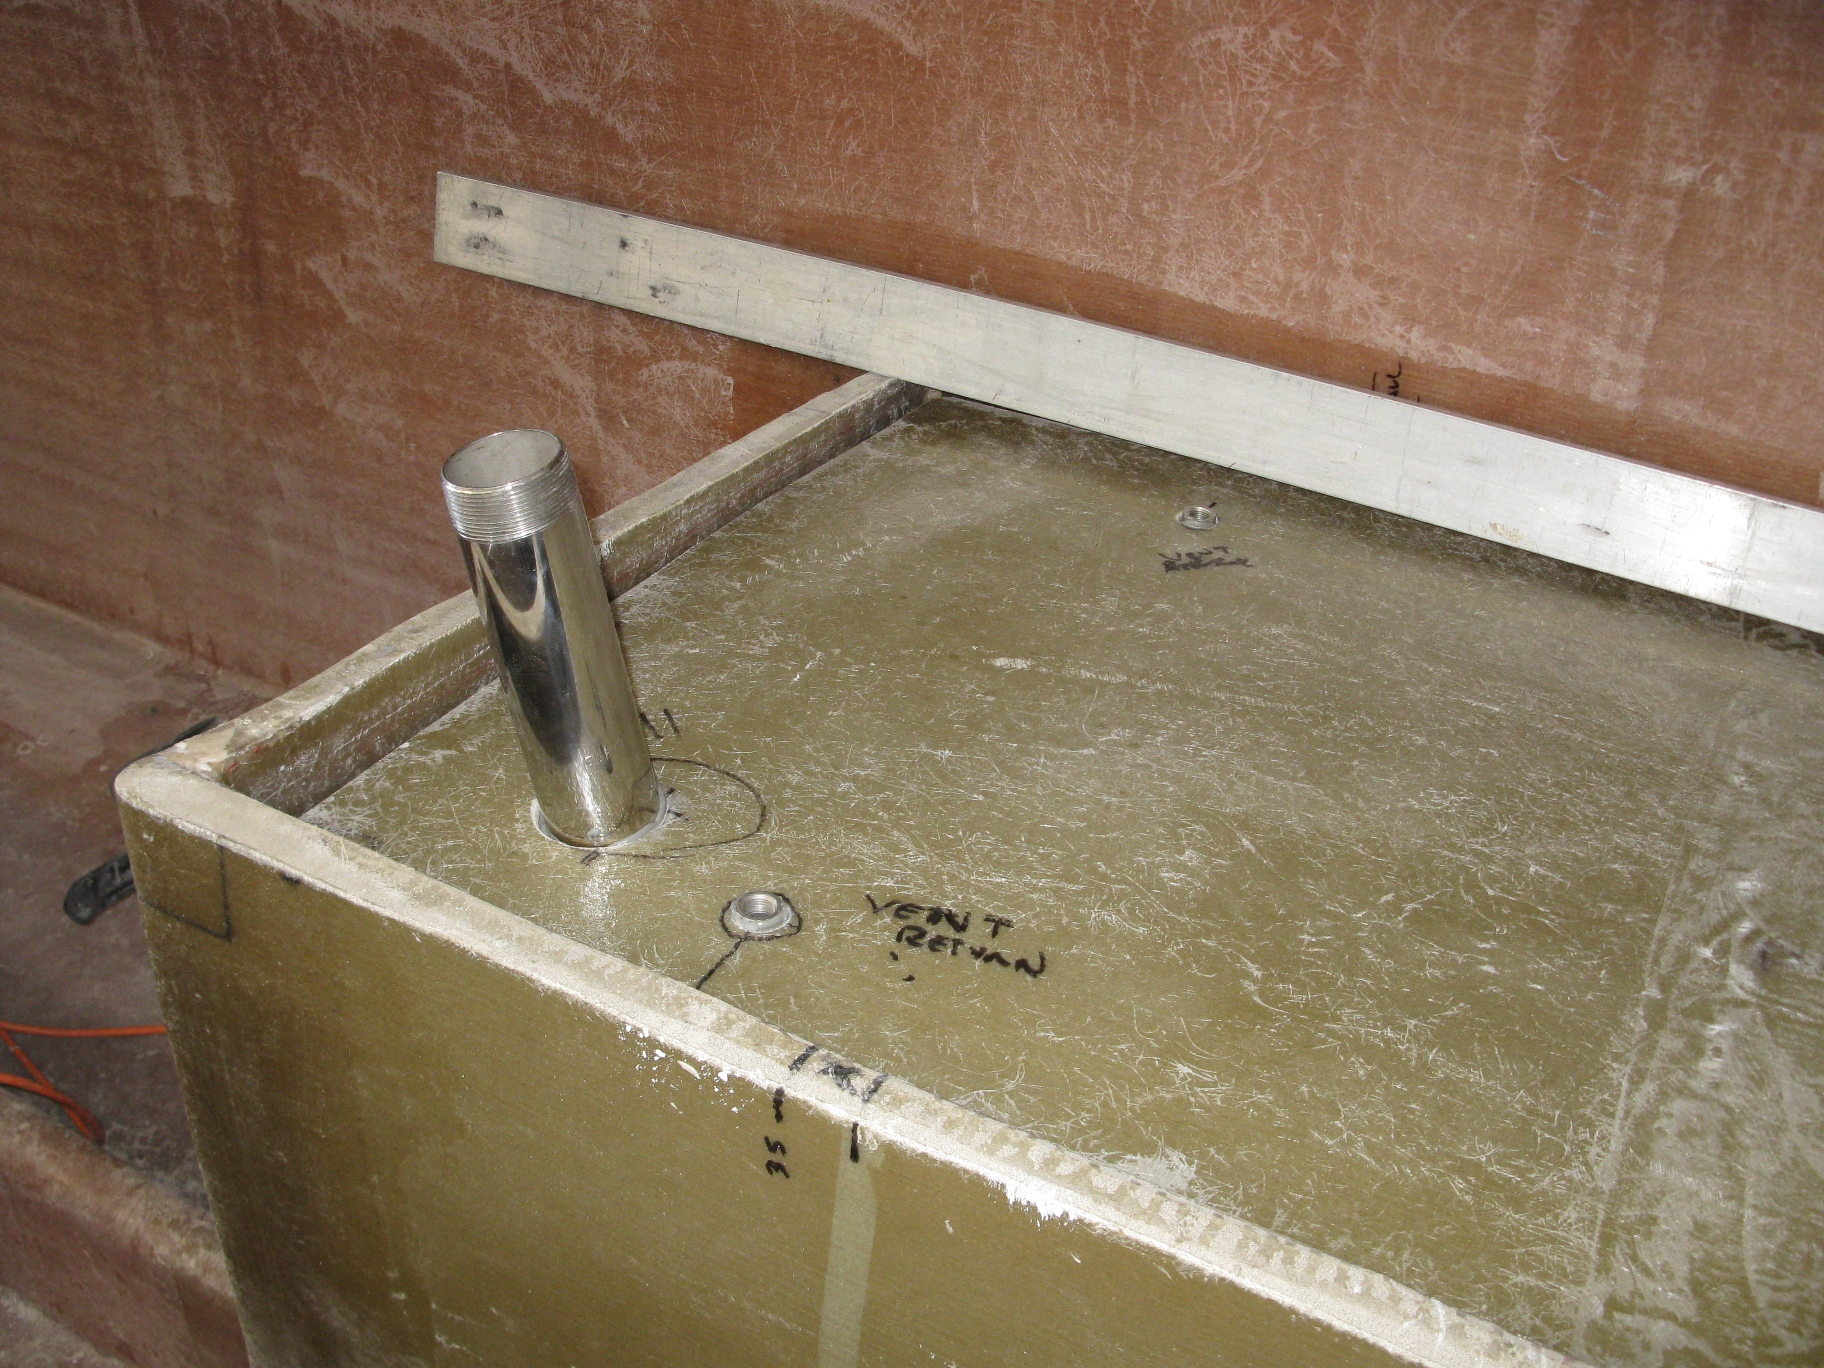
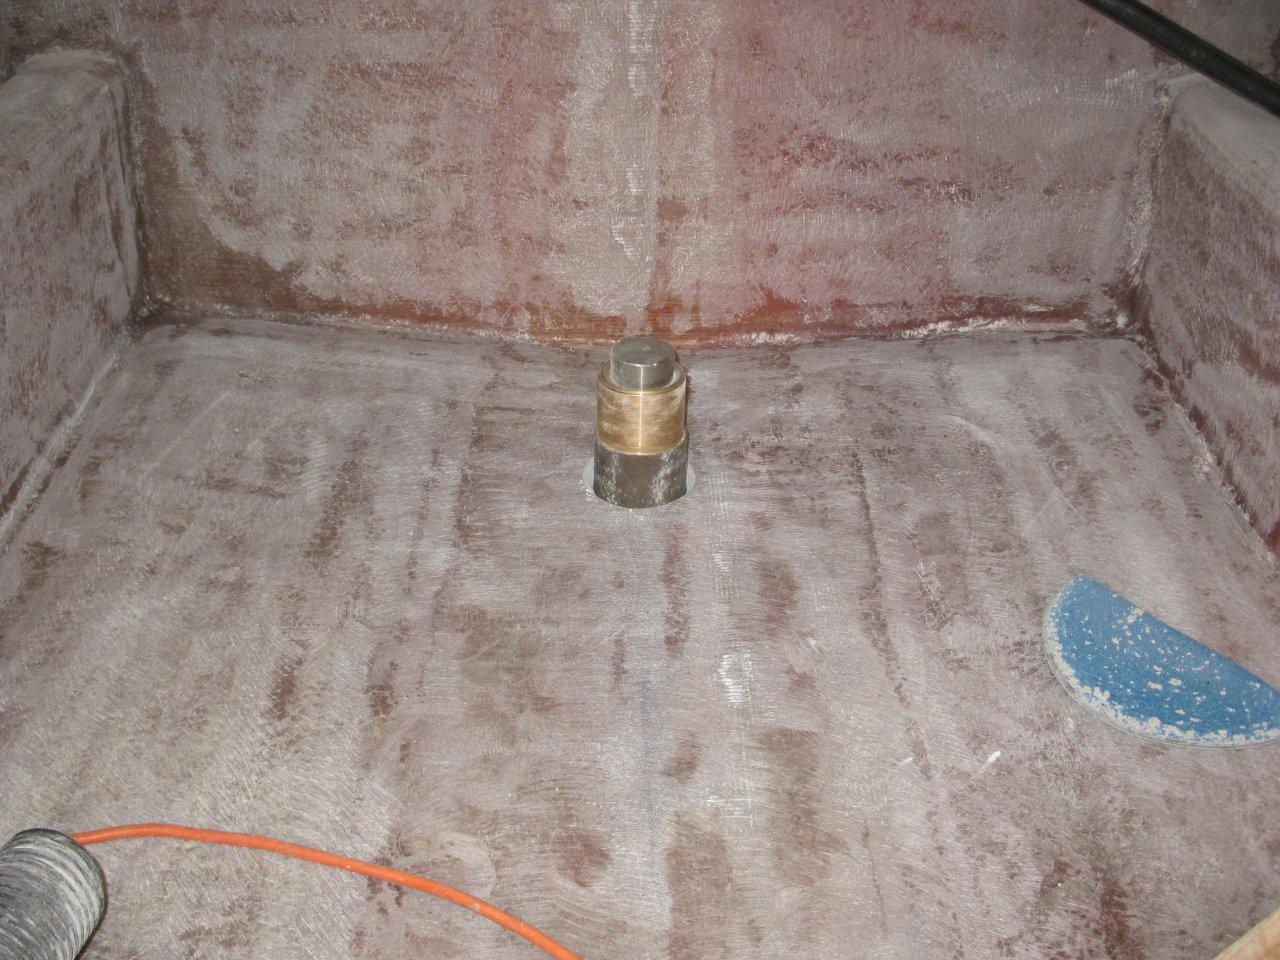
The ALL Important Fuel Pickups


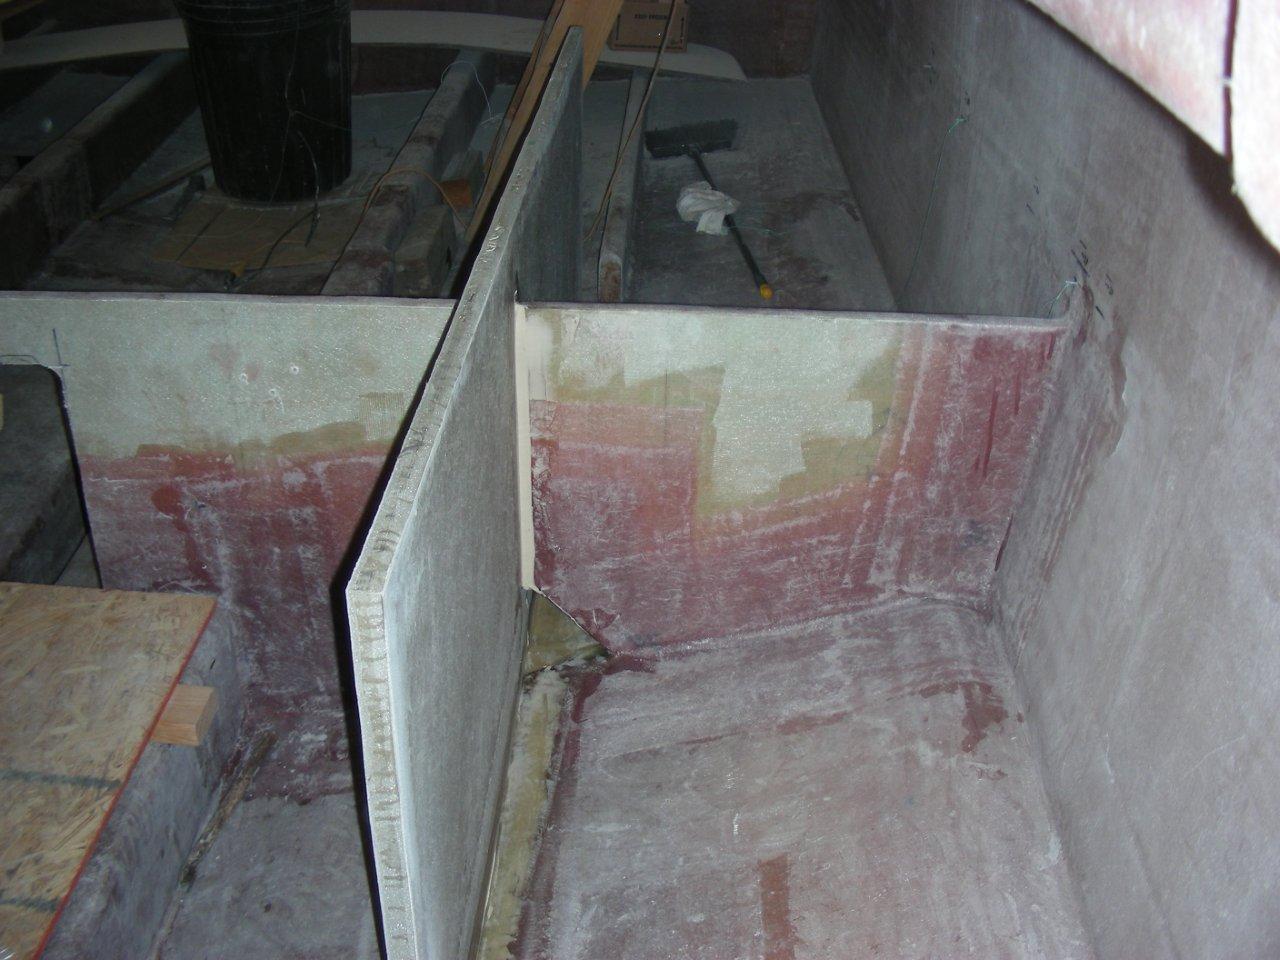
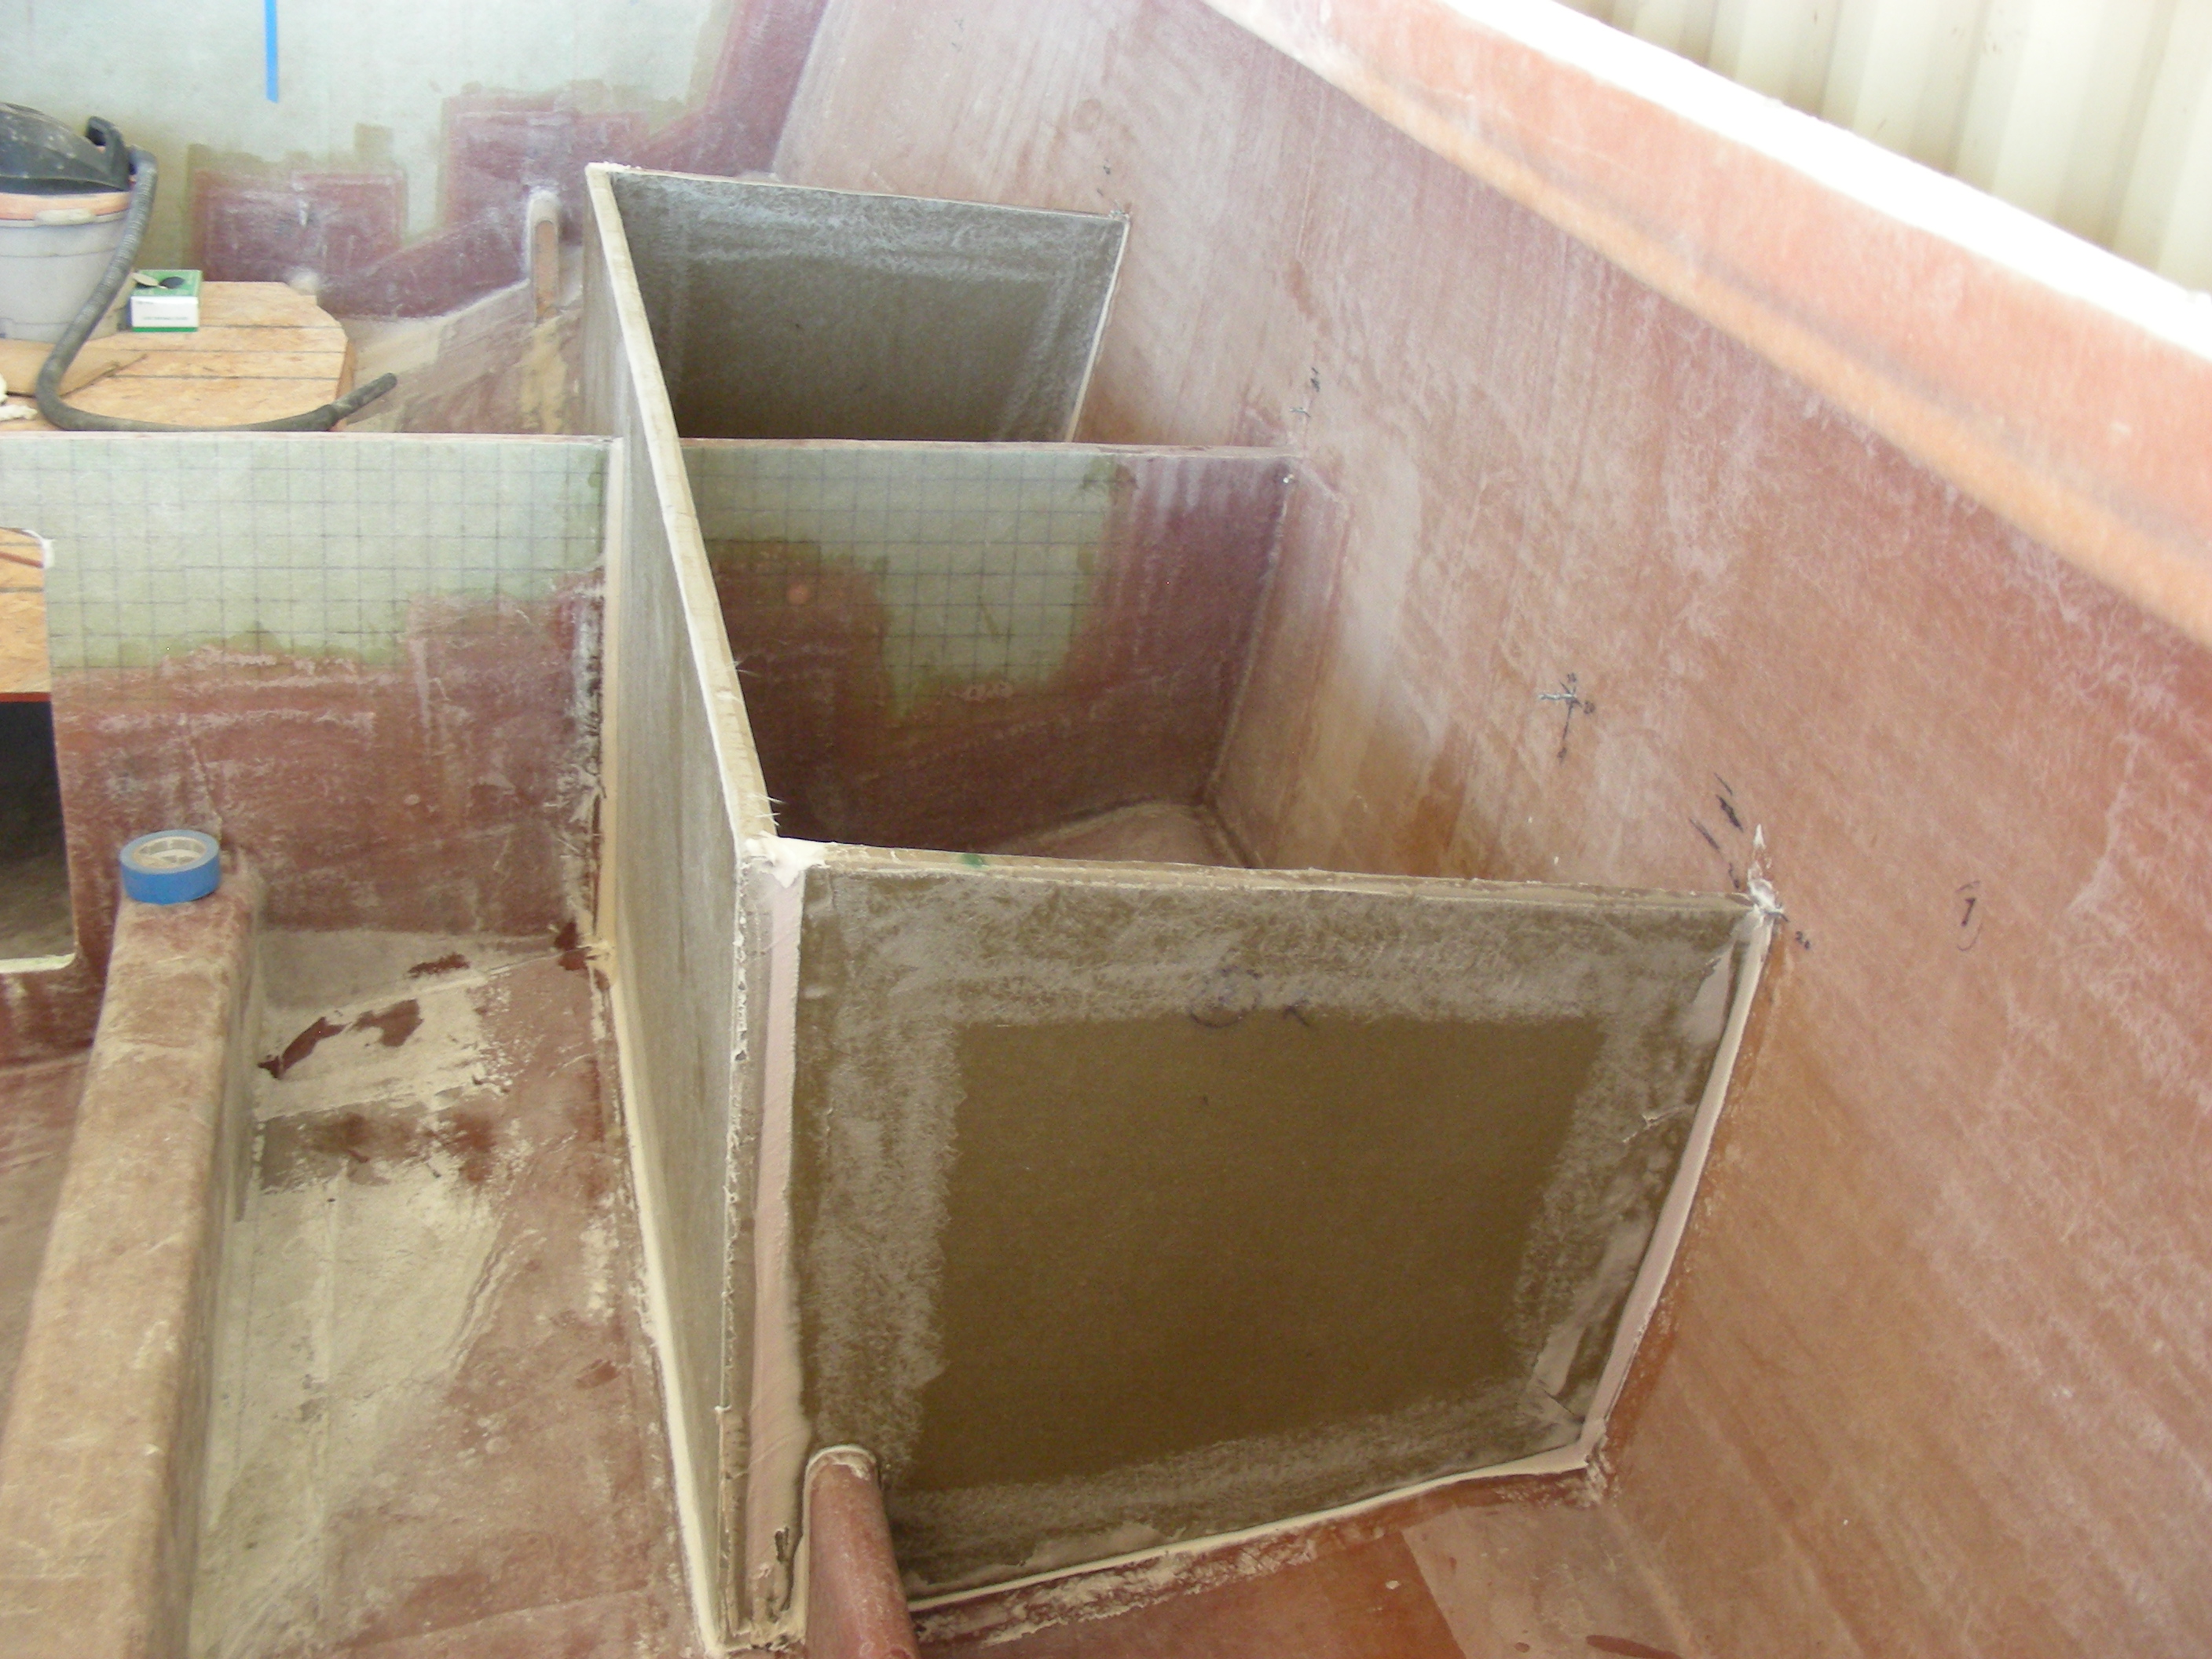
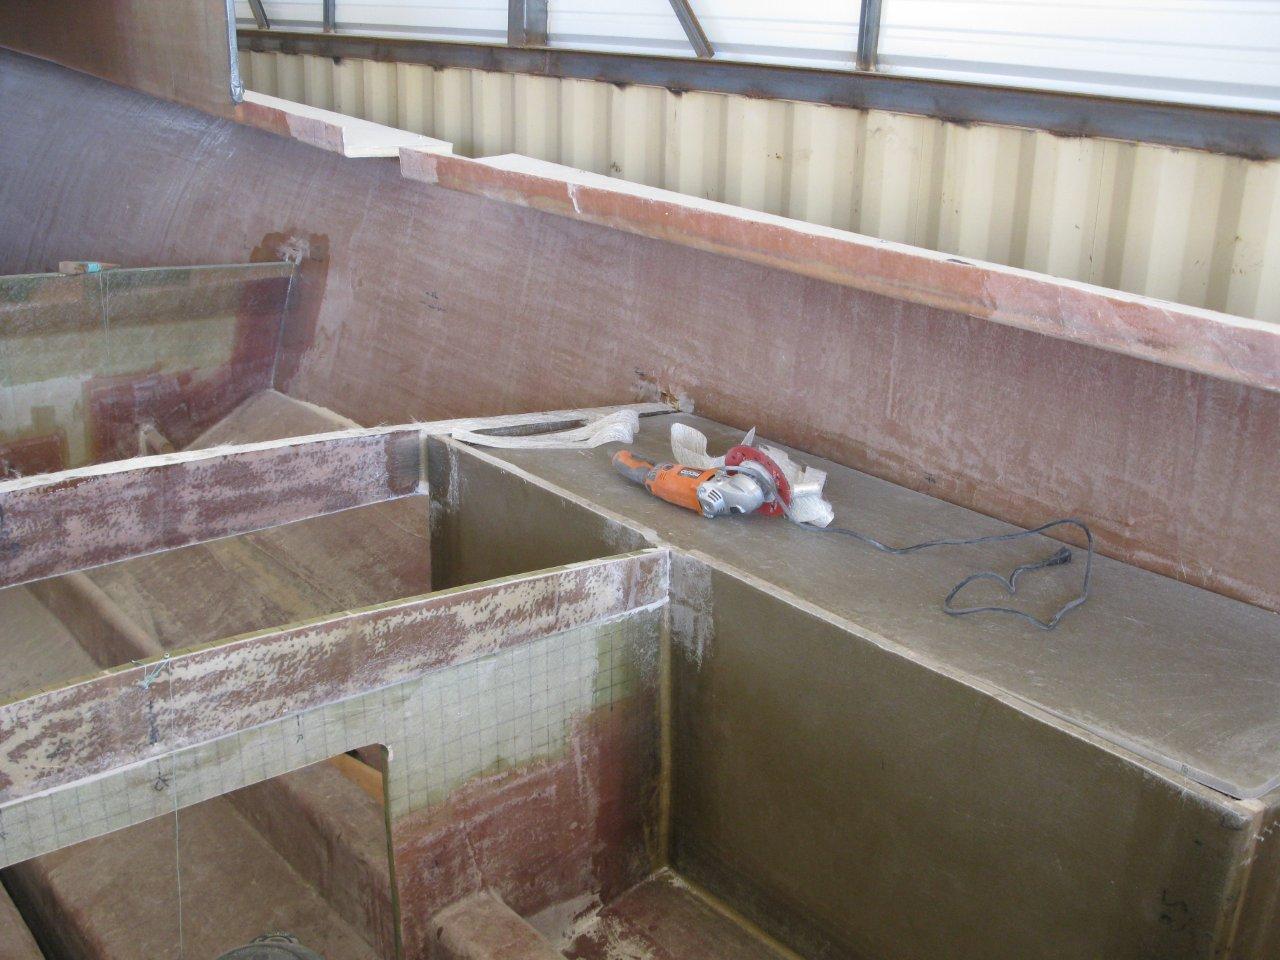
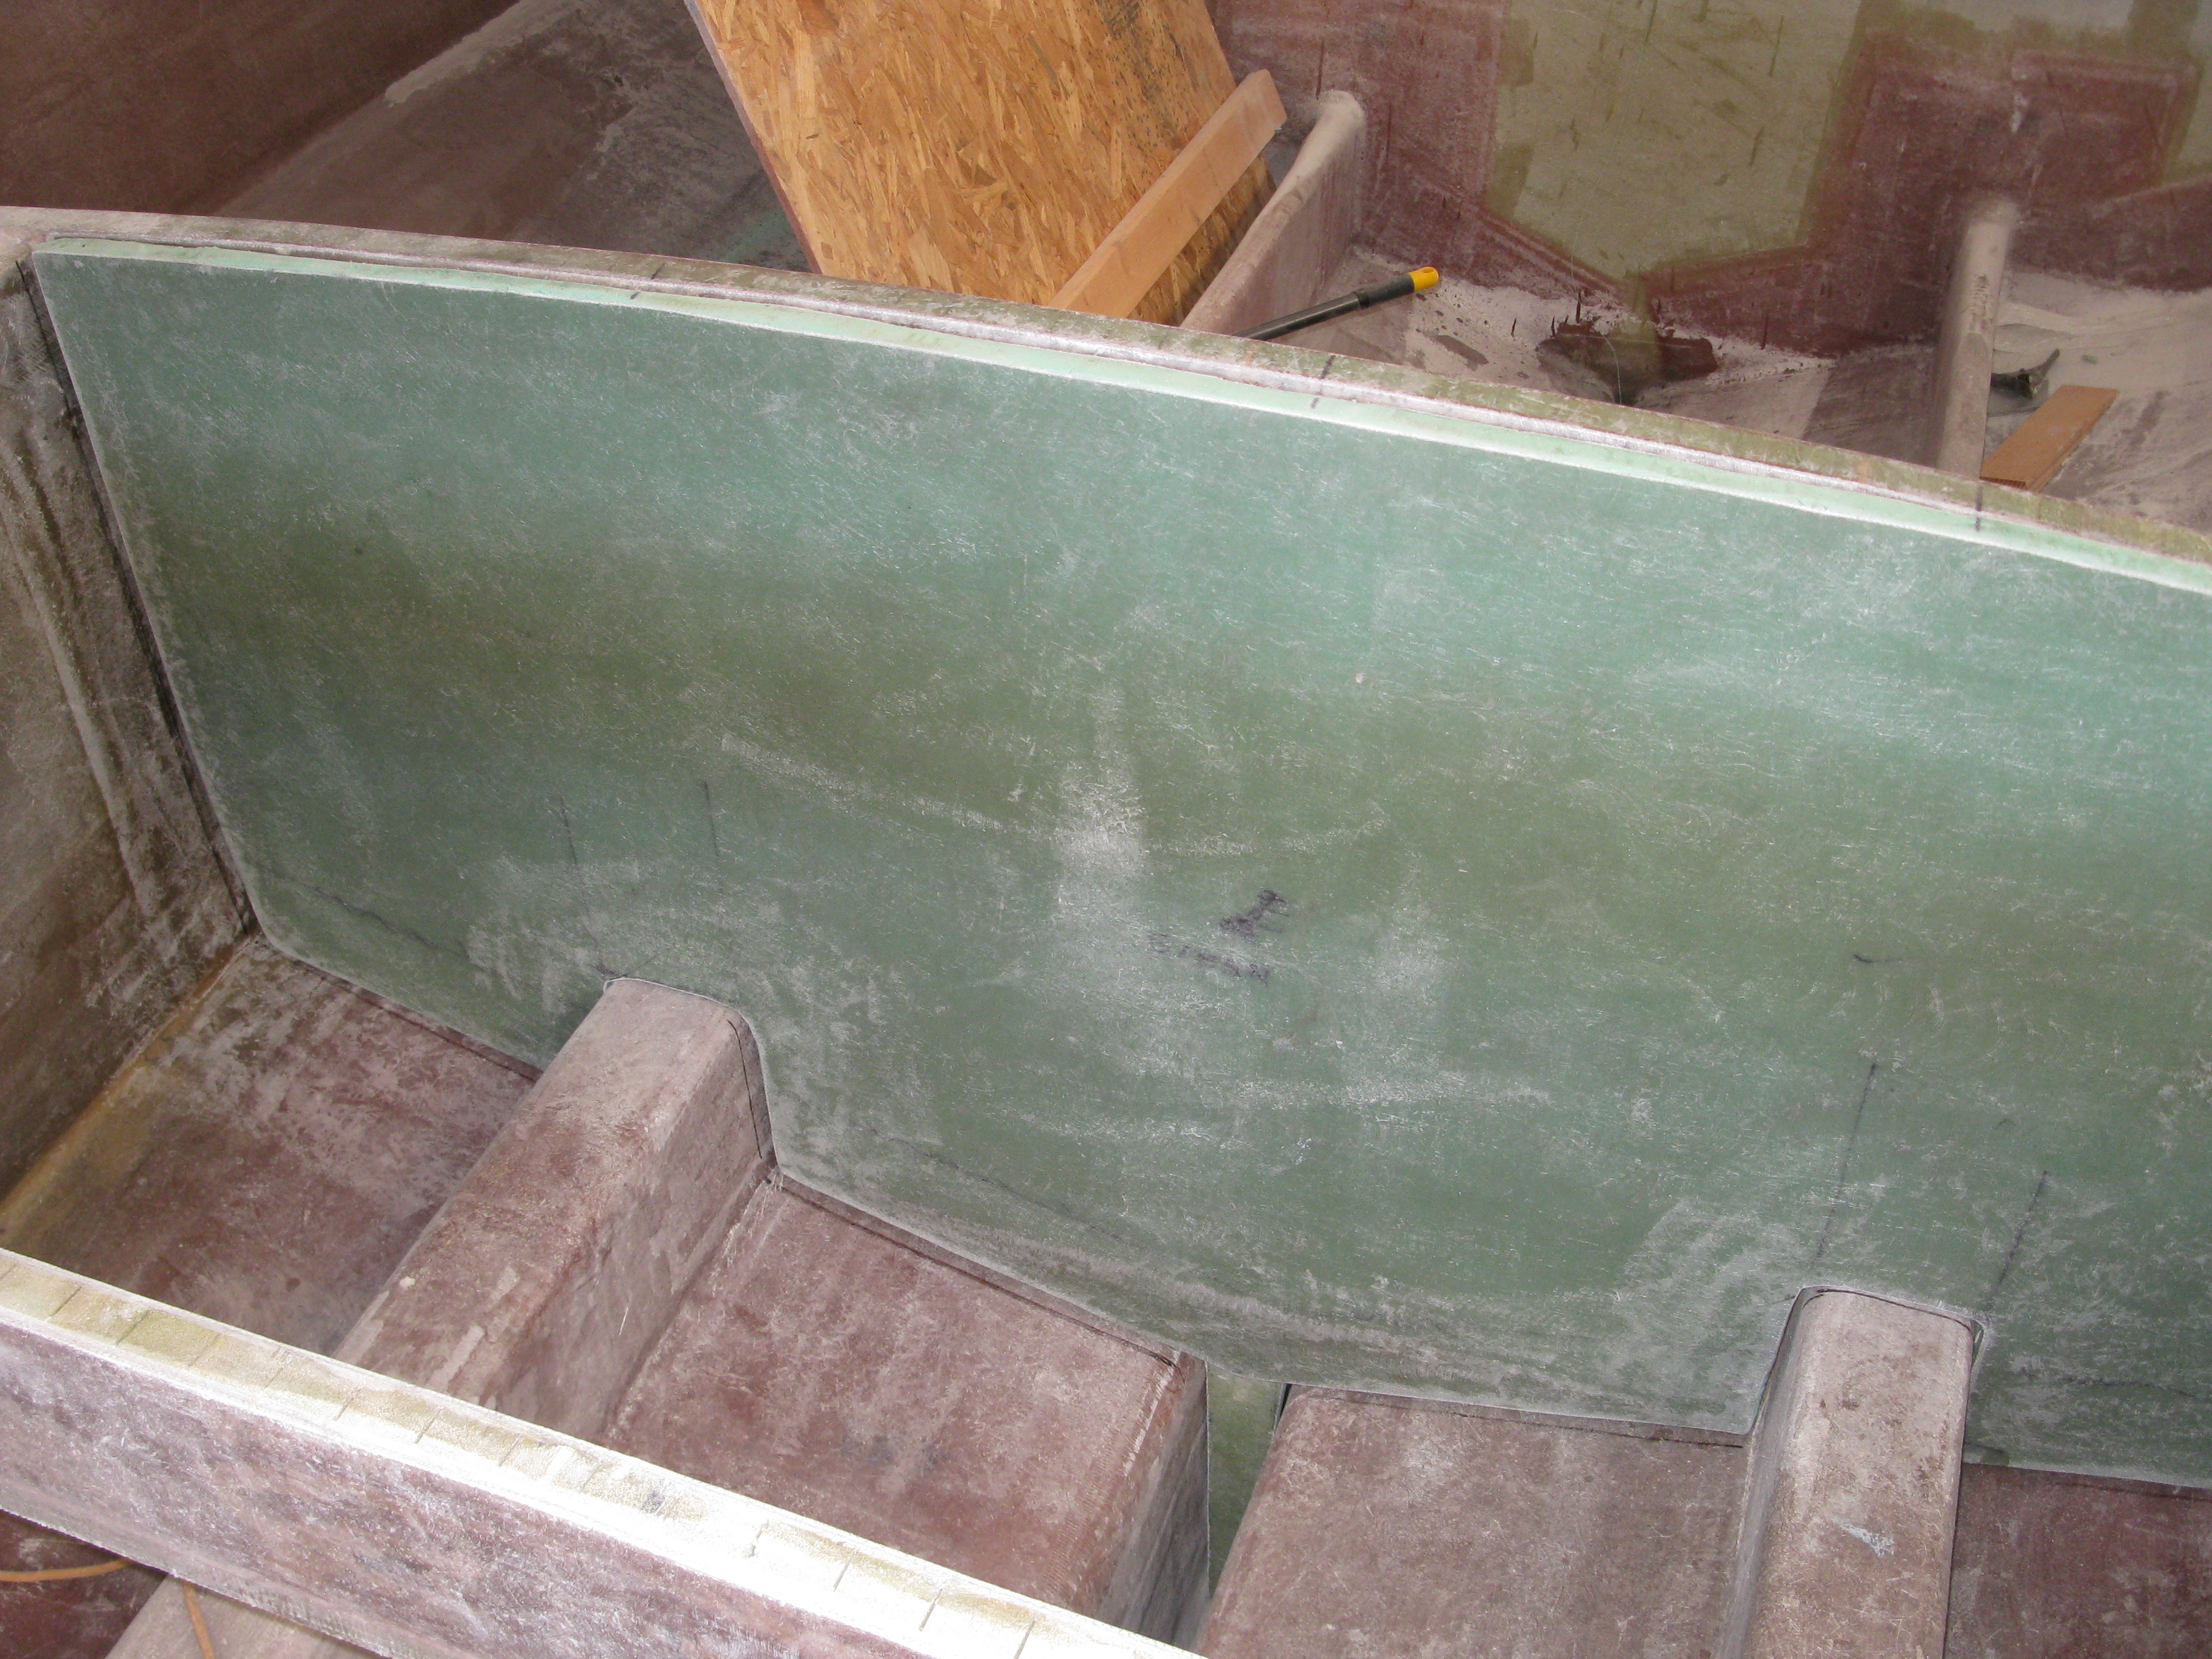
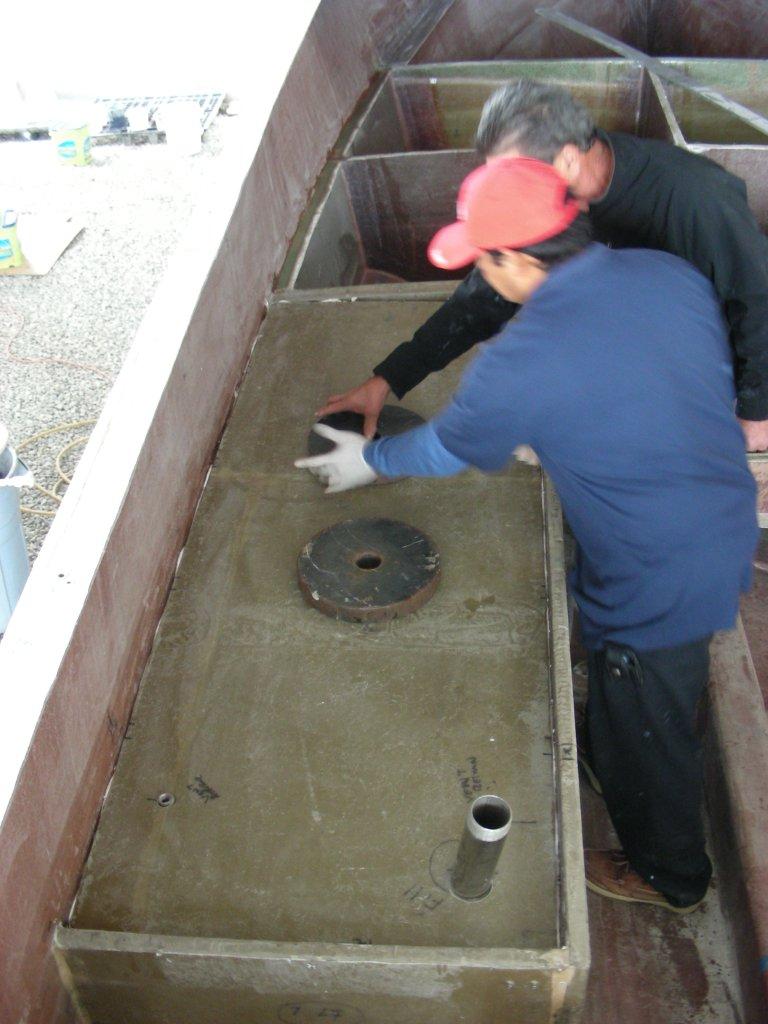
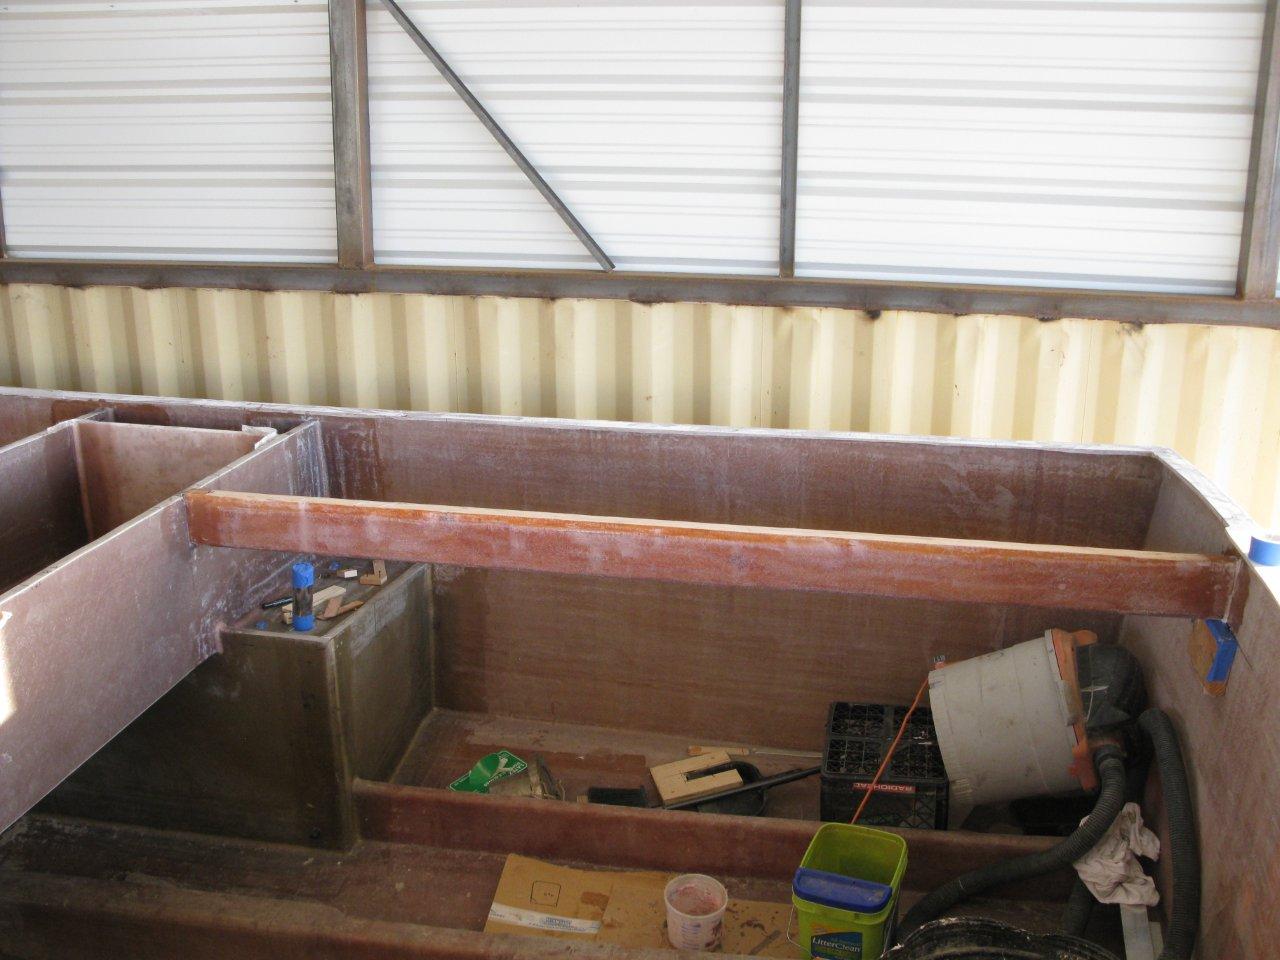
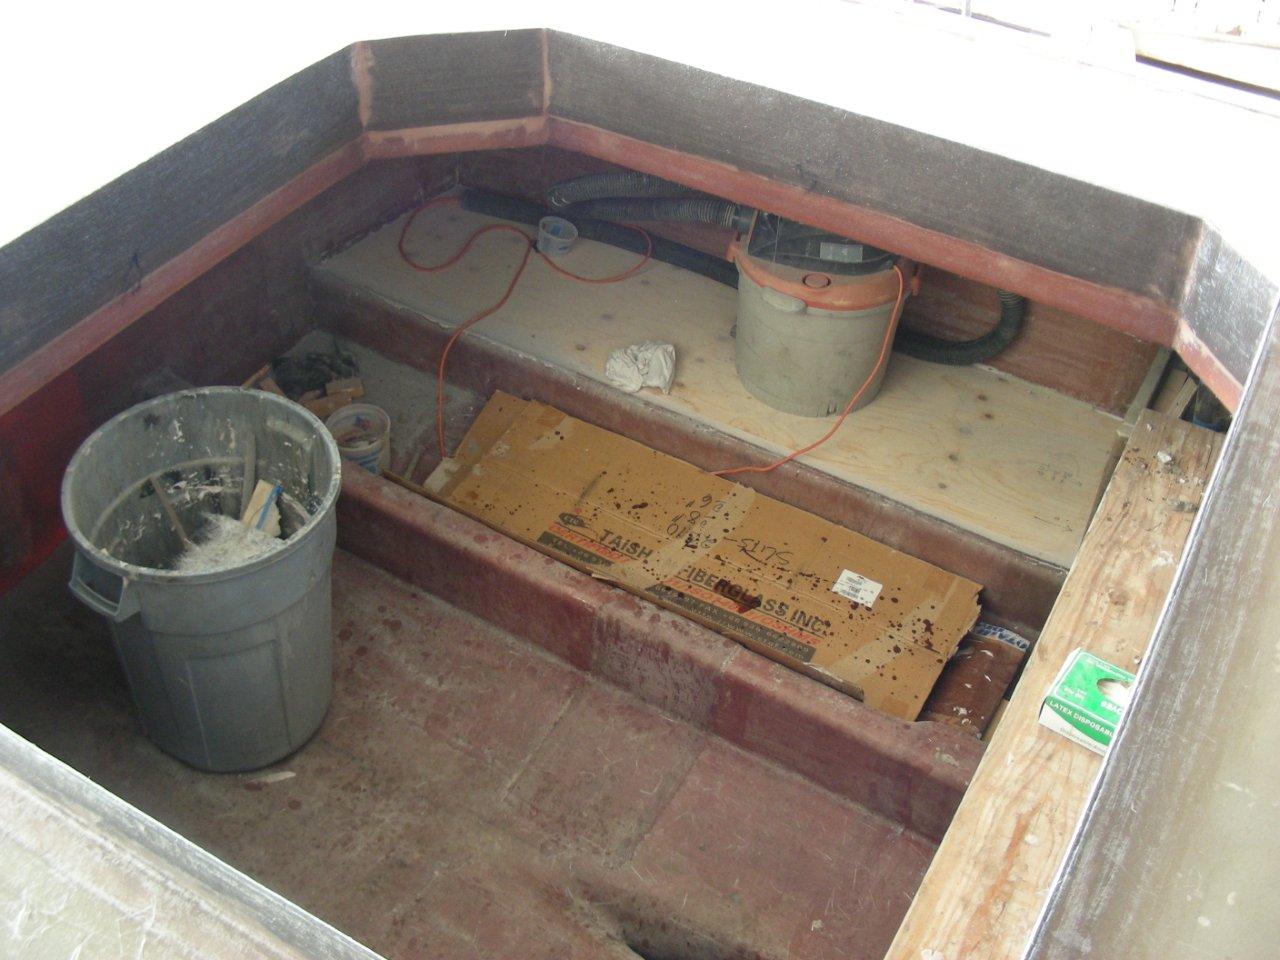
Now the midship fish holds are insulated and glassed. Lots of cutting/fitting/glassing. The project continues to roll along! Scheduled for next week is installing the tank tops and beginning the work on the rear part of the boat.


Next is the first of two upper deck bulkheads being installed.

Deck beams and stern ramp cut out.


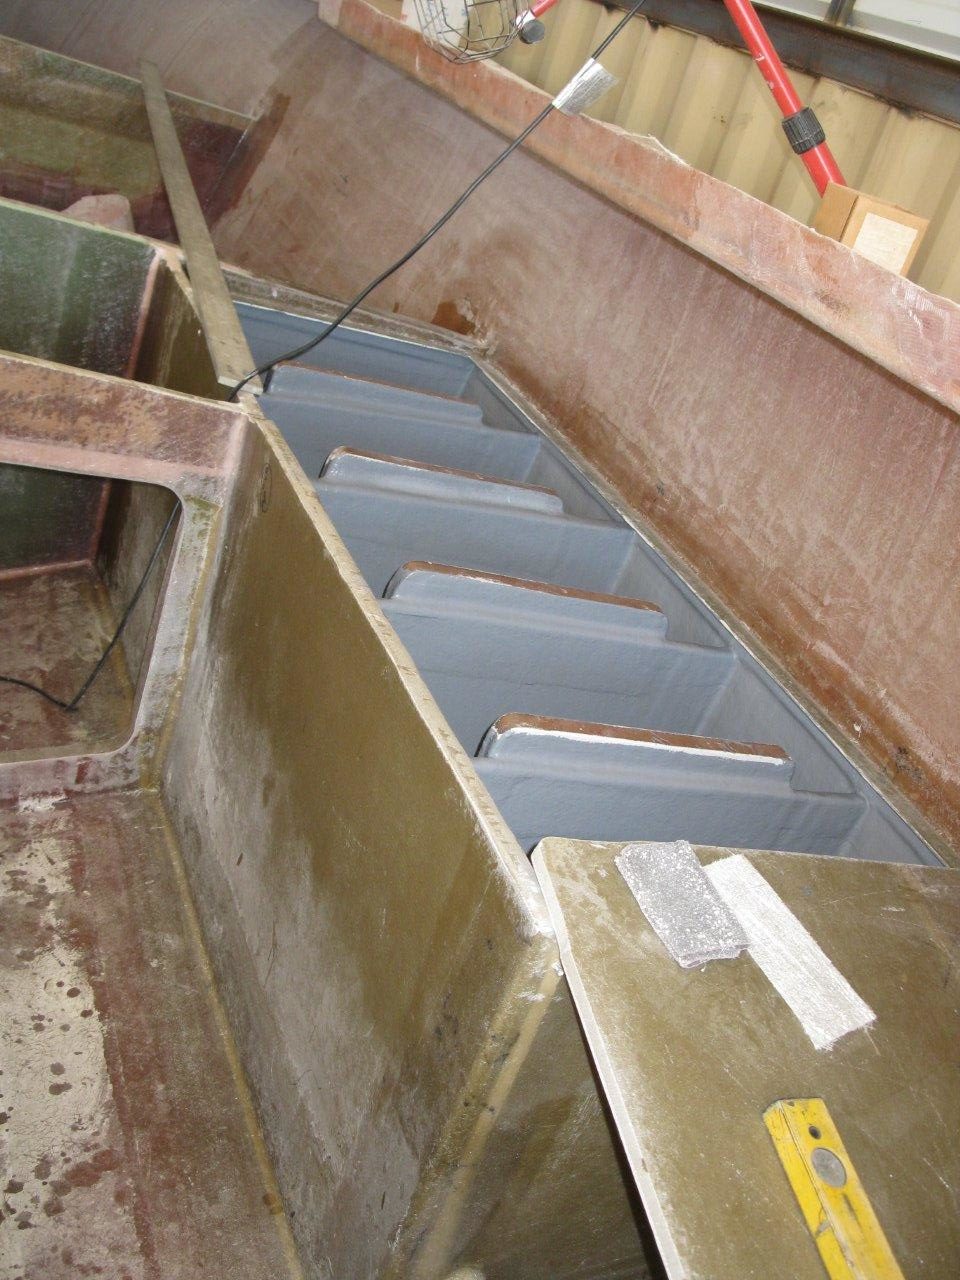
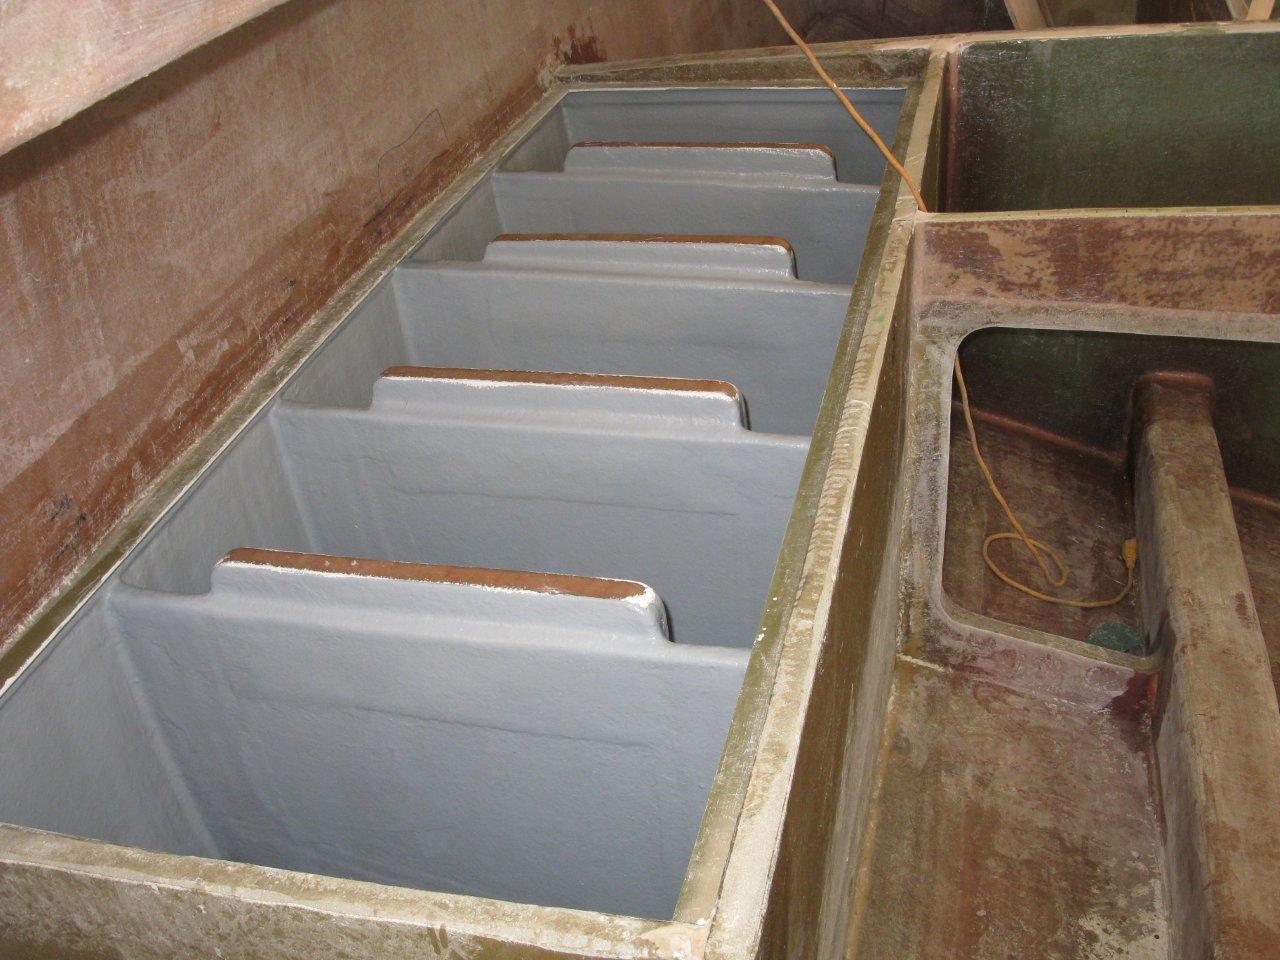
Getting the “structure” right. 5 – wet 50 gallon fish wells and more rear deck bracing.
More structural work on the rear deck. Work will begin on the forward upper deck over the wet holds.


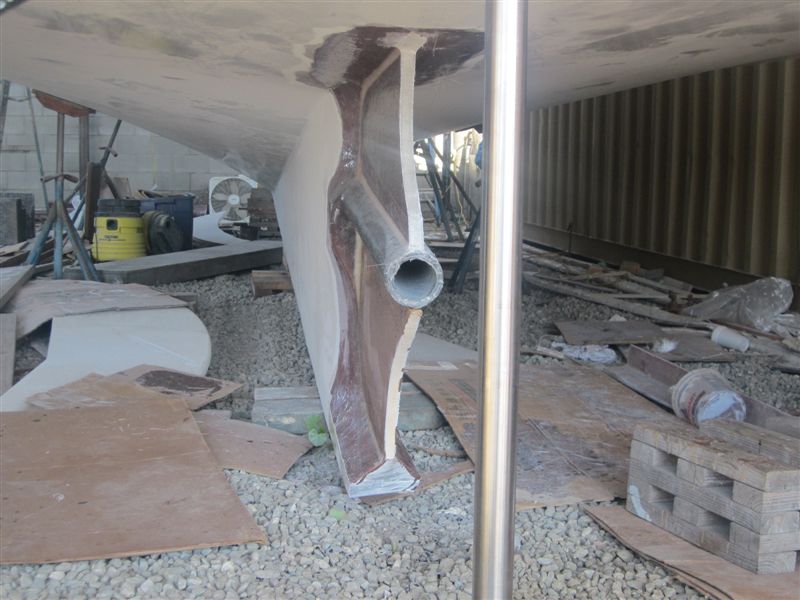
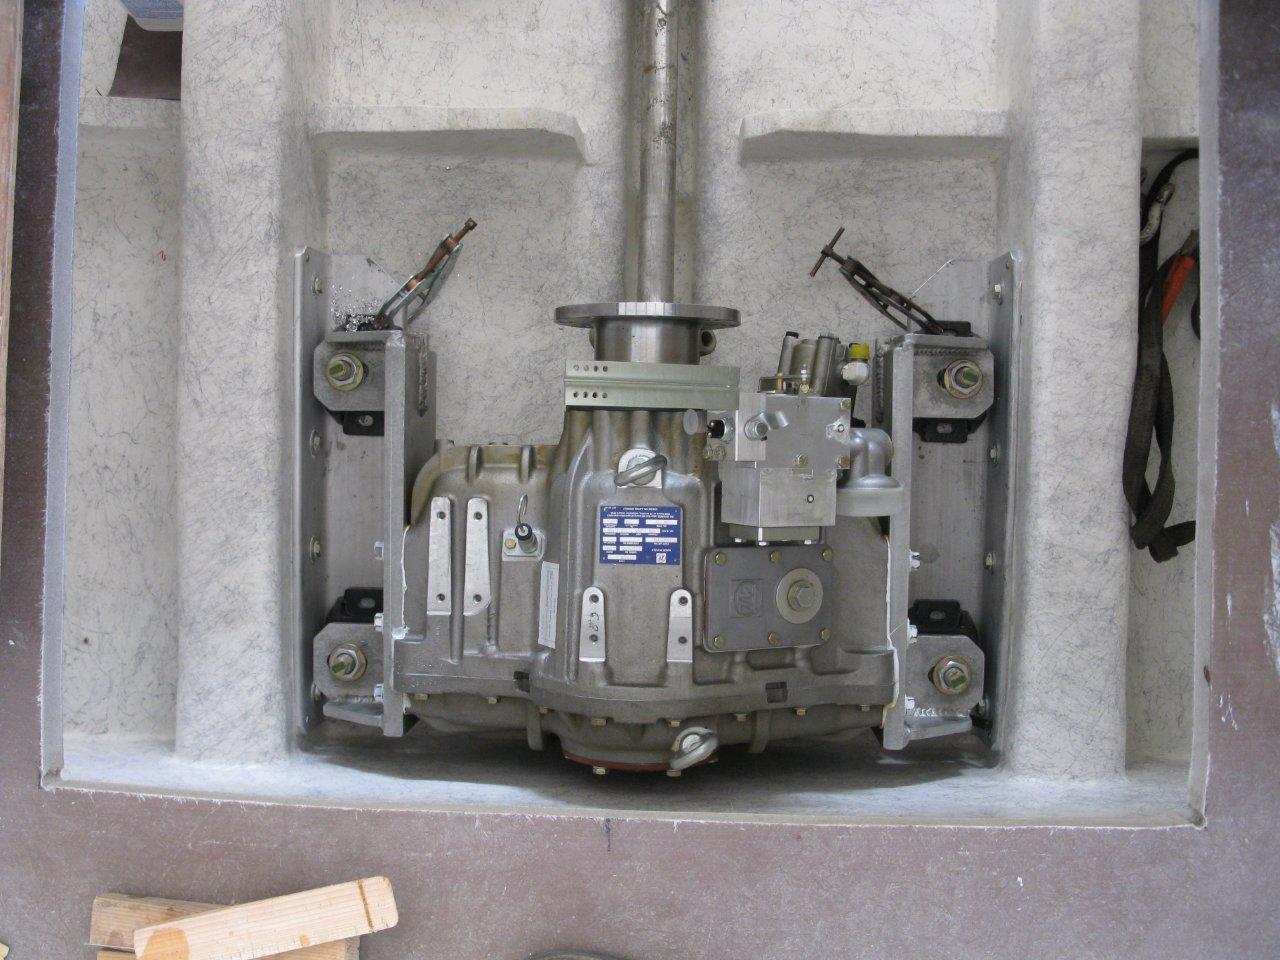
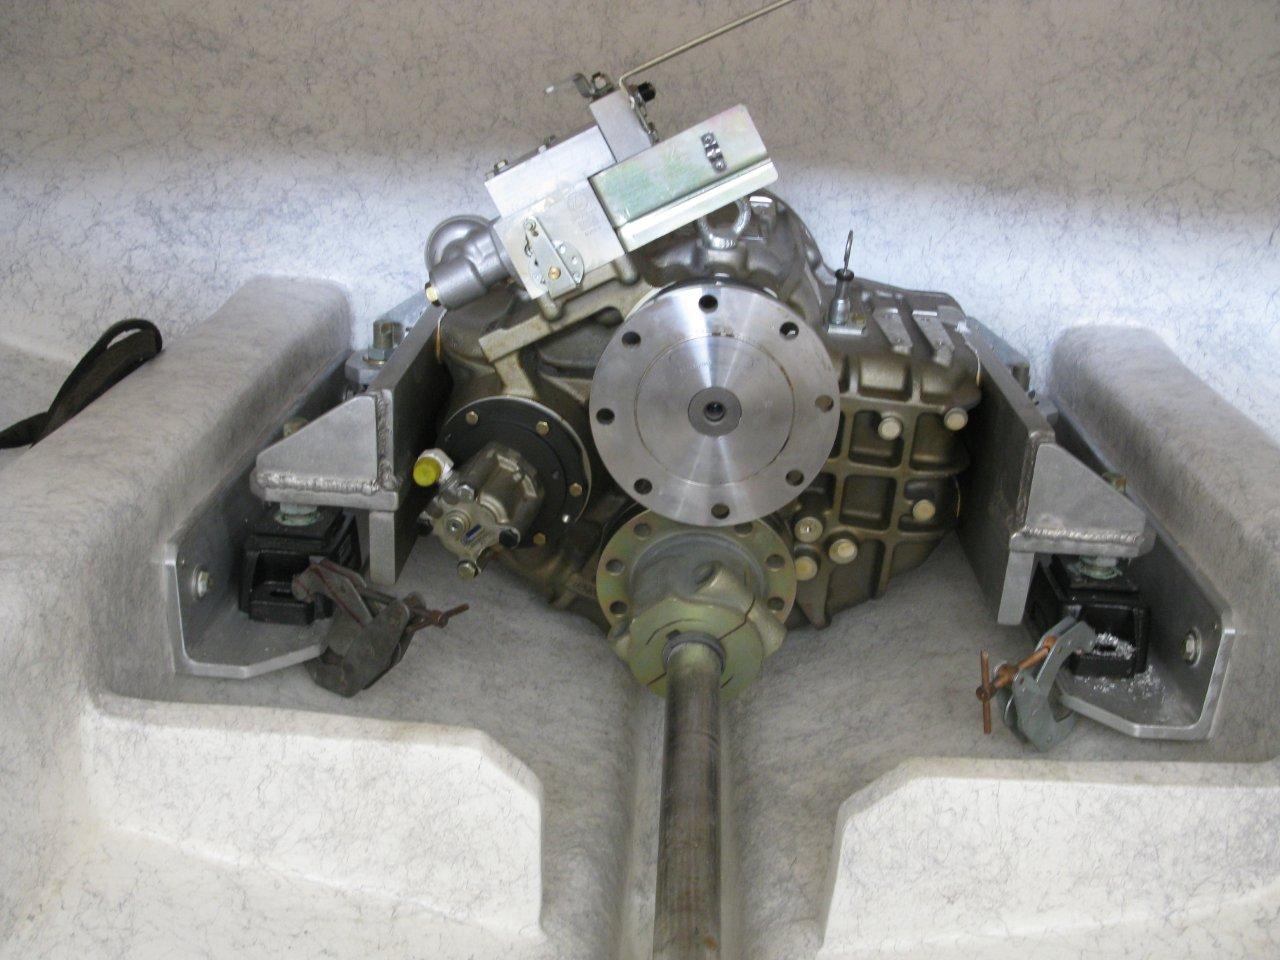
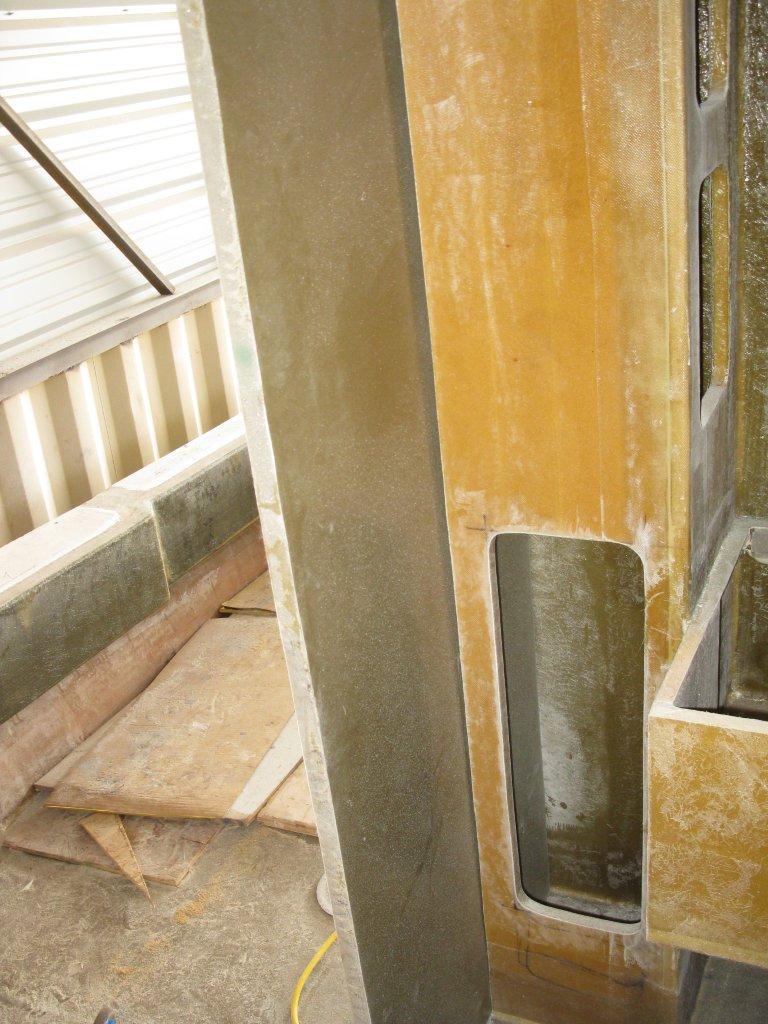
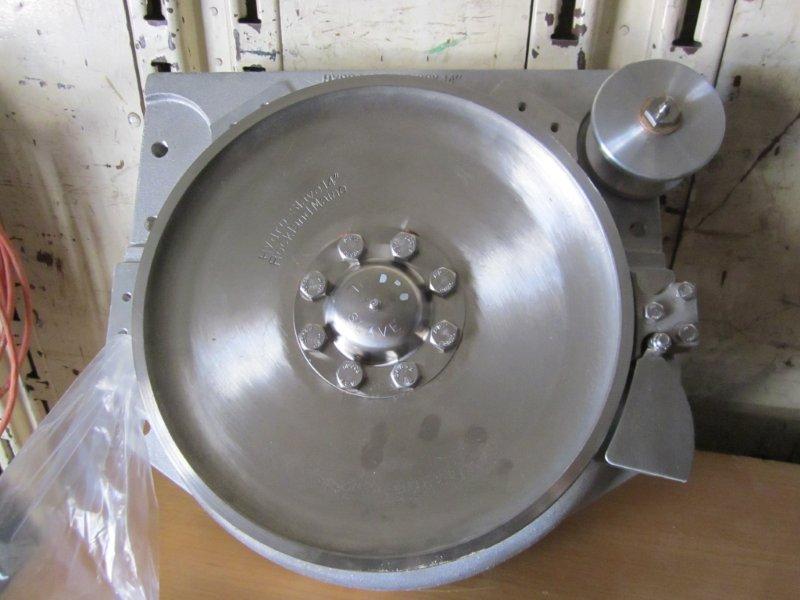
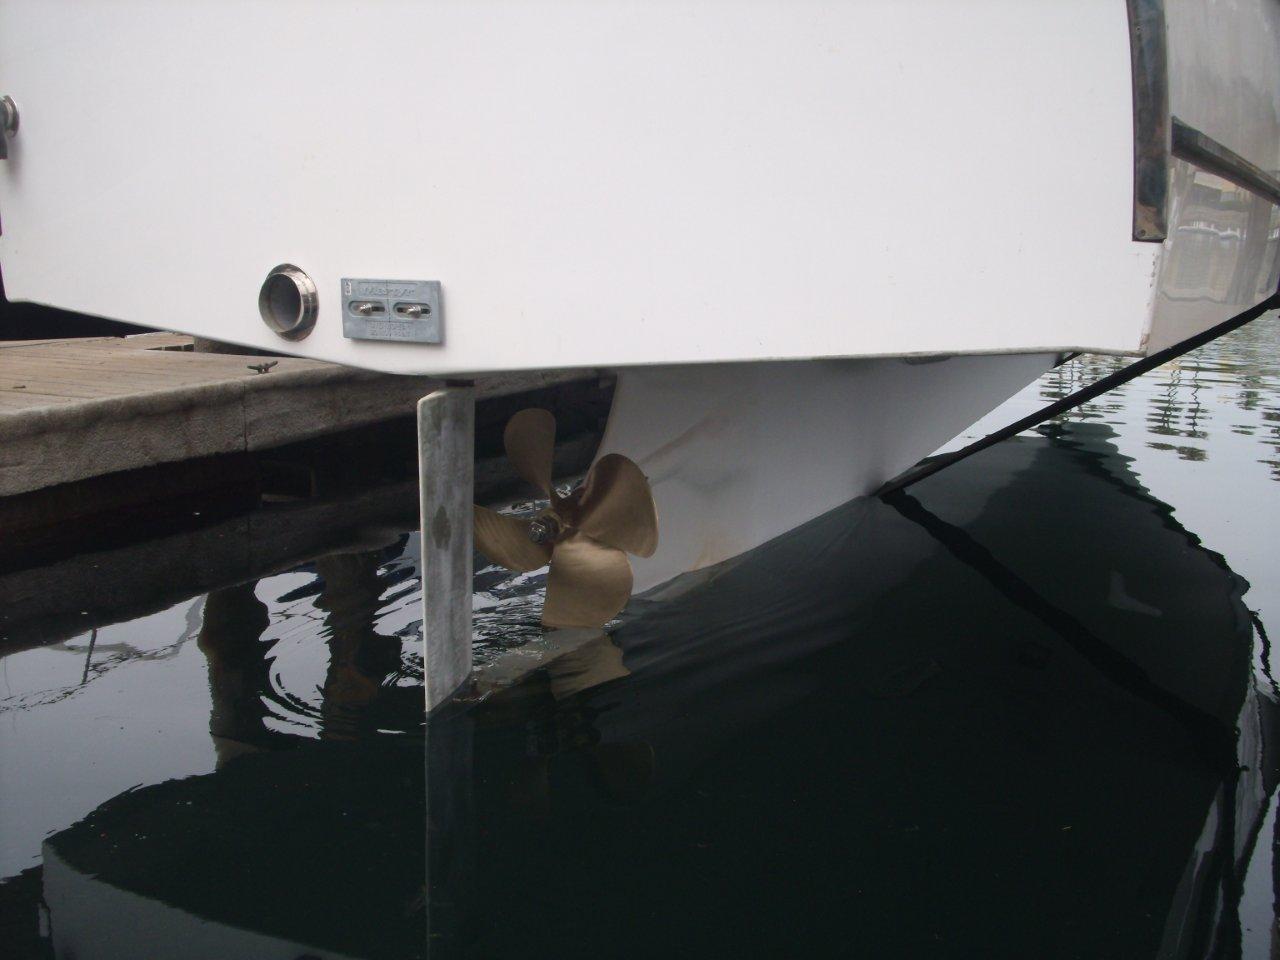
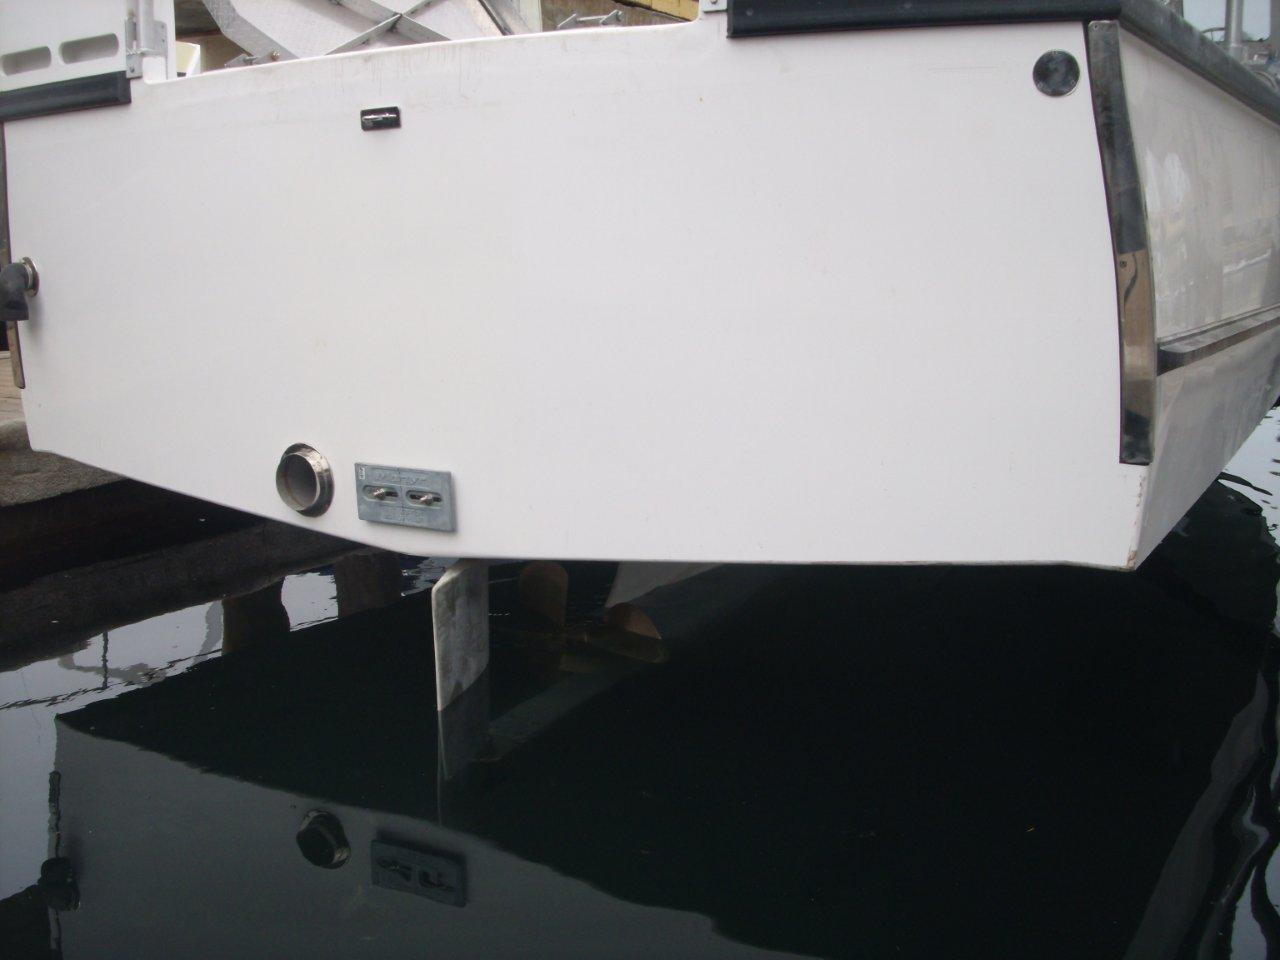
ZF 370 V-drive and shaft & shaft tube mock up
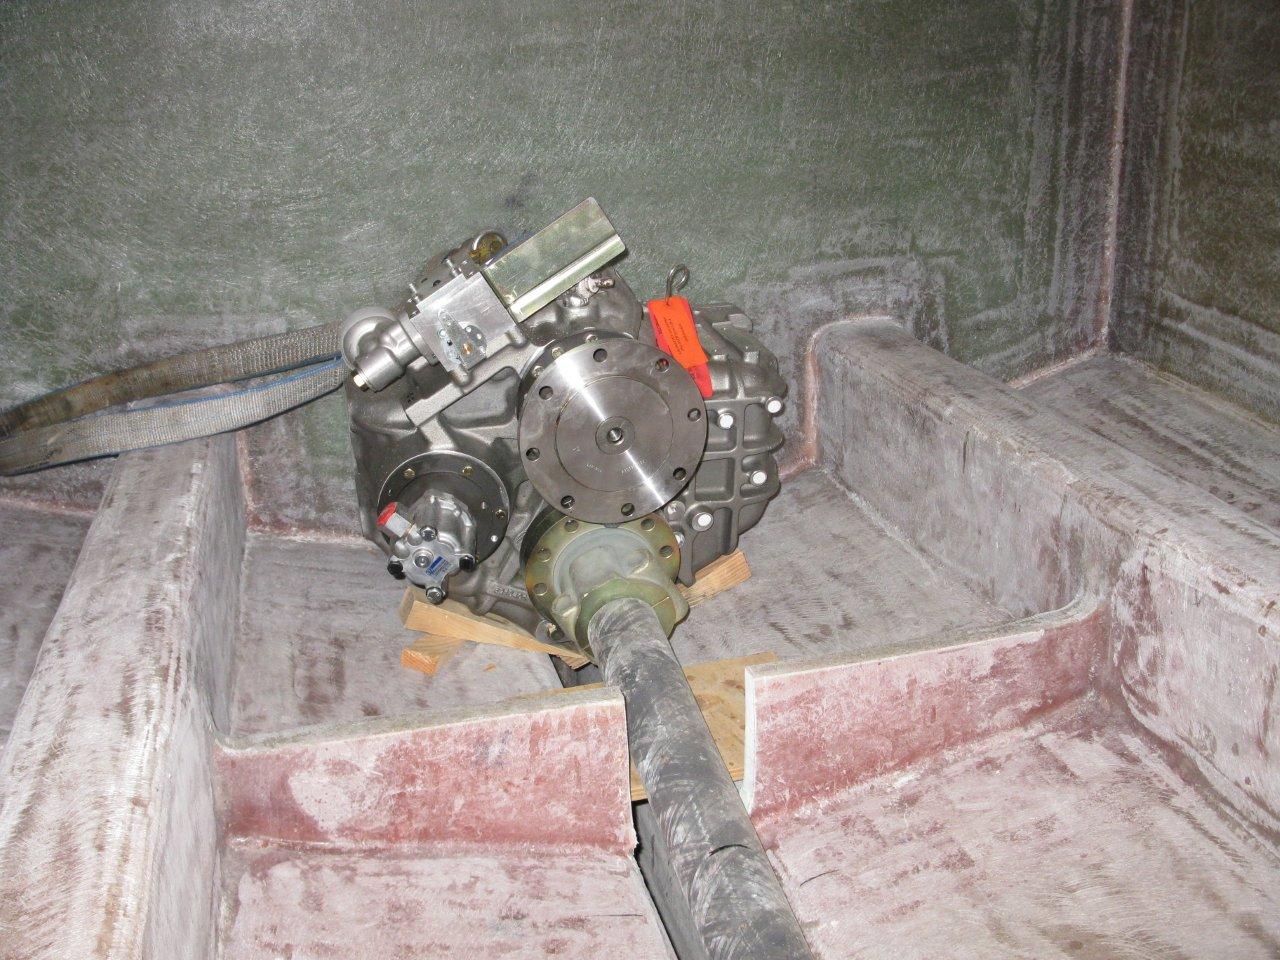
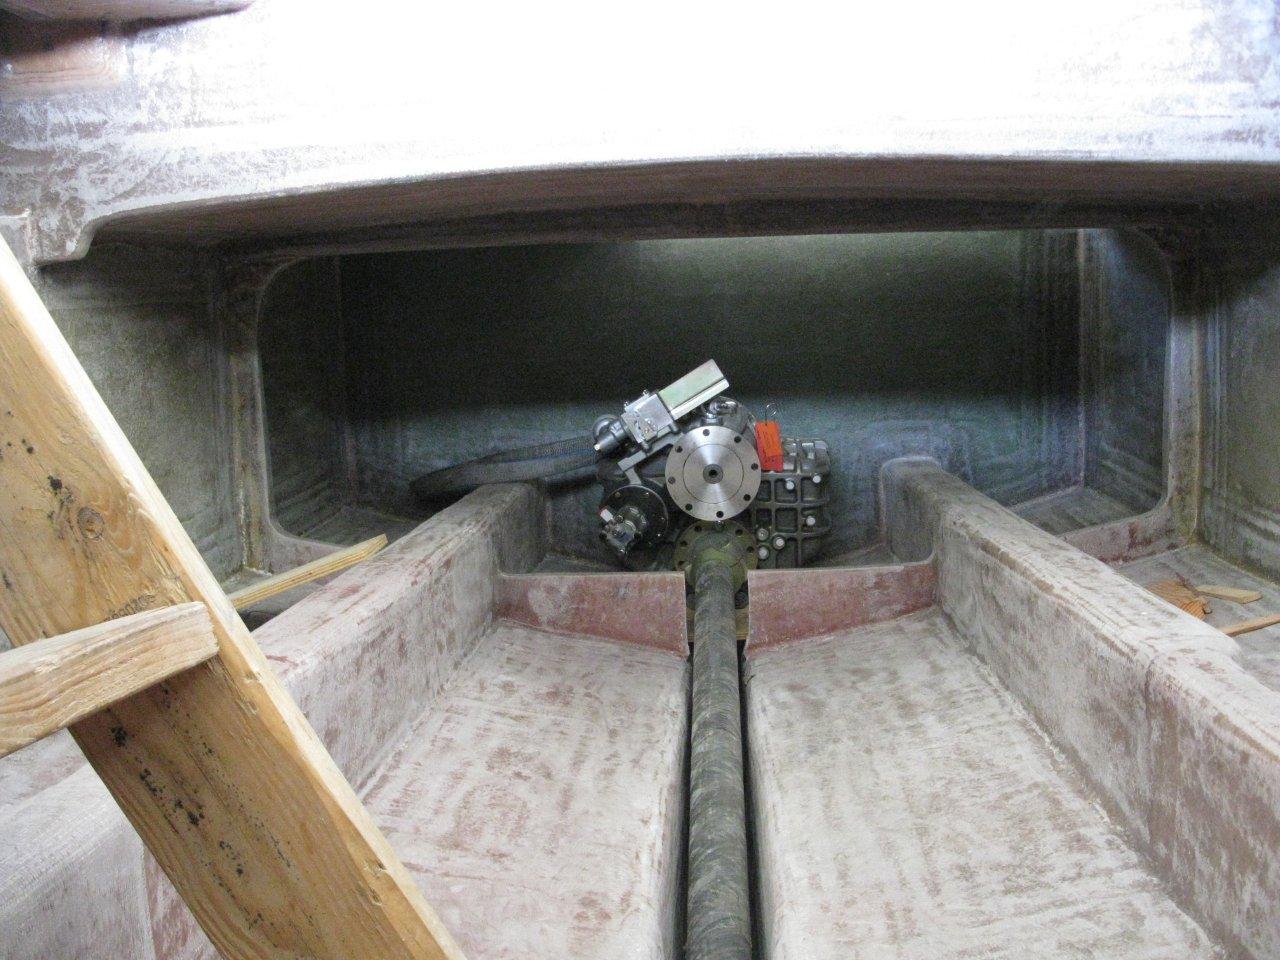
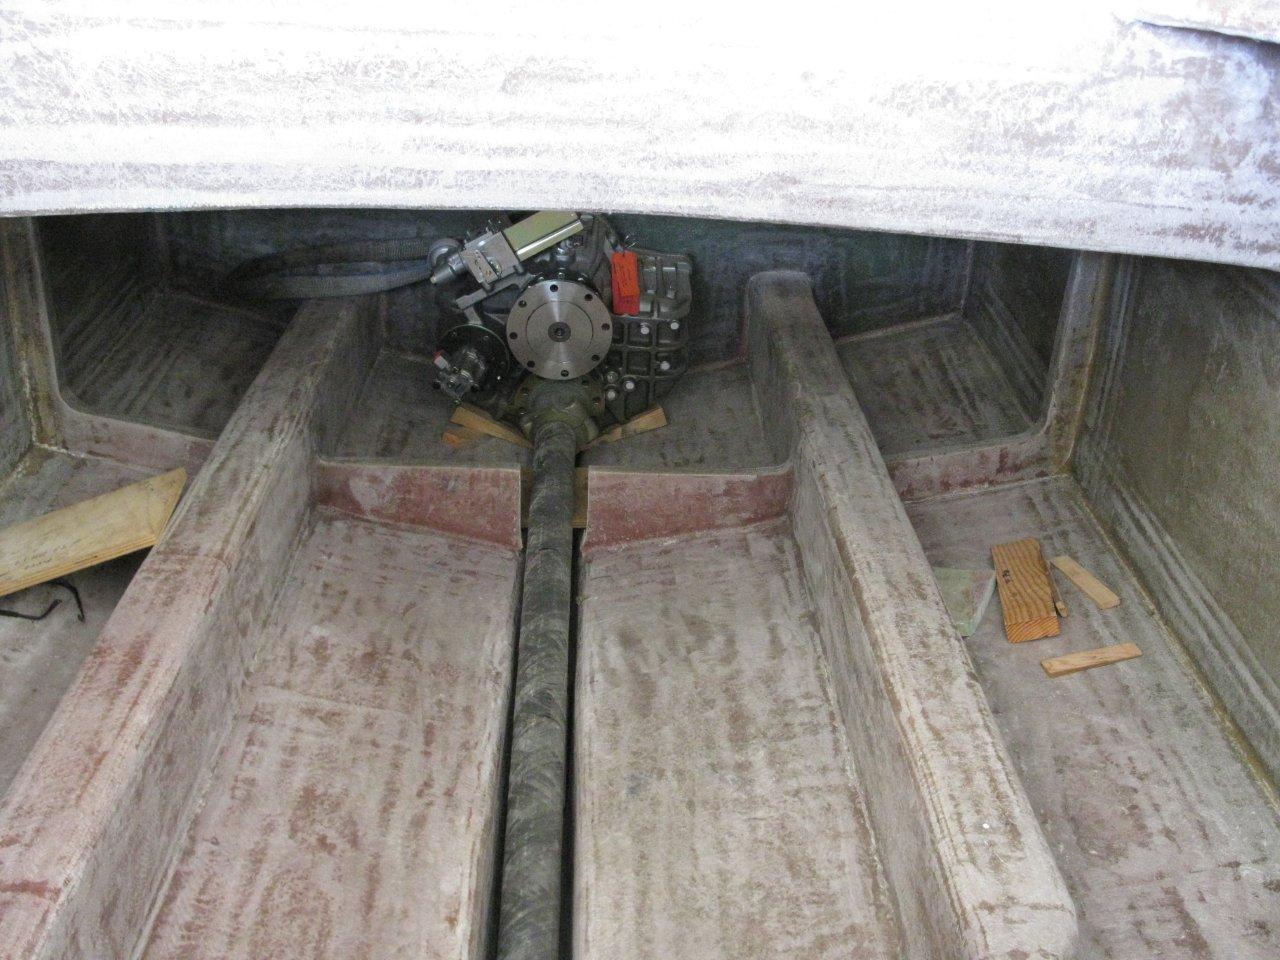
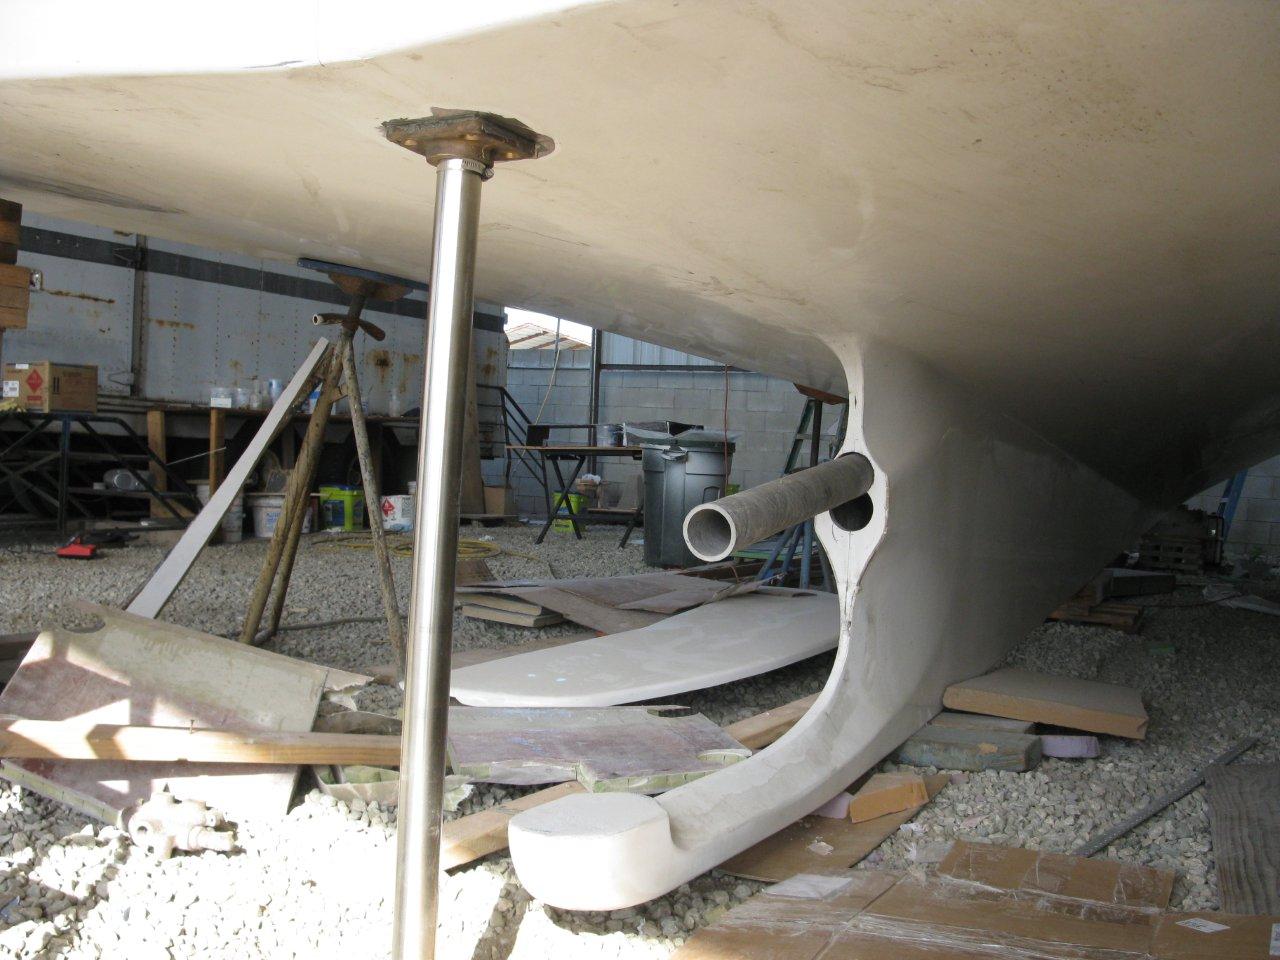

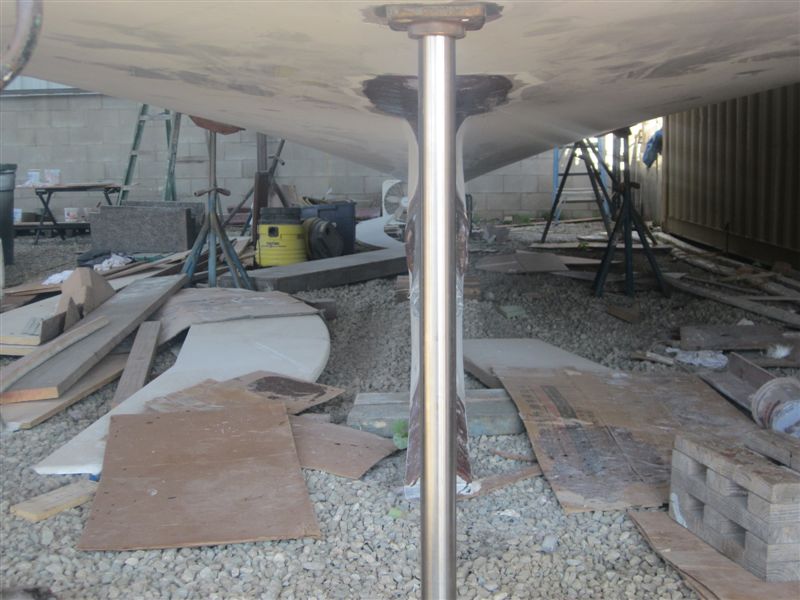
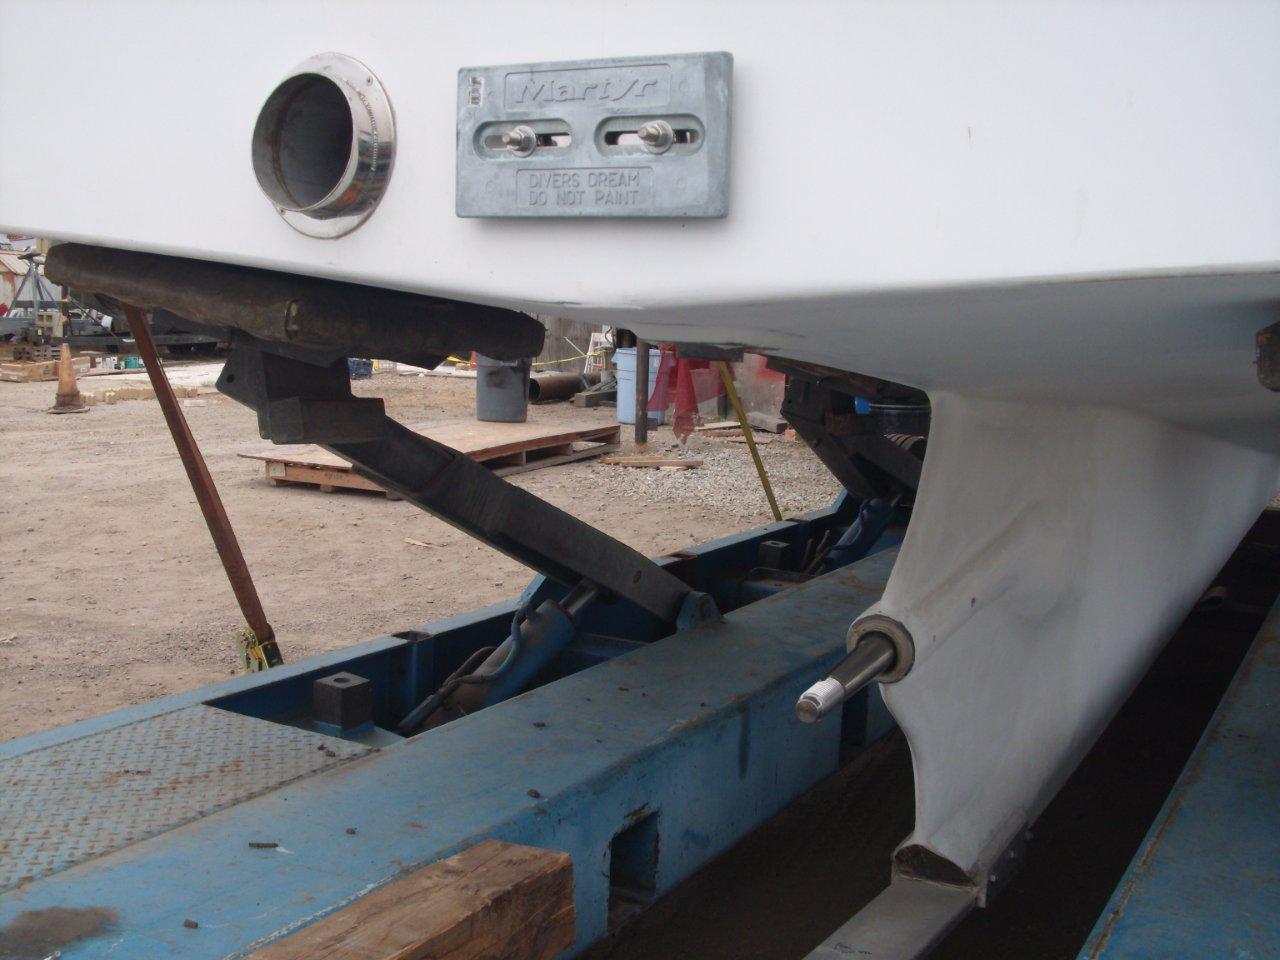
Shaft tube & keel sculpting

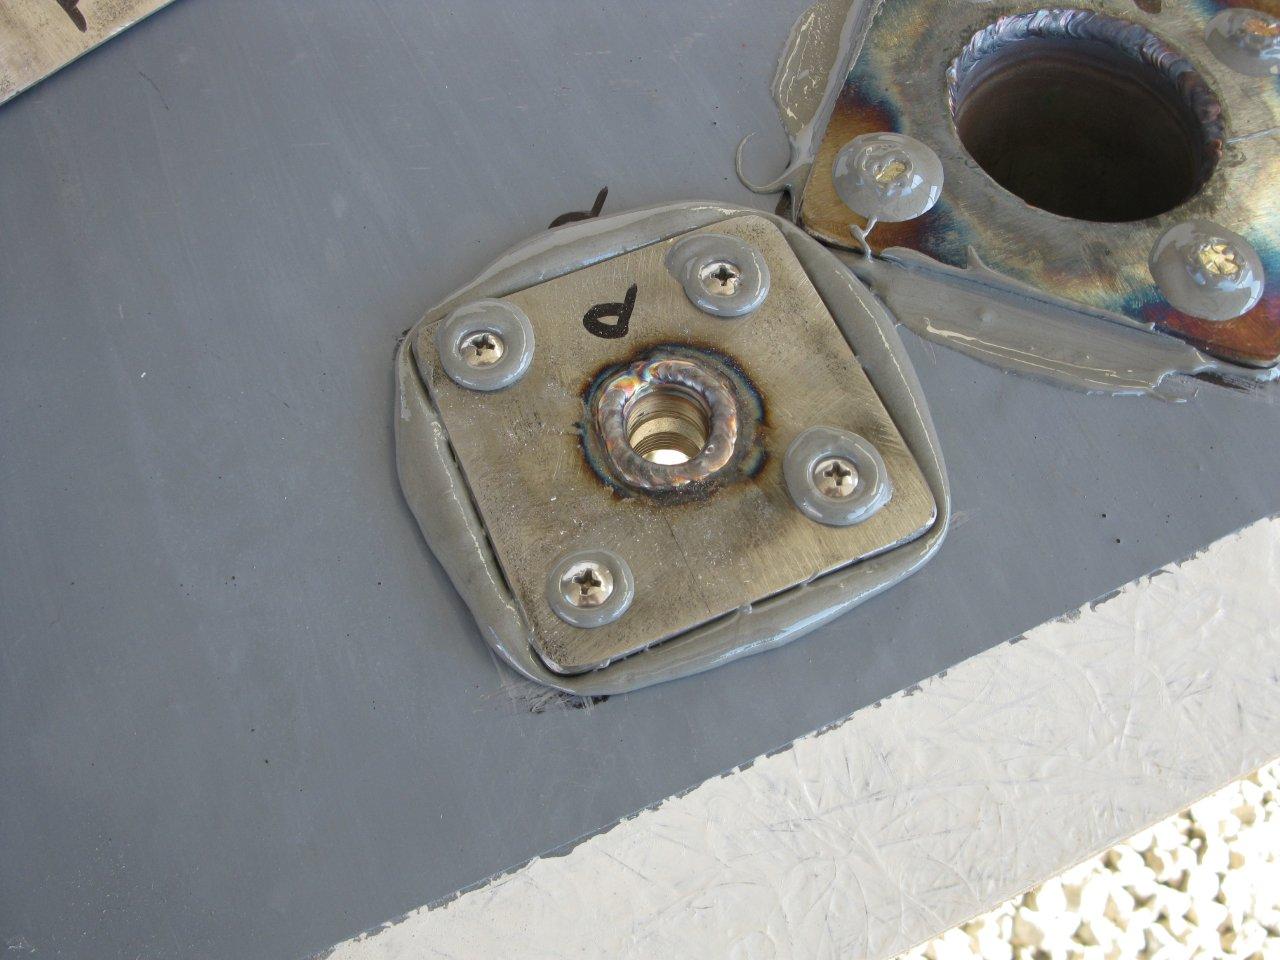
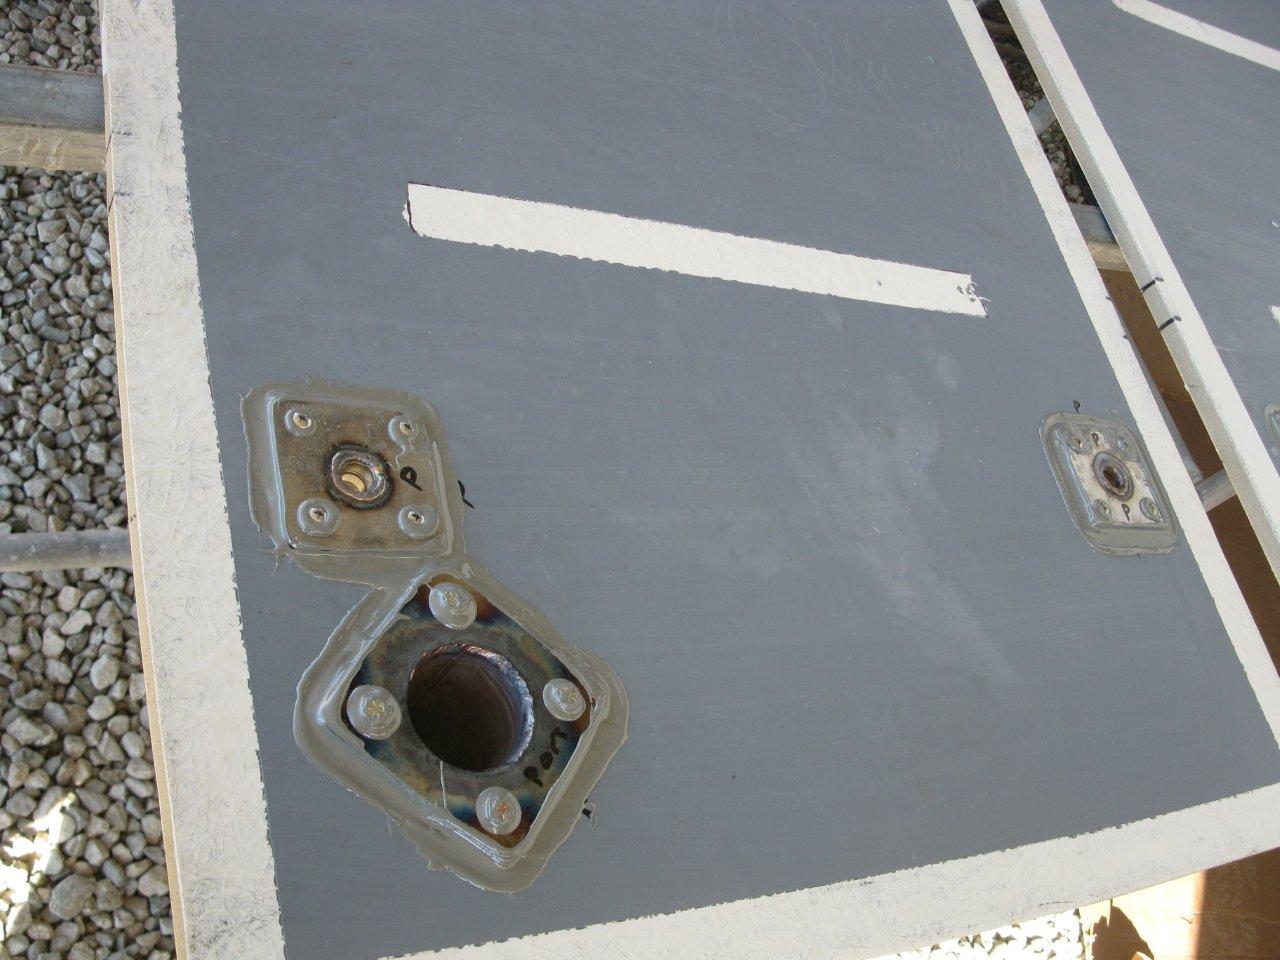
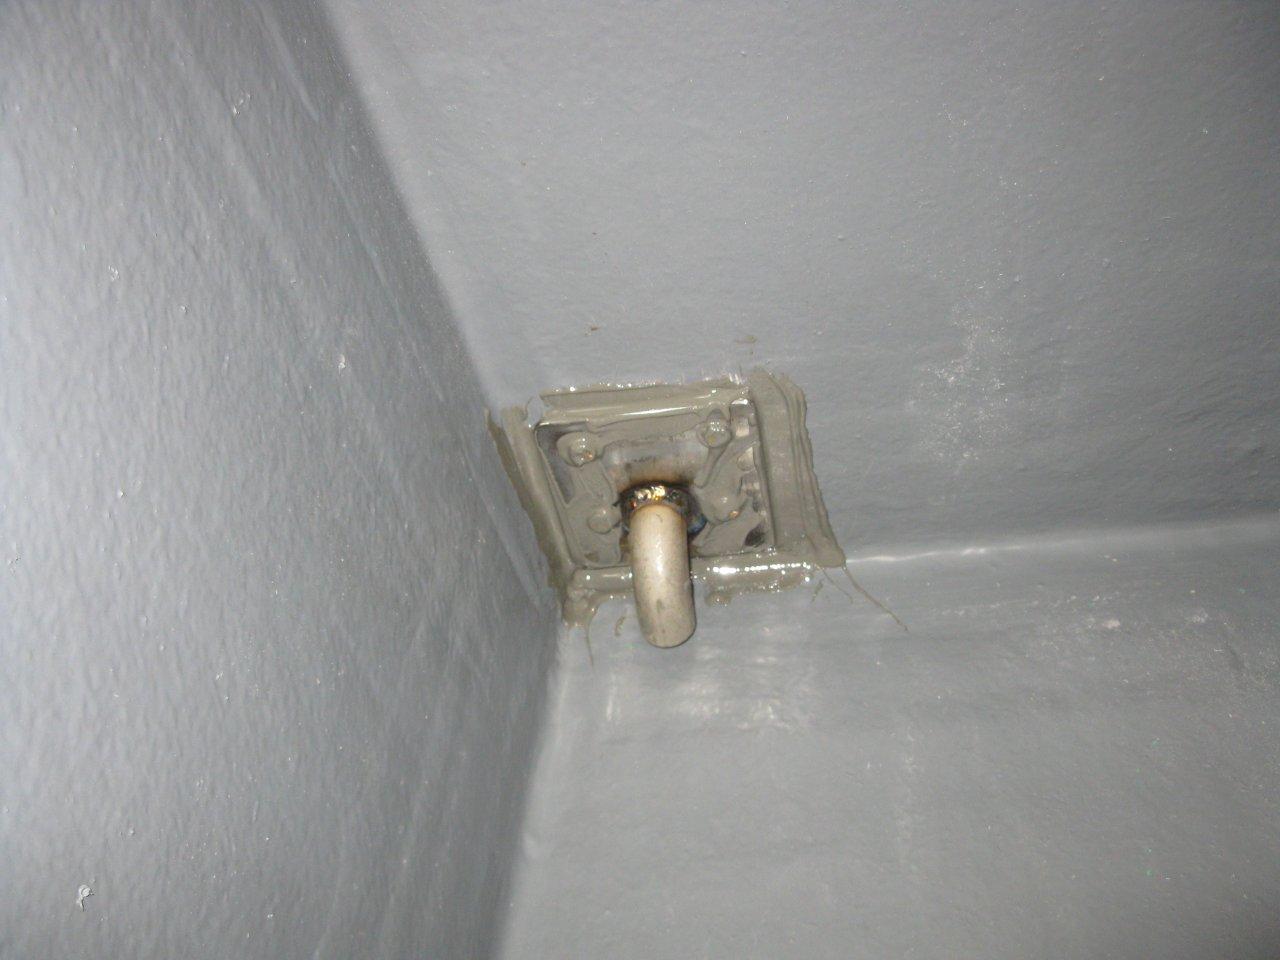
Hatch mount bases and one of the meticulous craftsmen doing the work !!!!!

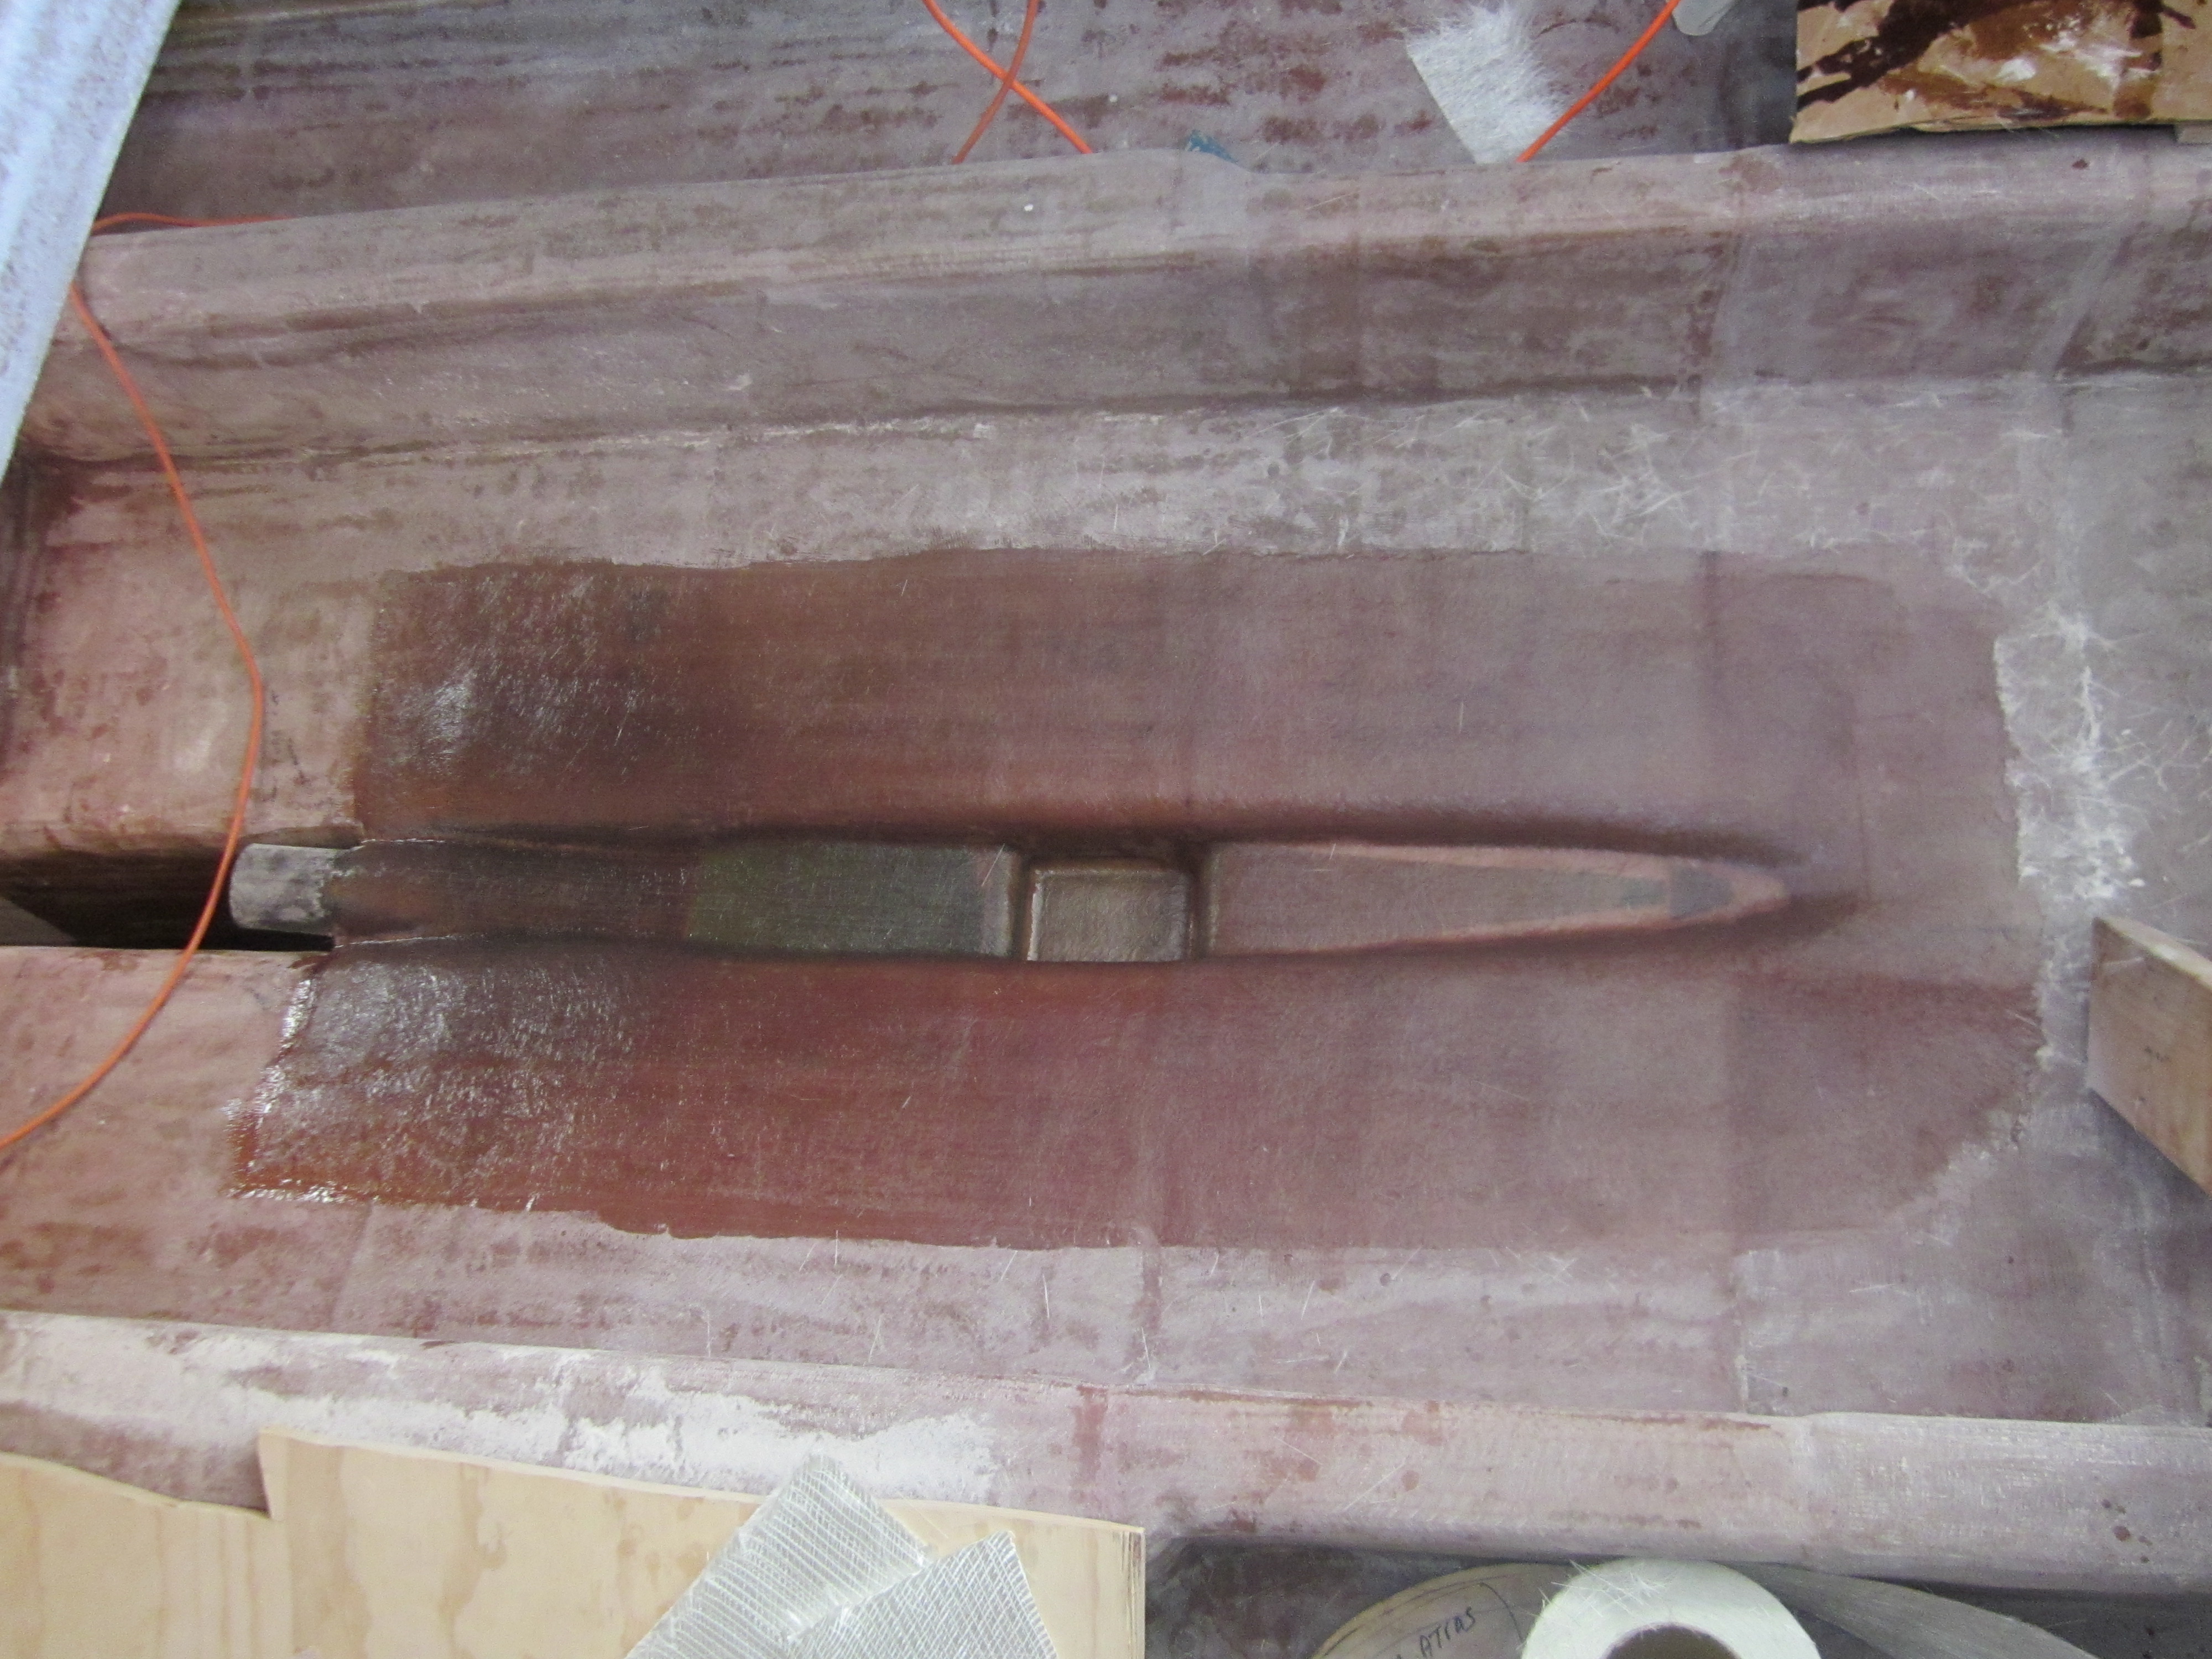

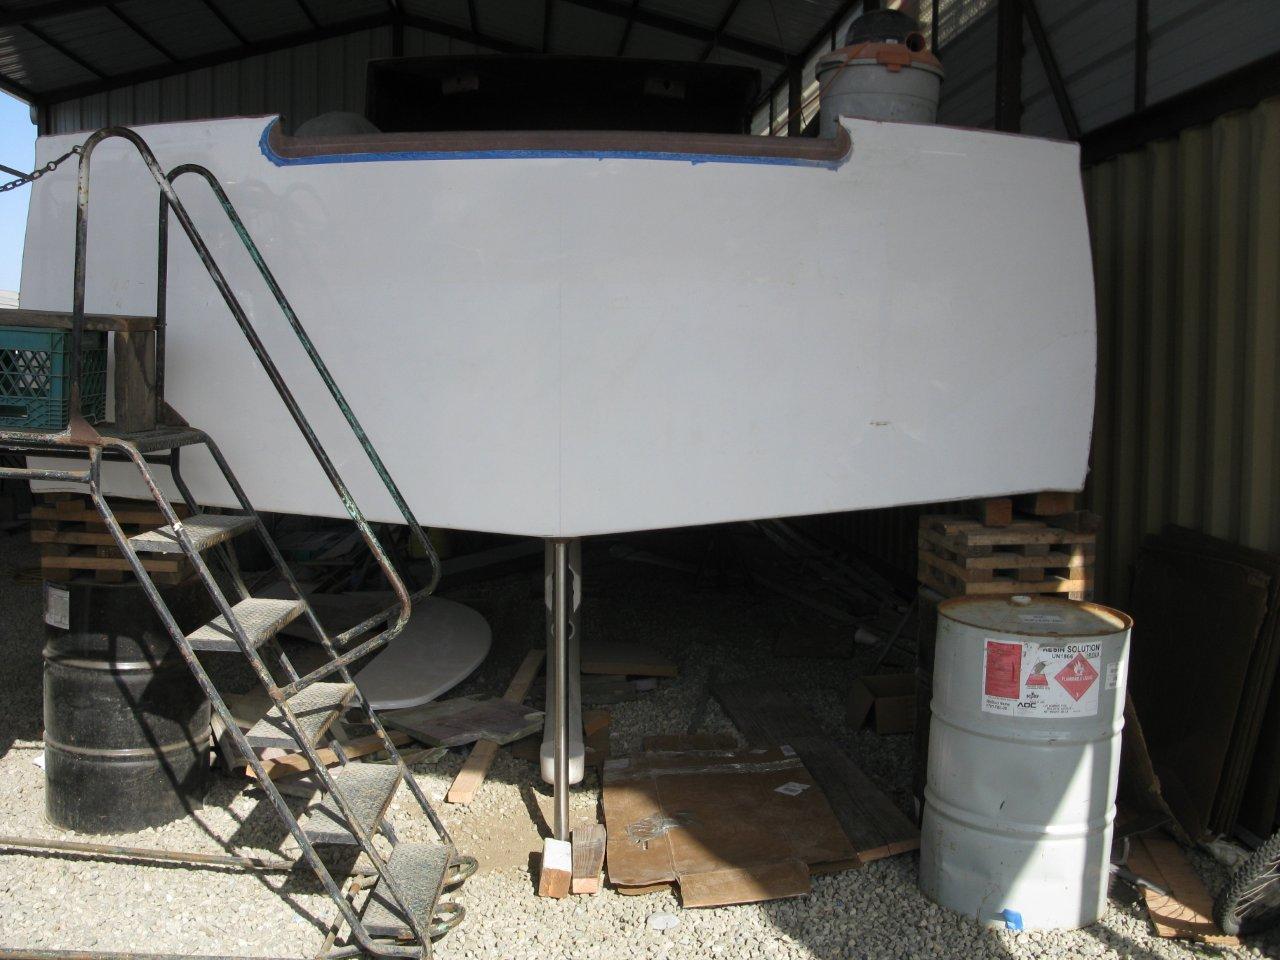
Engine room/bilge being finished. Keel extension work being done.

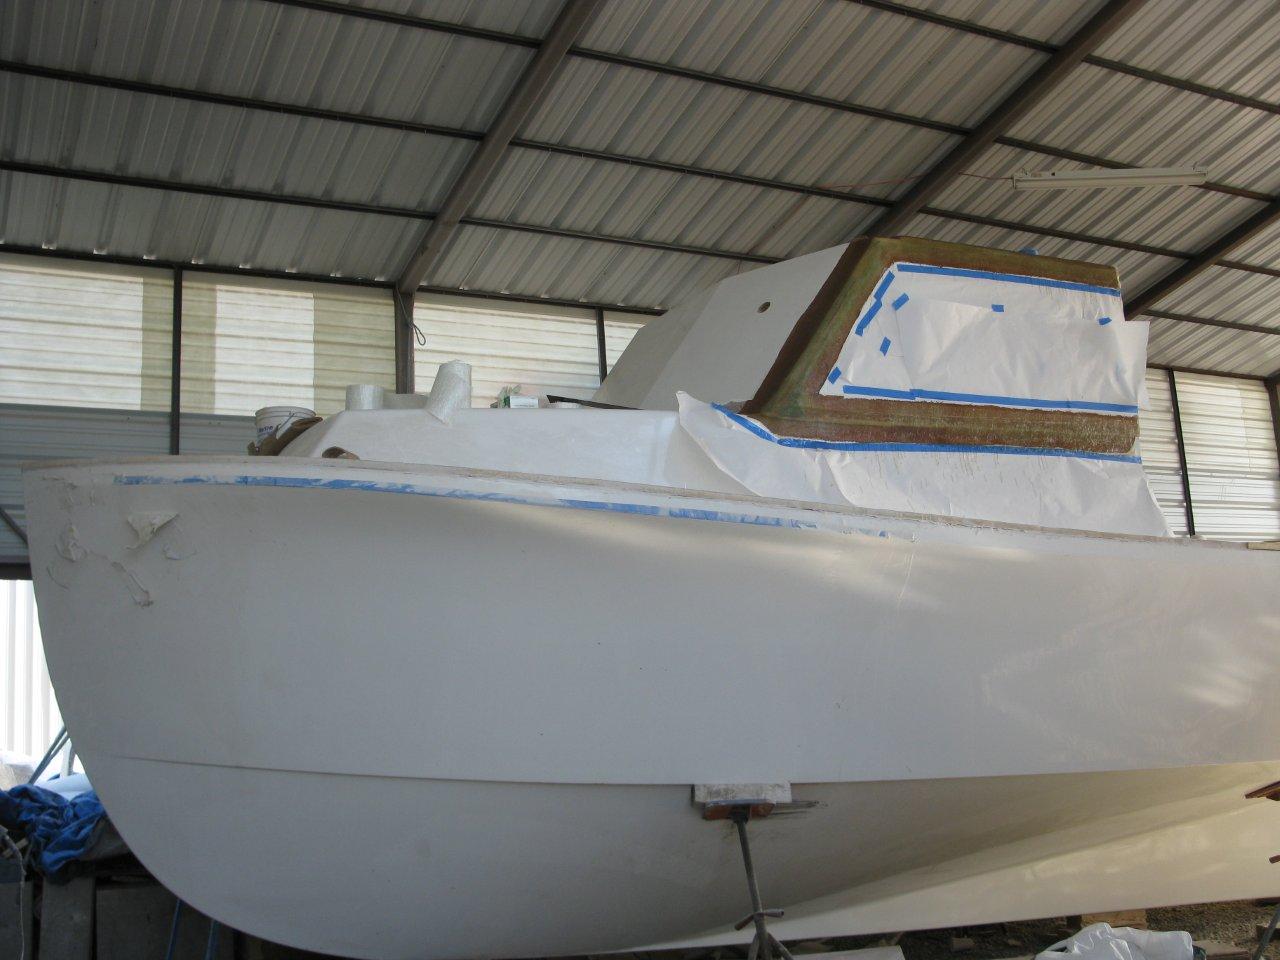
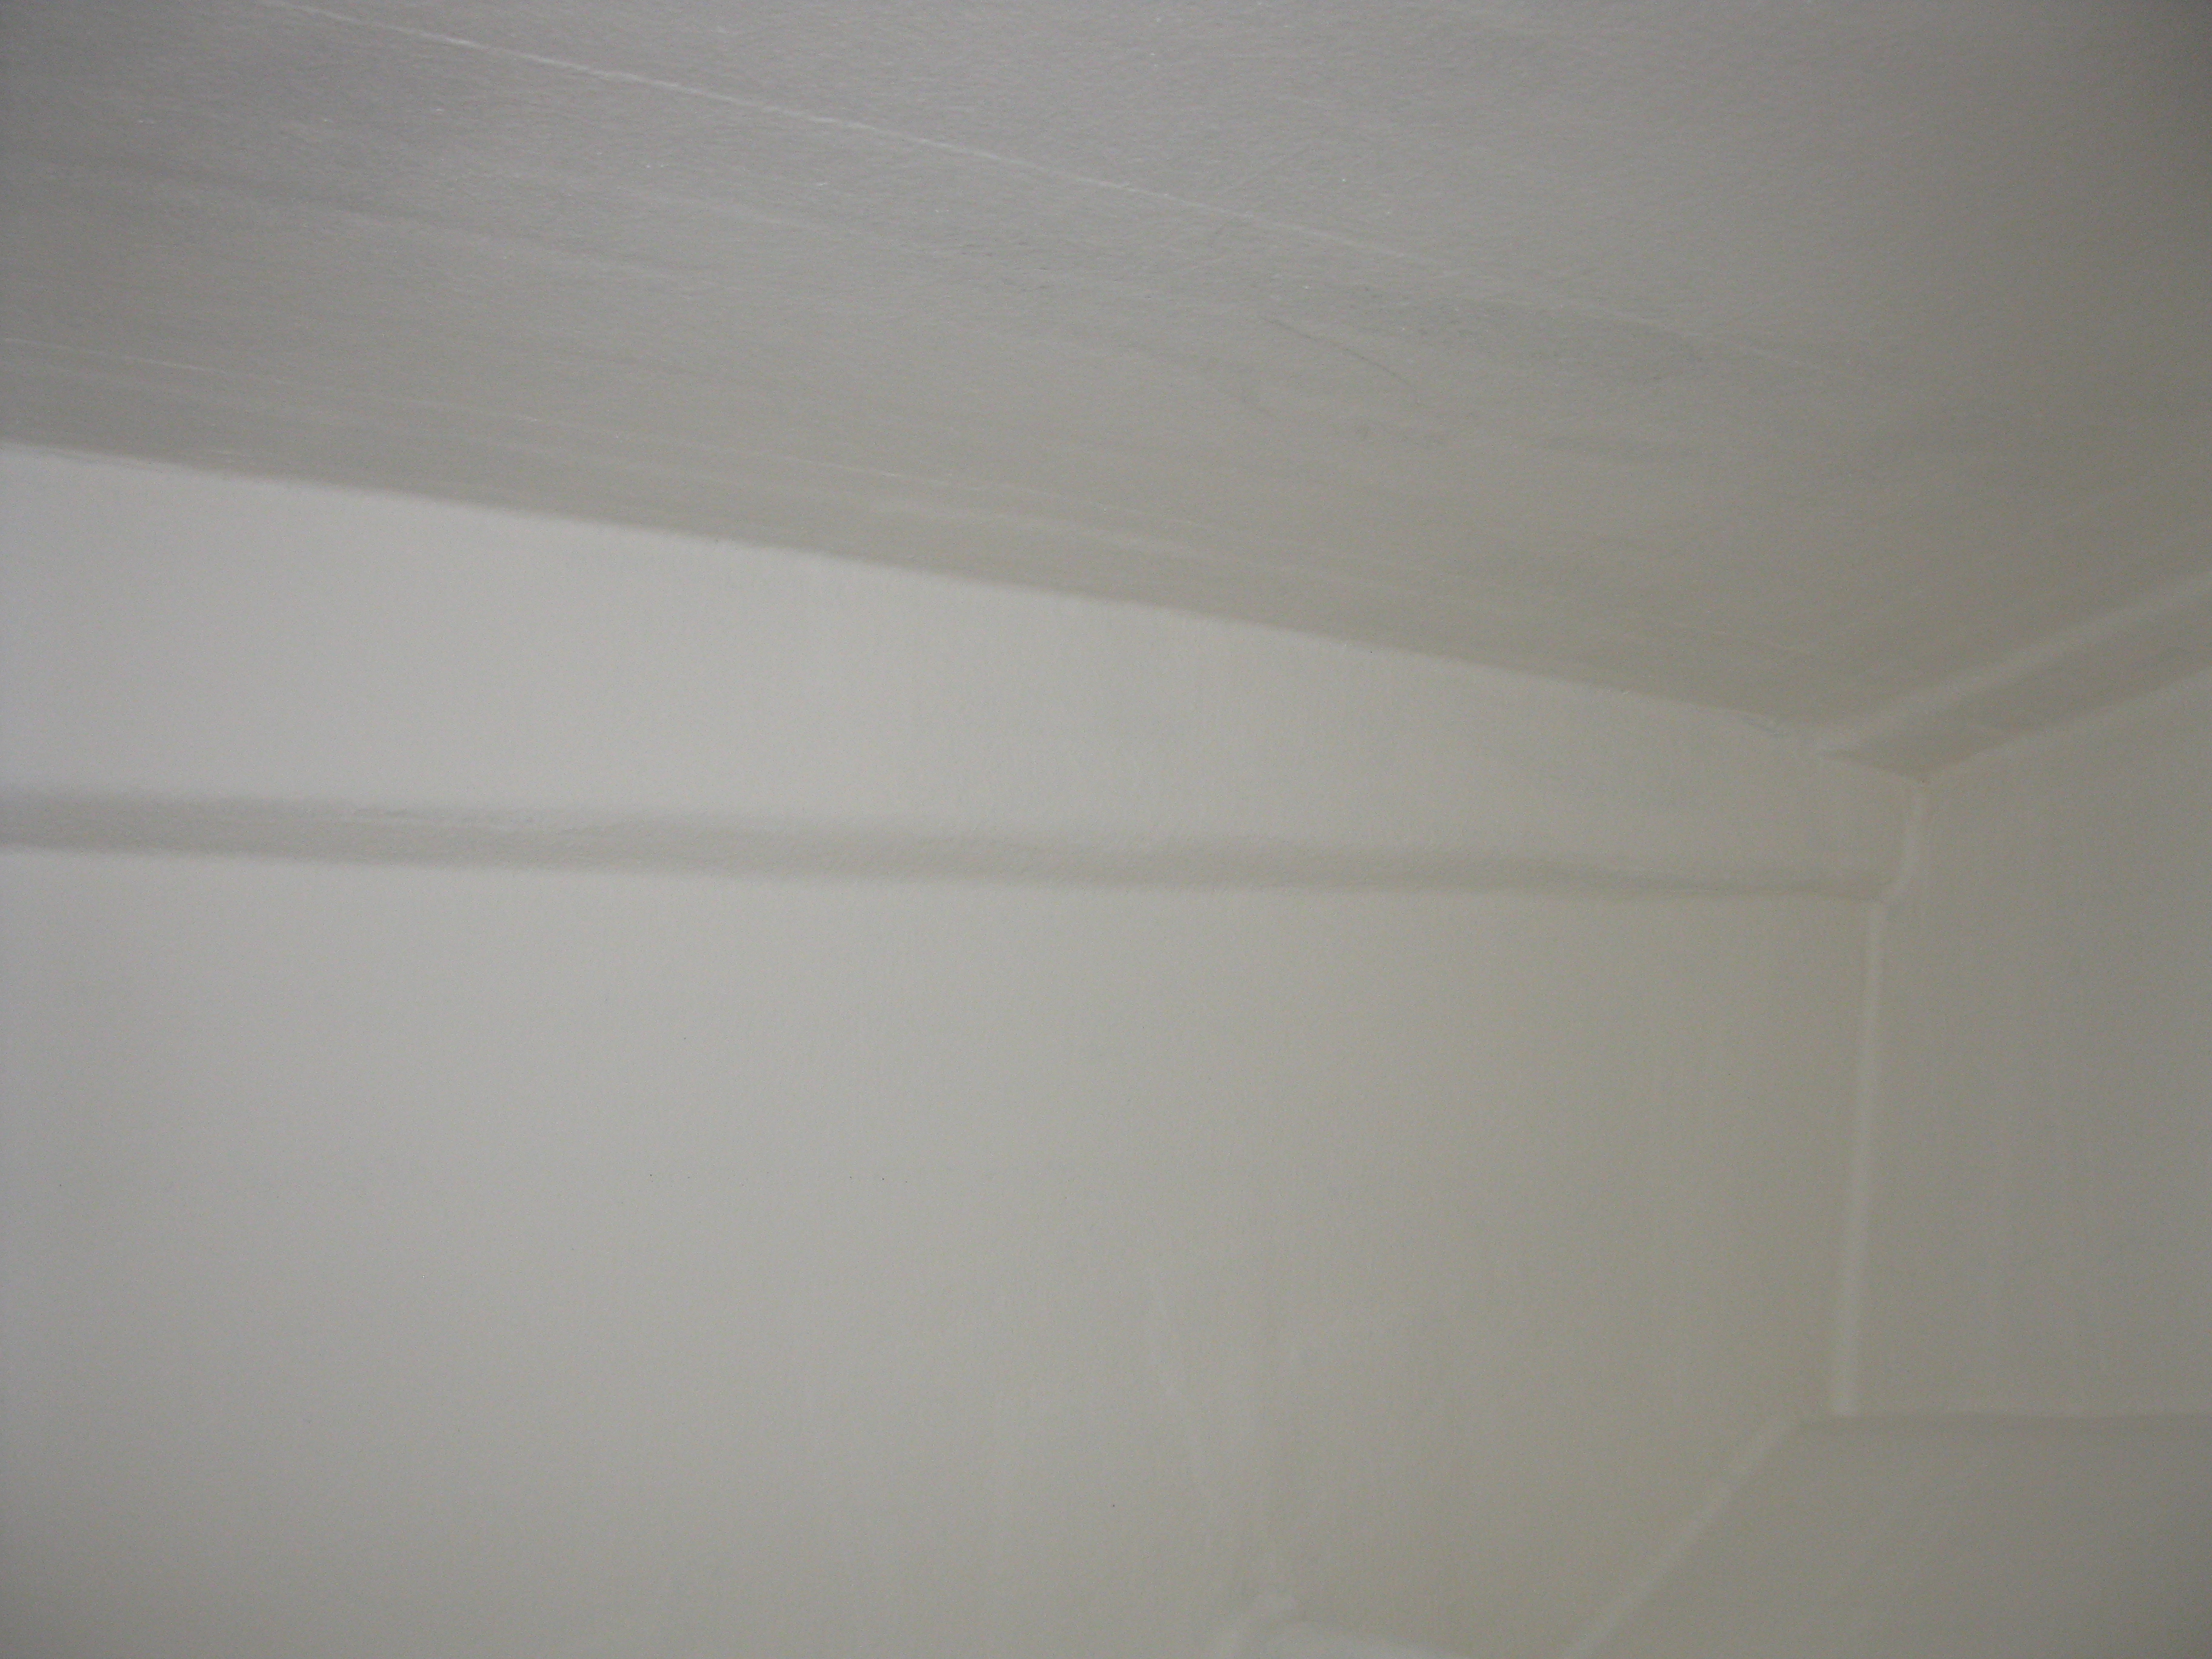
Time for some gel coat…
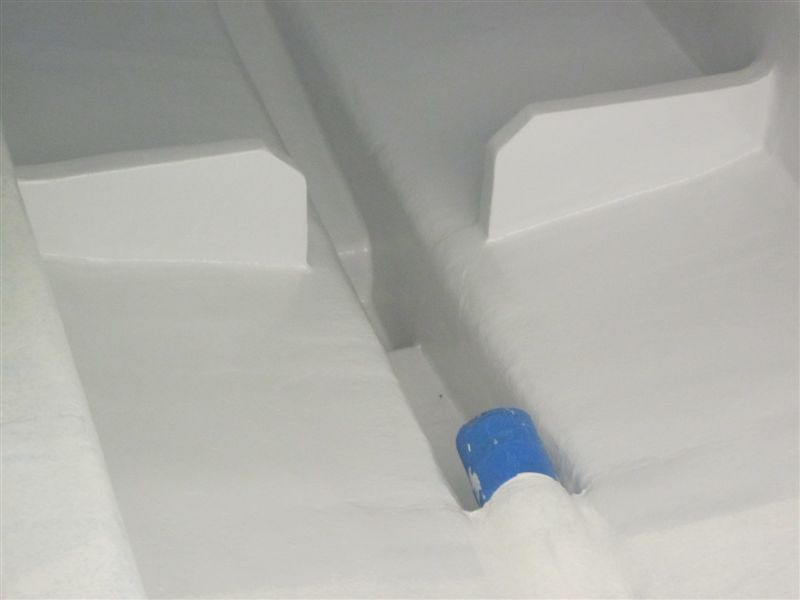

Everything gel-coated with a light web w/ clear coat.

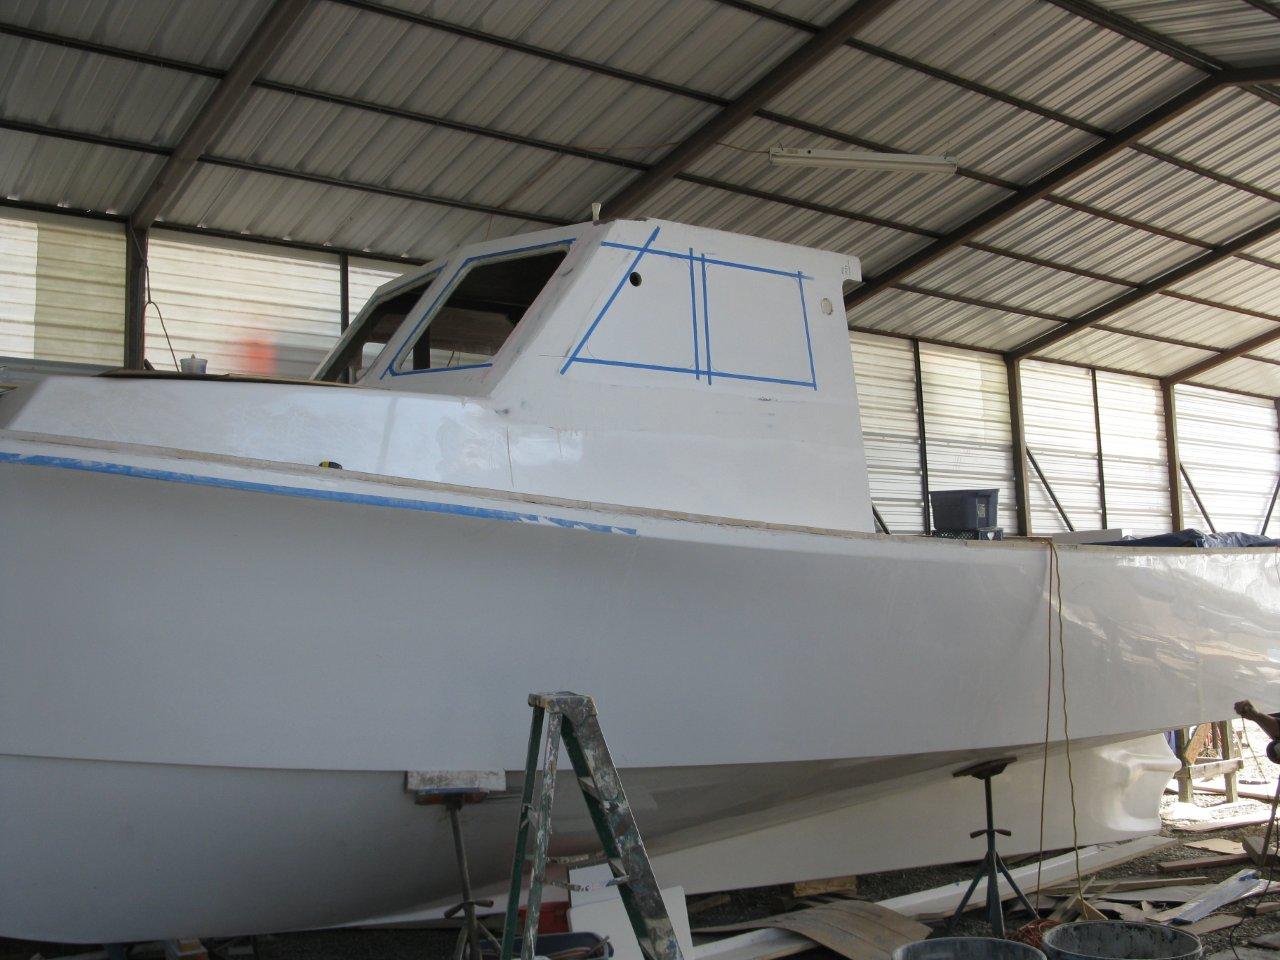
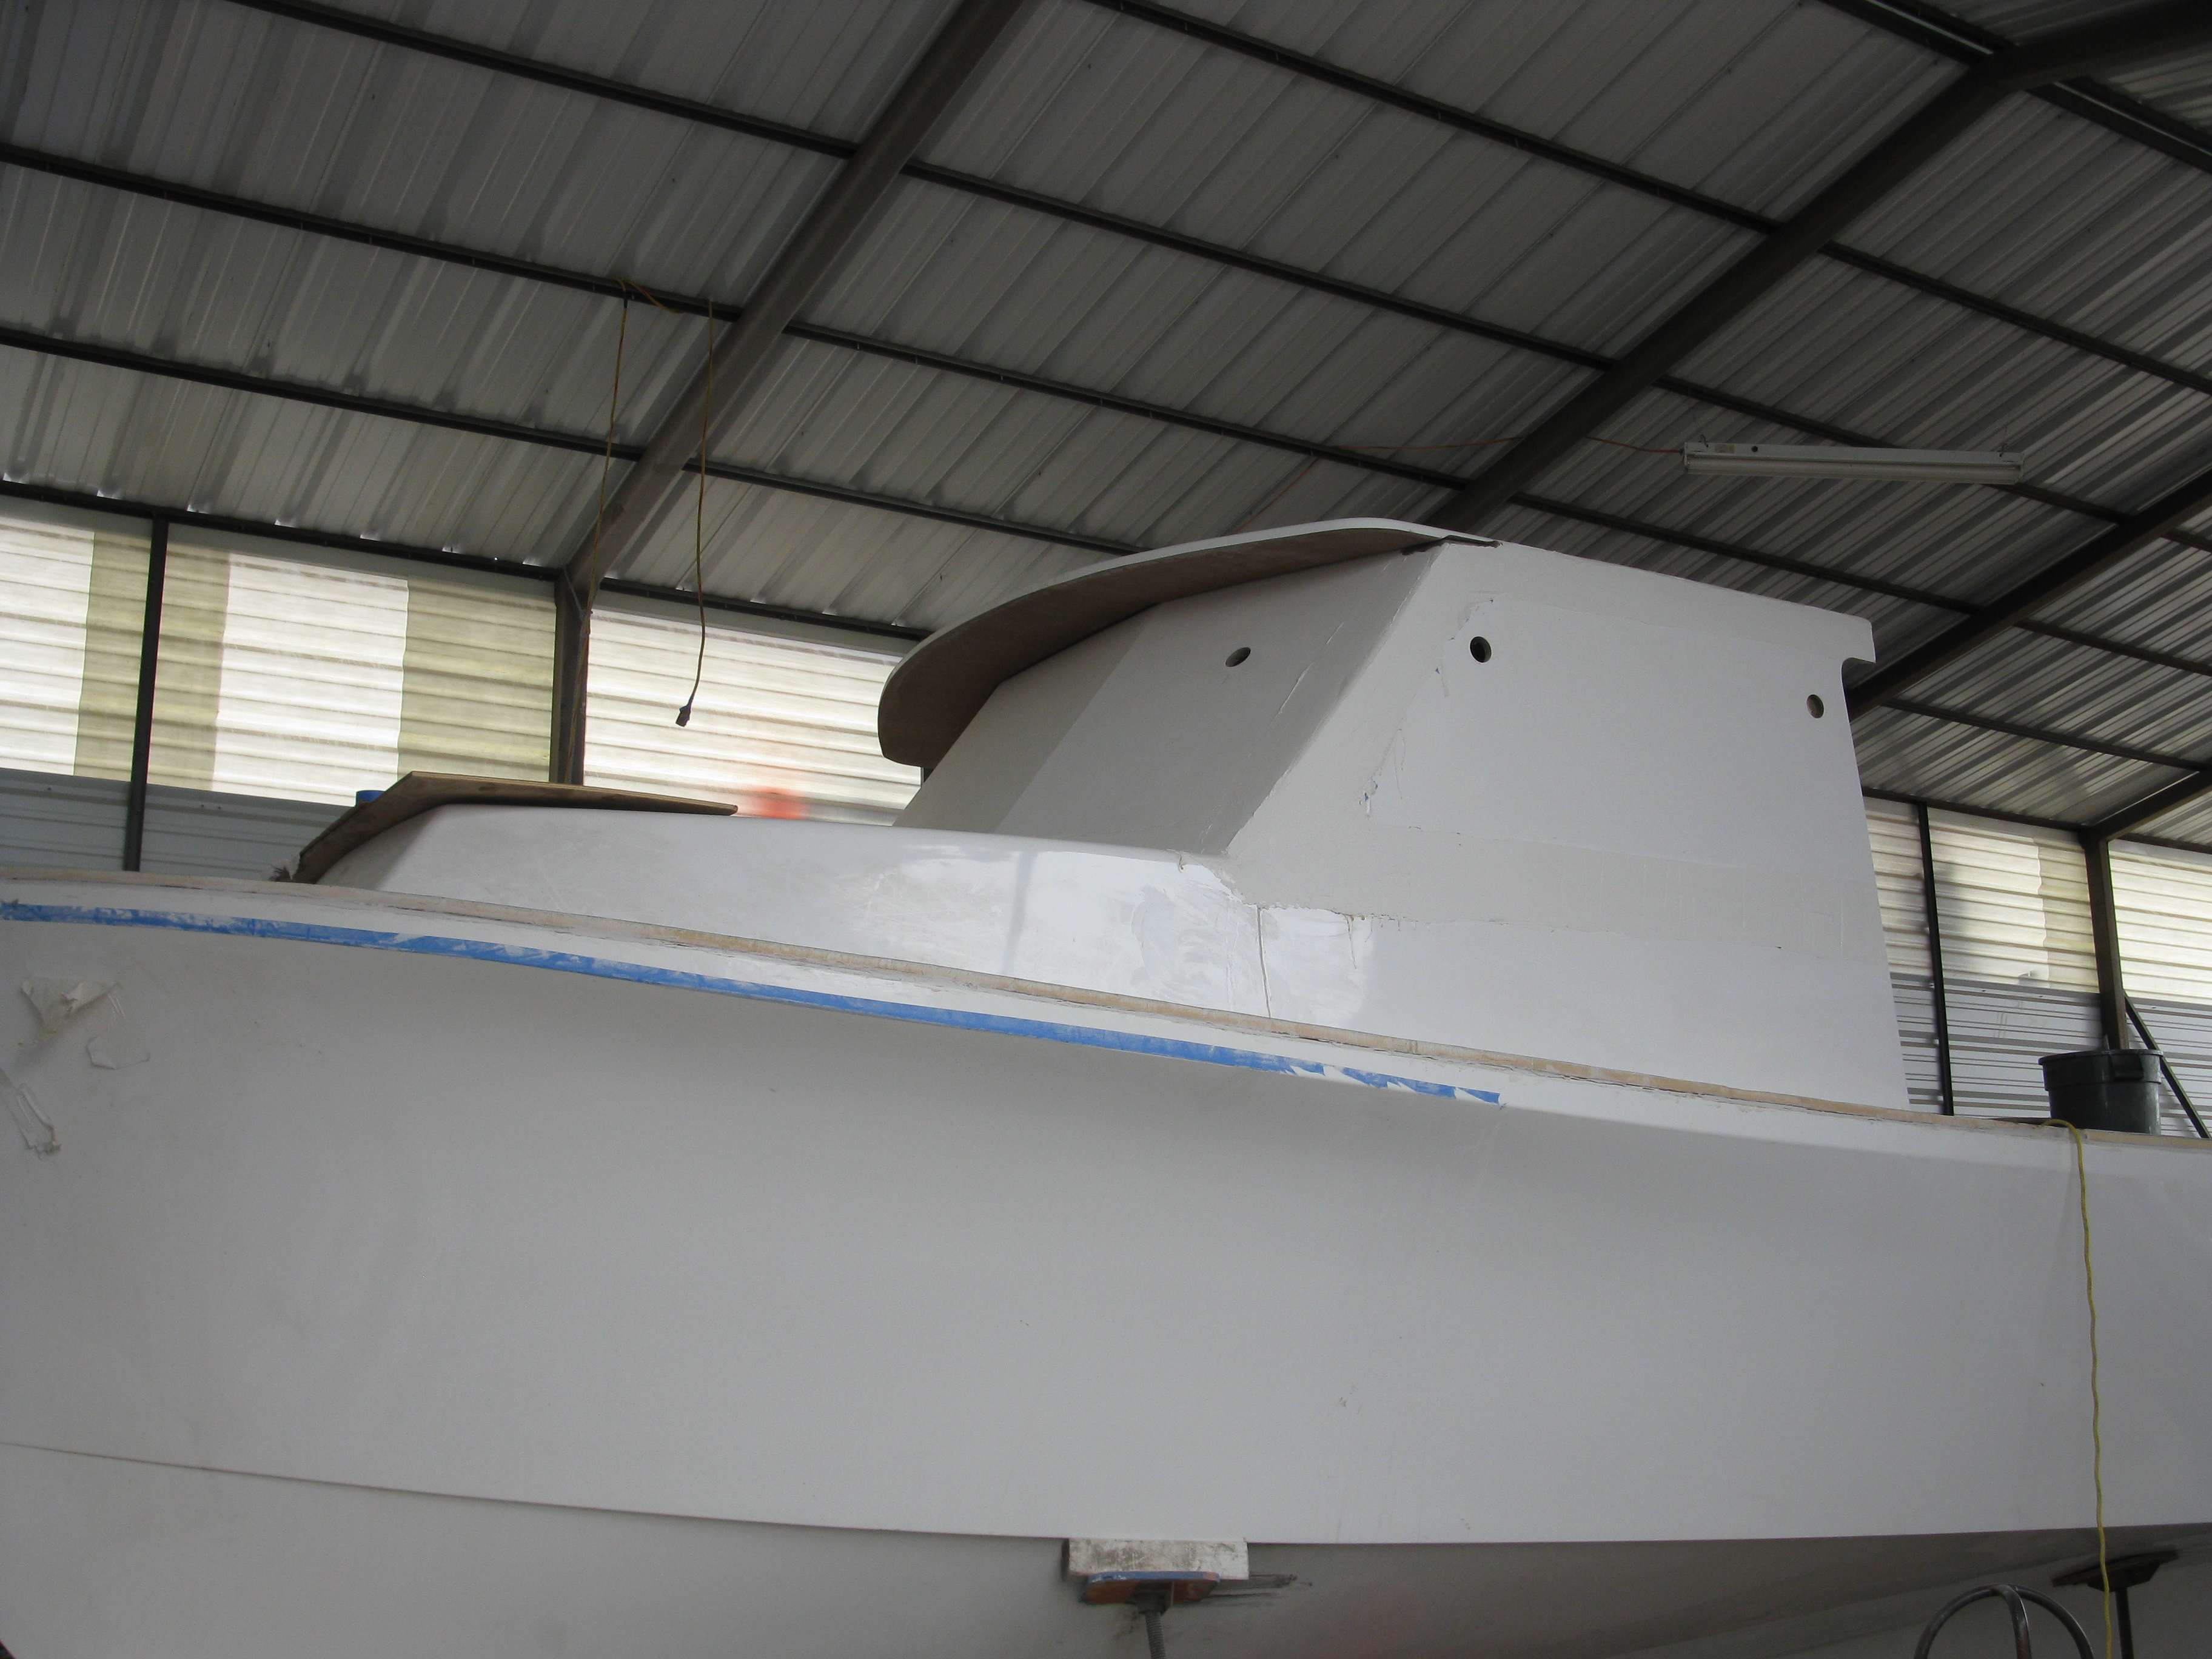
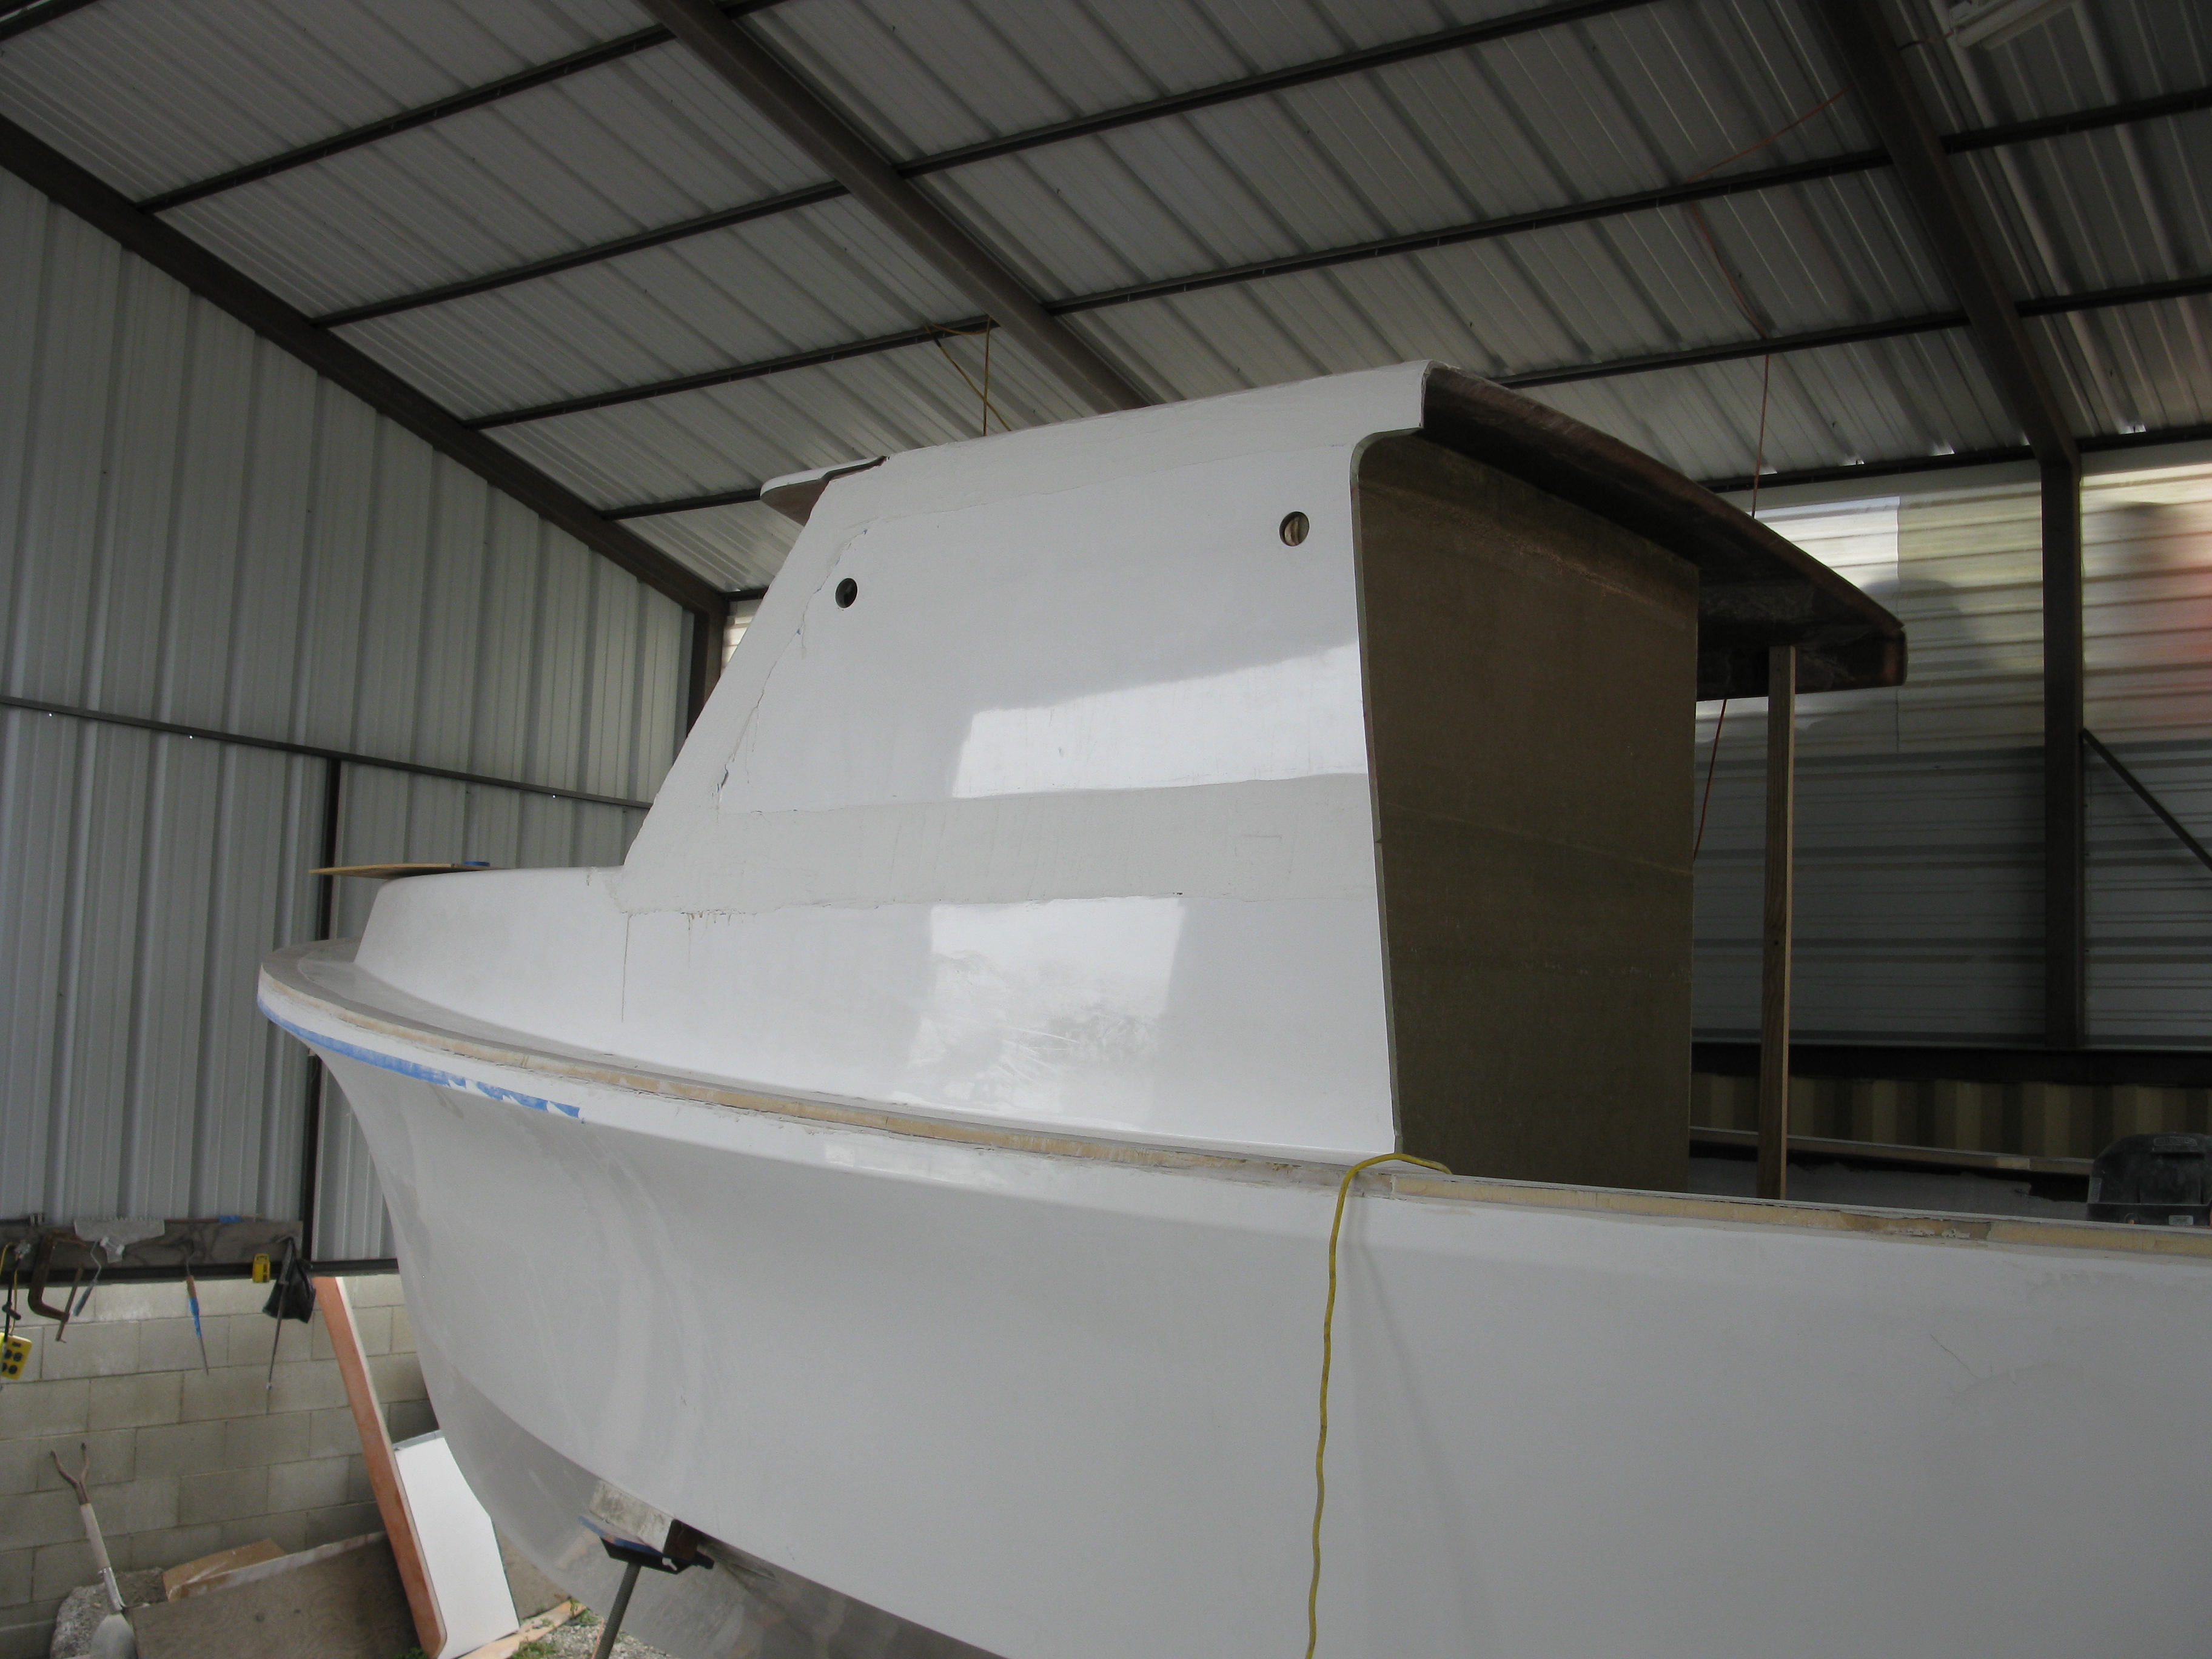
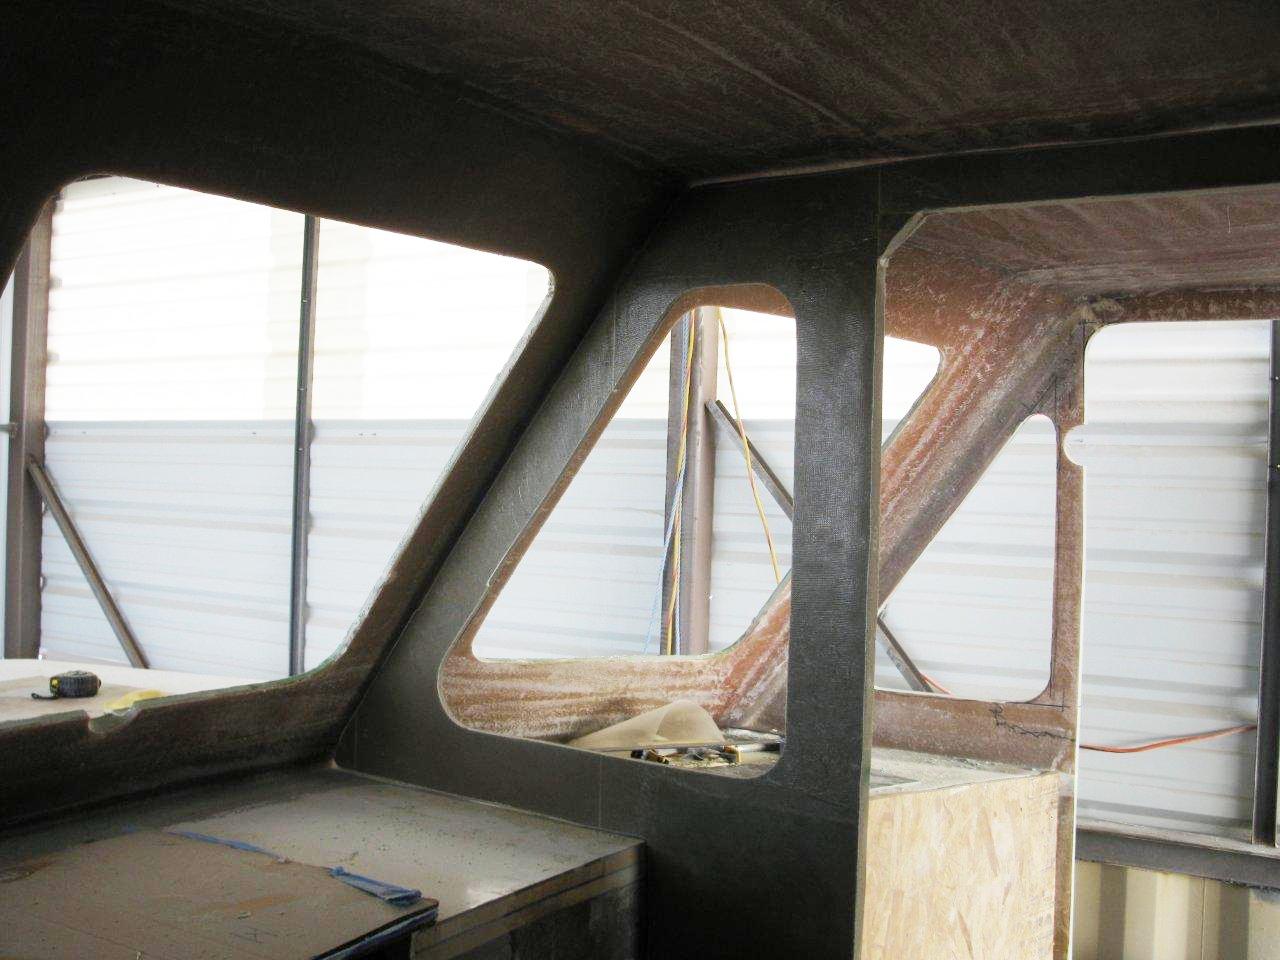
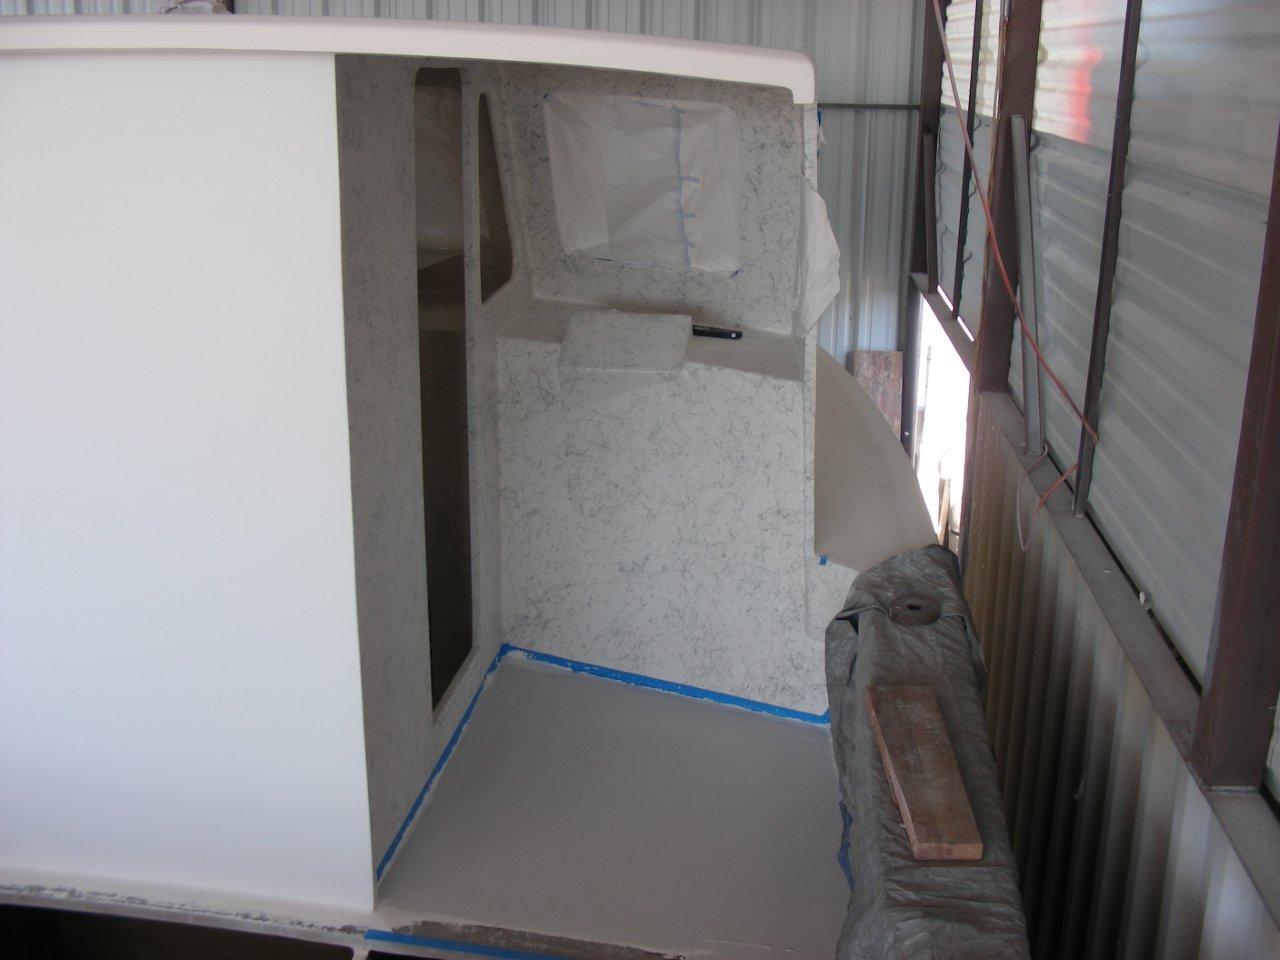
Time for some front cabin work.

Upper cabin is set in place approx 40″ forward from stock and cut to fit lower cabin (lower cabin was about 18″ fwd from stock). It’s being structurally secured and getting ready to “fair” to become “one” as a molded cabin. Pulling station being “shaped & sized” to fit trap puller and customer’s needs. Lower cabin access cut and all main pieces are just about in place. Cap Rail roughed in–Although that seems like a “small thing” it’s actually a major part of the boat and final “look”.


The front cabin is coming together!

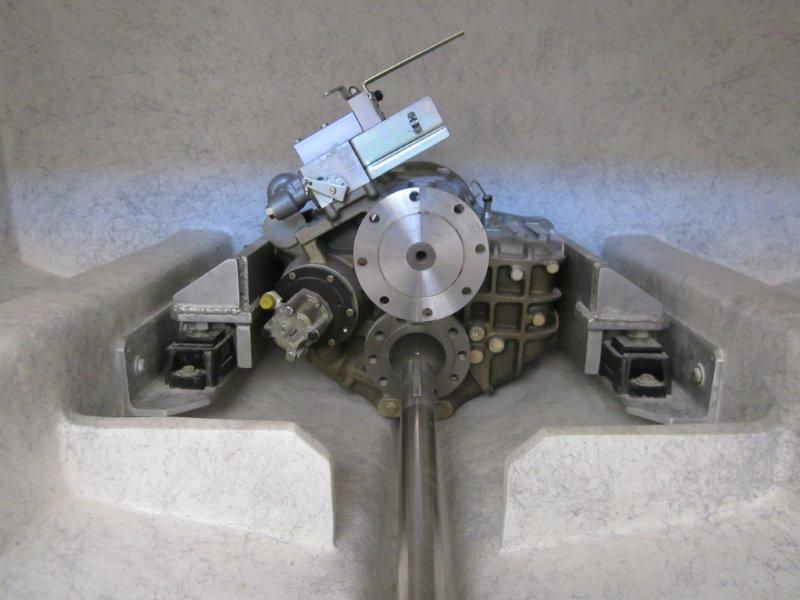
Time to start fitting the transmission!

The build continues…
Lower Cabin, under cabin, upper cabin, “race tracks”, keel extension fairing, ventilation etc.


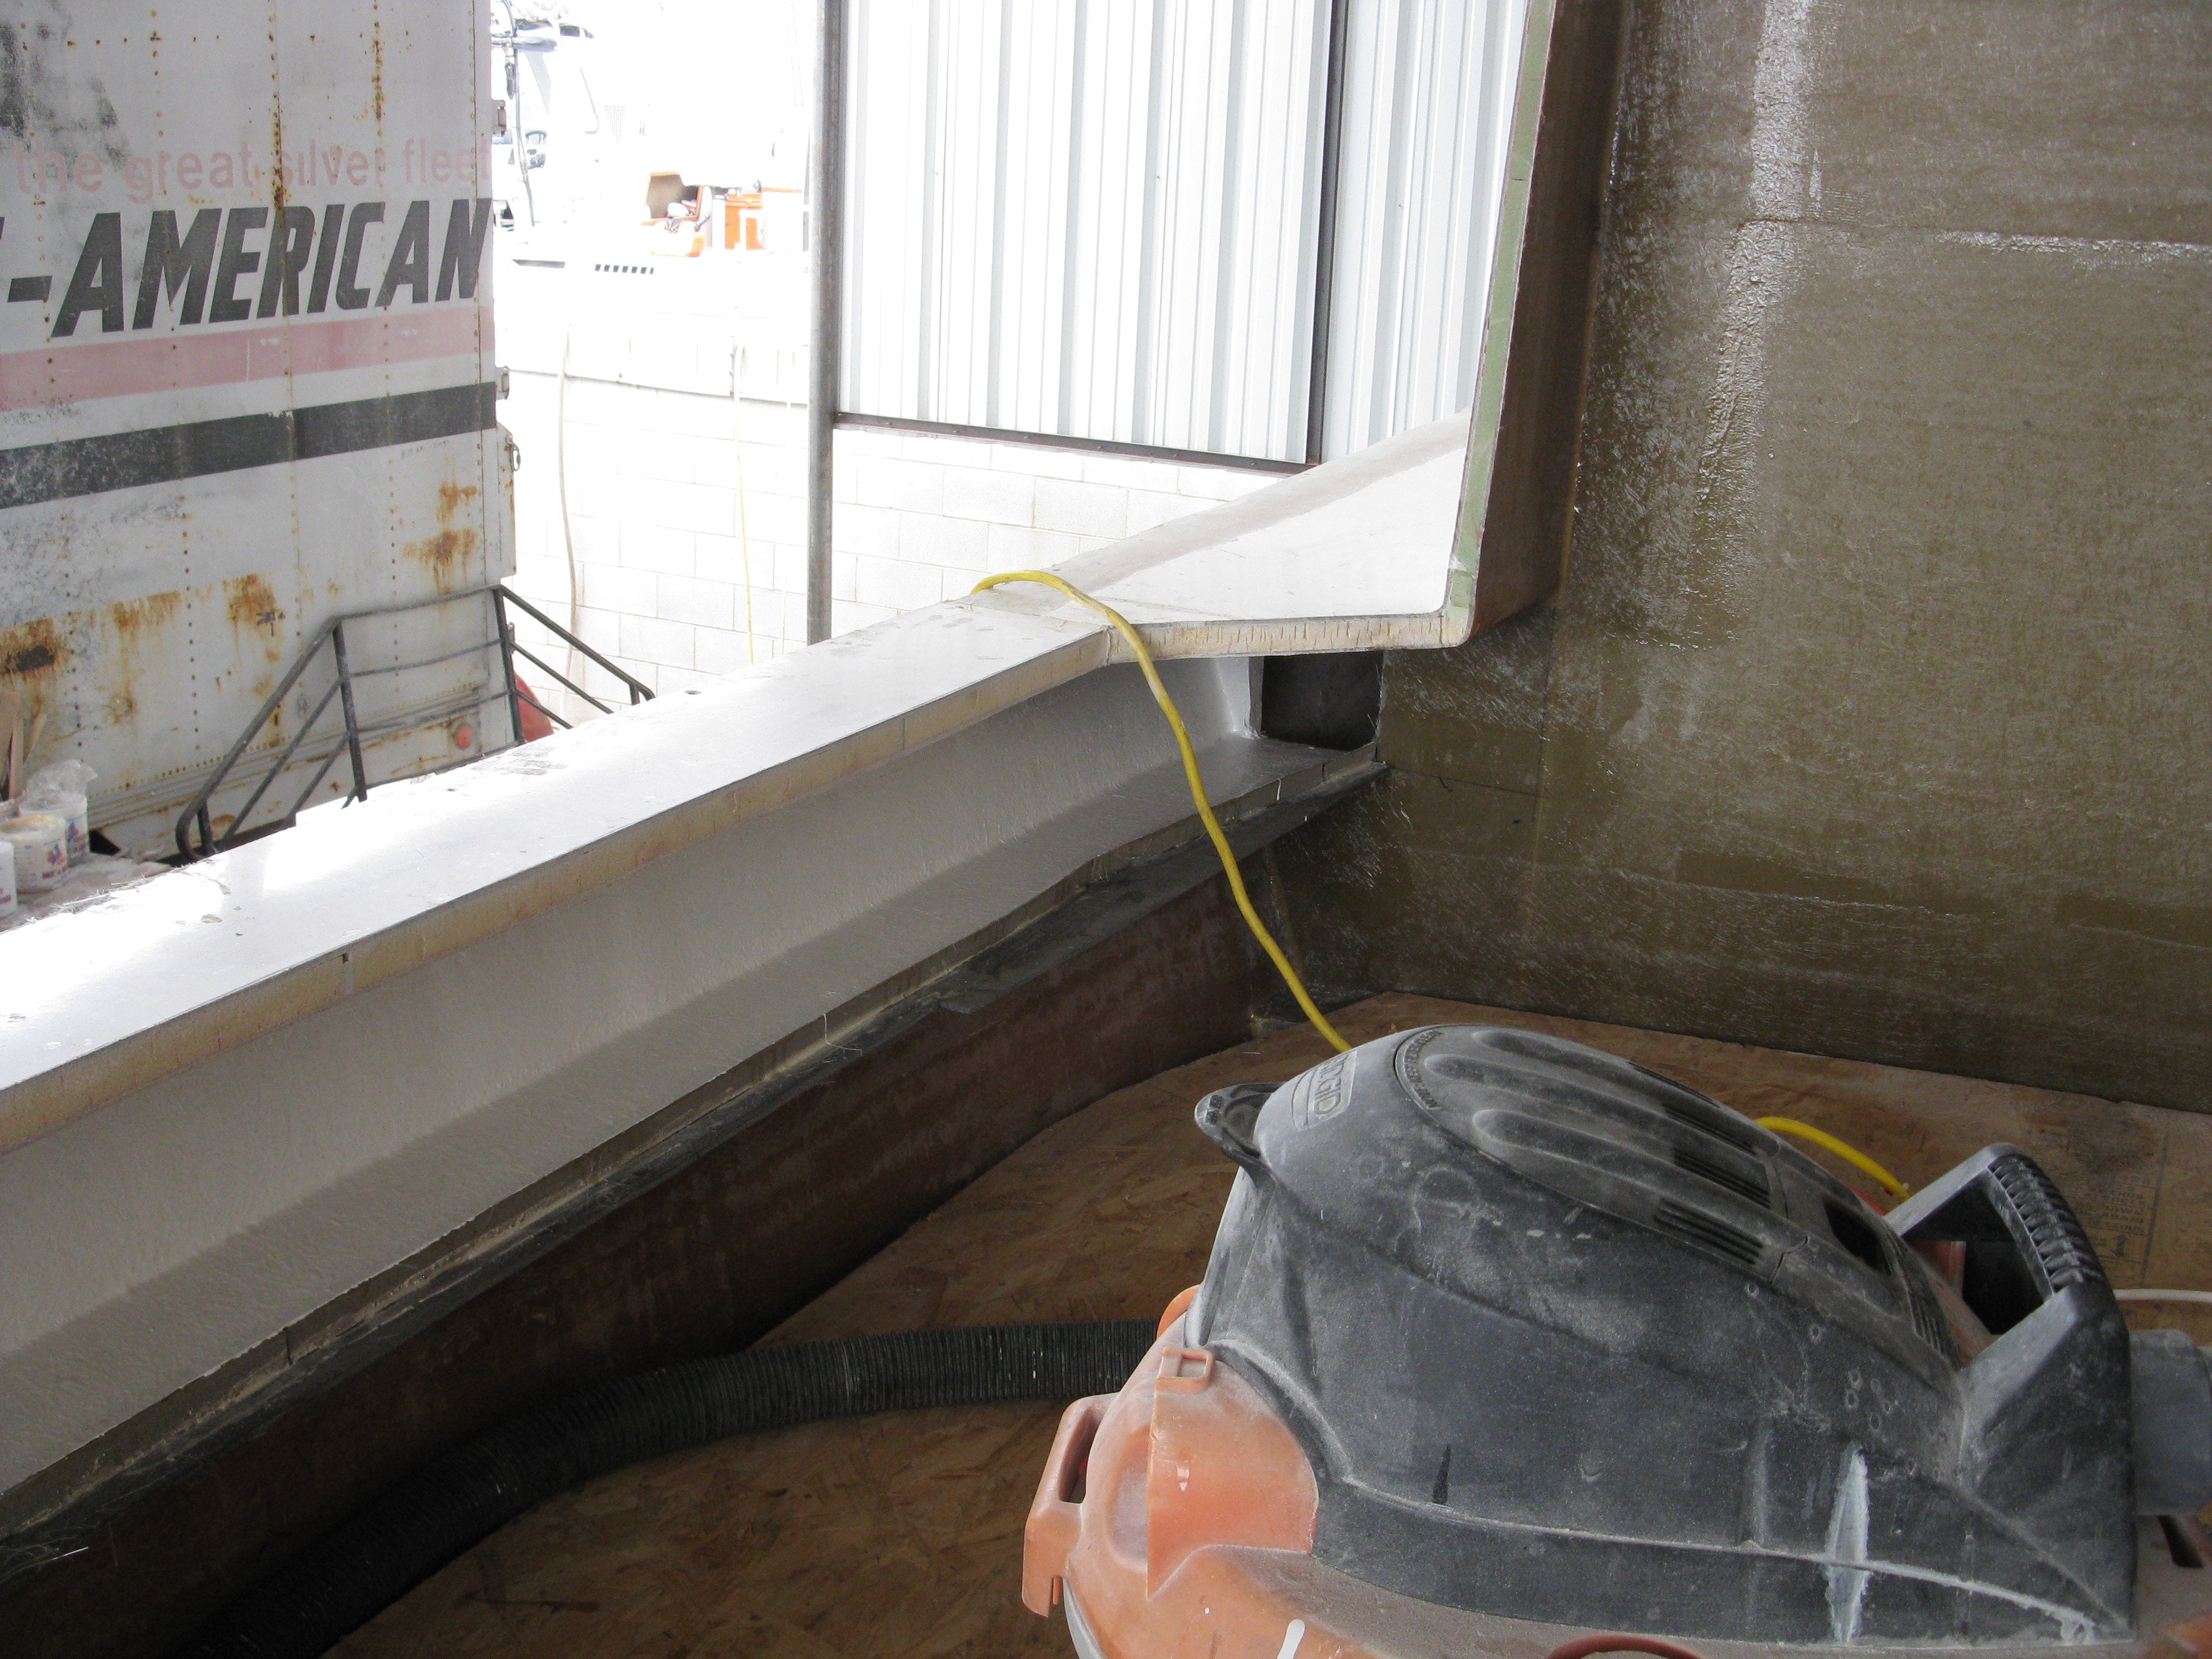


Time for some finish work up front!

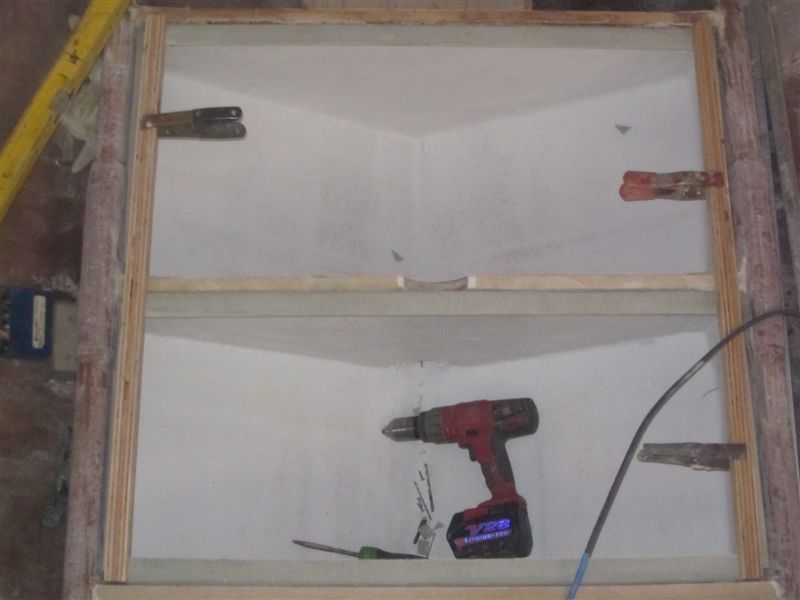
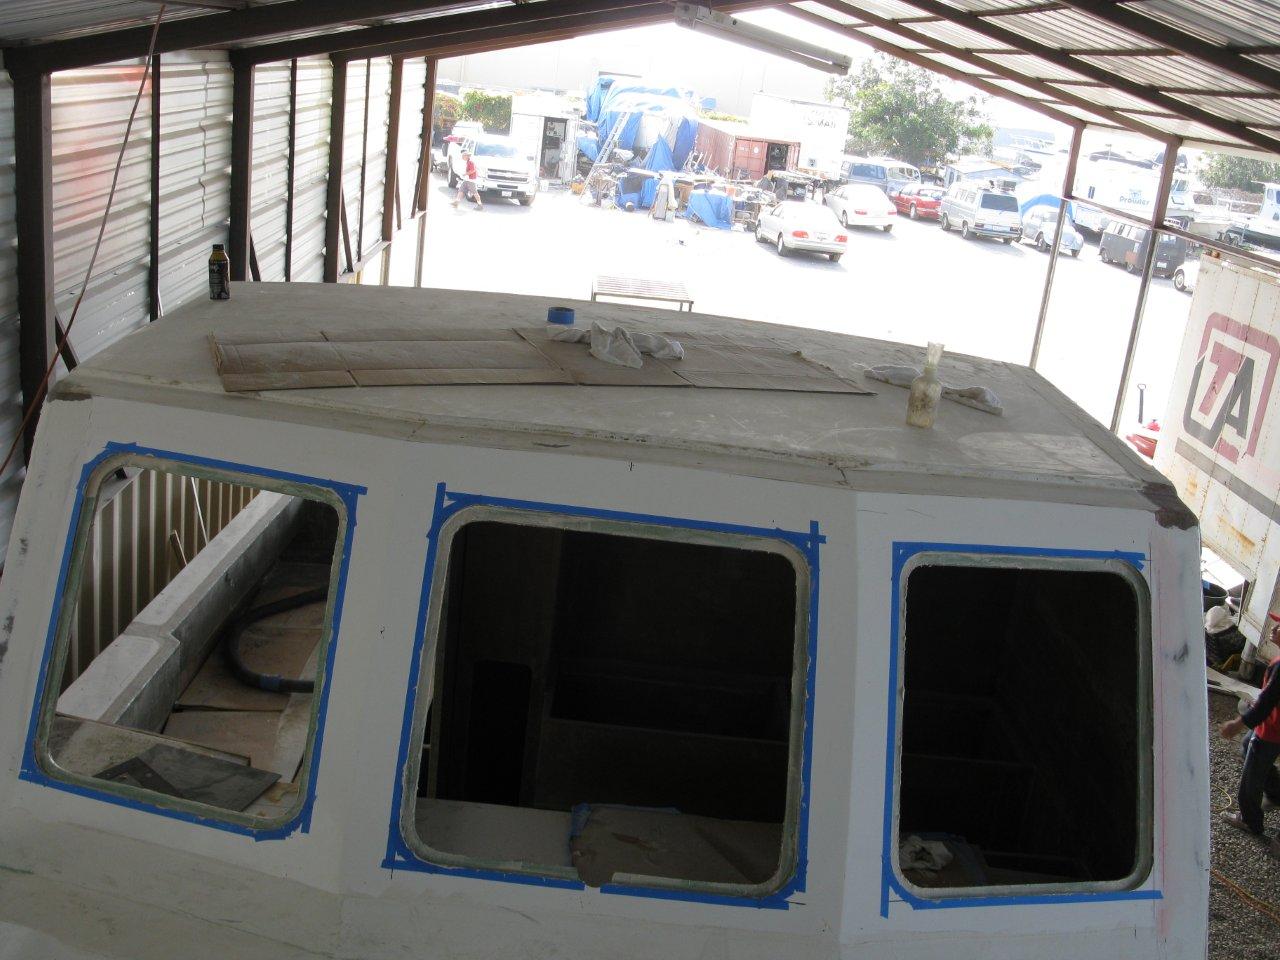
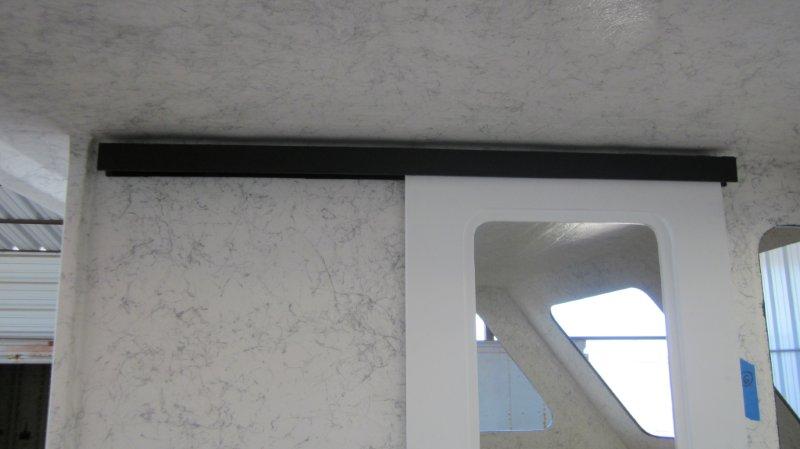
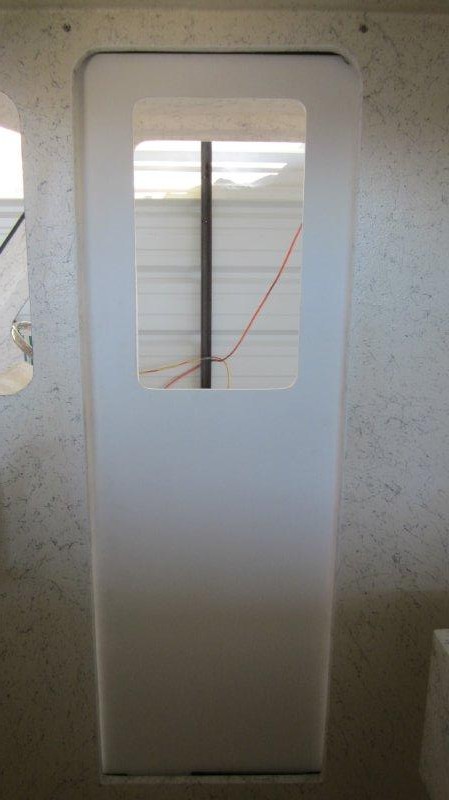
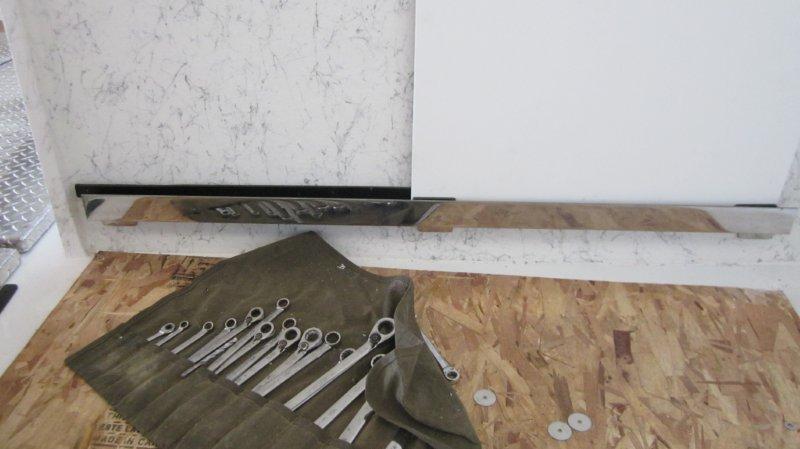
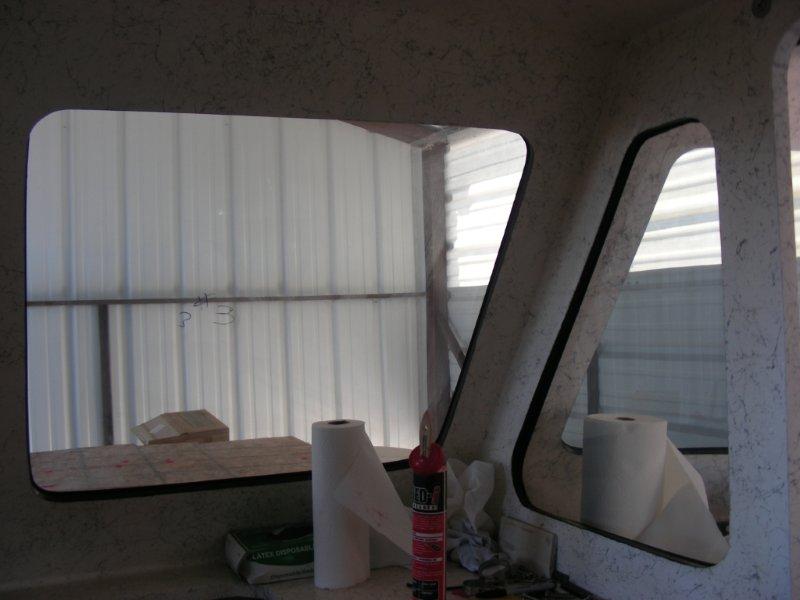
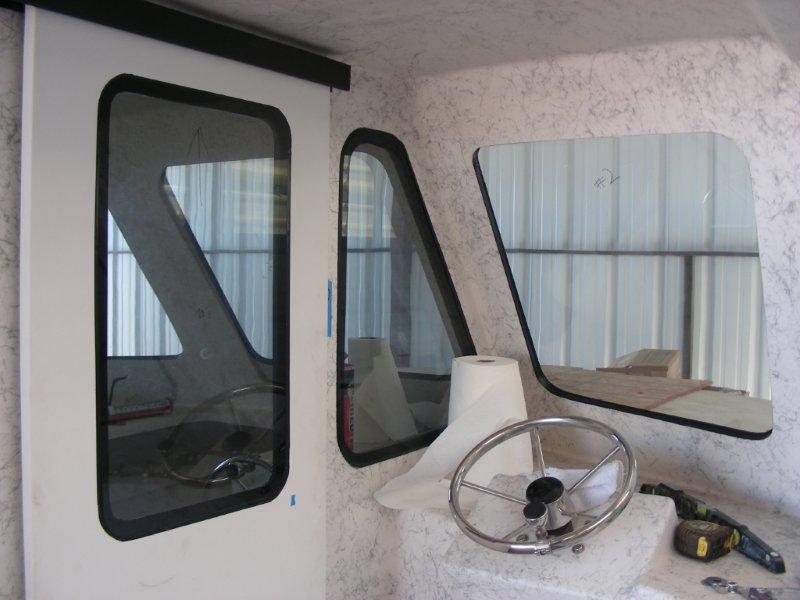
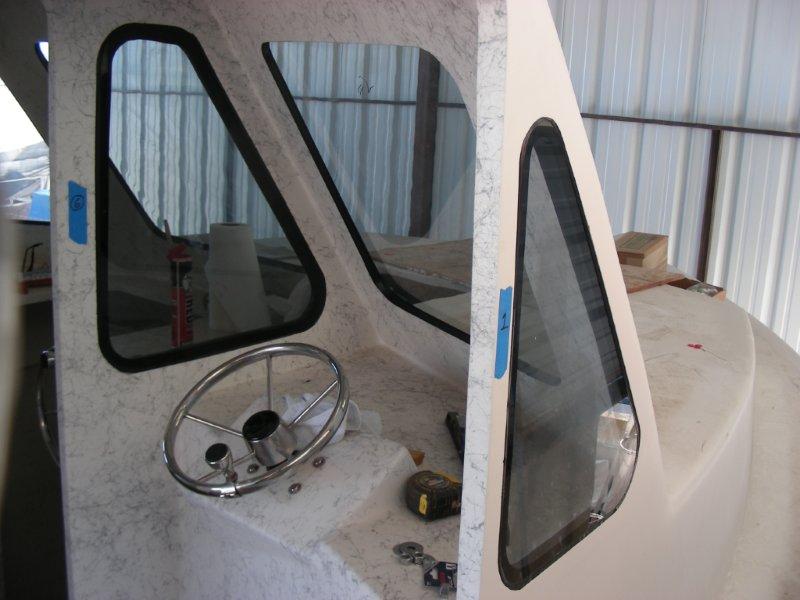
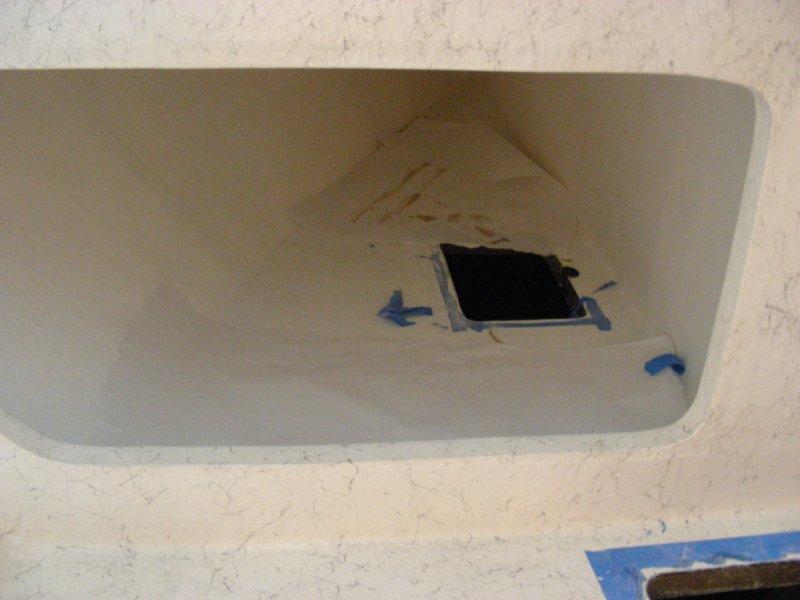
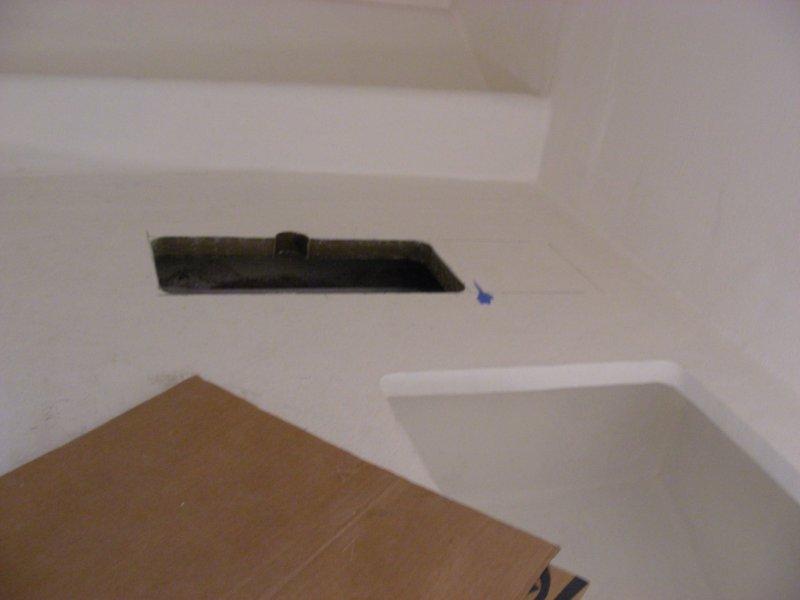
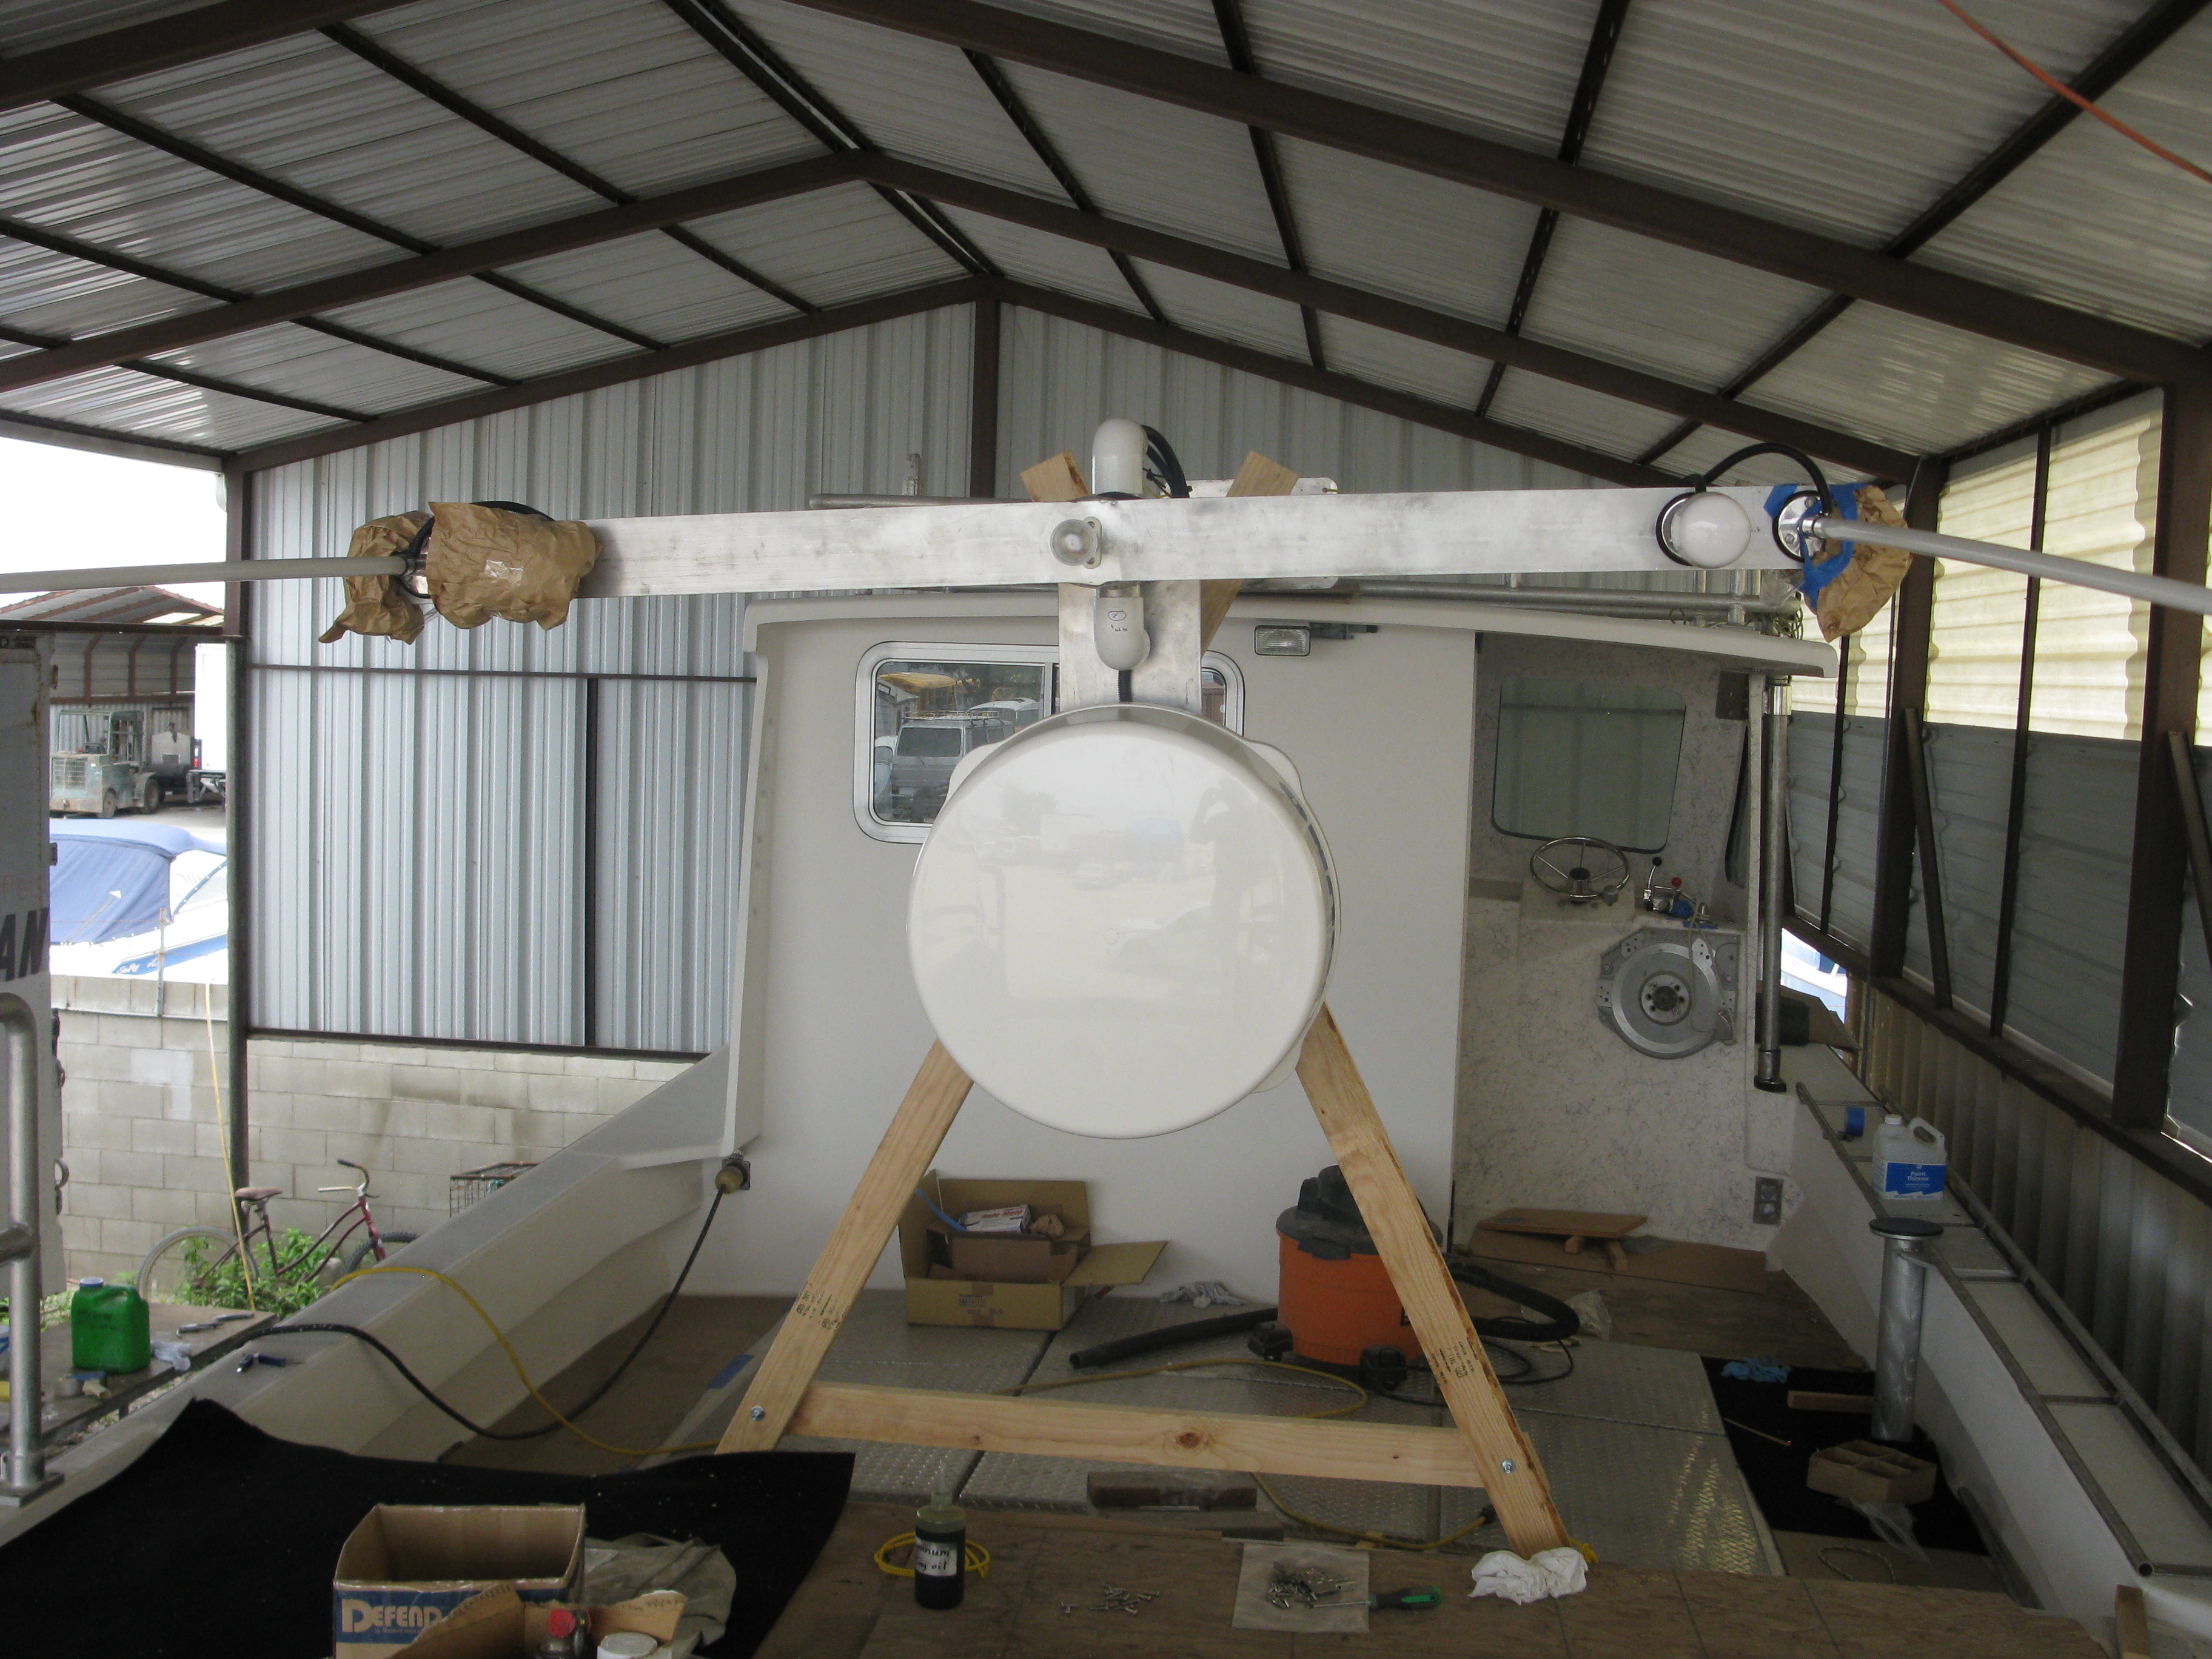
Window work
Window cutouts and glass insets, cabin side wall, outside puller station being mocked up, upper cabin hydraulic & electrical closet run / rear cabin support for mast, etc, Three windows left–Sliding door, rear cabin slider and port cabin side.

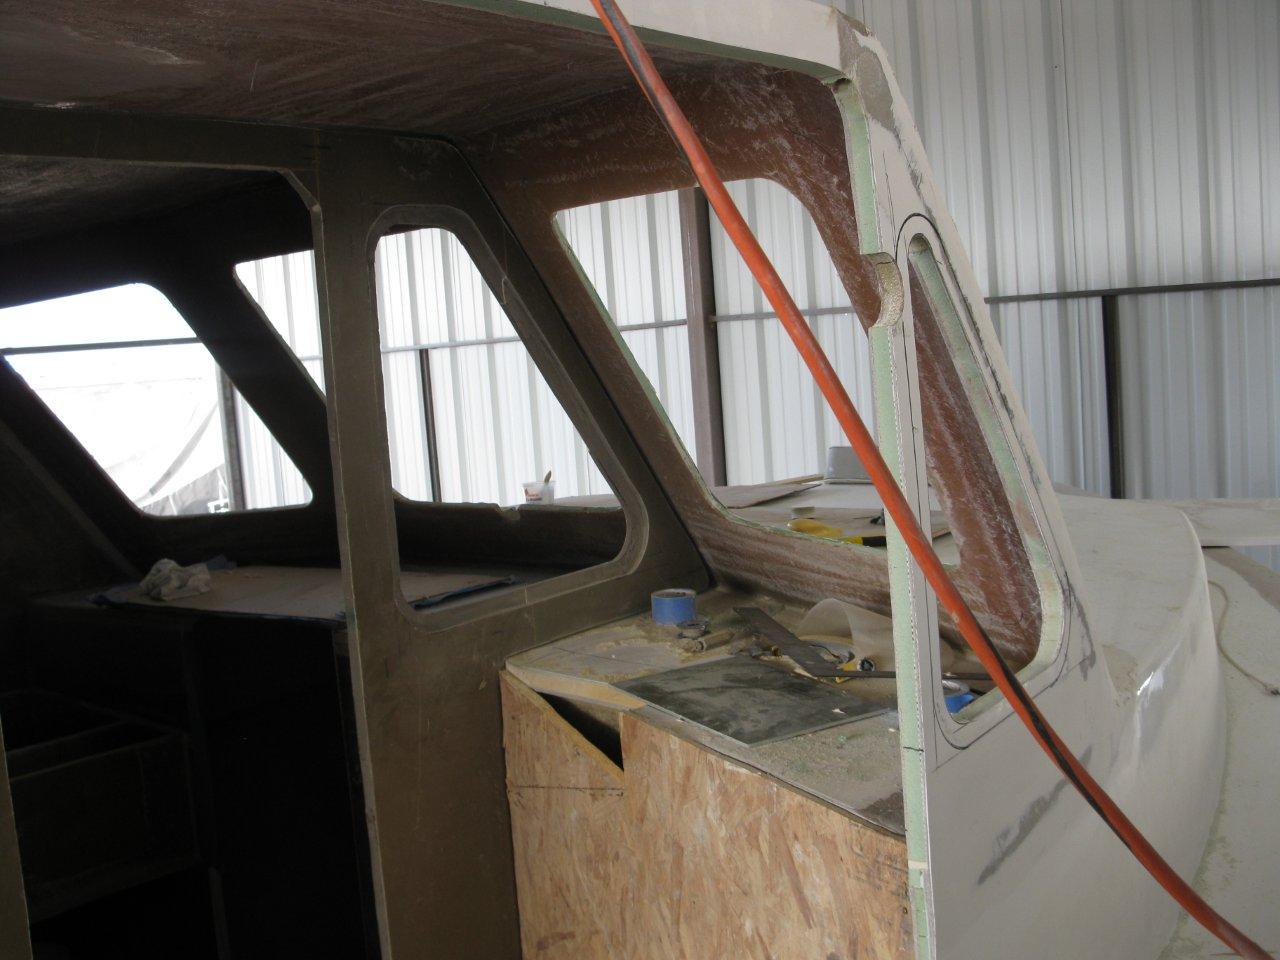
Getting ready for some windows!
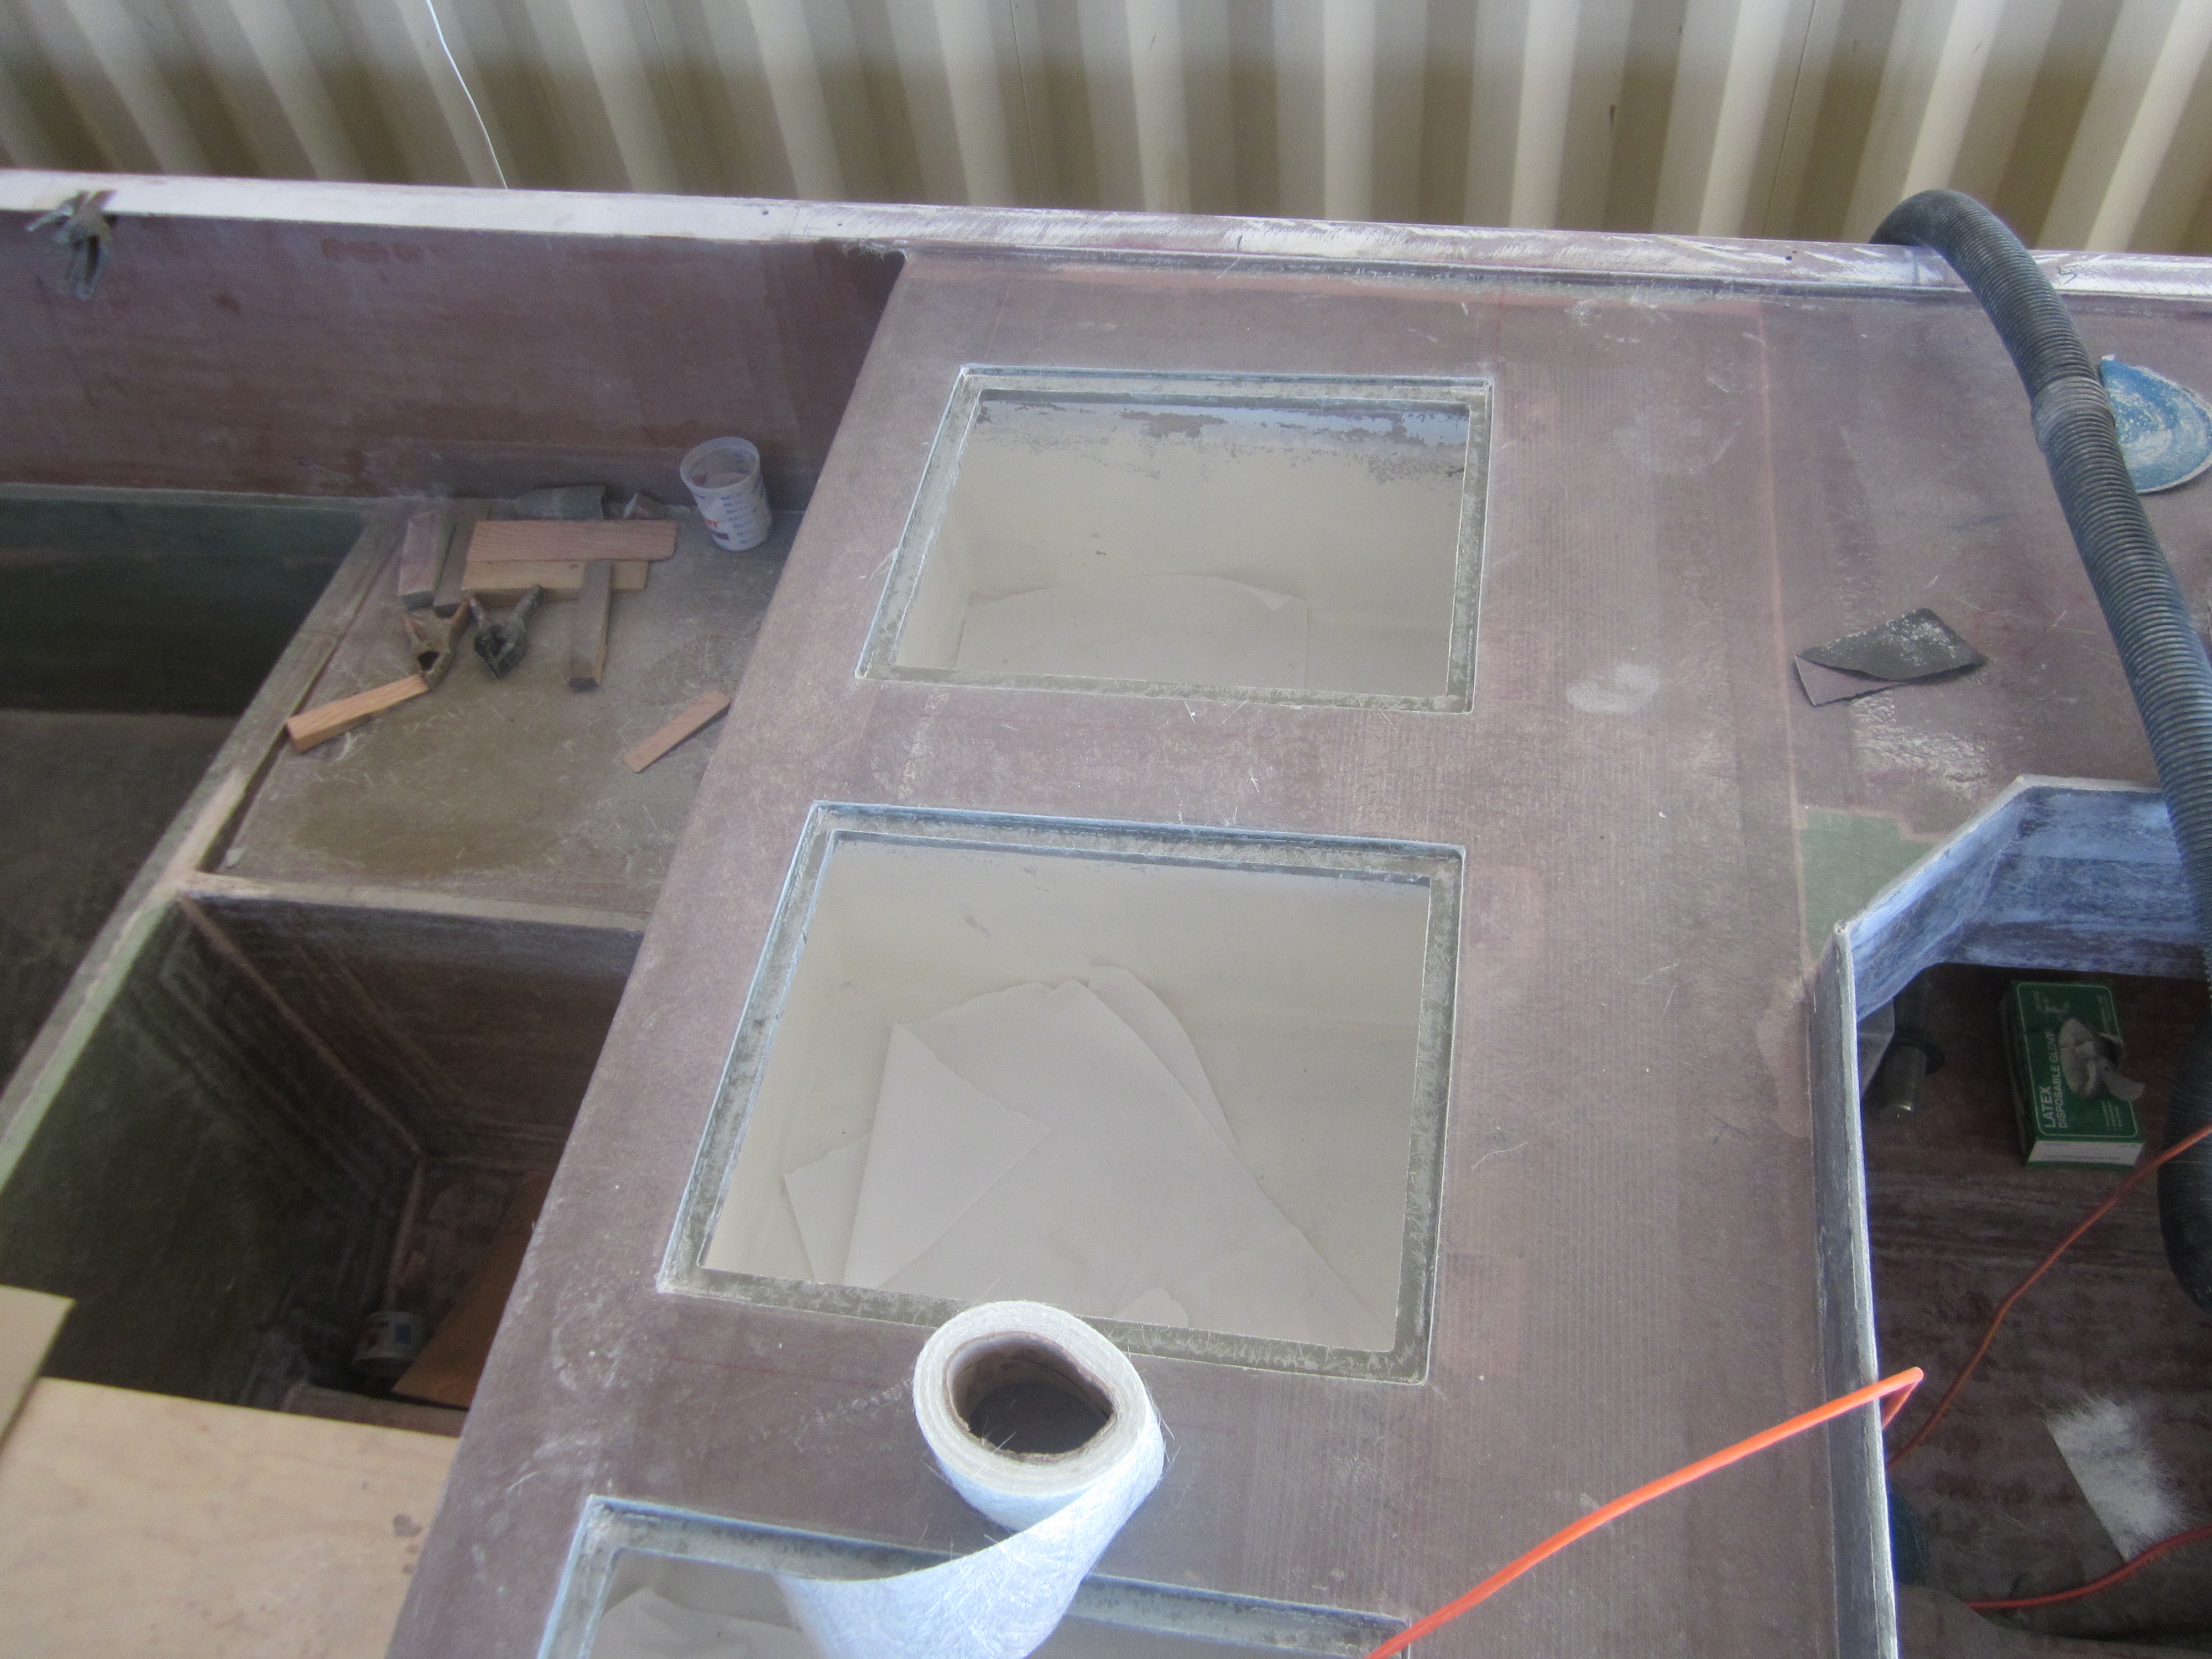
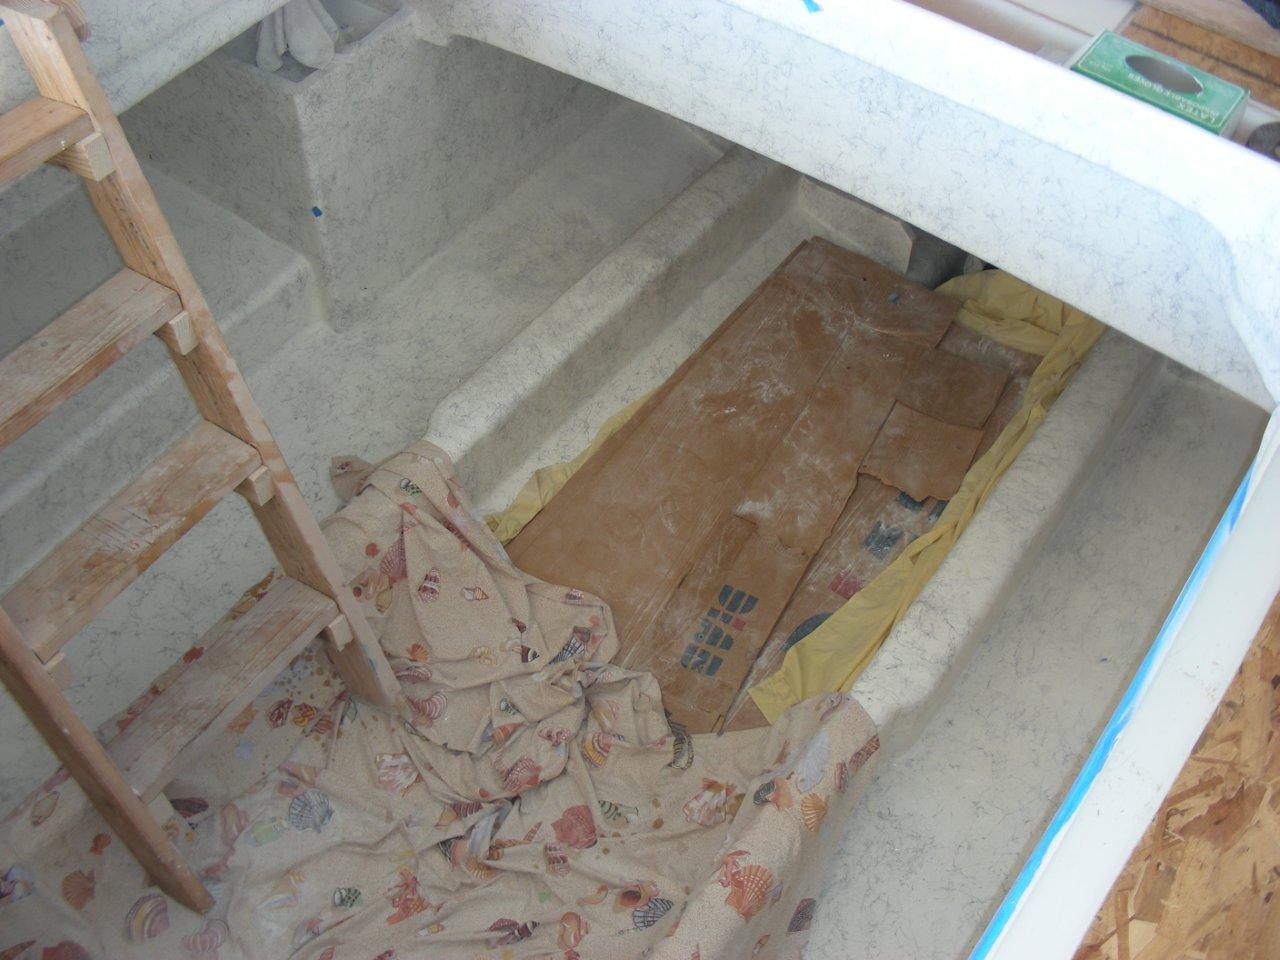
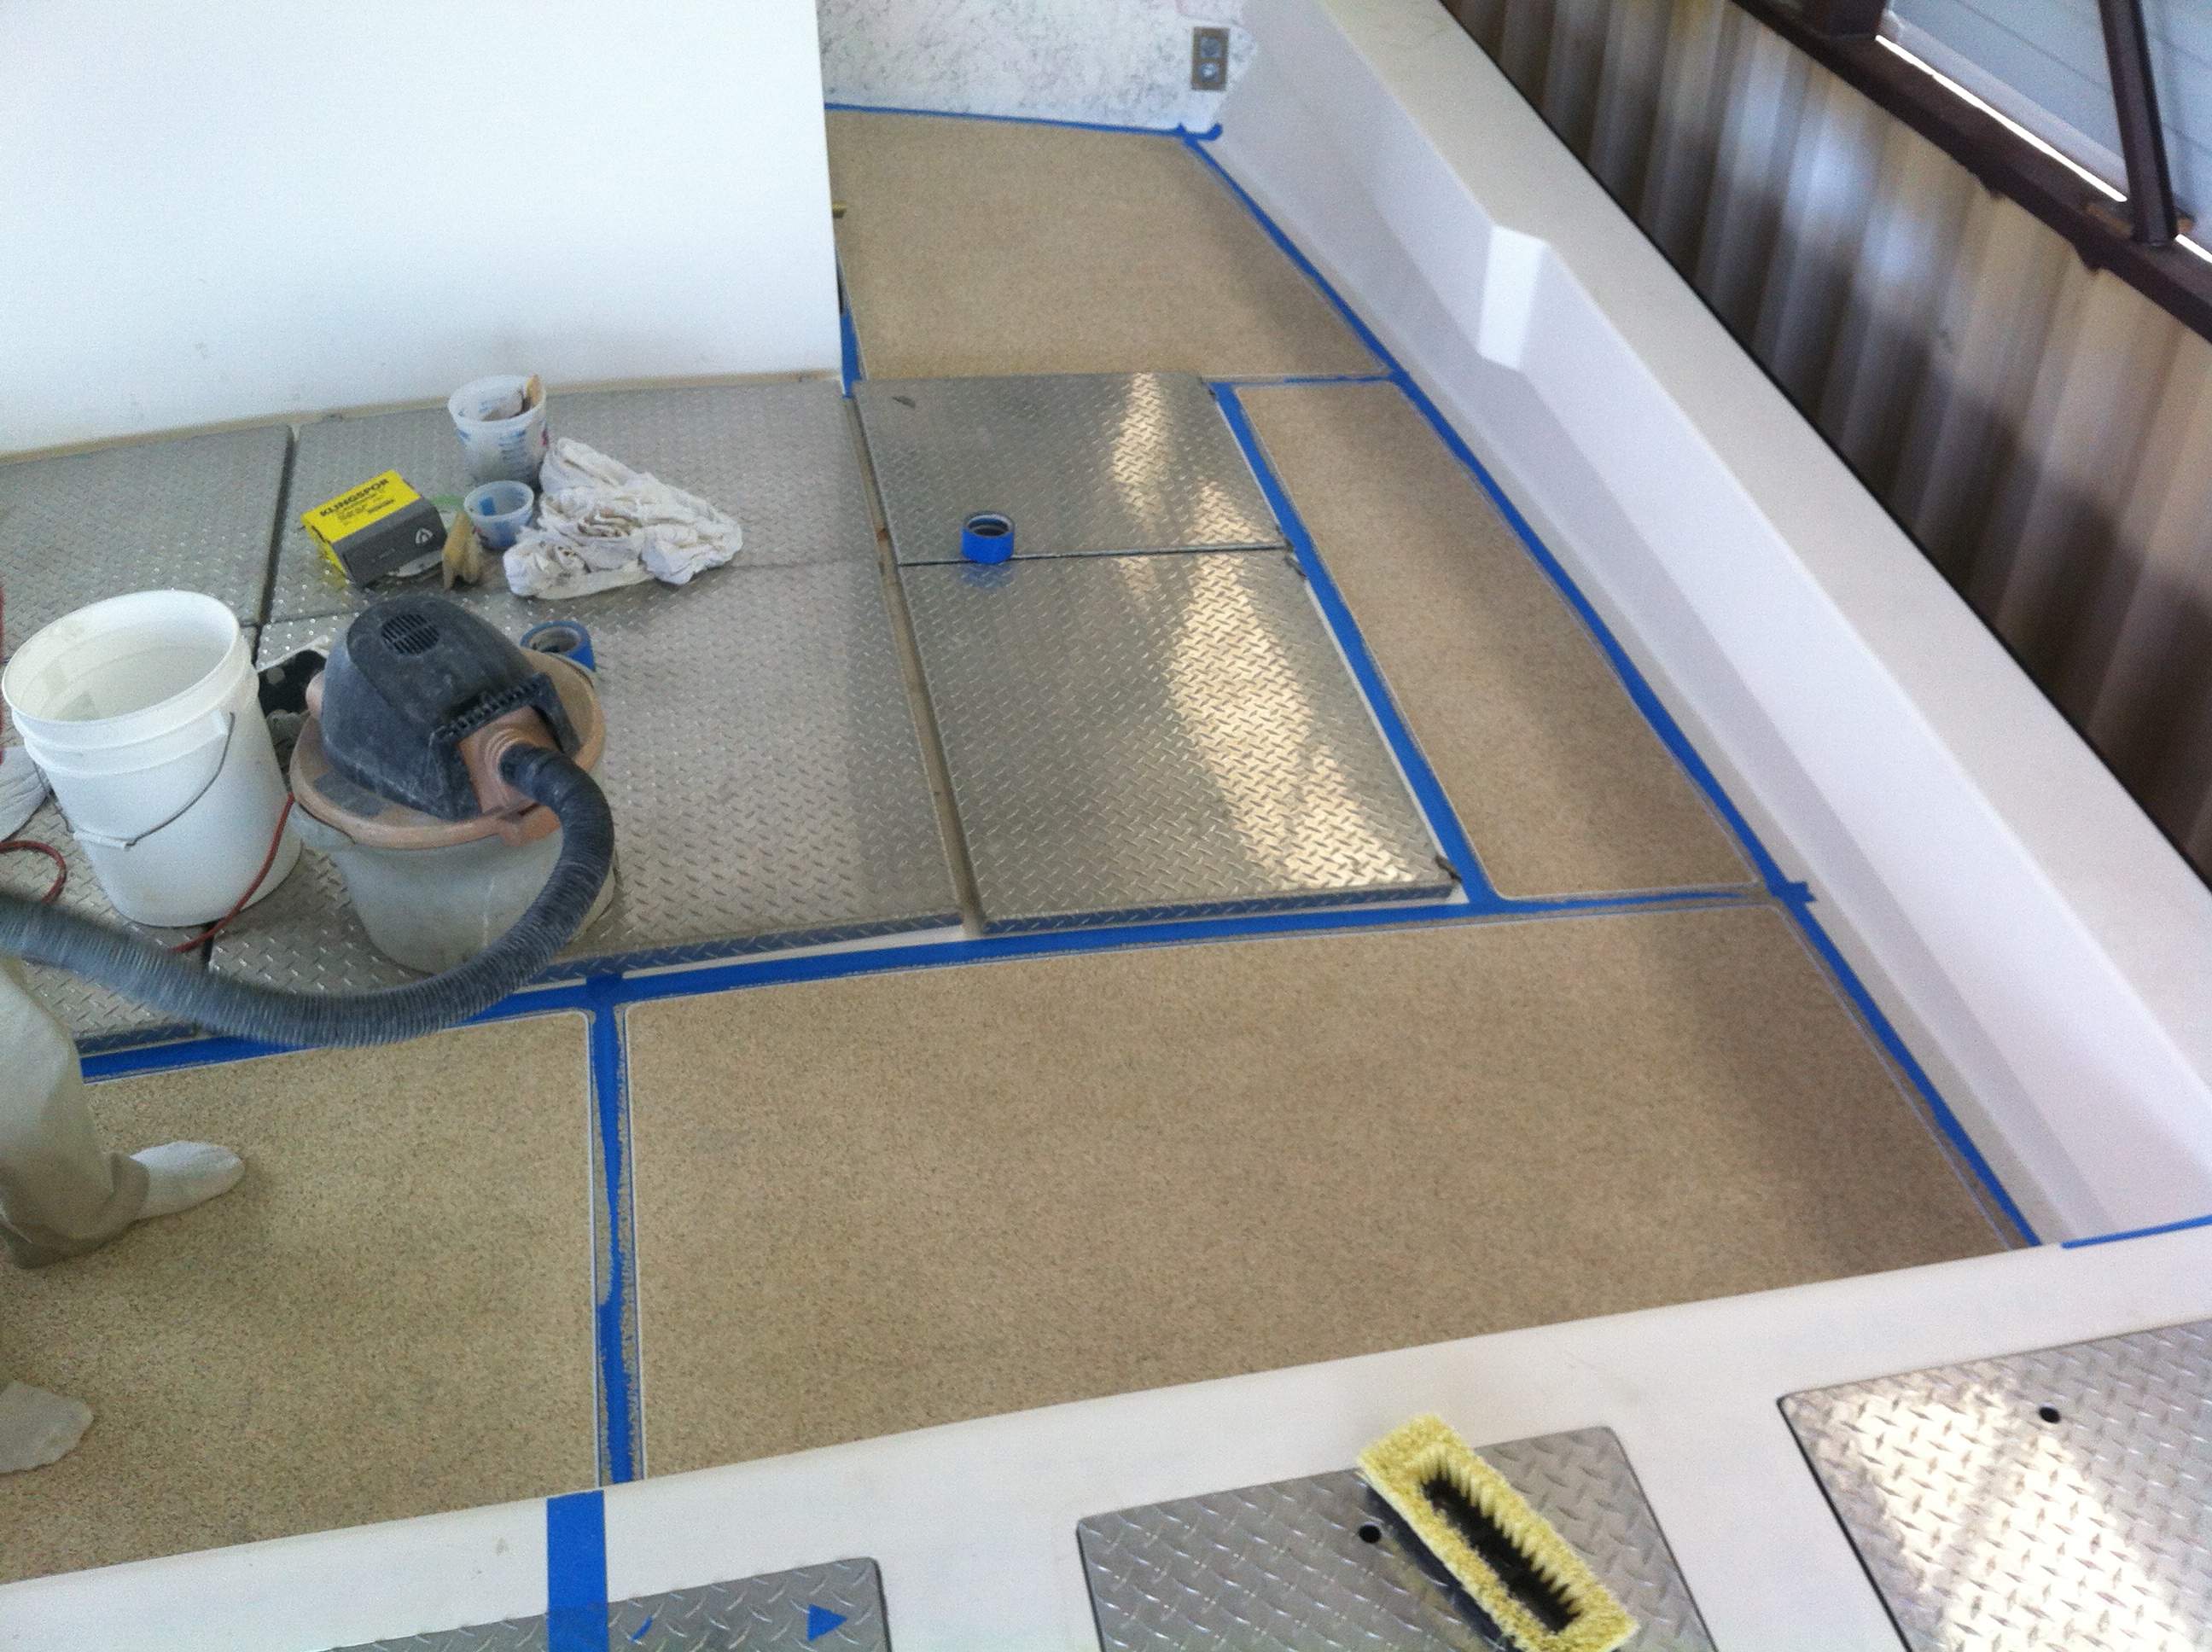
At this point all the glass work is done except for the fish hold work– All the hatches will be aluminum so there not too much glass work other that the combings which will be solid glass.. Hopefully we’ll be washing the boat in the week following and the dust will be gone for good….After that–It’s all machinery, hardware, bolts and screws along with the windows………


“Piece by Piece”……
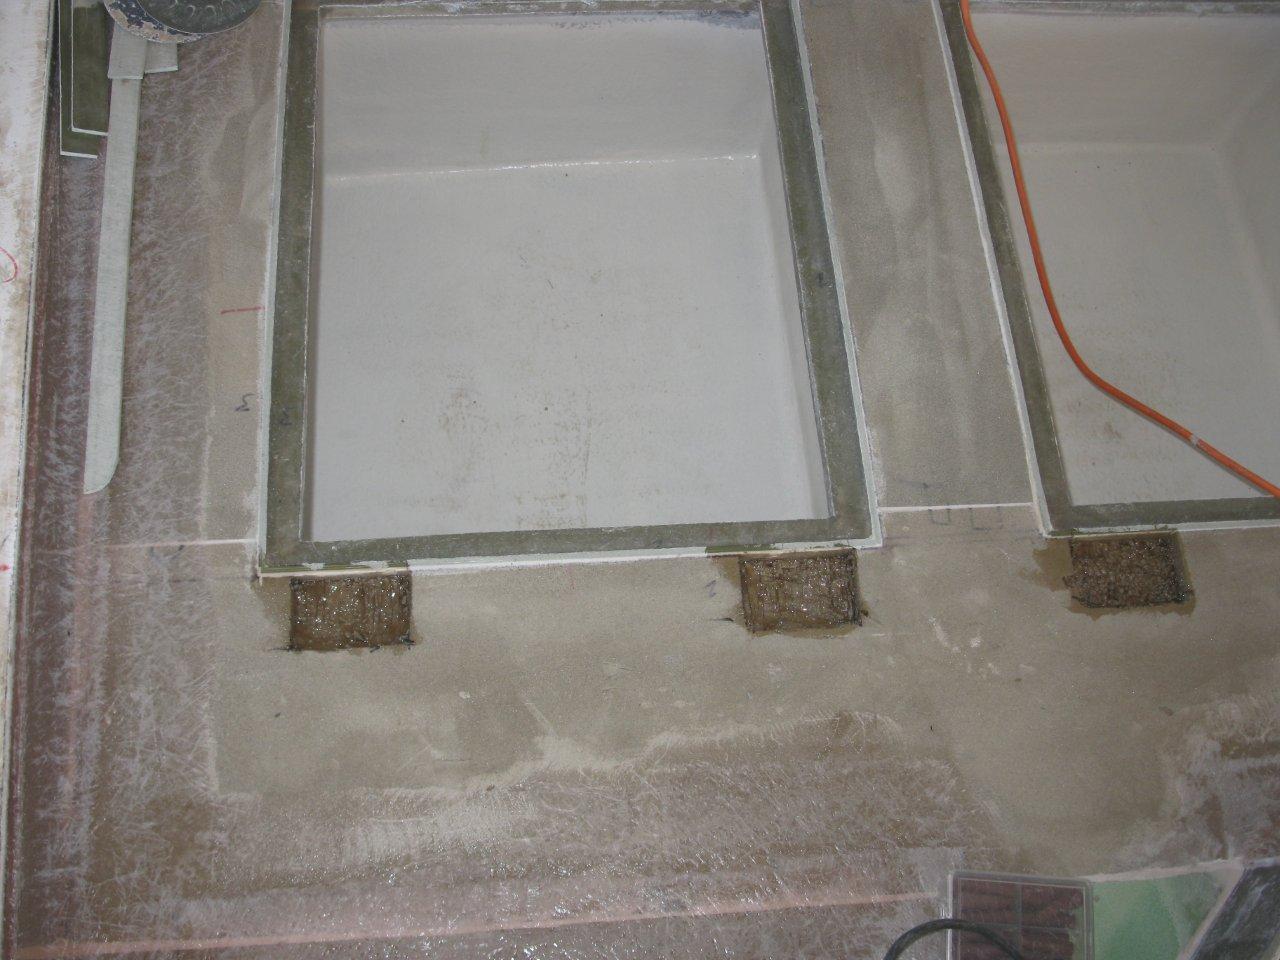
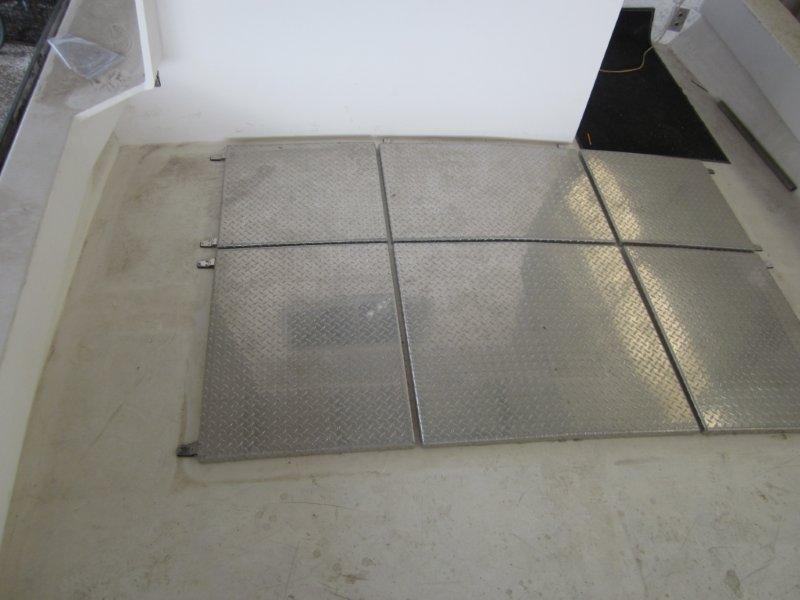
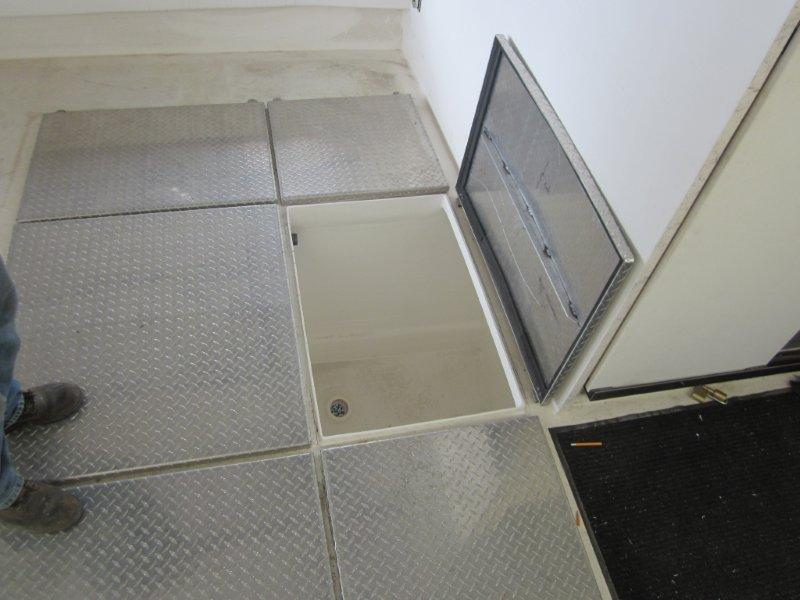
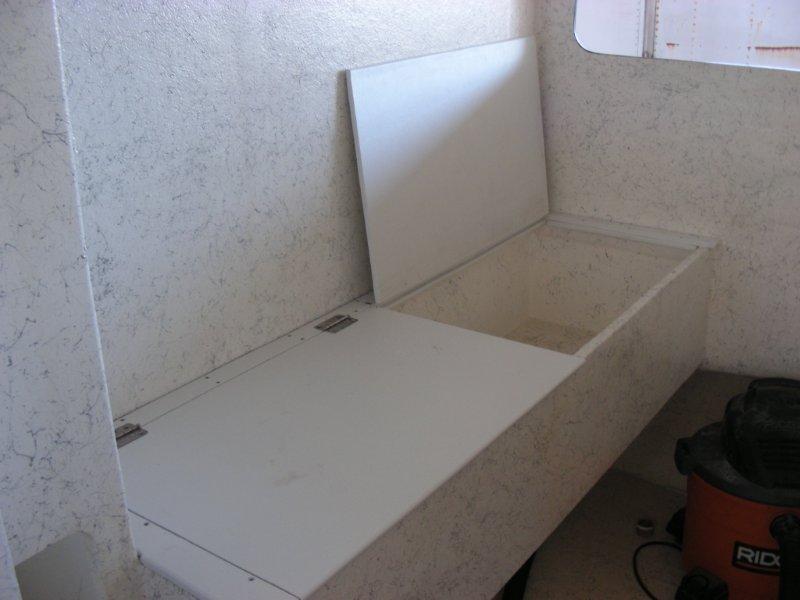
The combings are solid glass and building them is very labor intensive.. There will be 6 individual aluminum hatches and all will hinge safely so even in rough weather they can be opened and closed without damage.

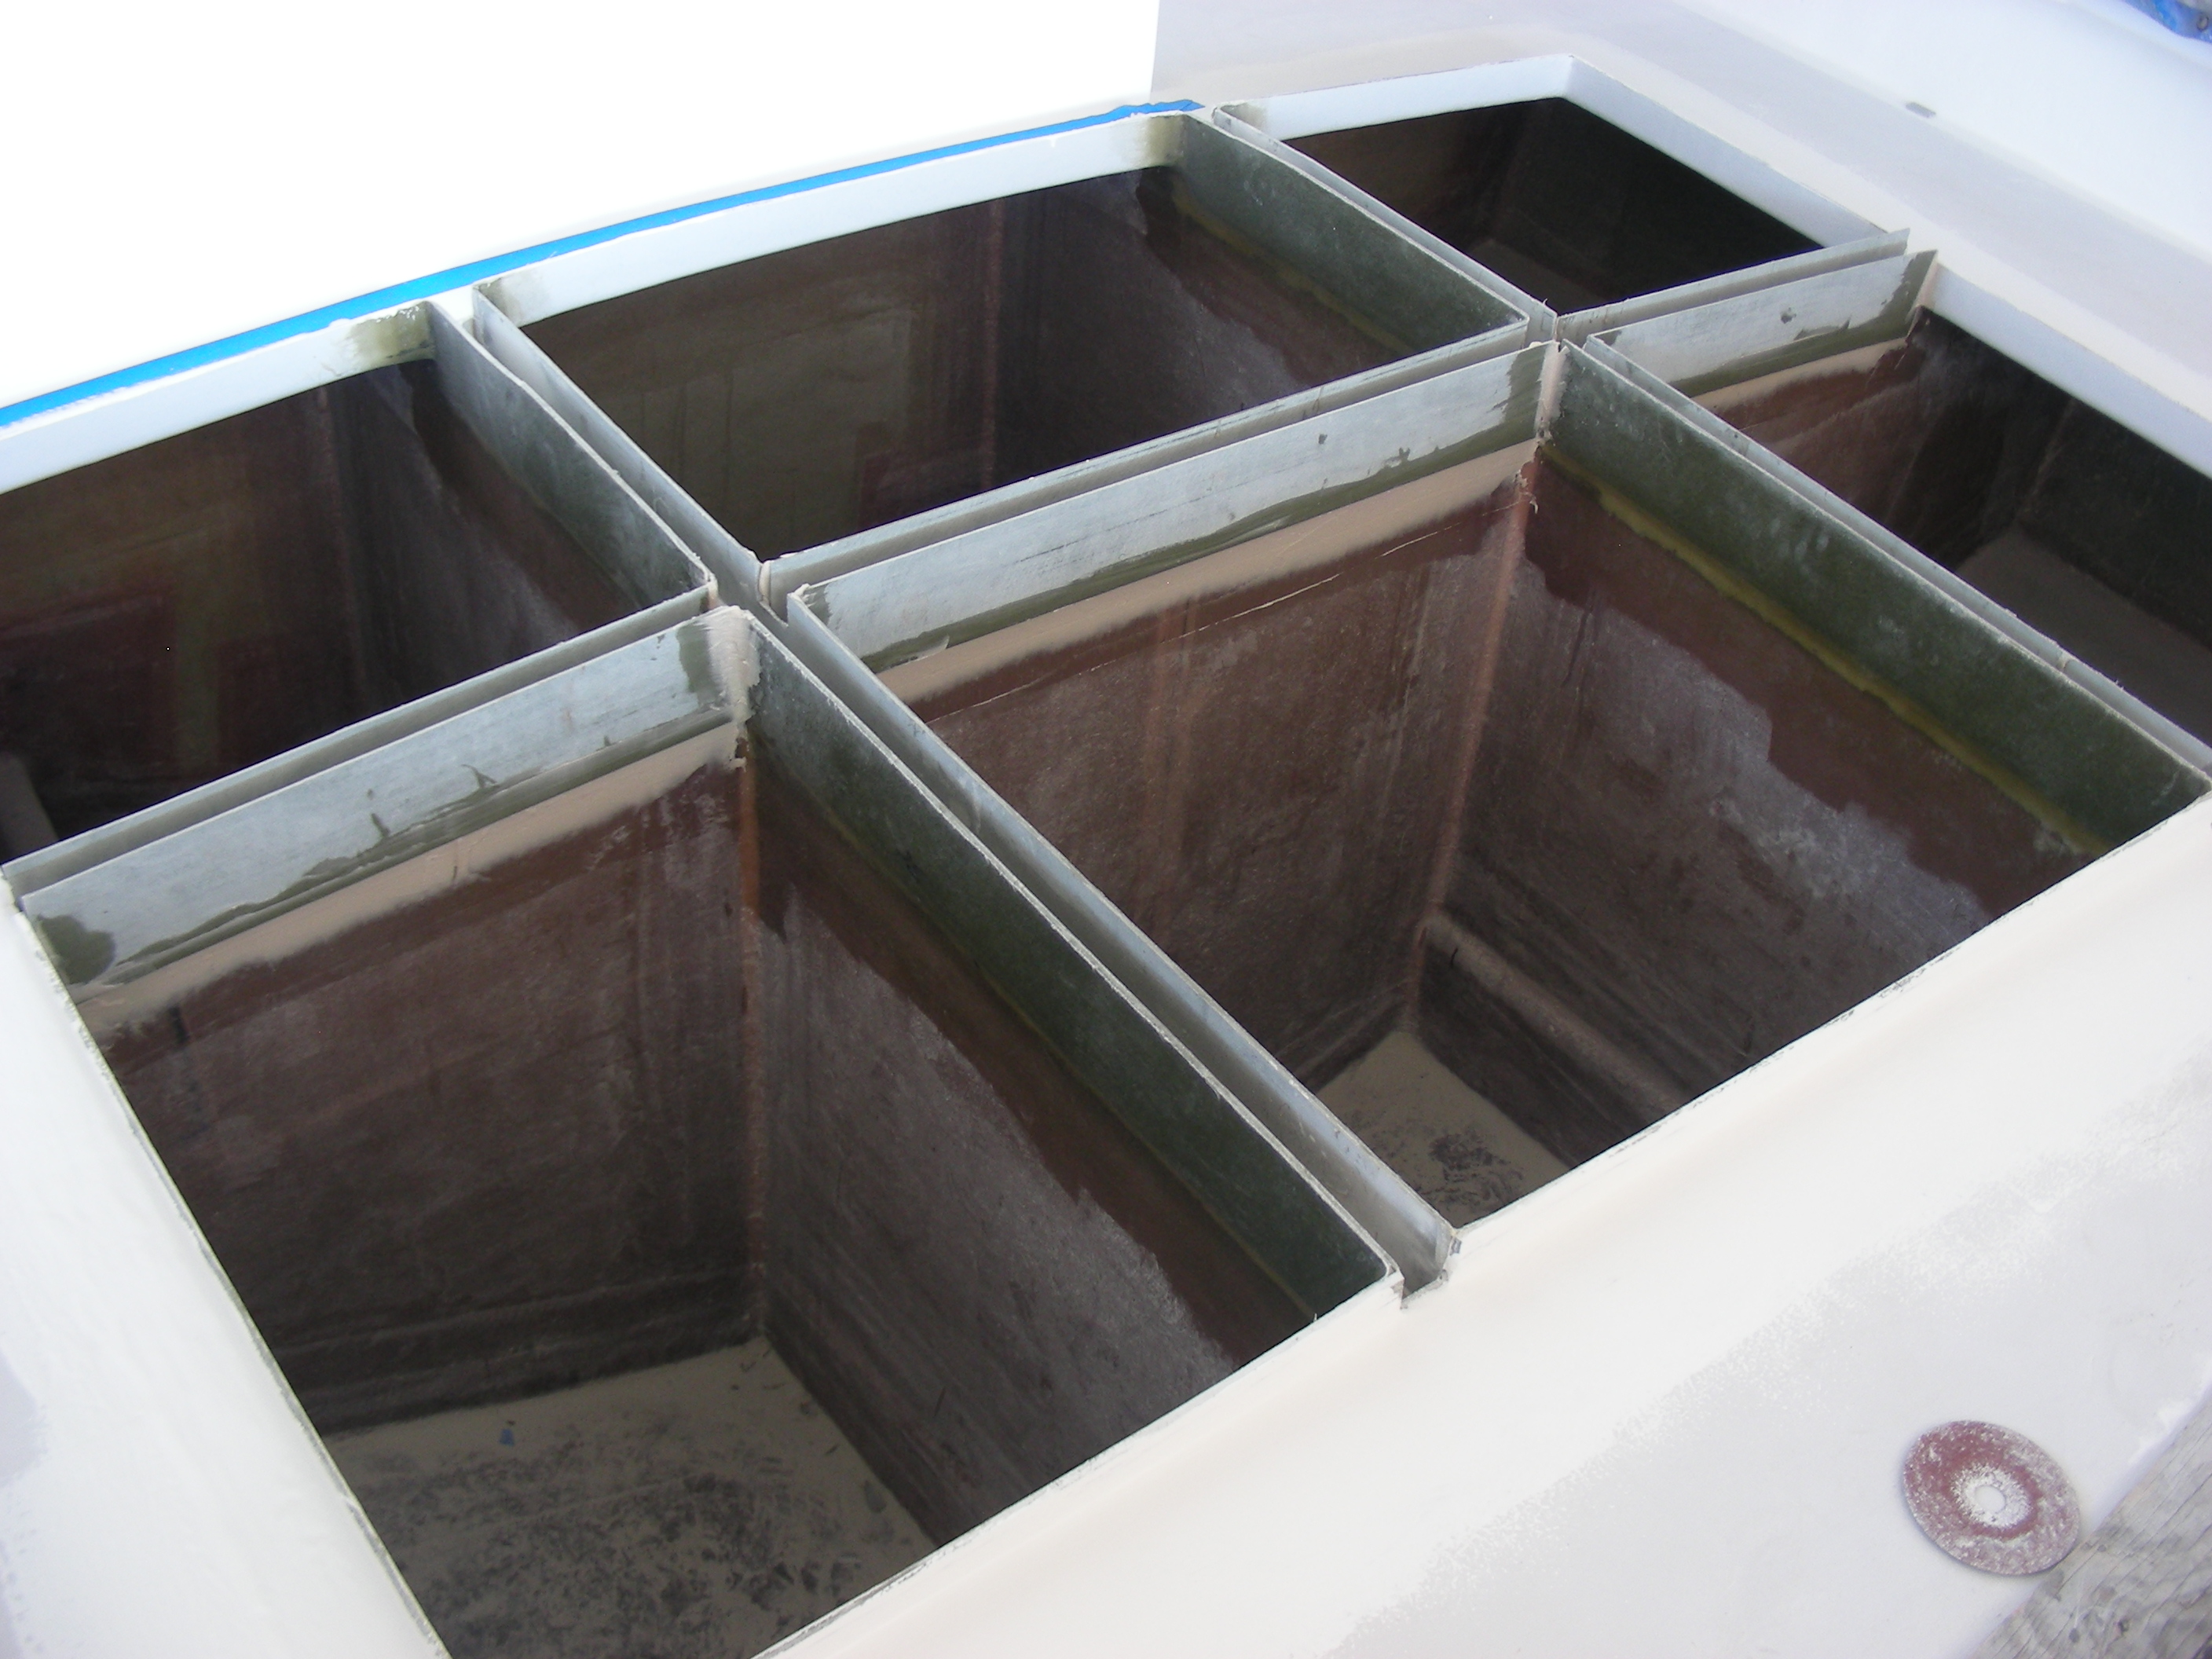
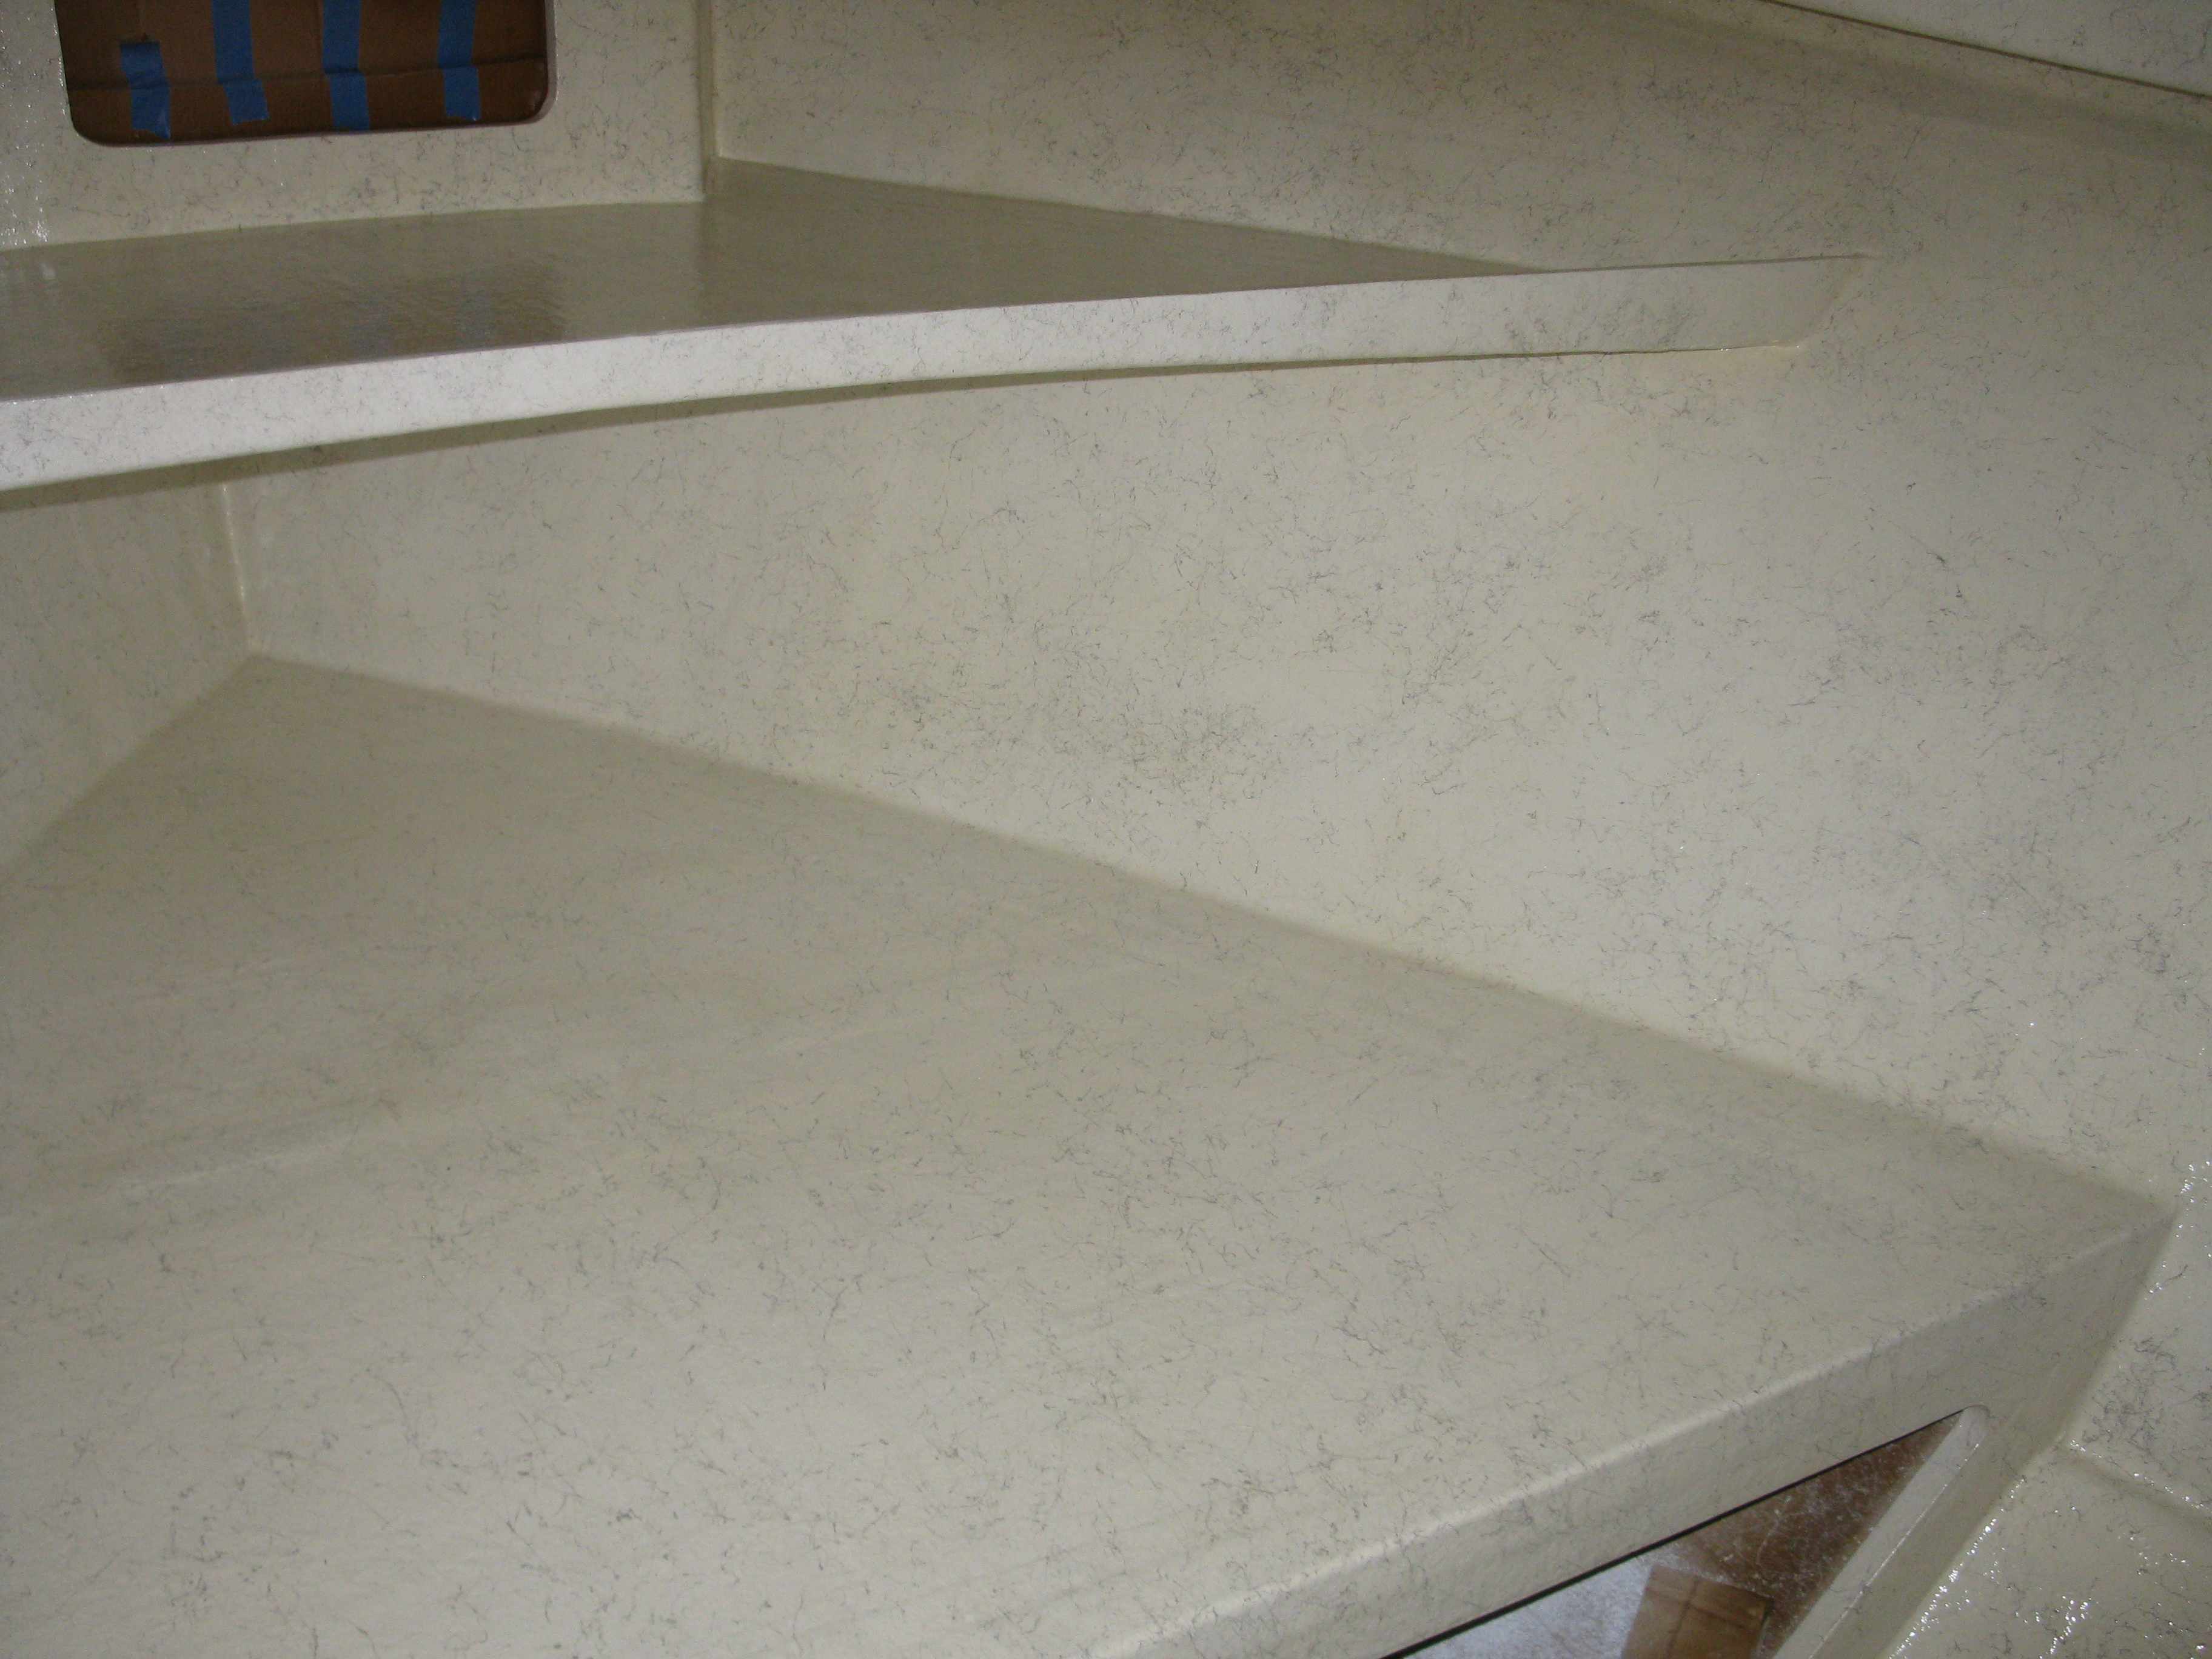
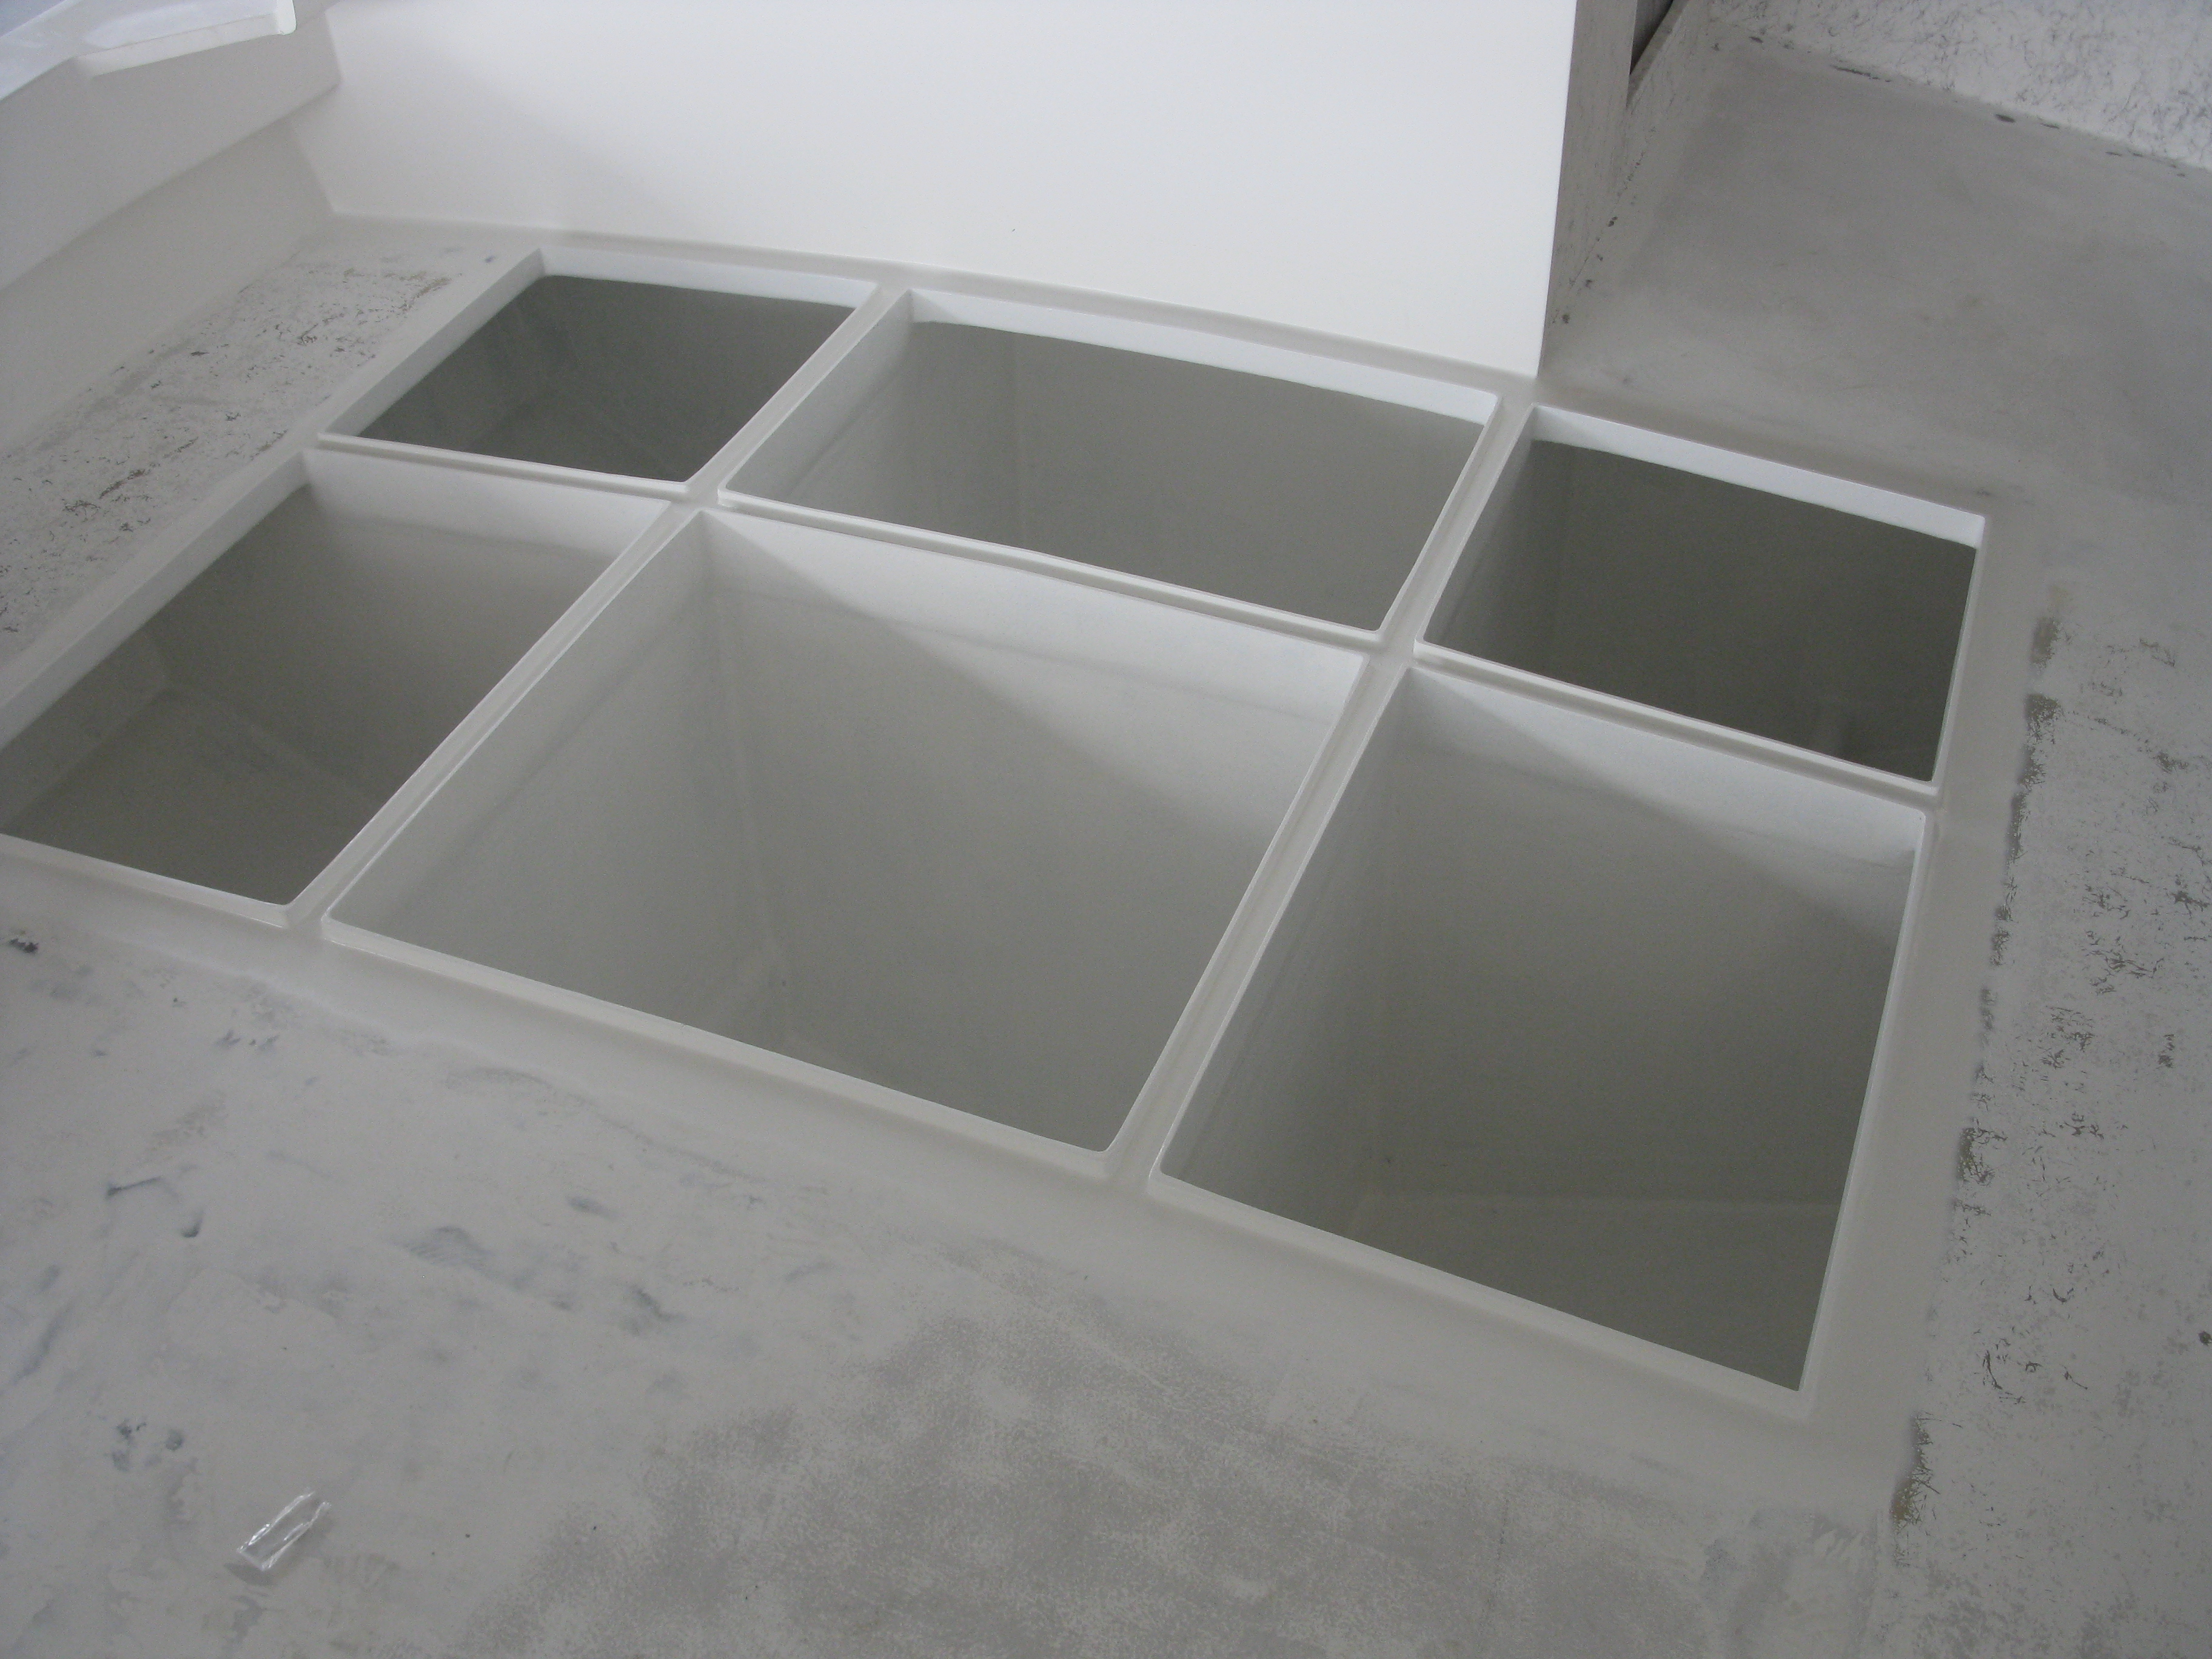
Multiple coats of Vinyl Esther tack applied, now ready for the finish coatings. Just measured the main fish hold– 245 Cu ft ( about 1800 gallons) –A tad less than we hoped for, but to get the v-drive where we needed it and enough cabin, this is what we ended up with……….Center 2 compartments are about 40% of the total volume. This is plus the 5 upper fish holds (about 200 gallons).
Basically done–Measured for 6 aluminum hatches today & first of many finish coats.
More finishing touches…

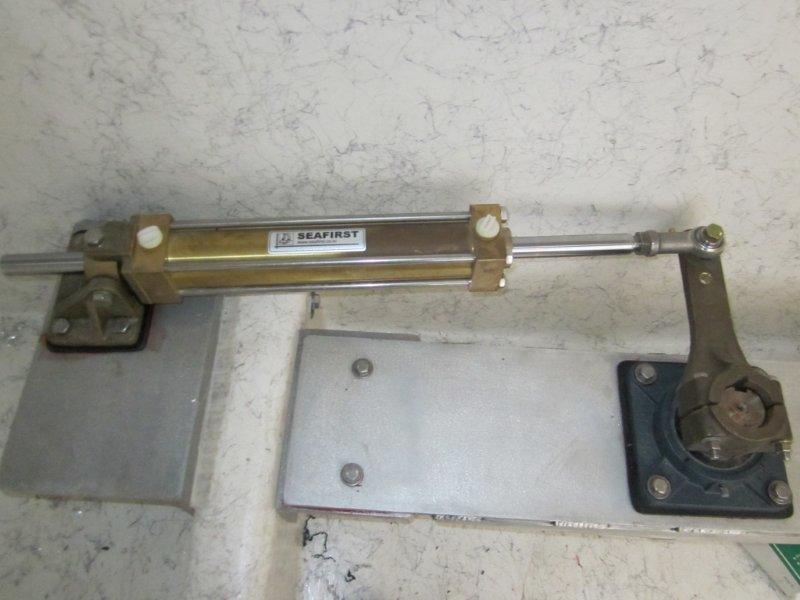
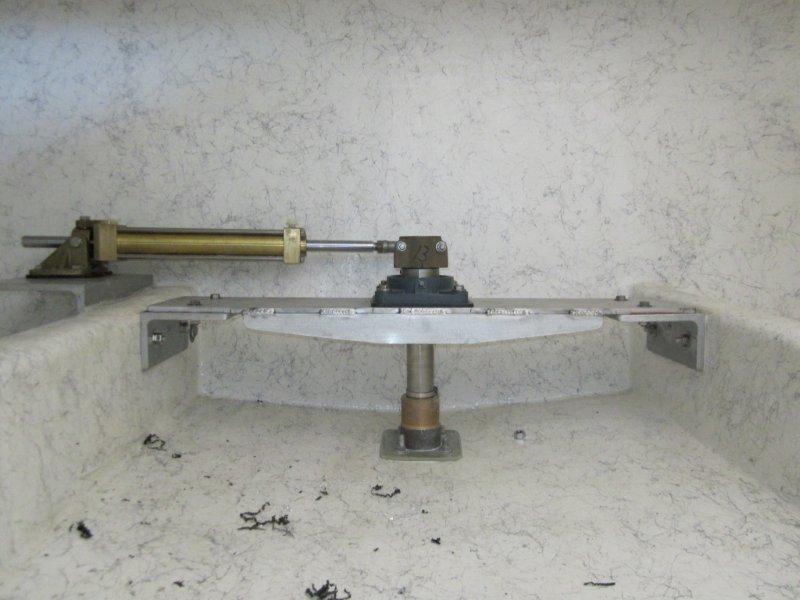
Steering ram setup
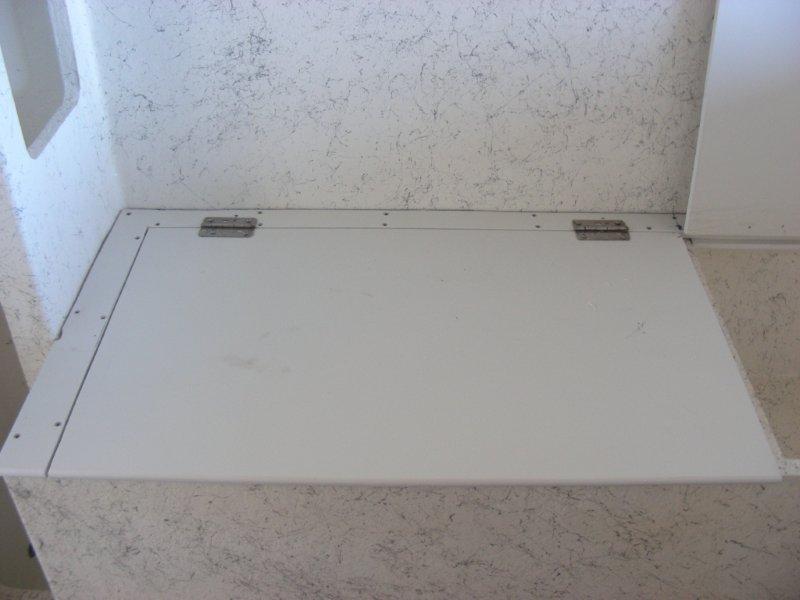
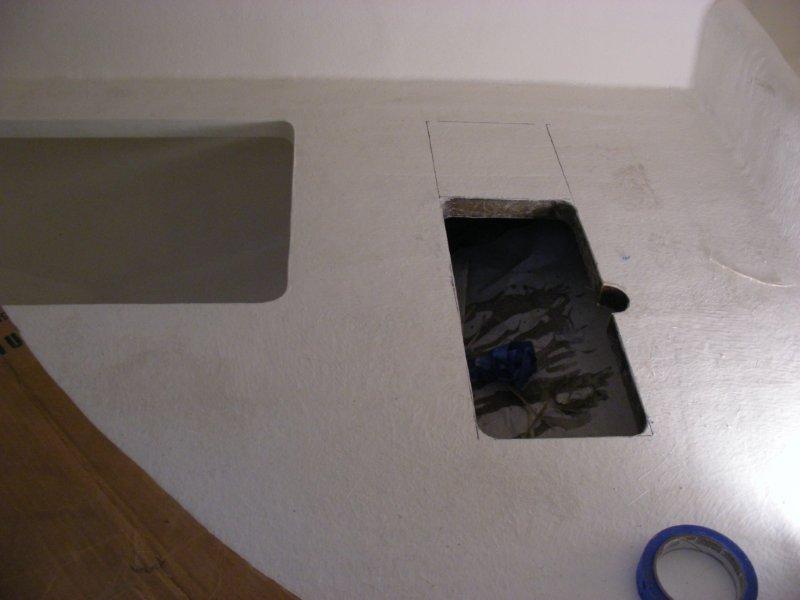
Fish hold hatches


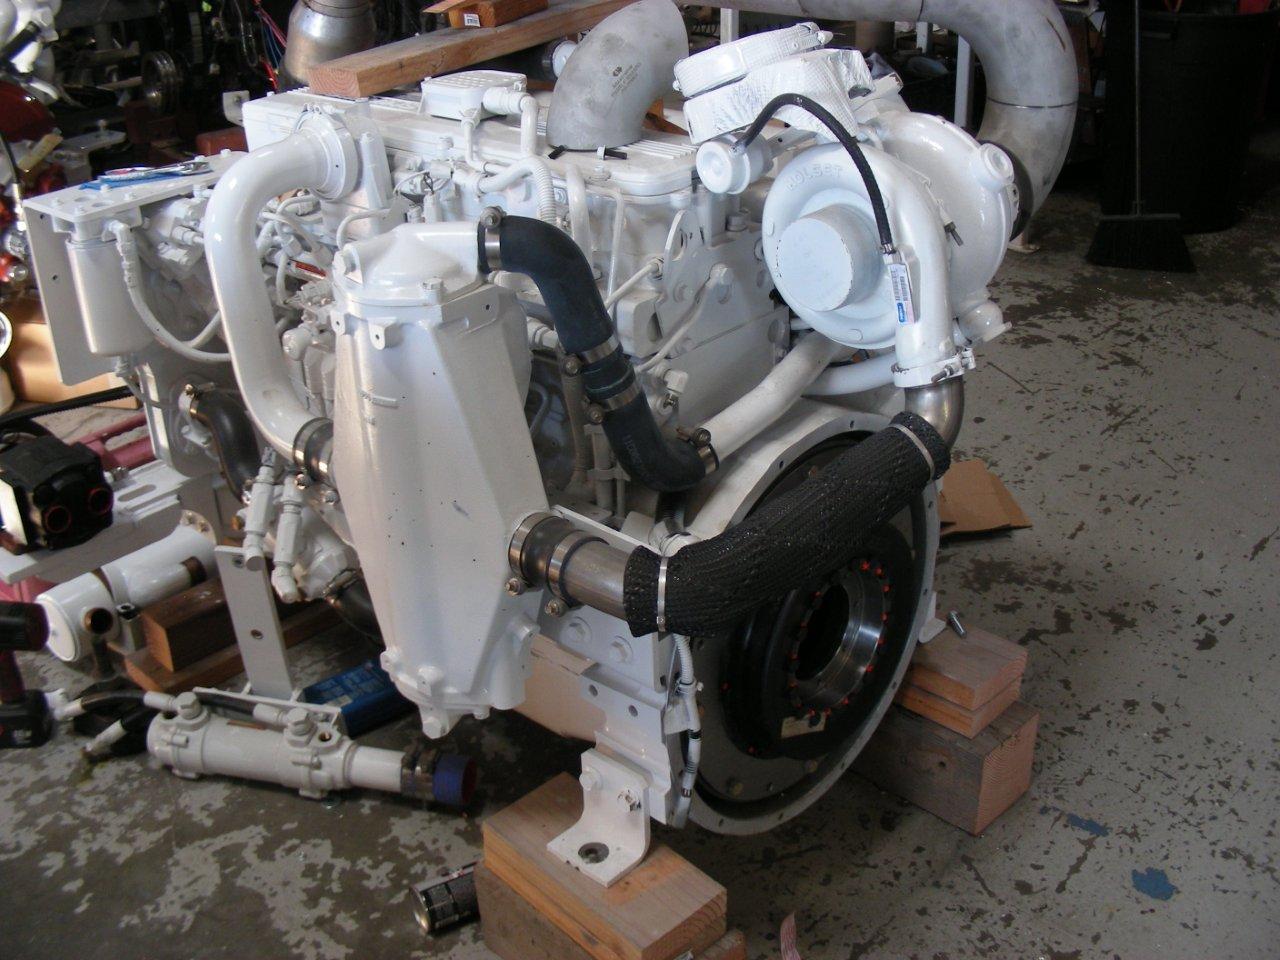
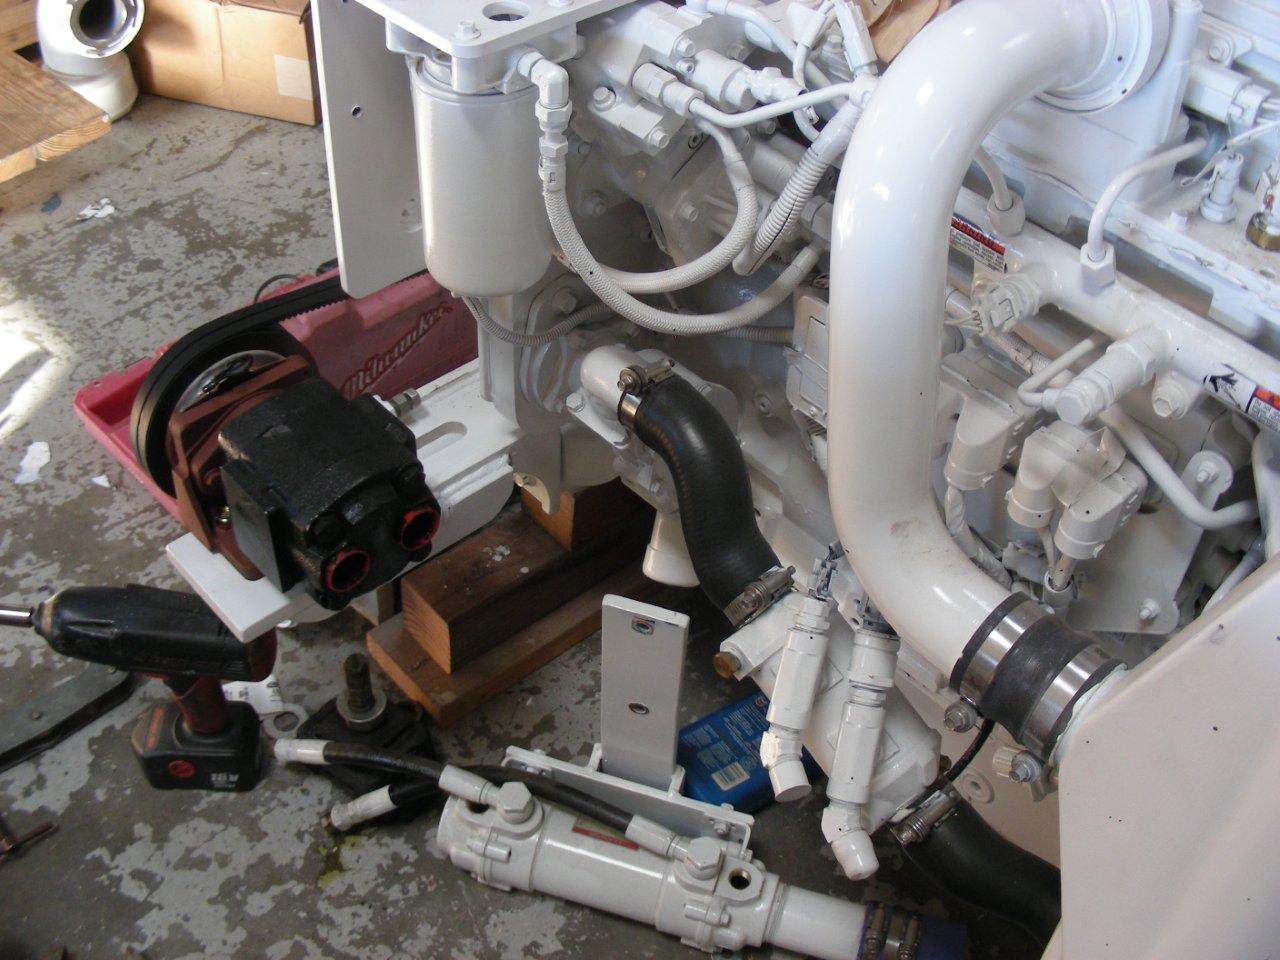
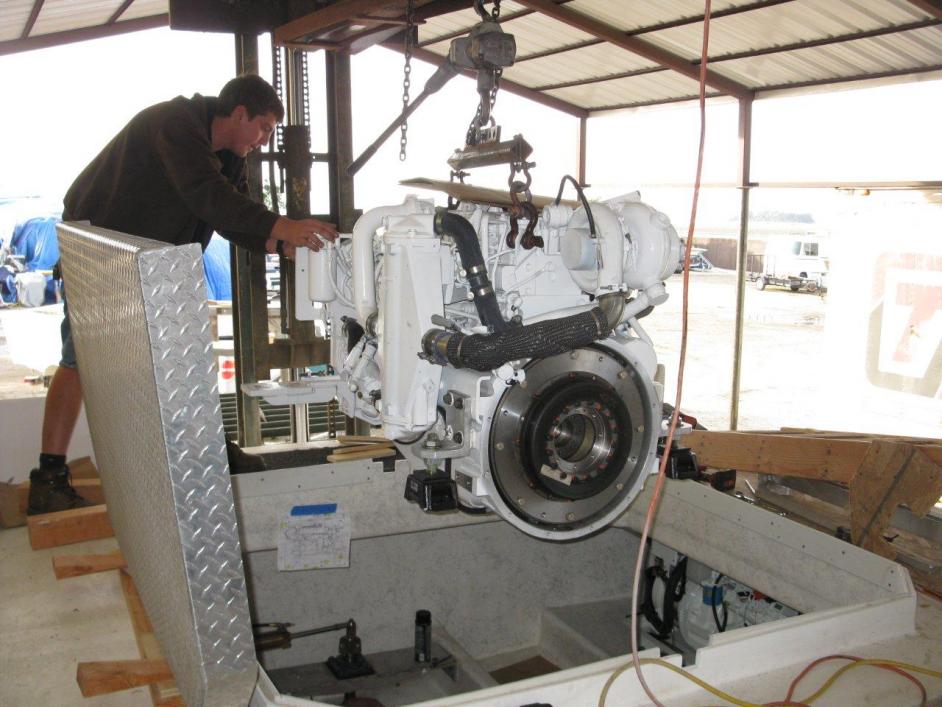
Time for engine up-fitting of the QSL9 405 HP
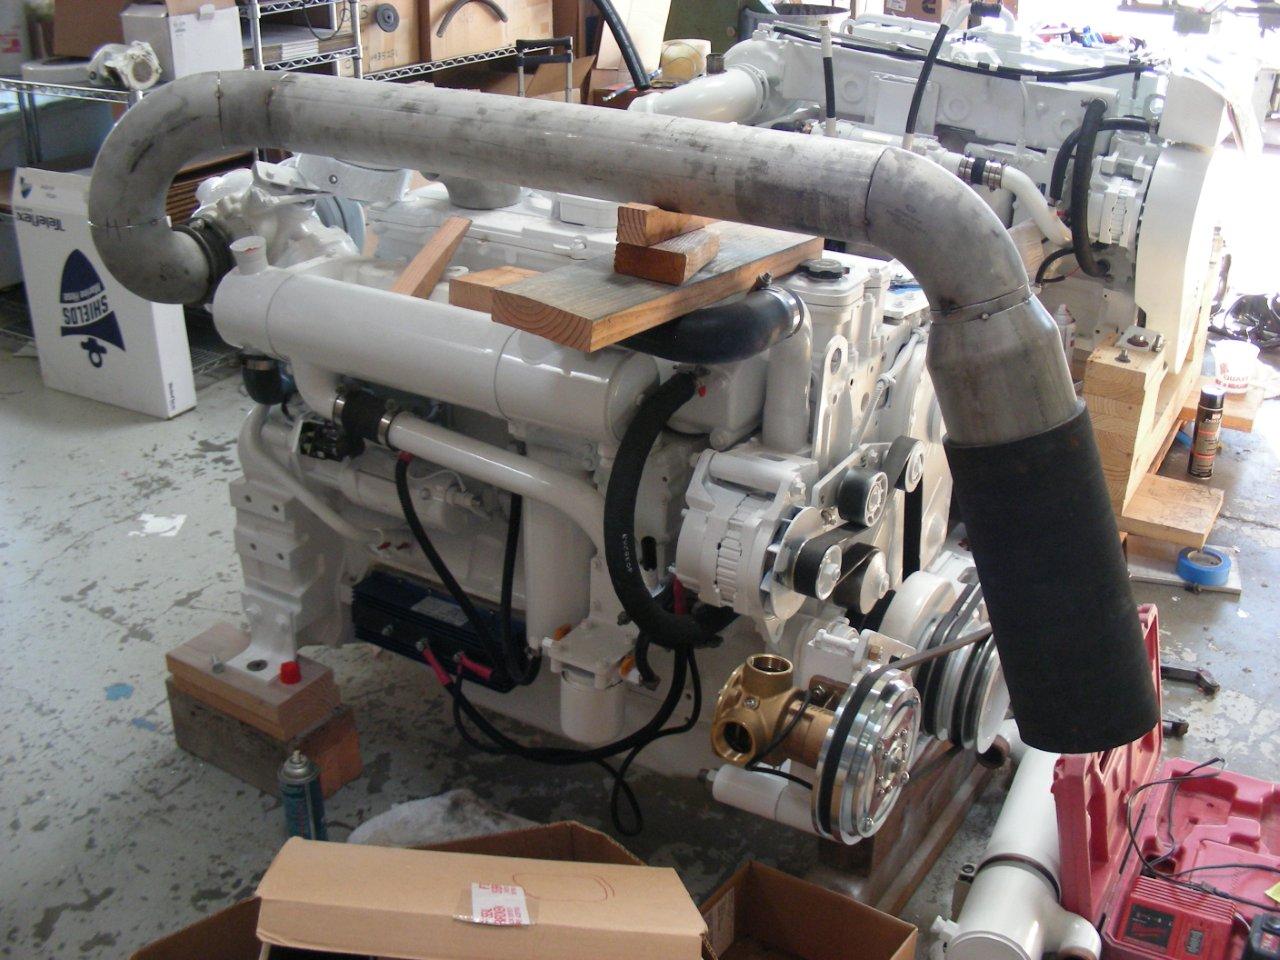


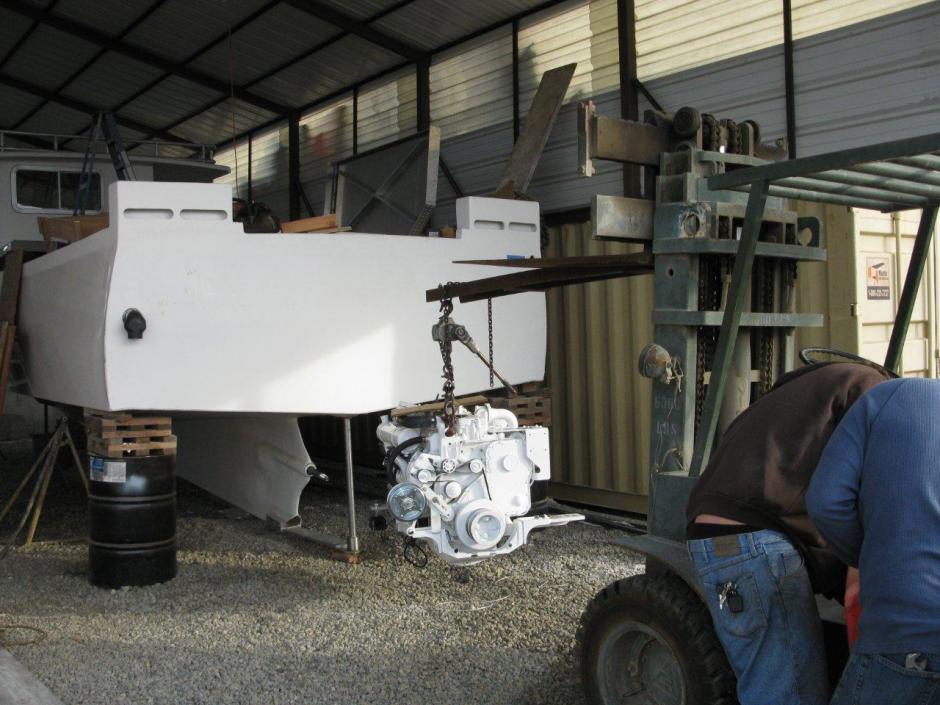
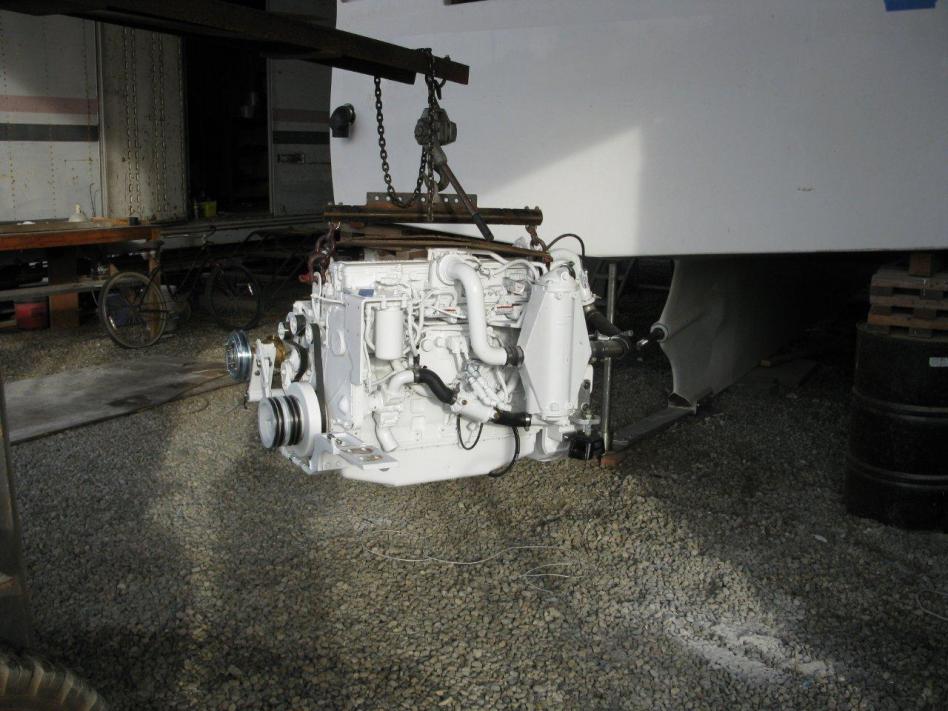
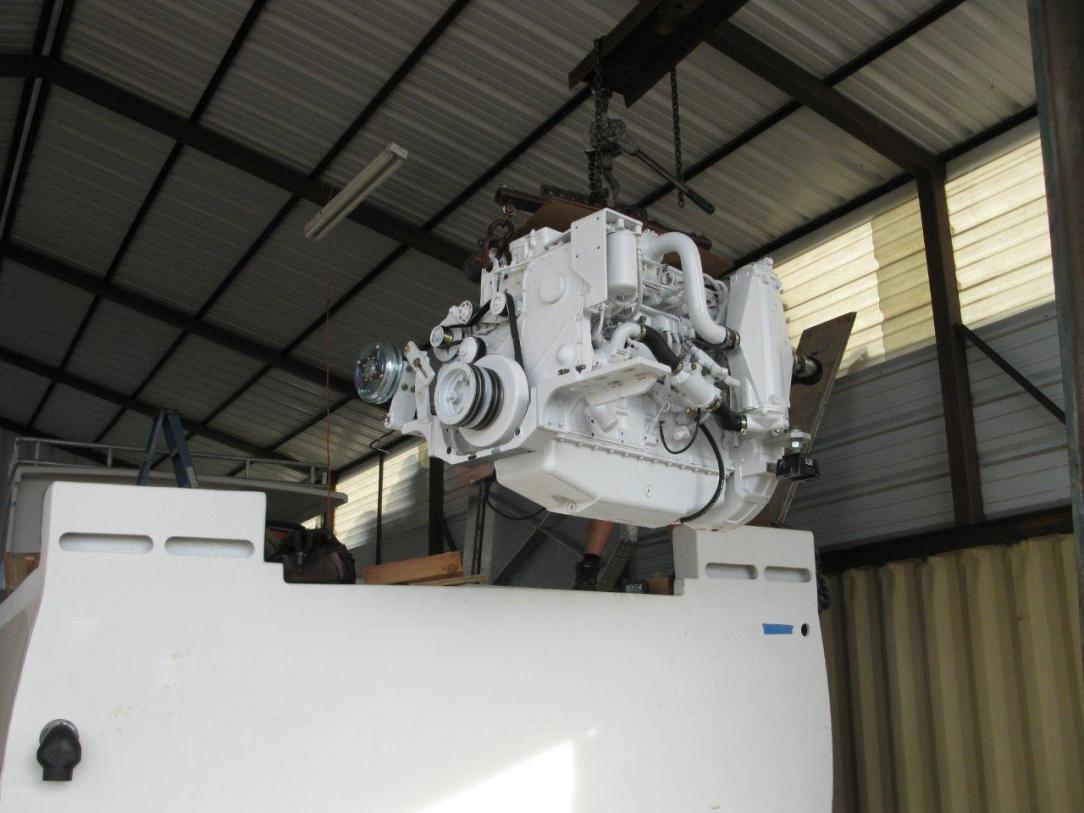
Time for the engine to be lifted in!
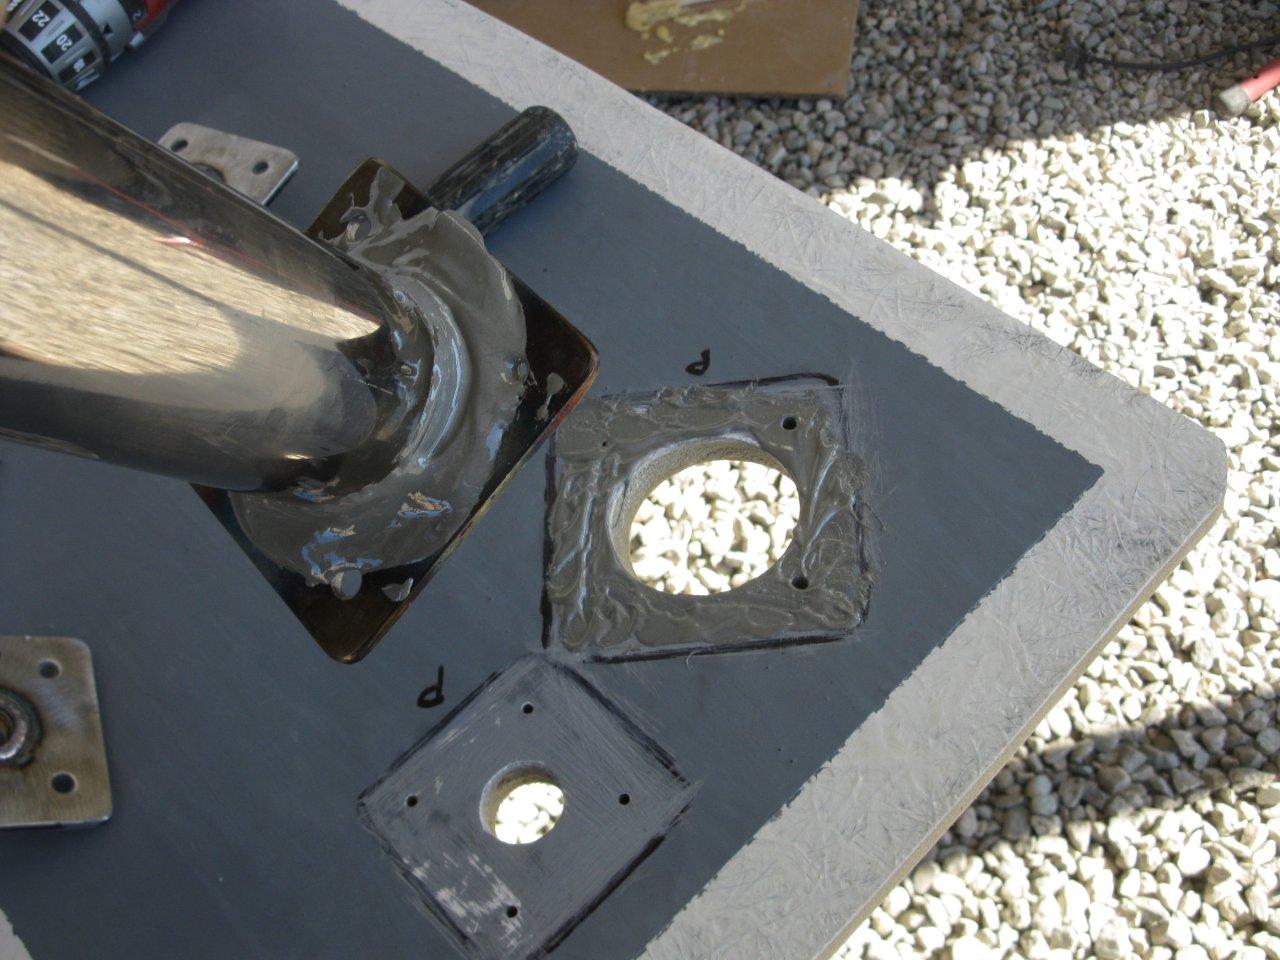
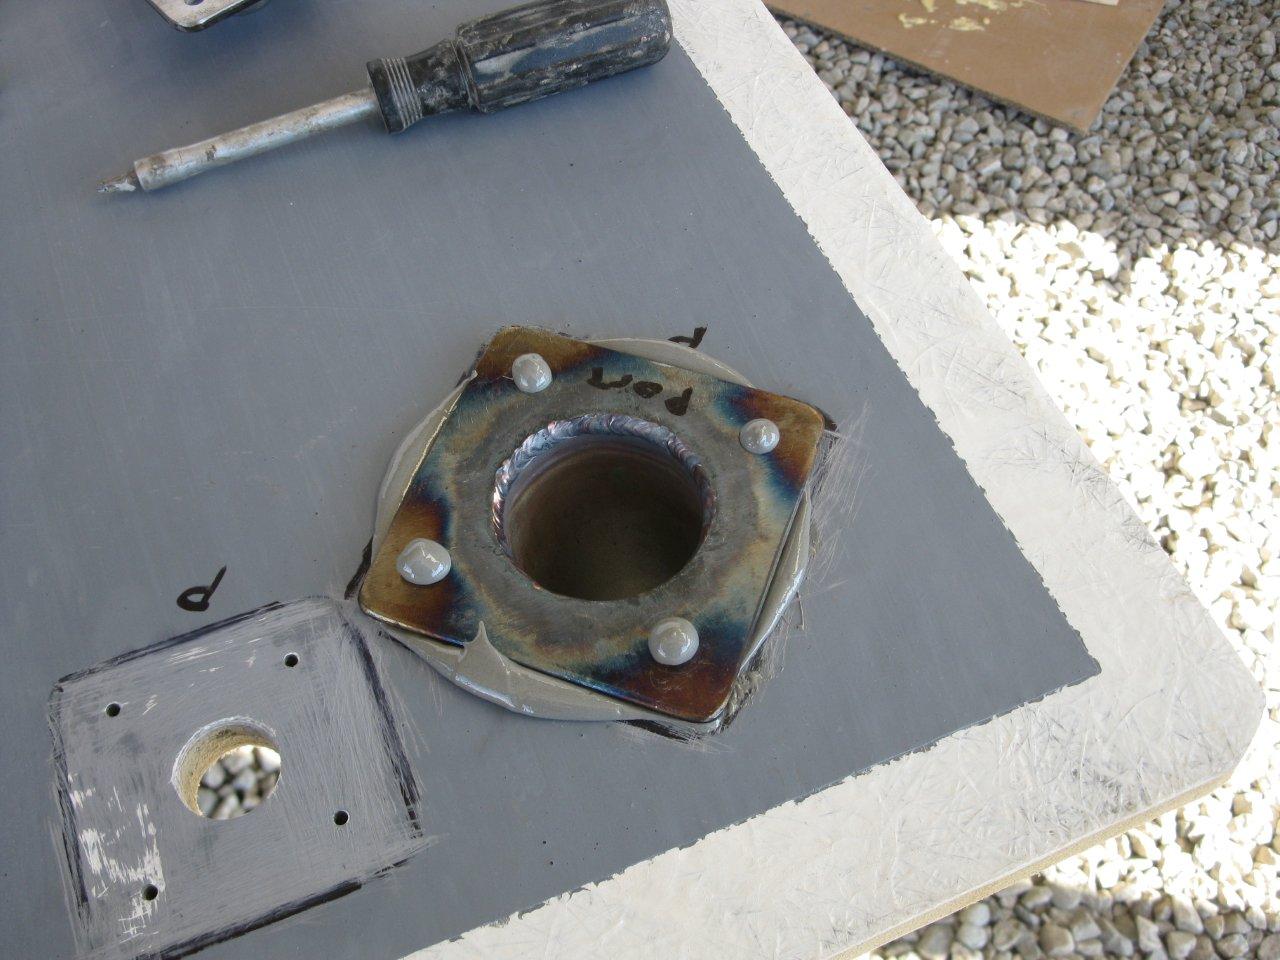
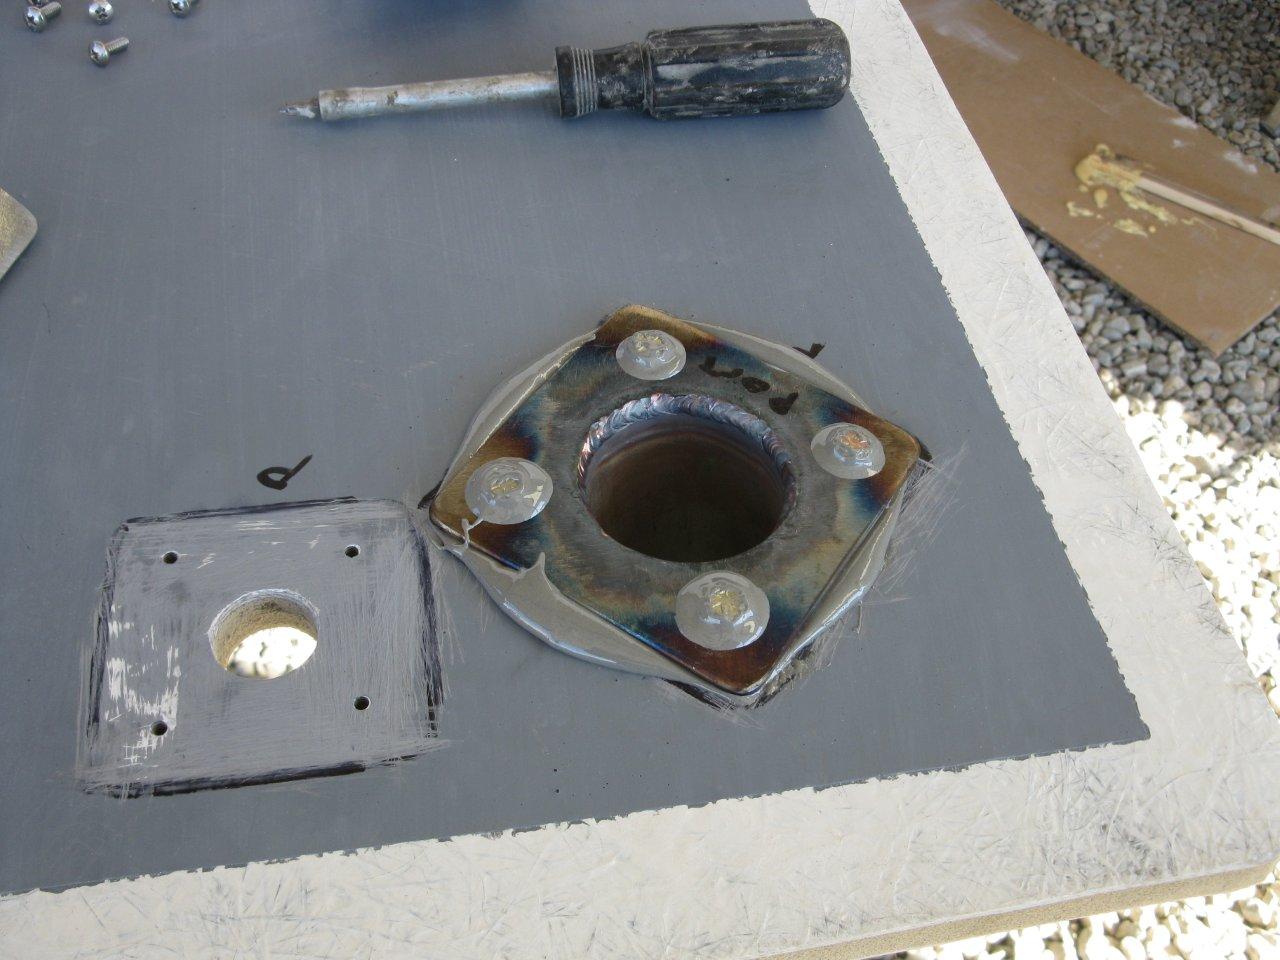
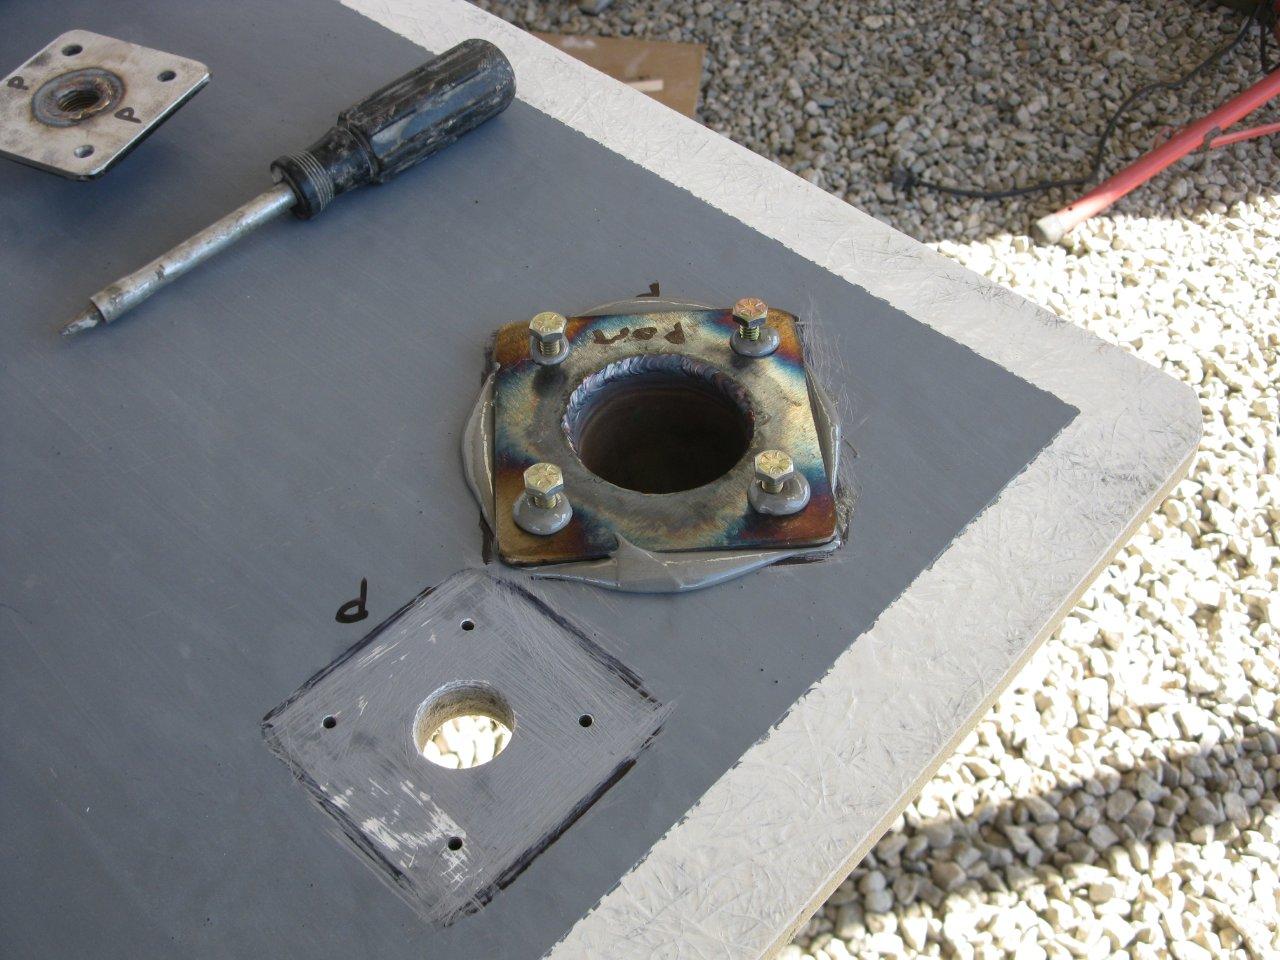
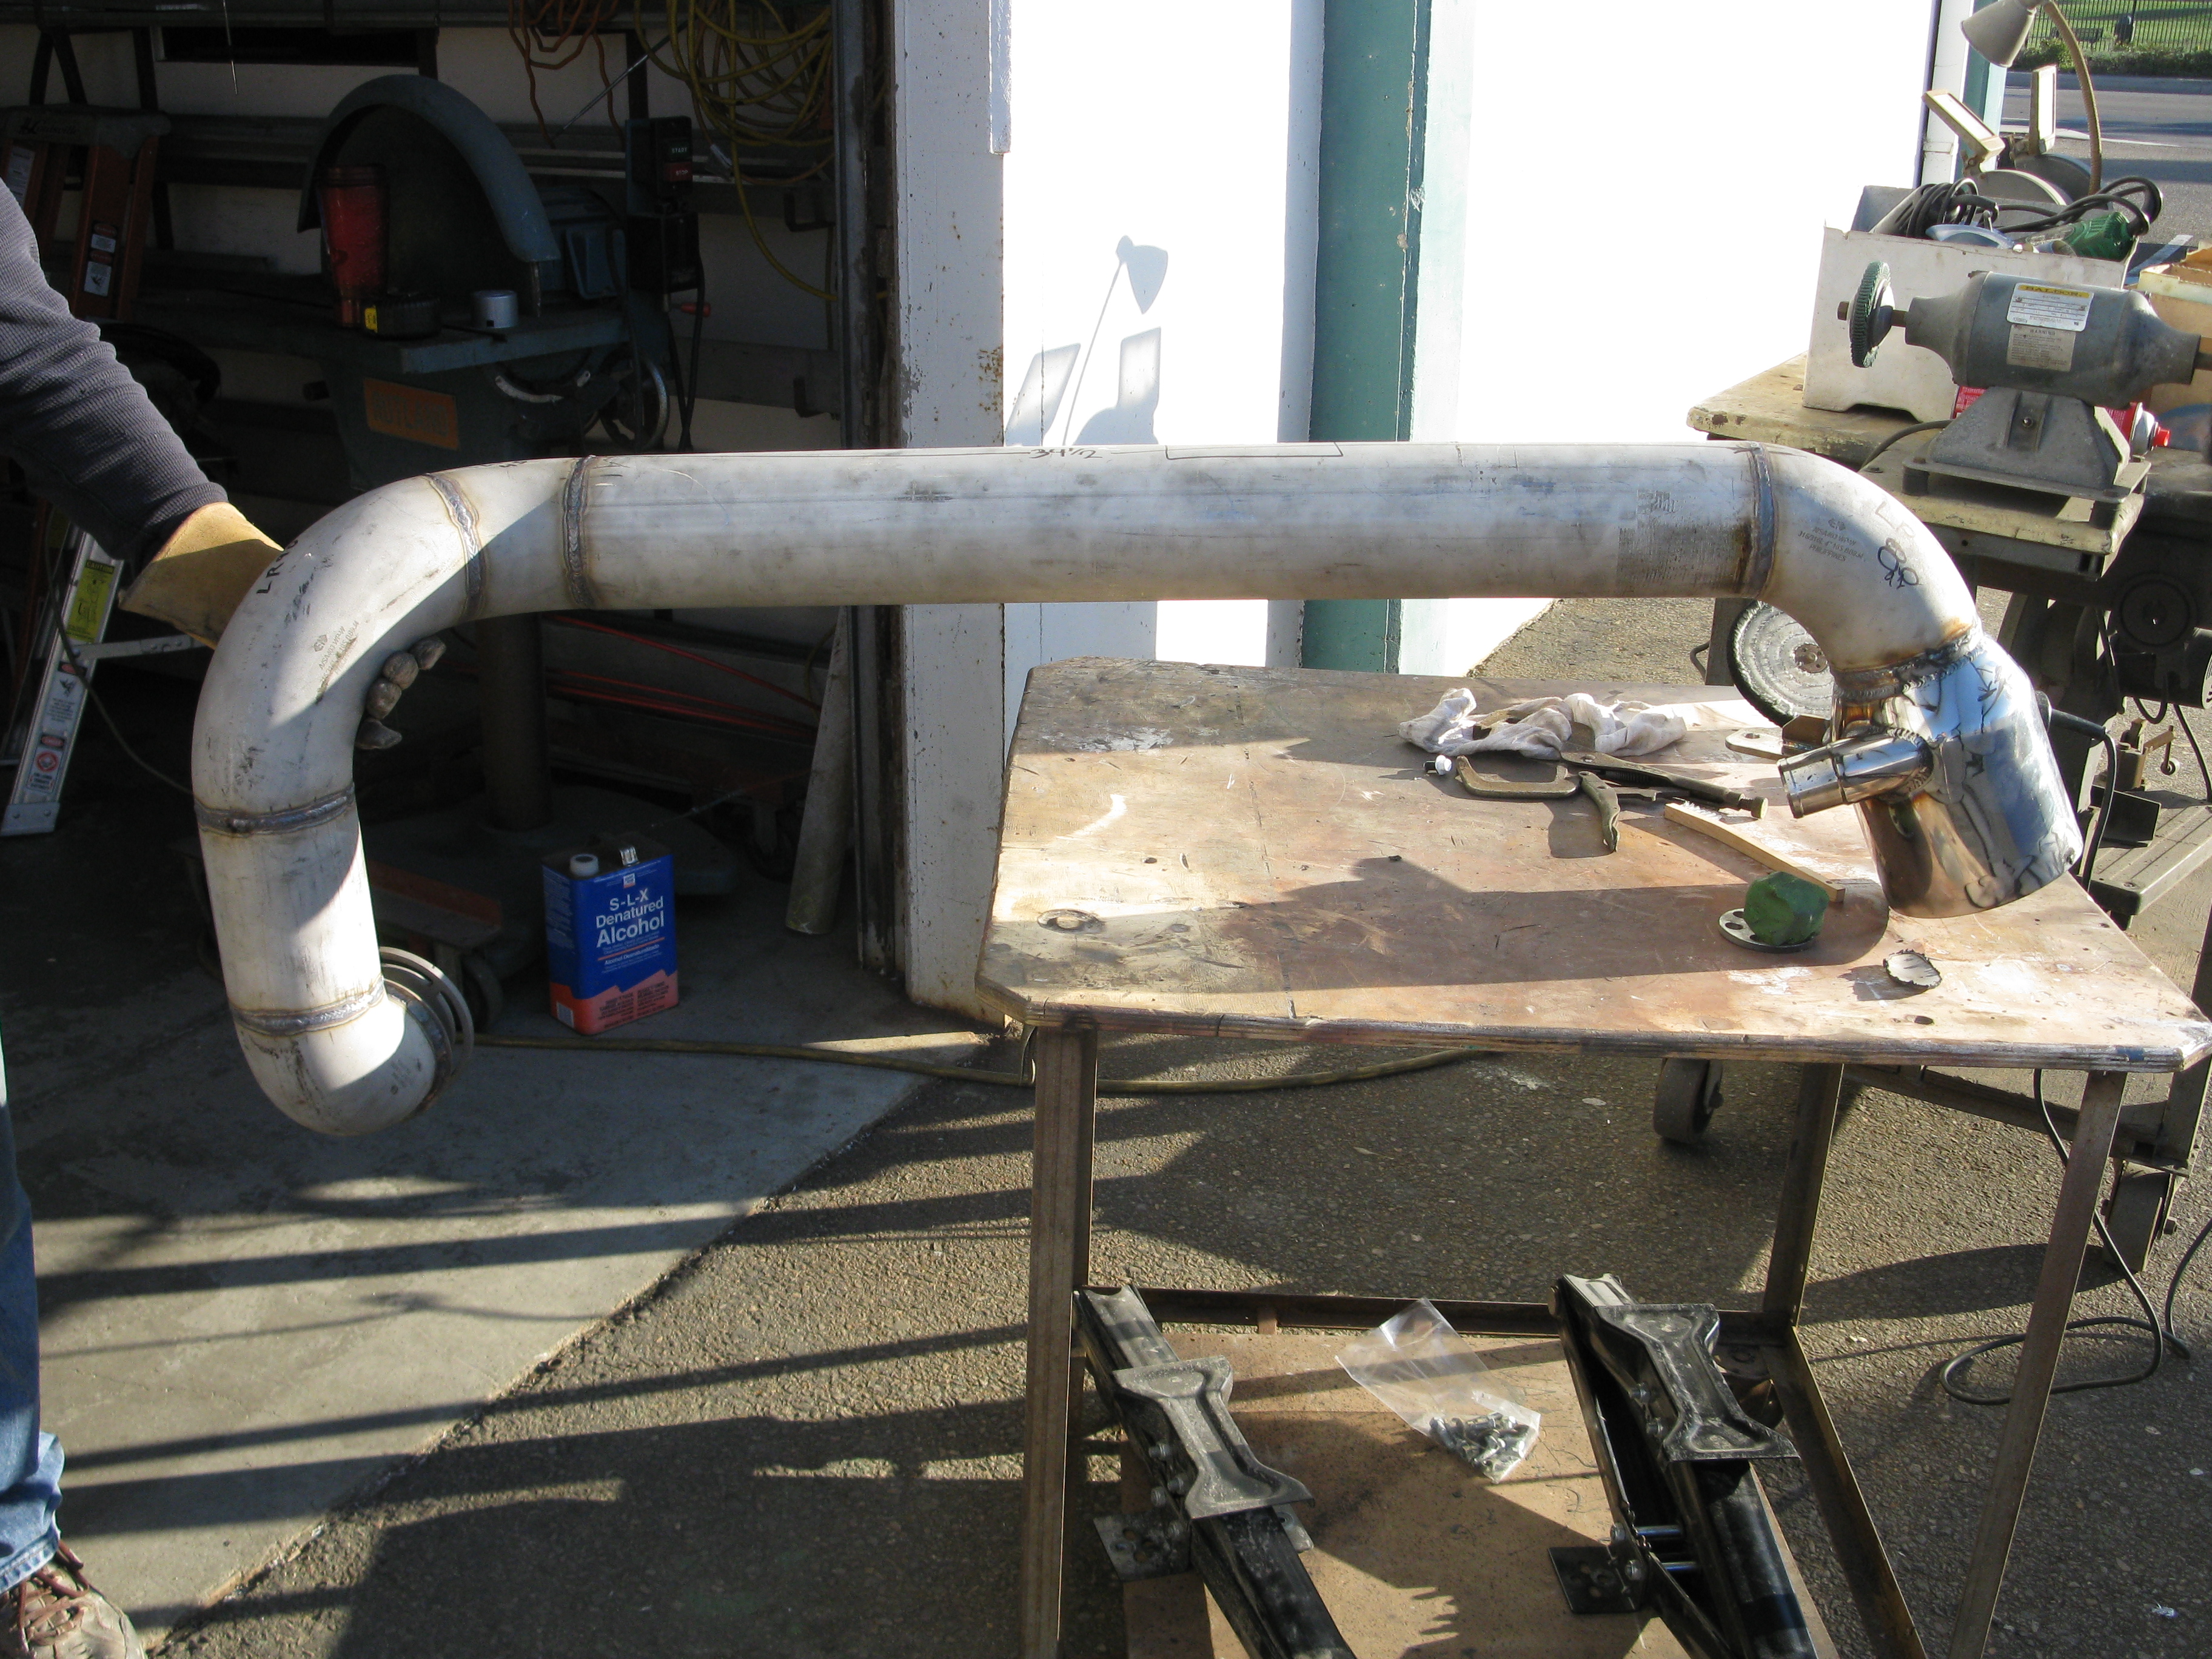
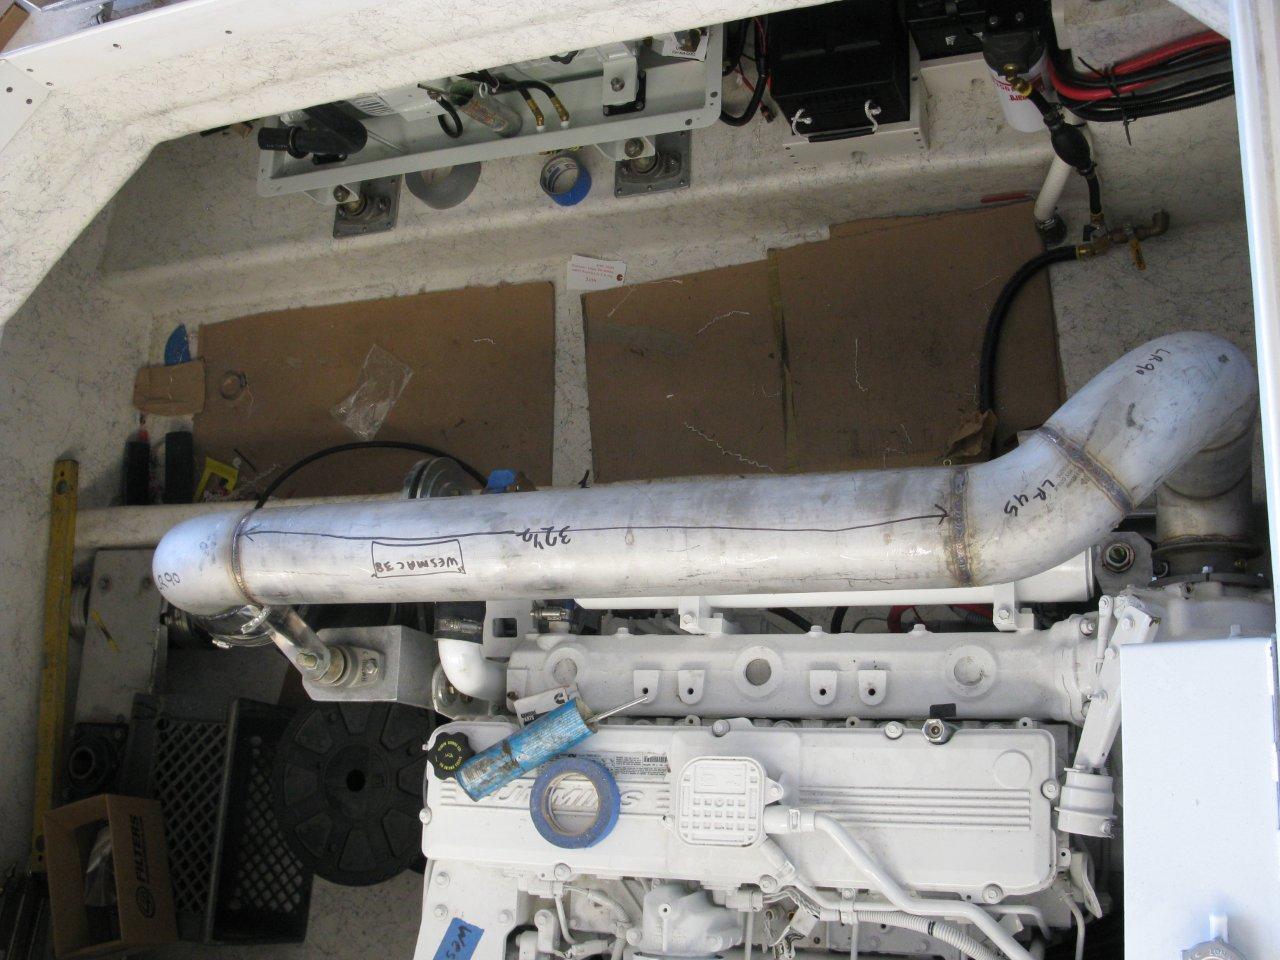
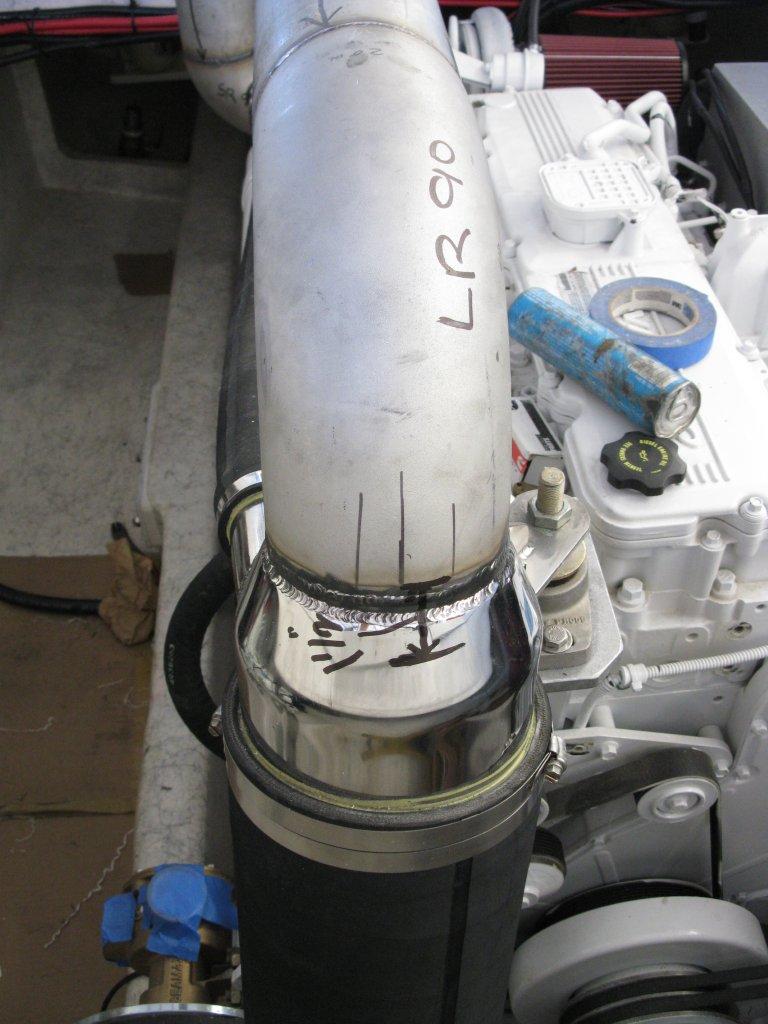
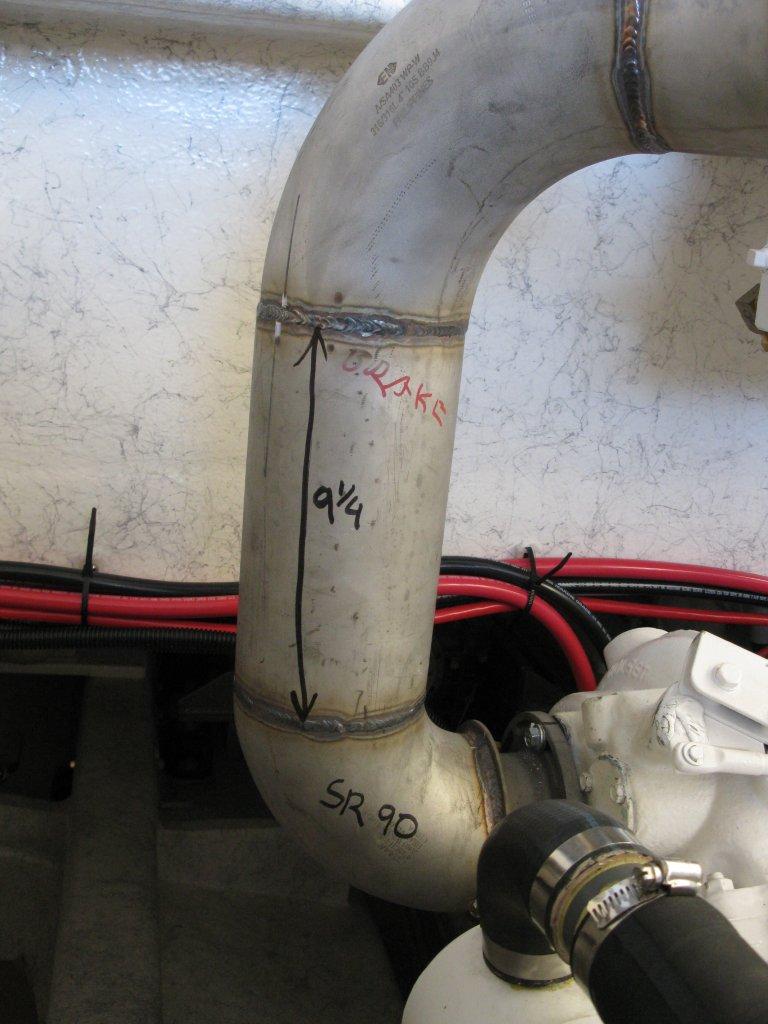
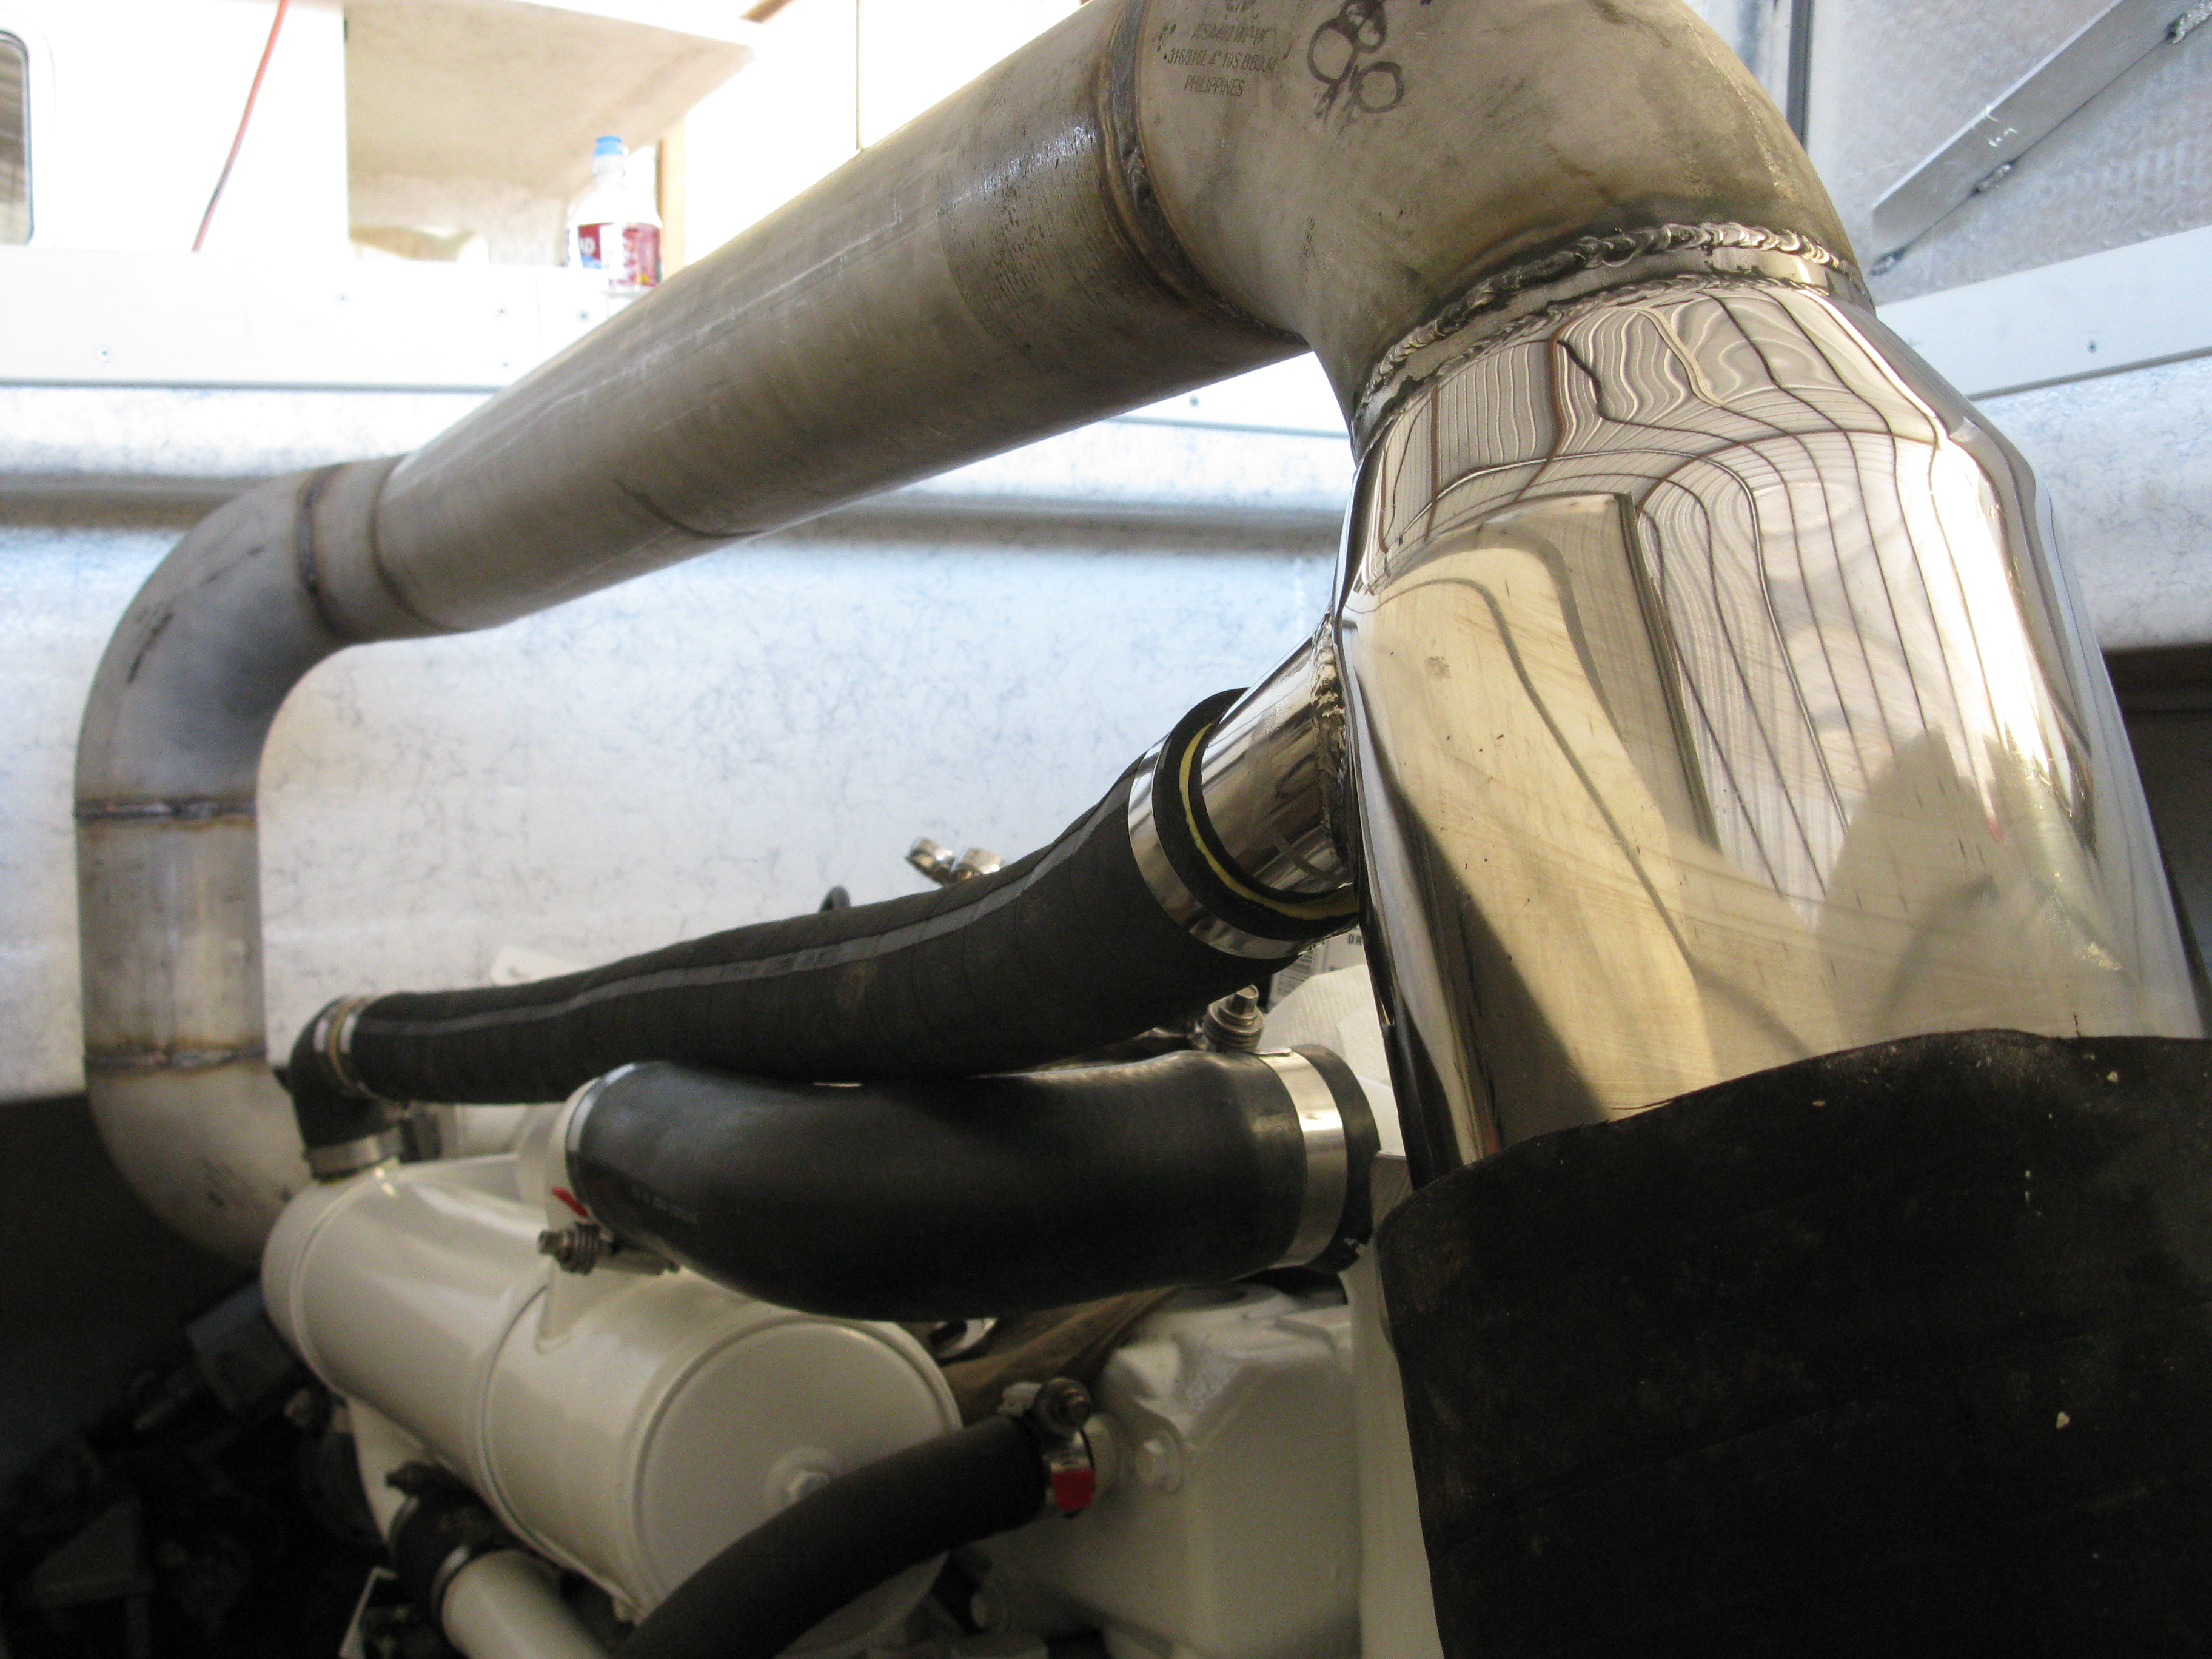
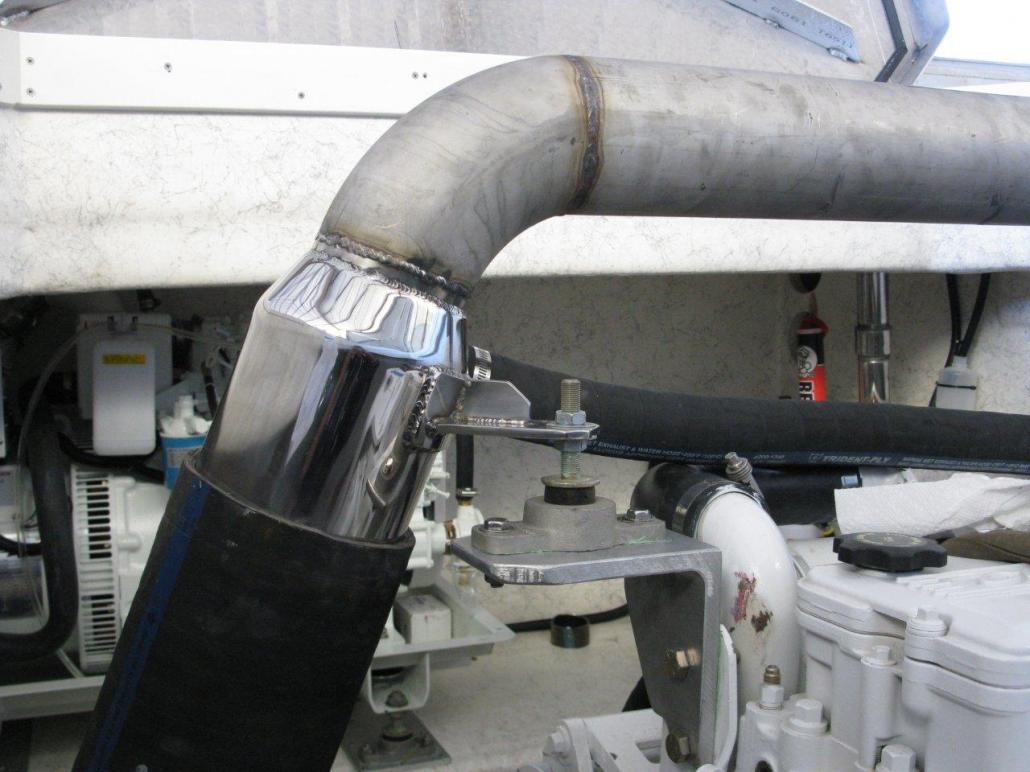
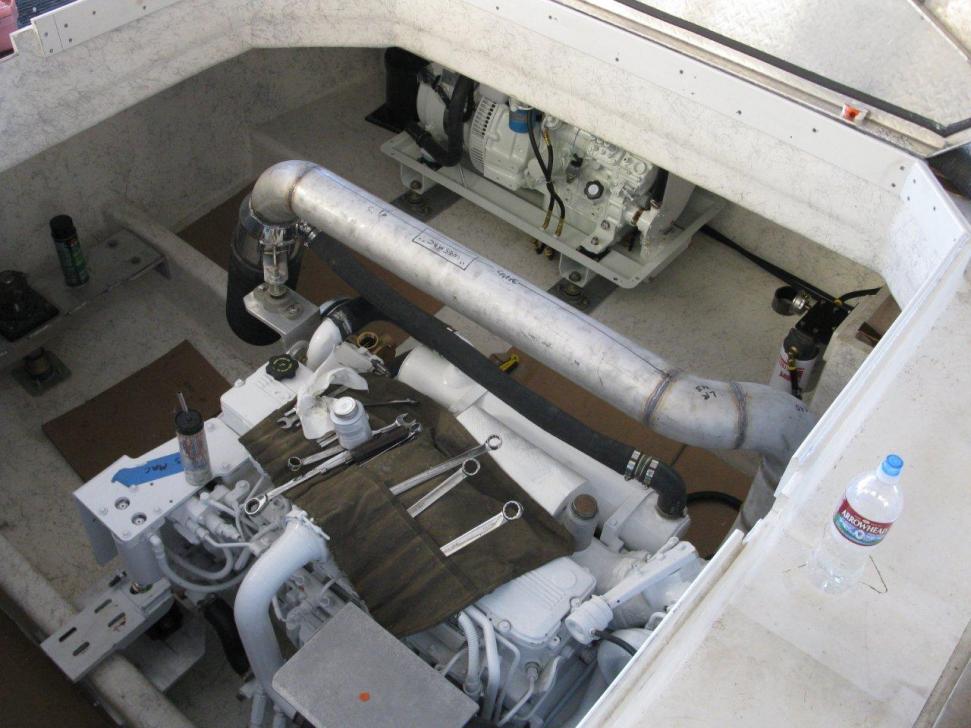
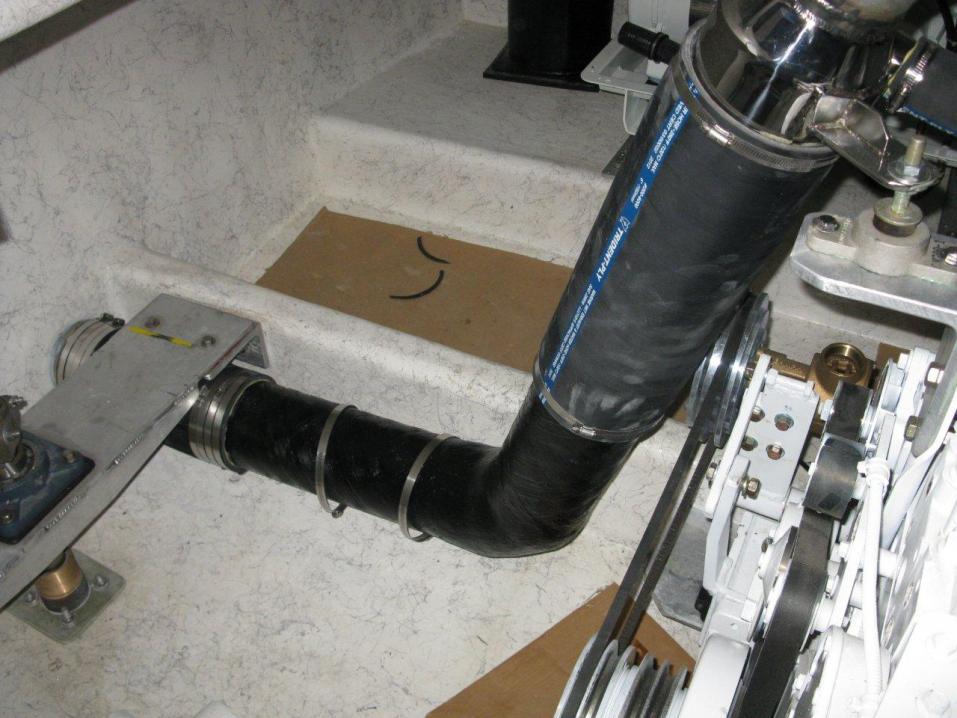
Time to fit the exhaust in the boat.

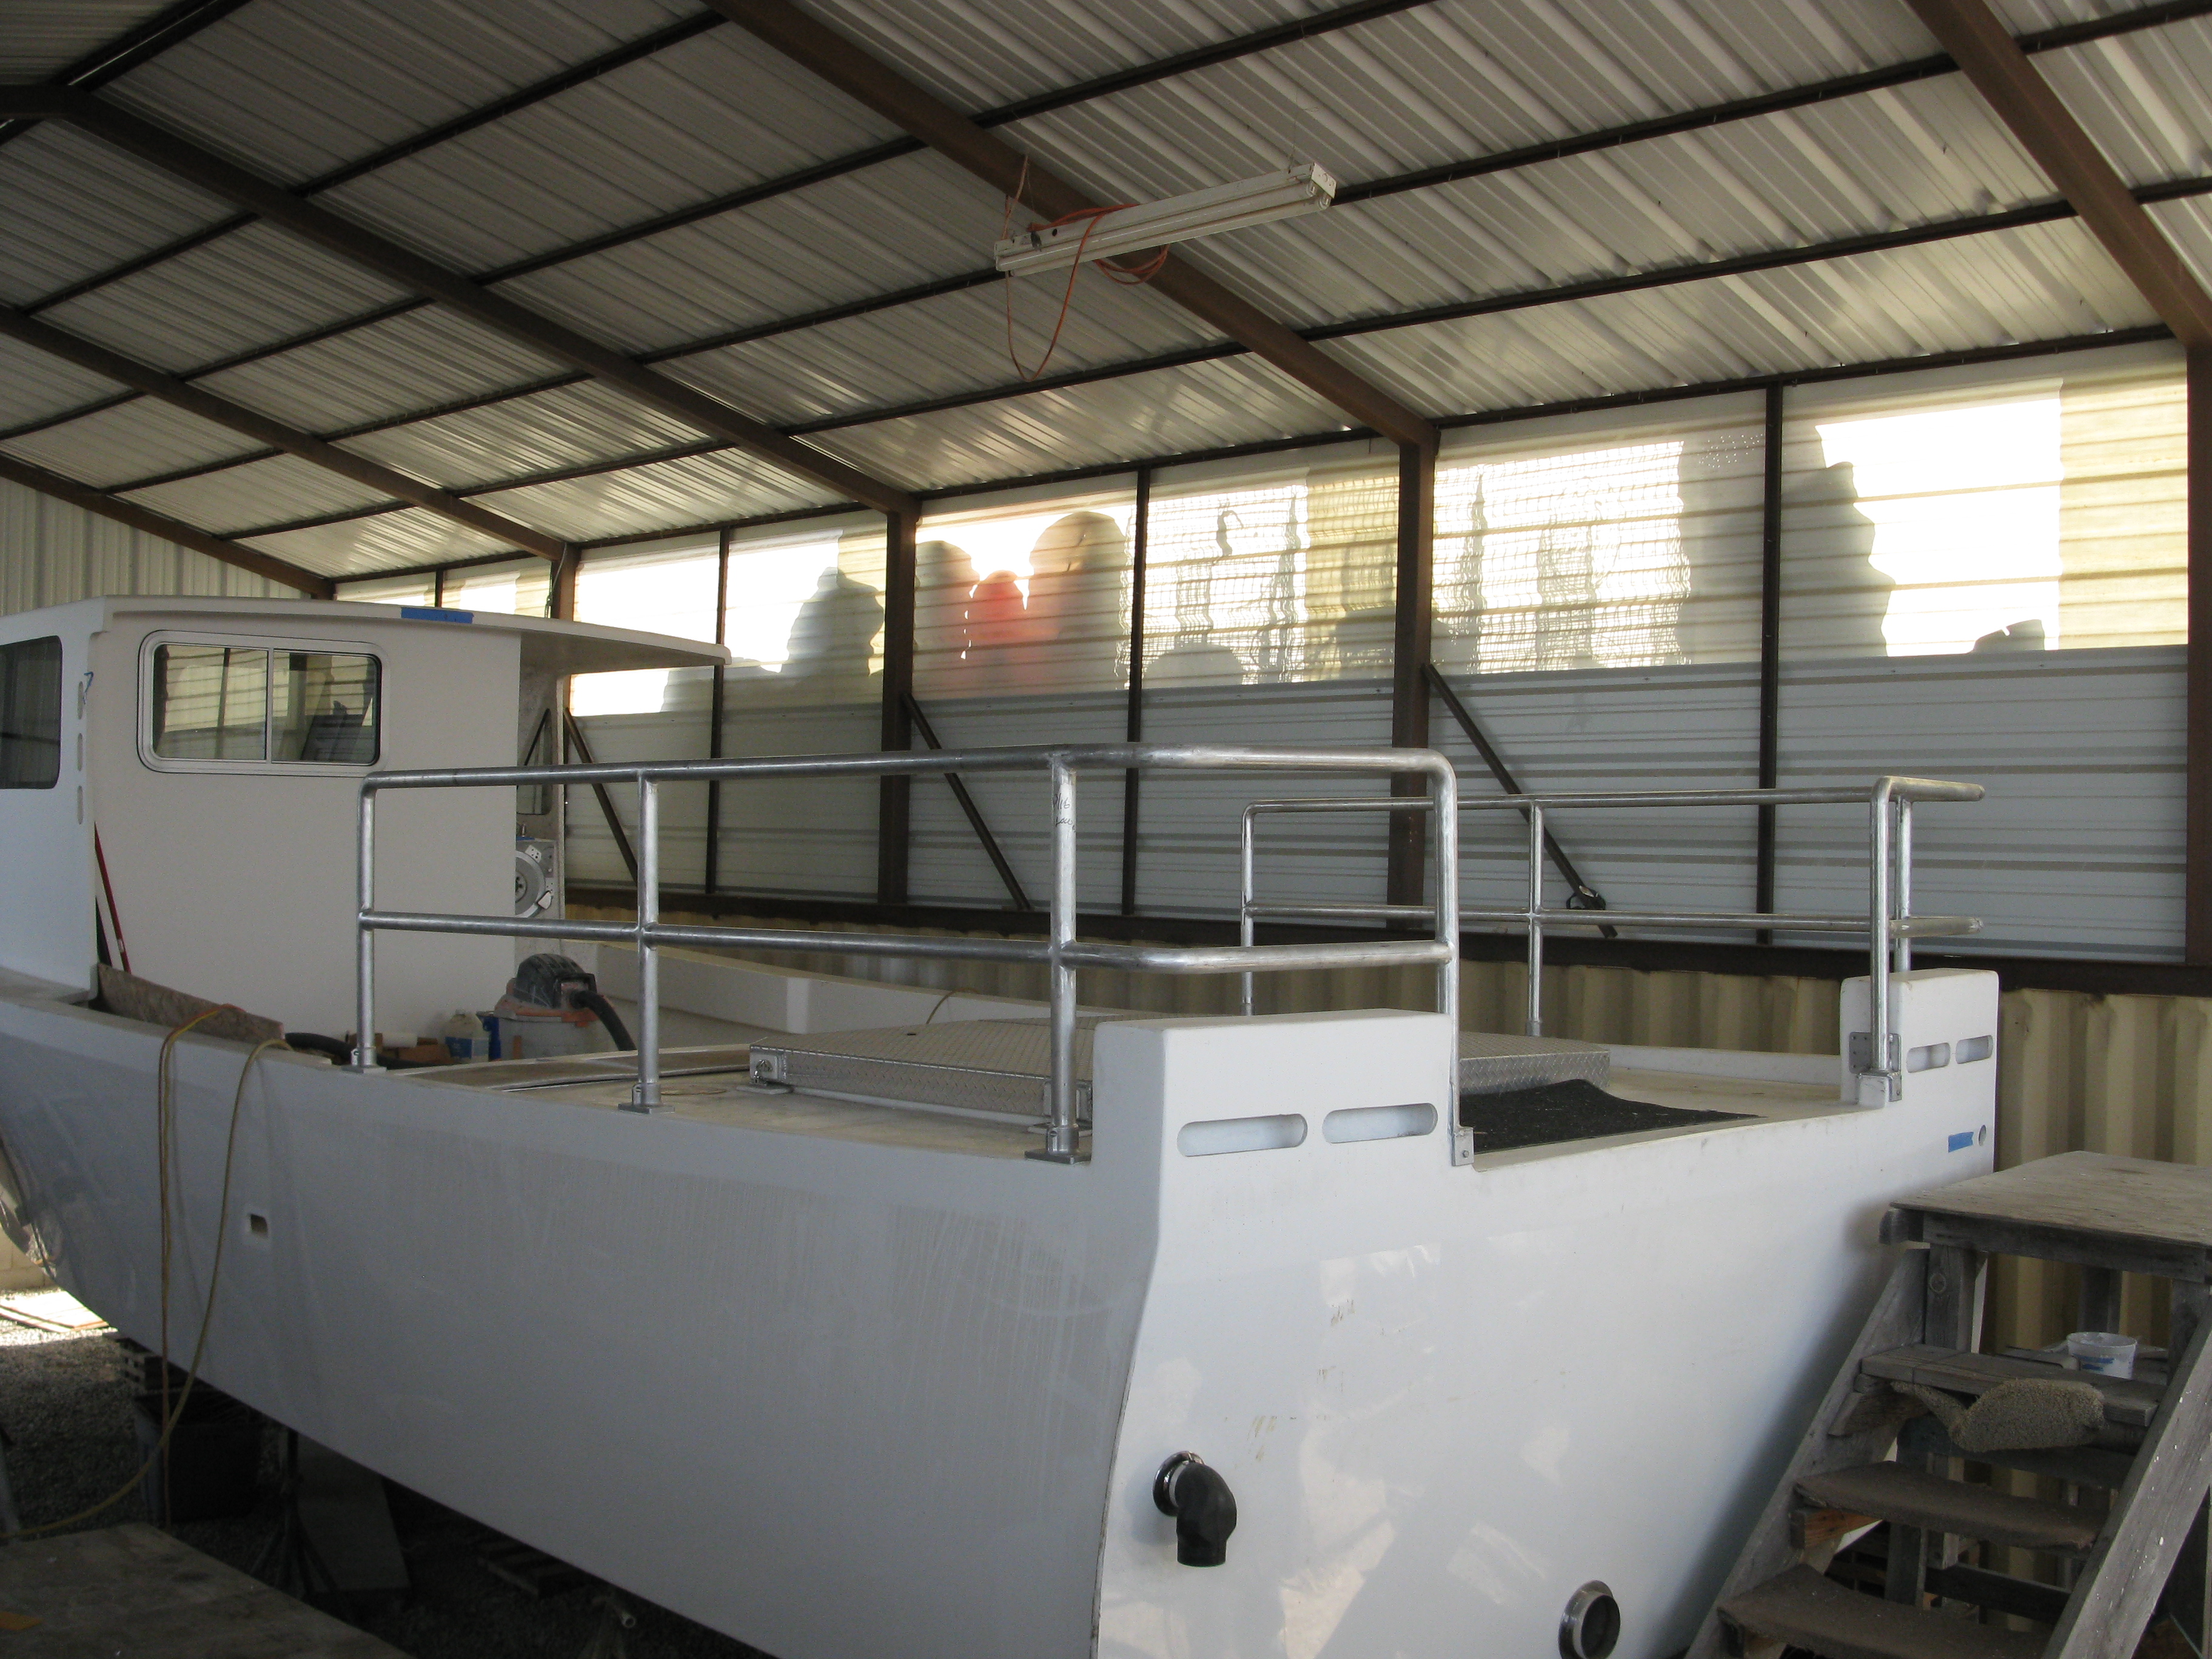
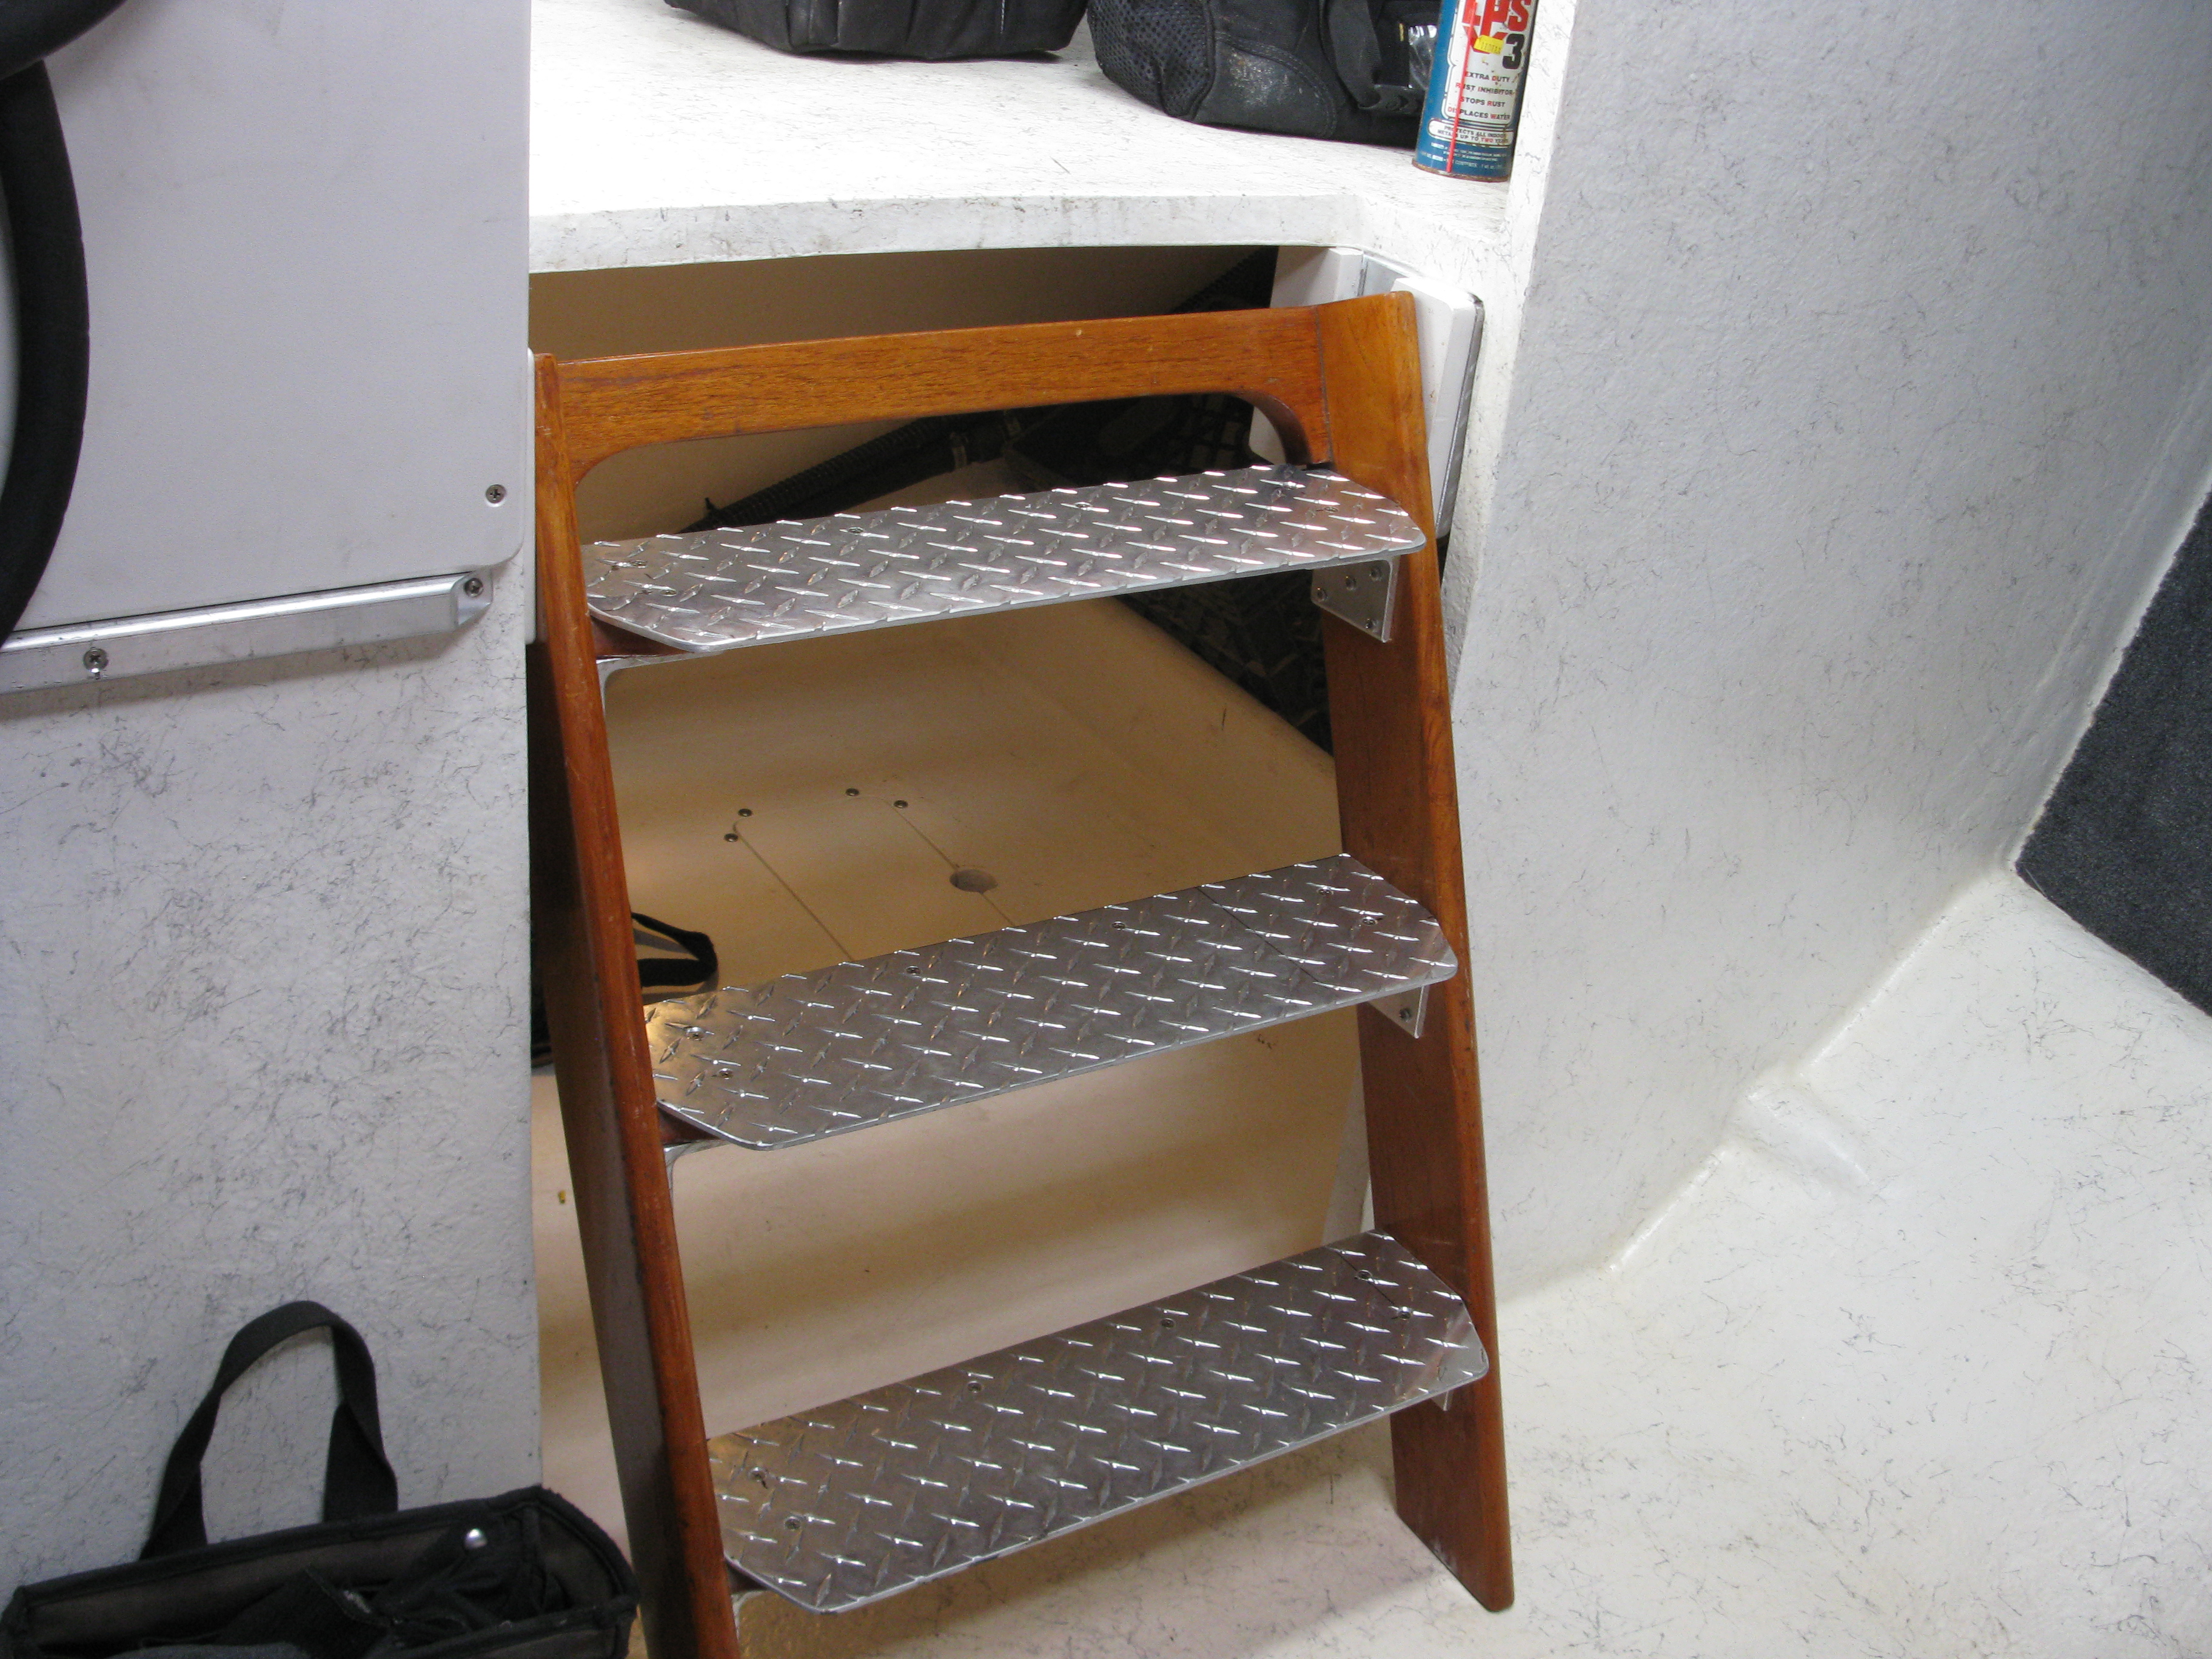
Time to fit and install the rails
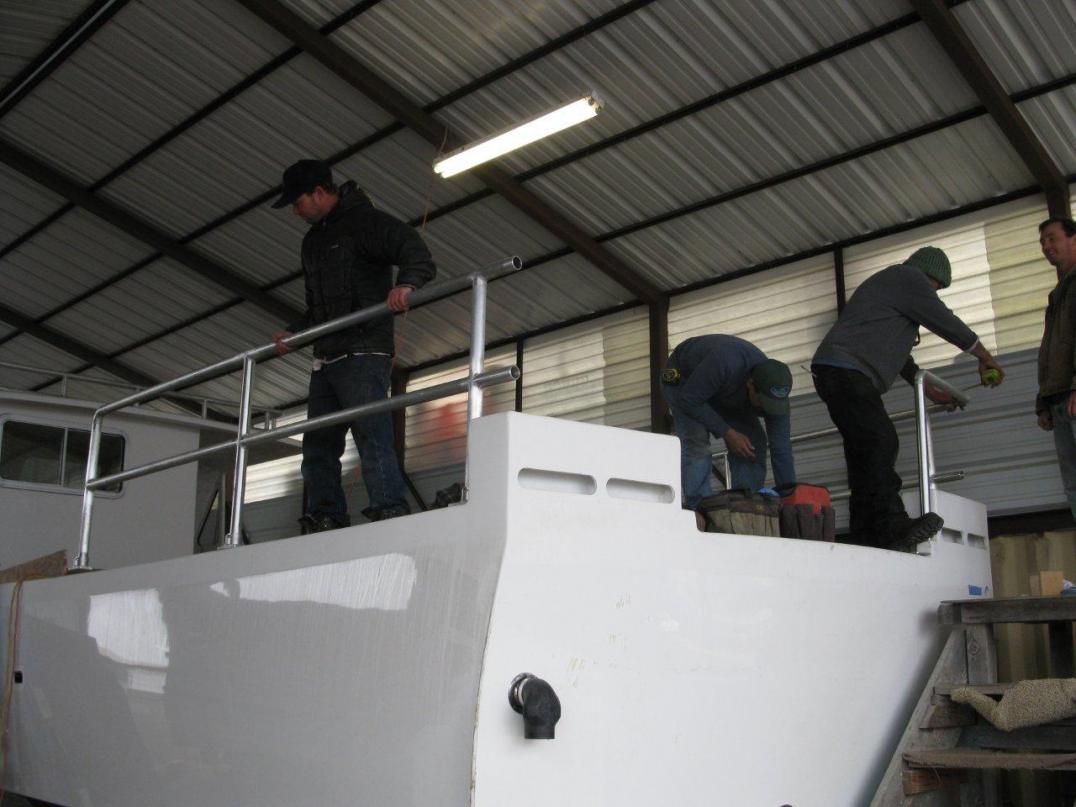
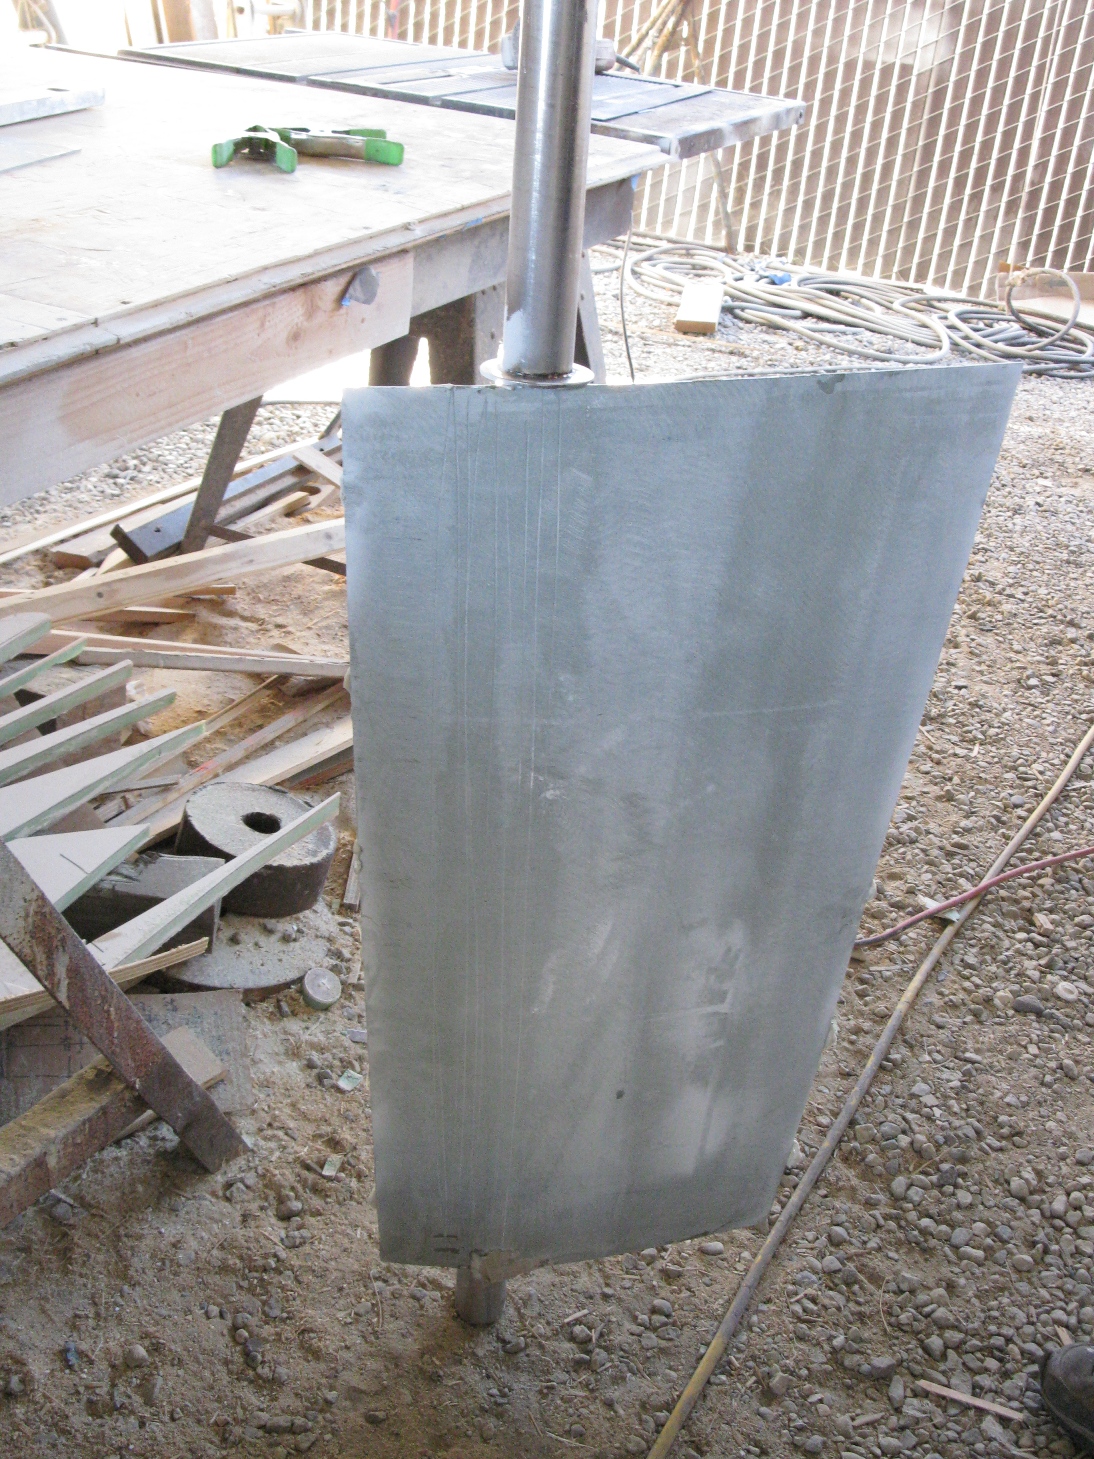
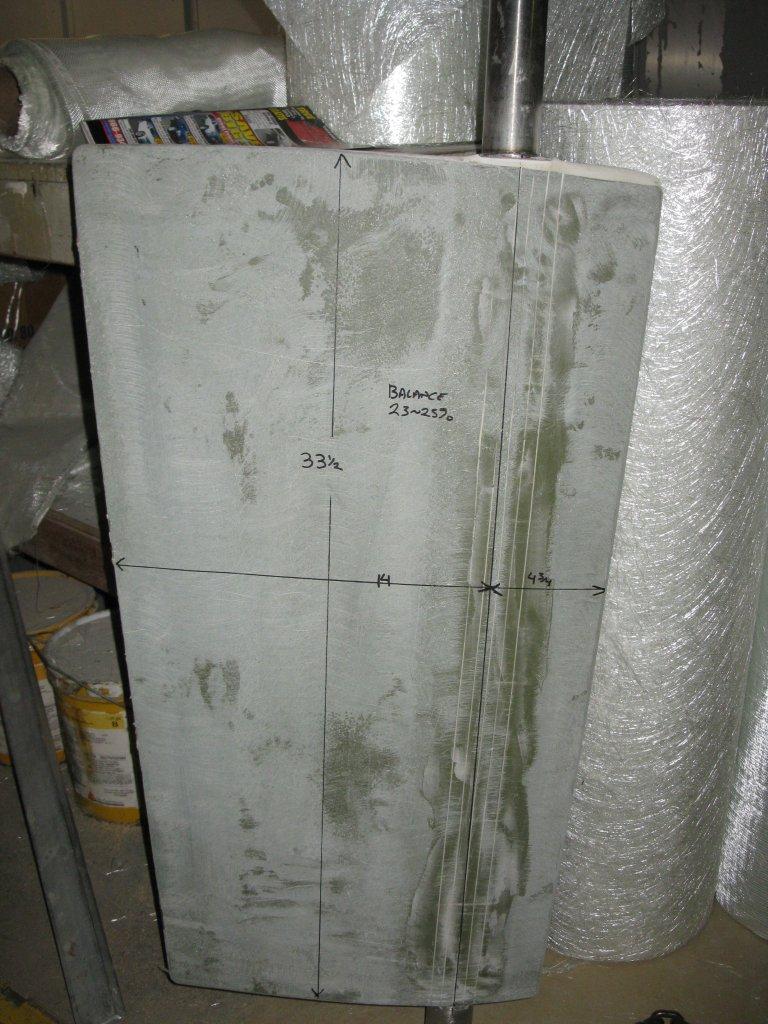
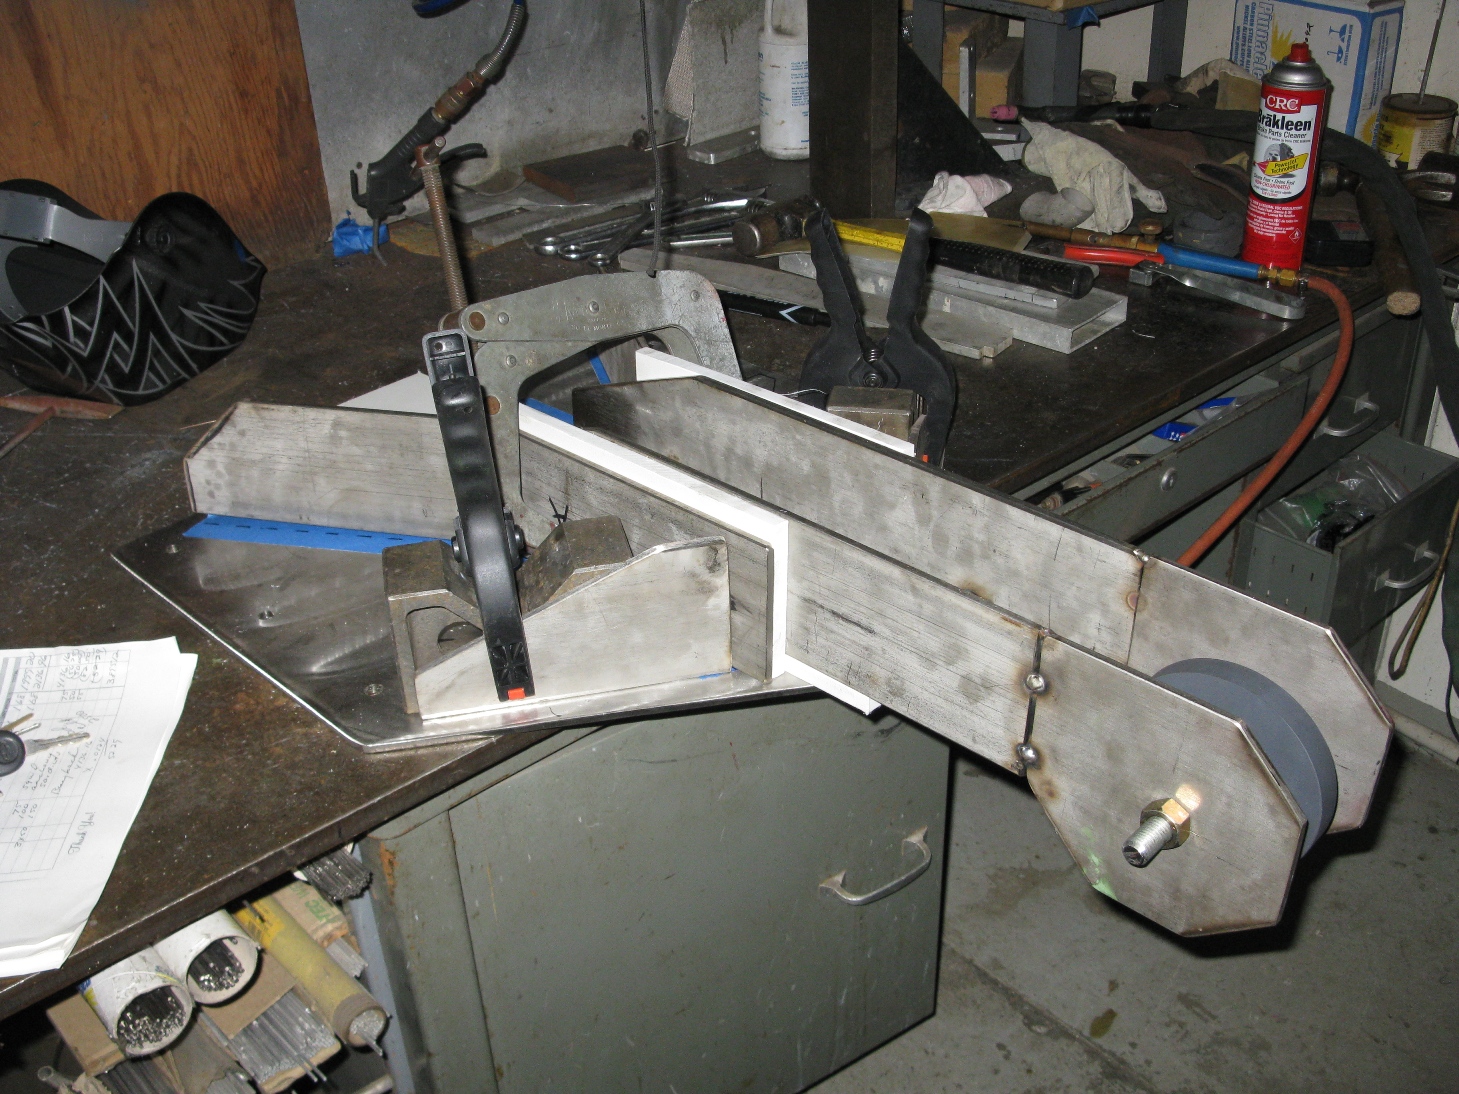
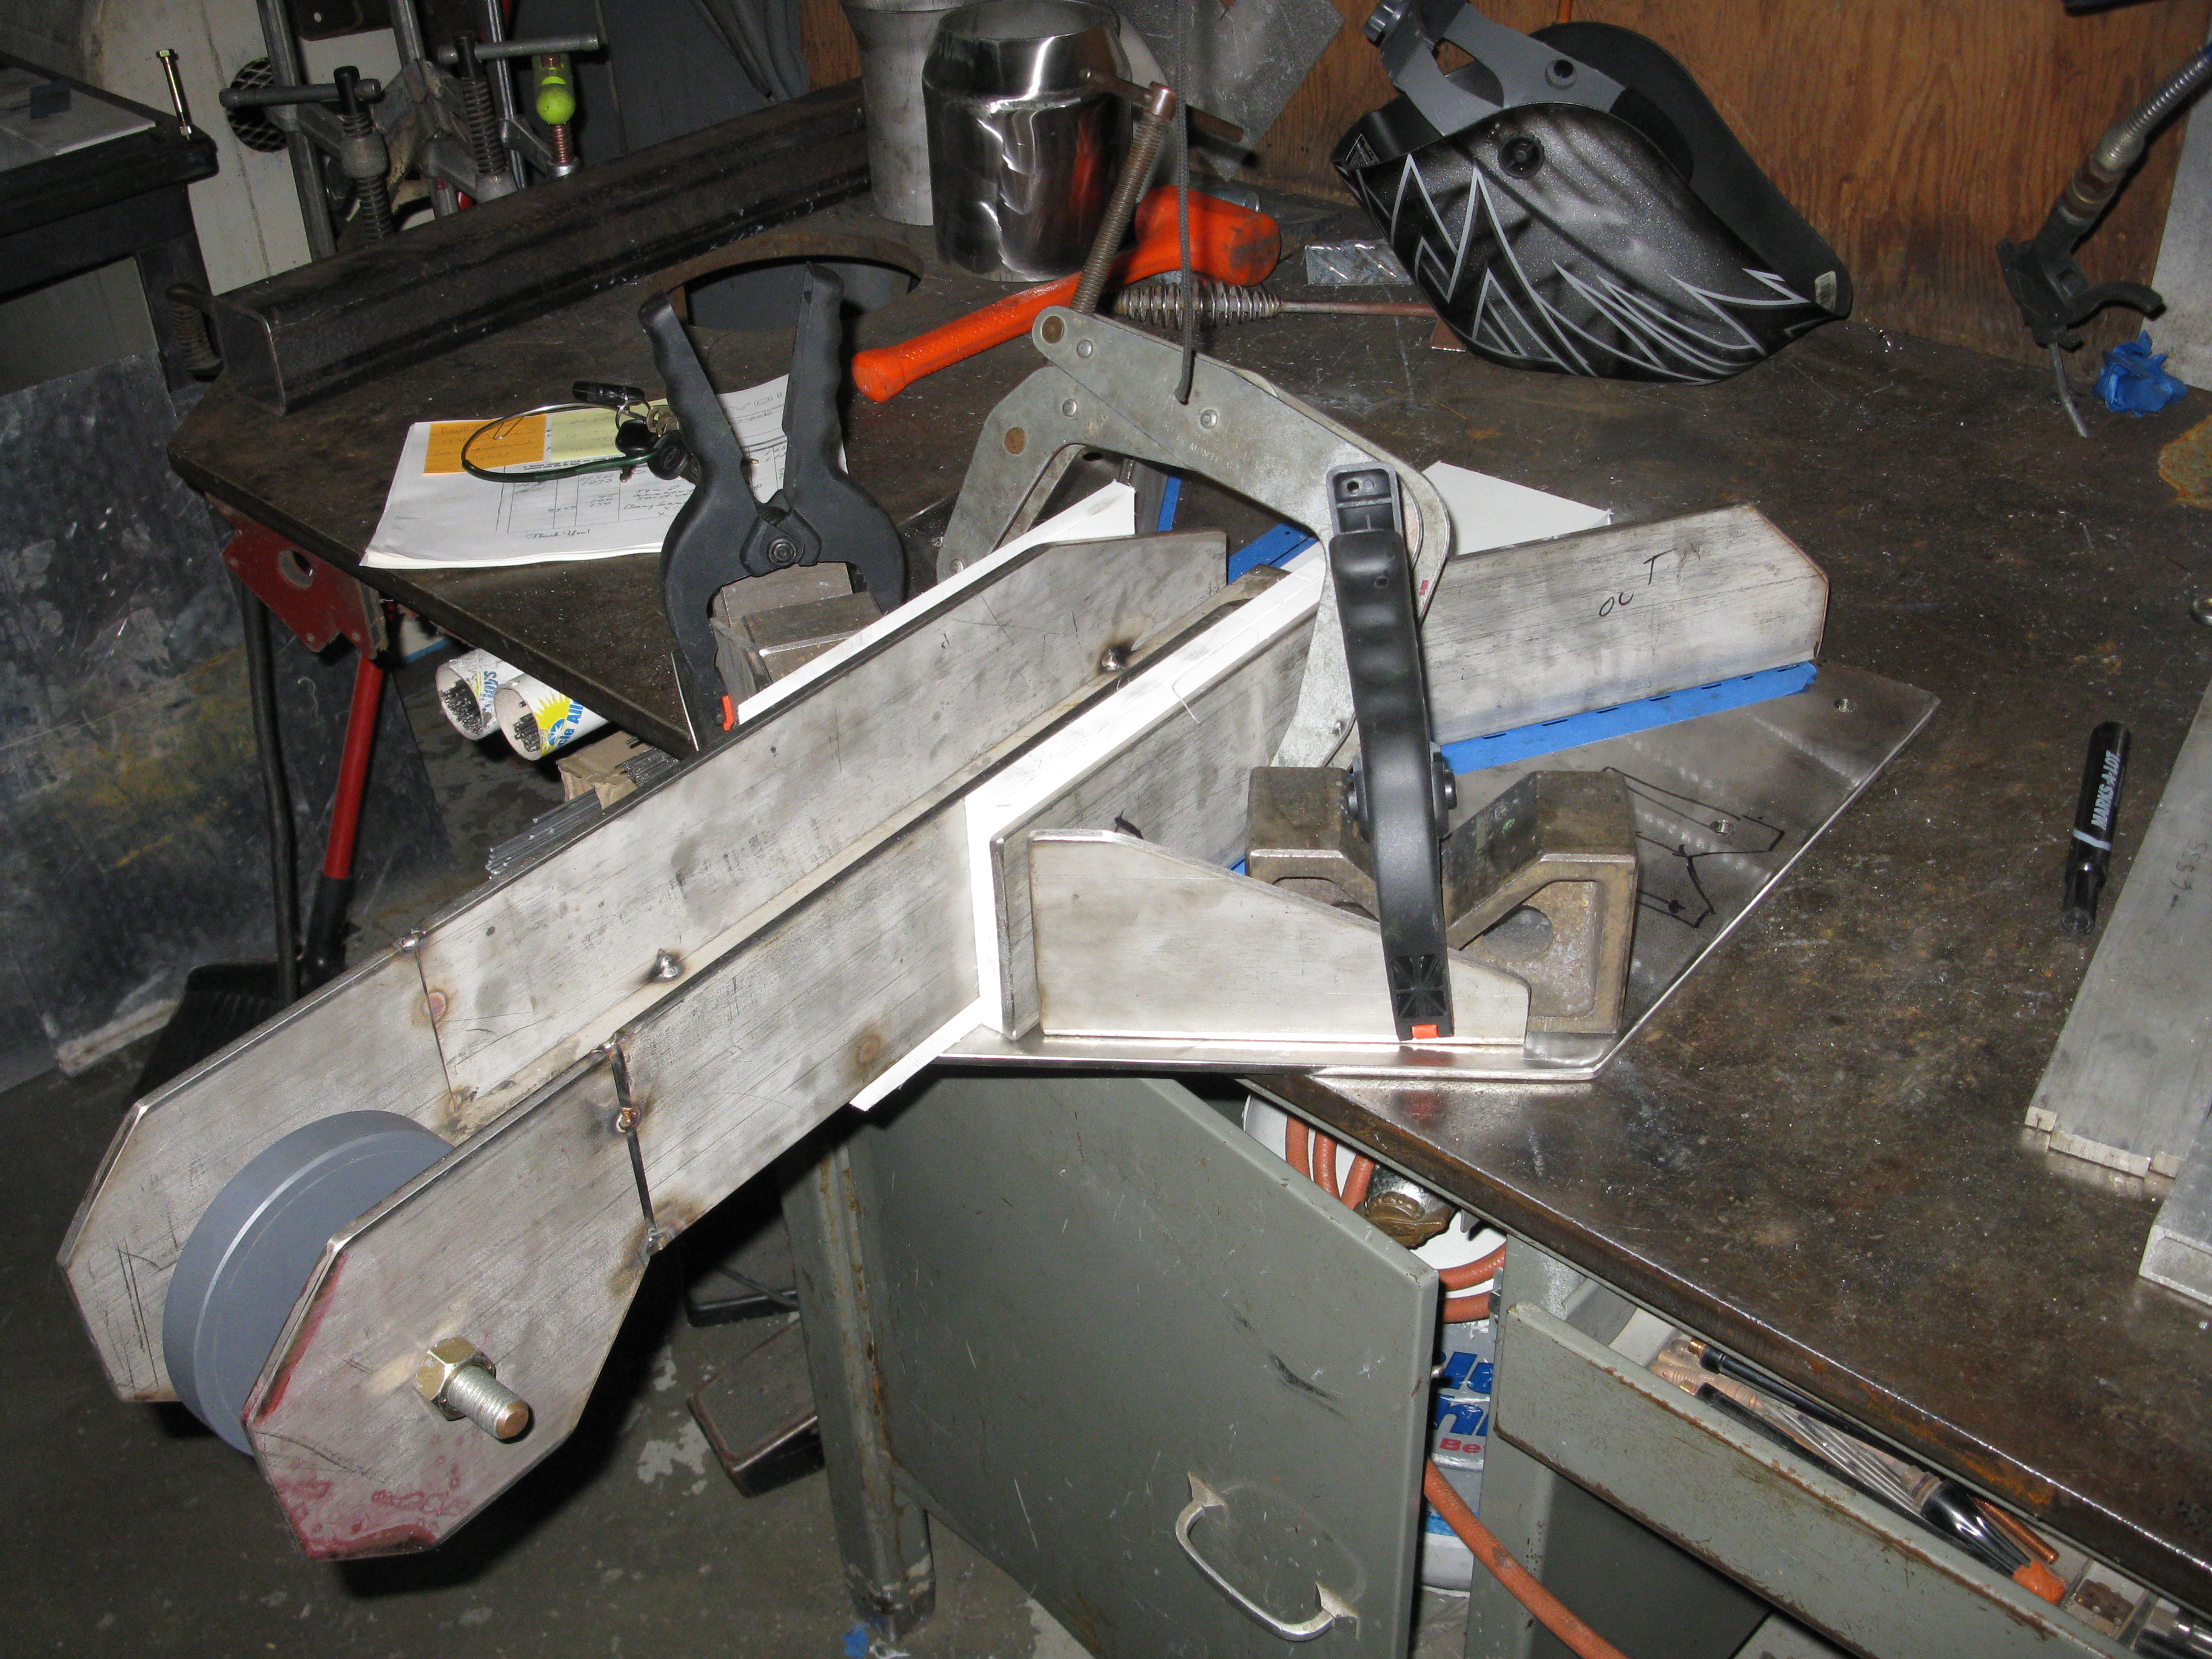
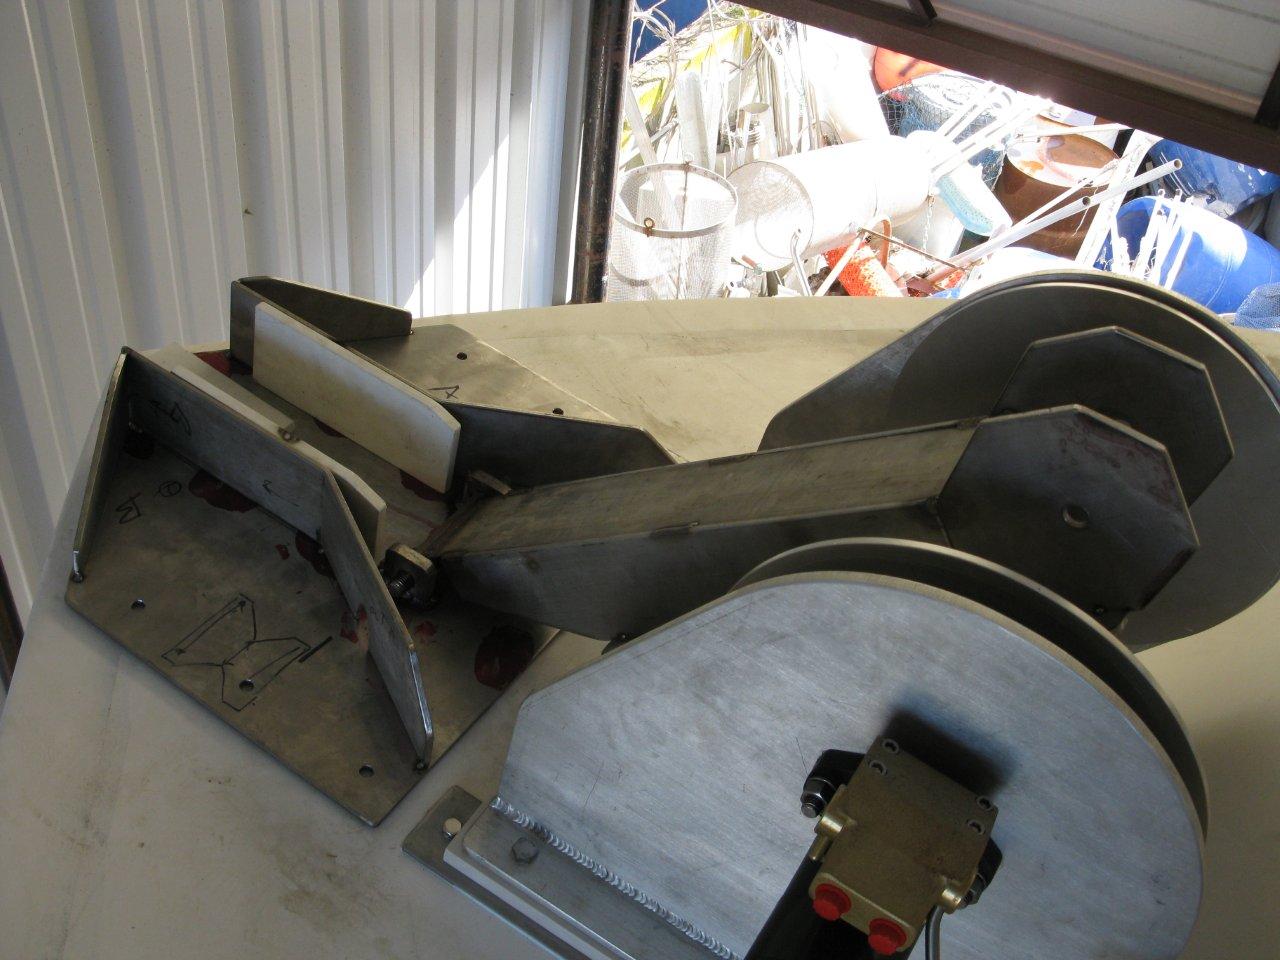
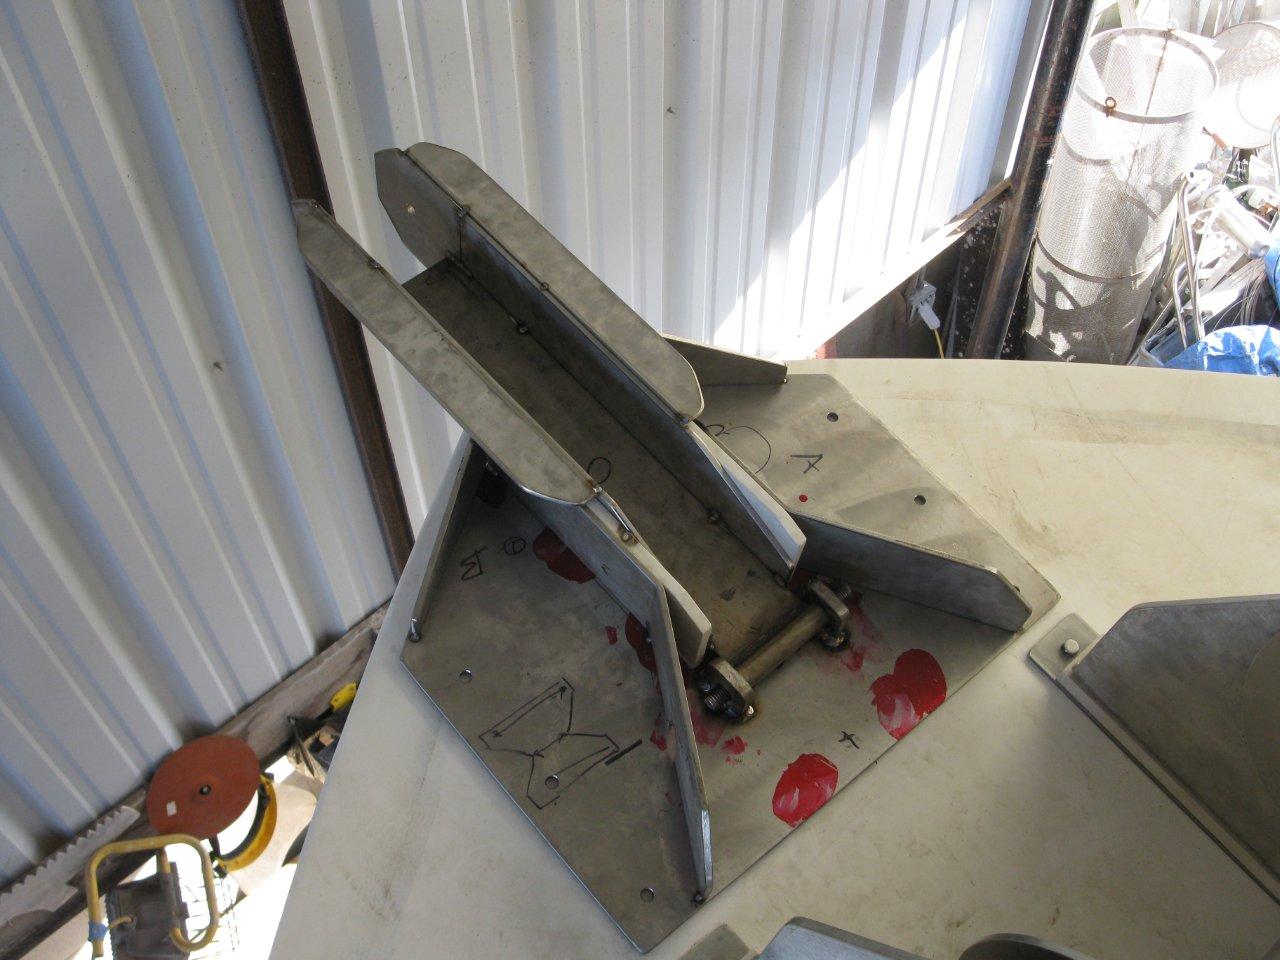
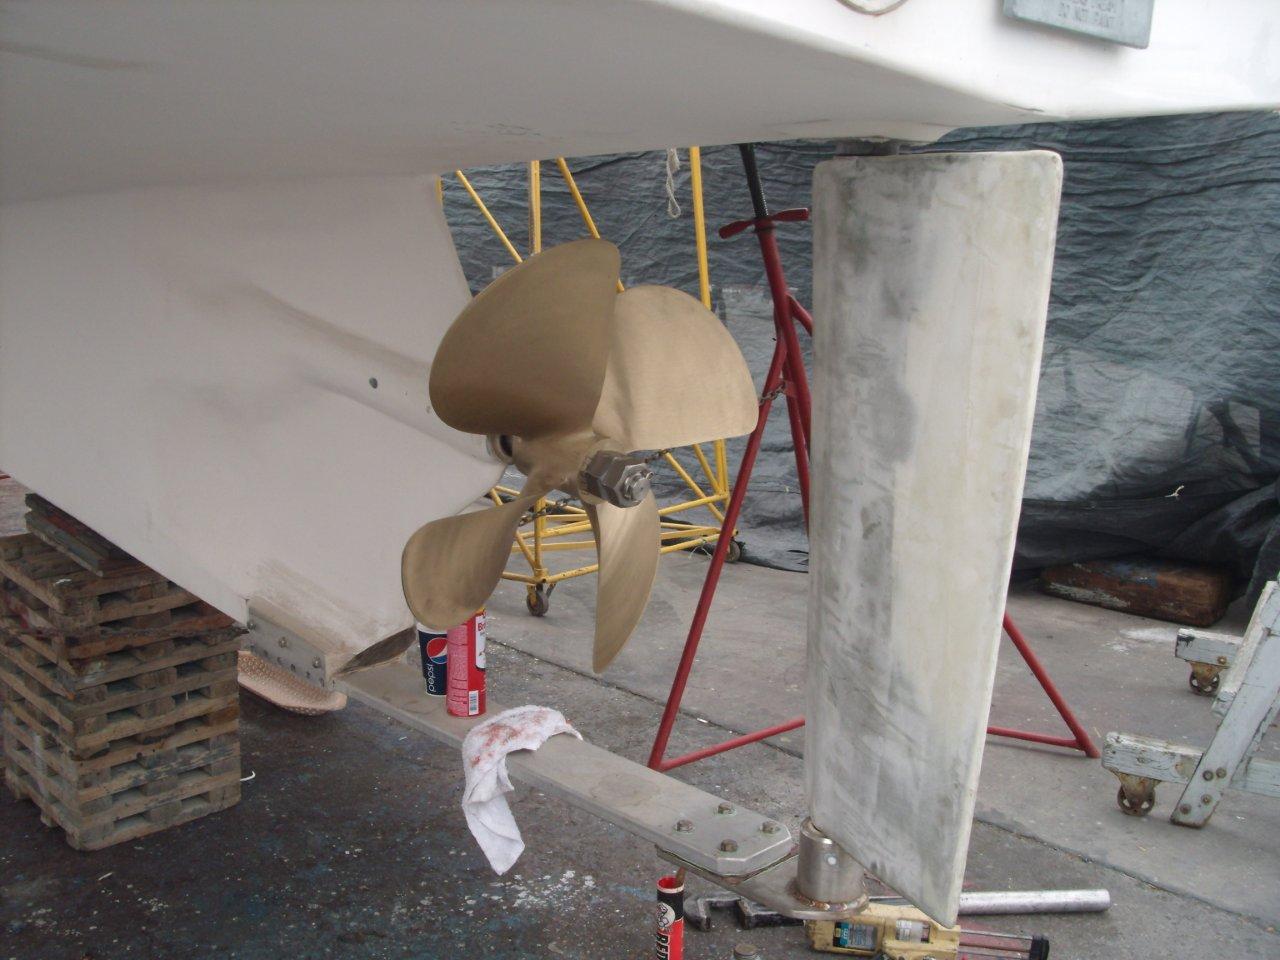
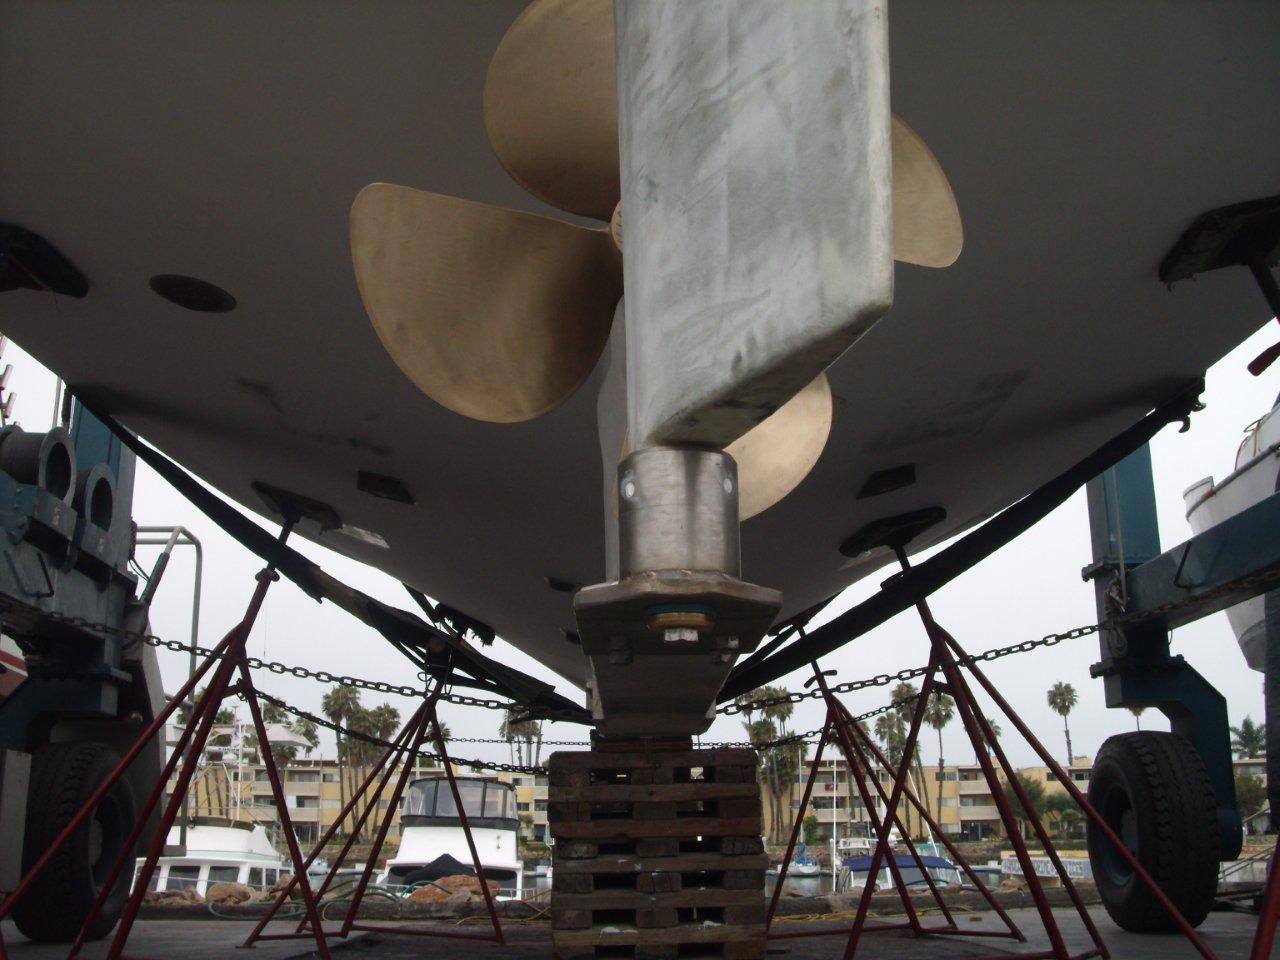
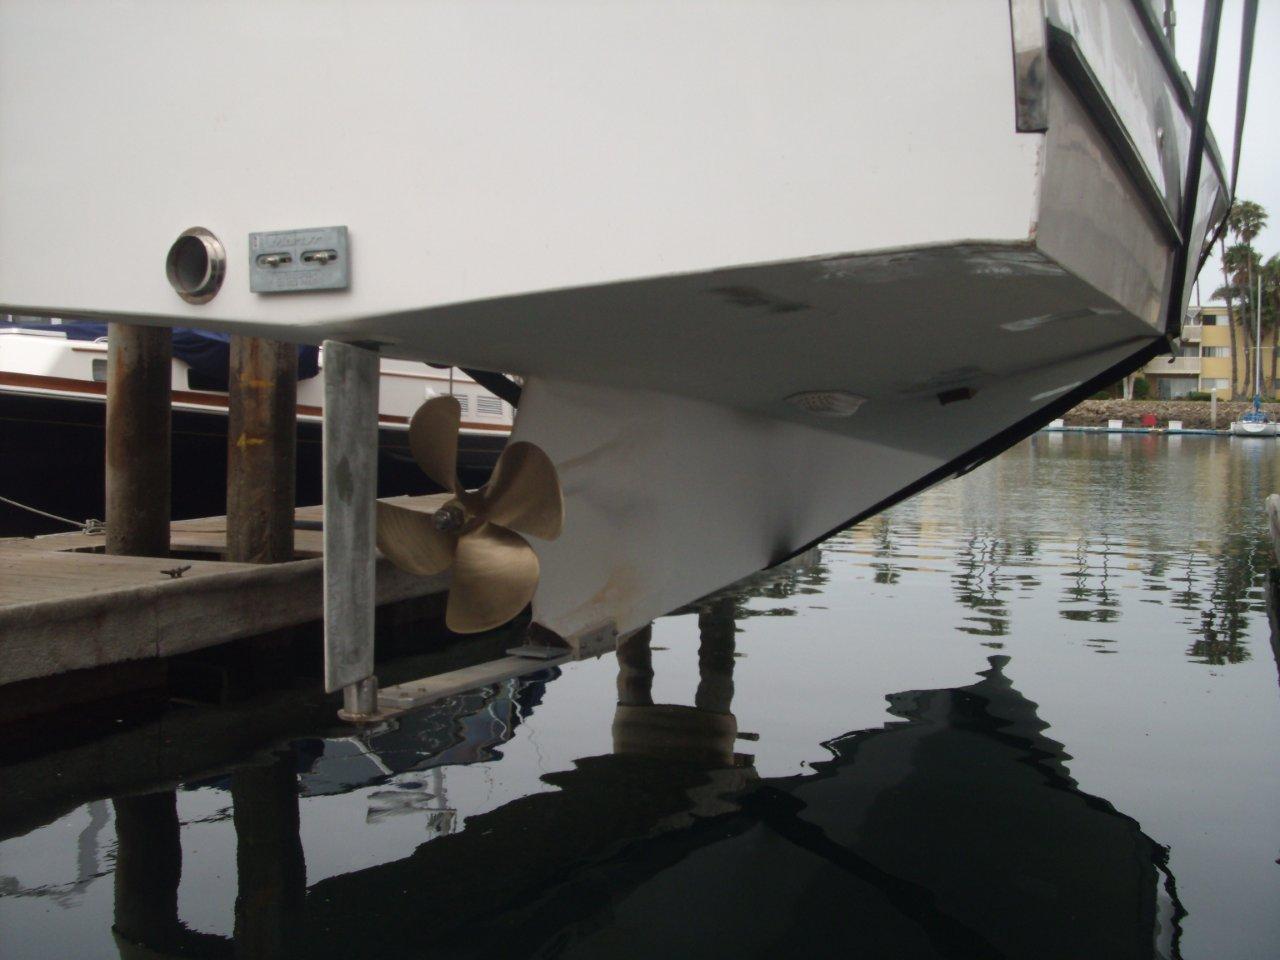
We need a rudder to steer this thing!

Bow Roller / Pulpit


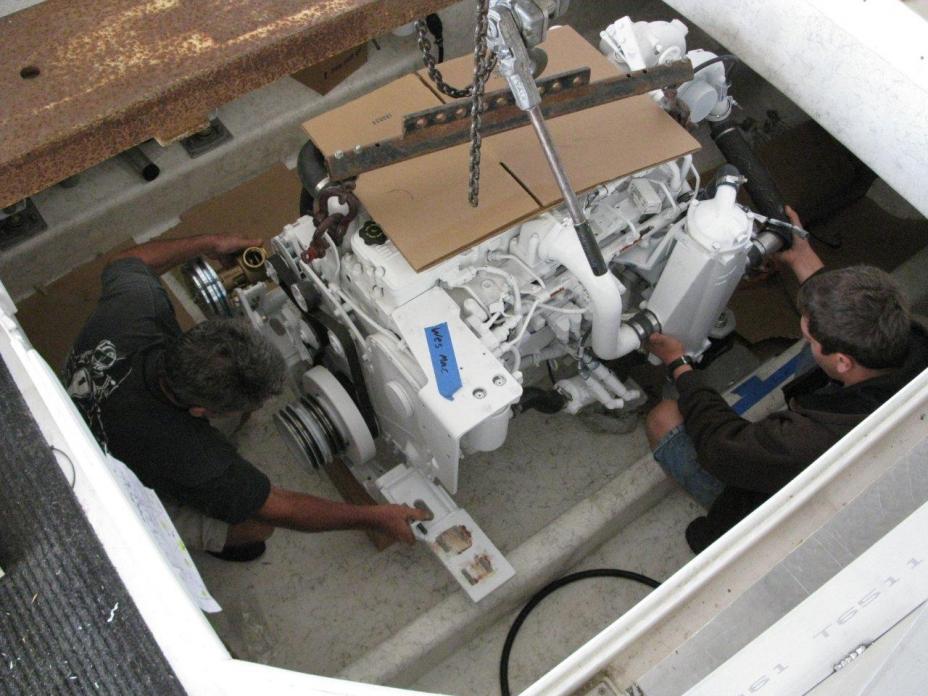
Engine is in and it’s time to align!

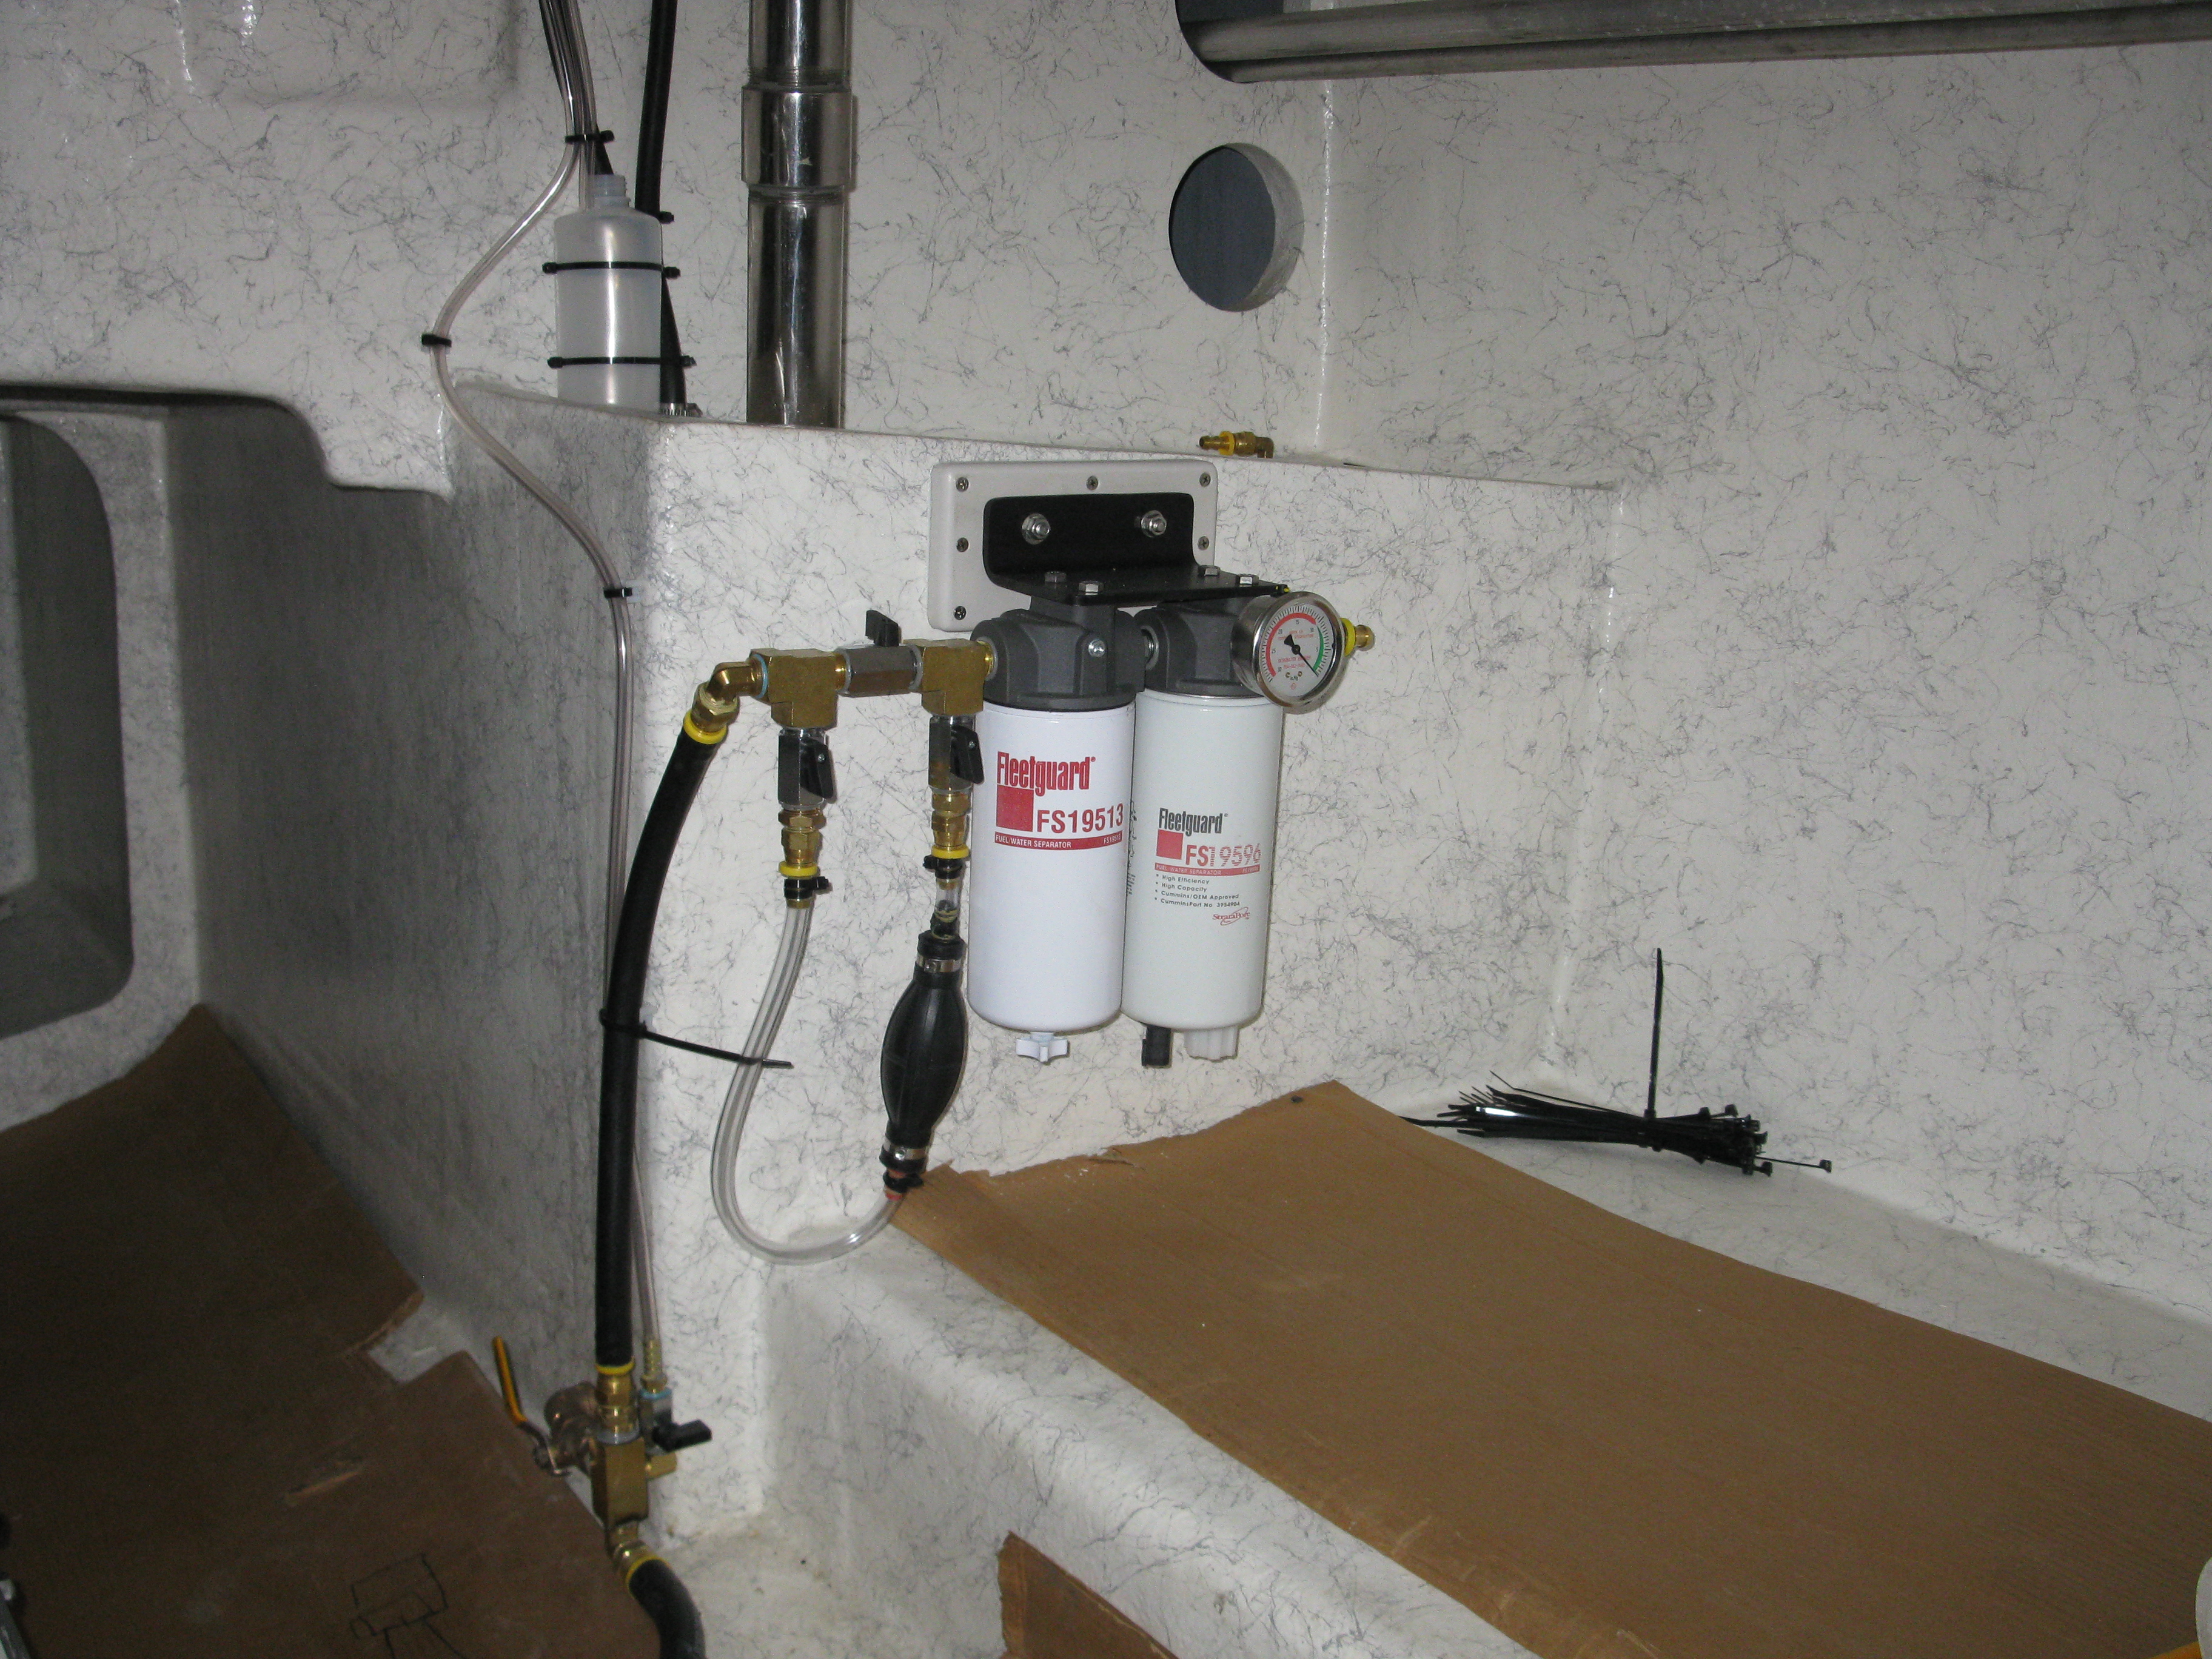
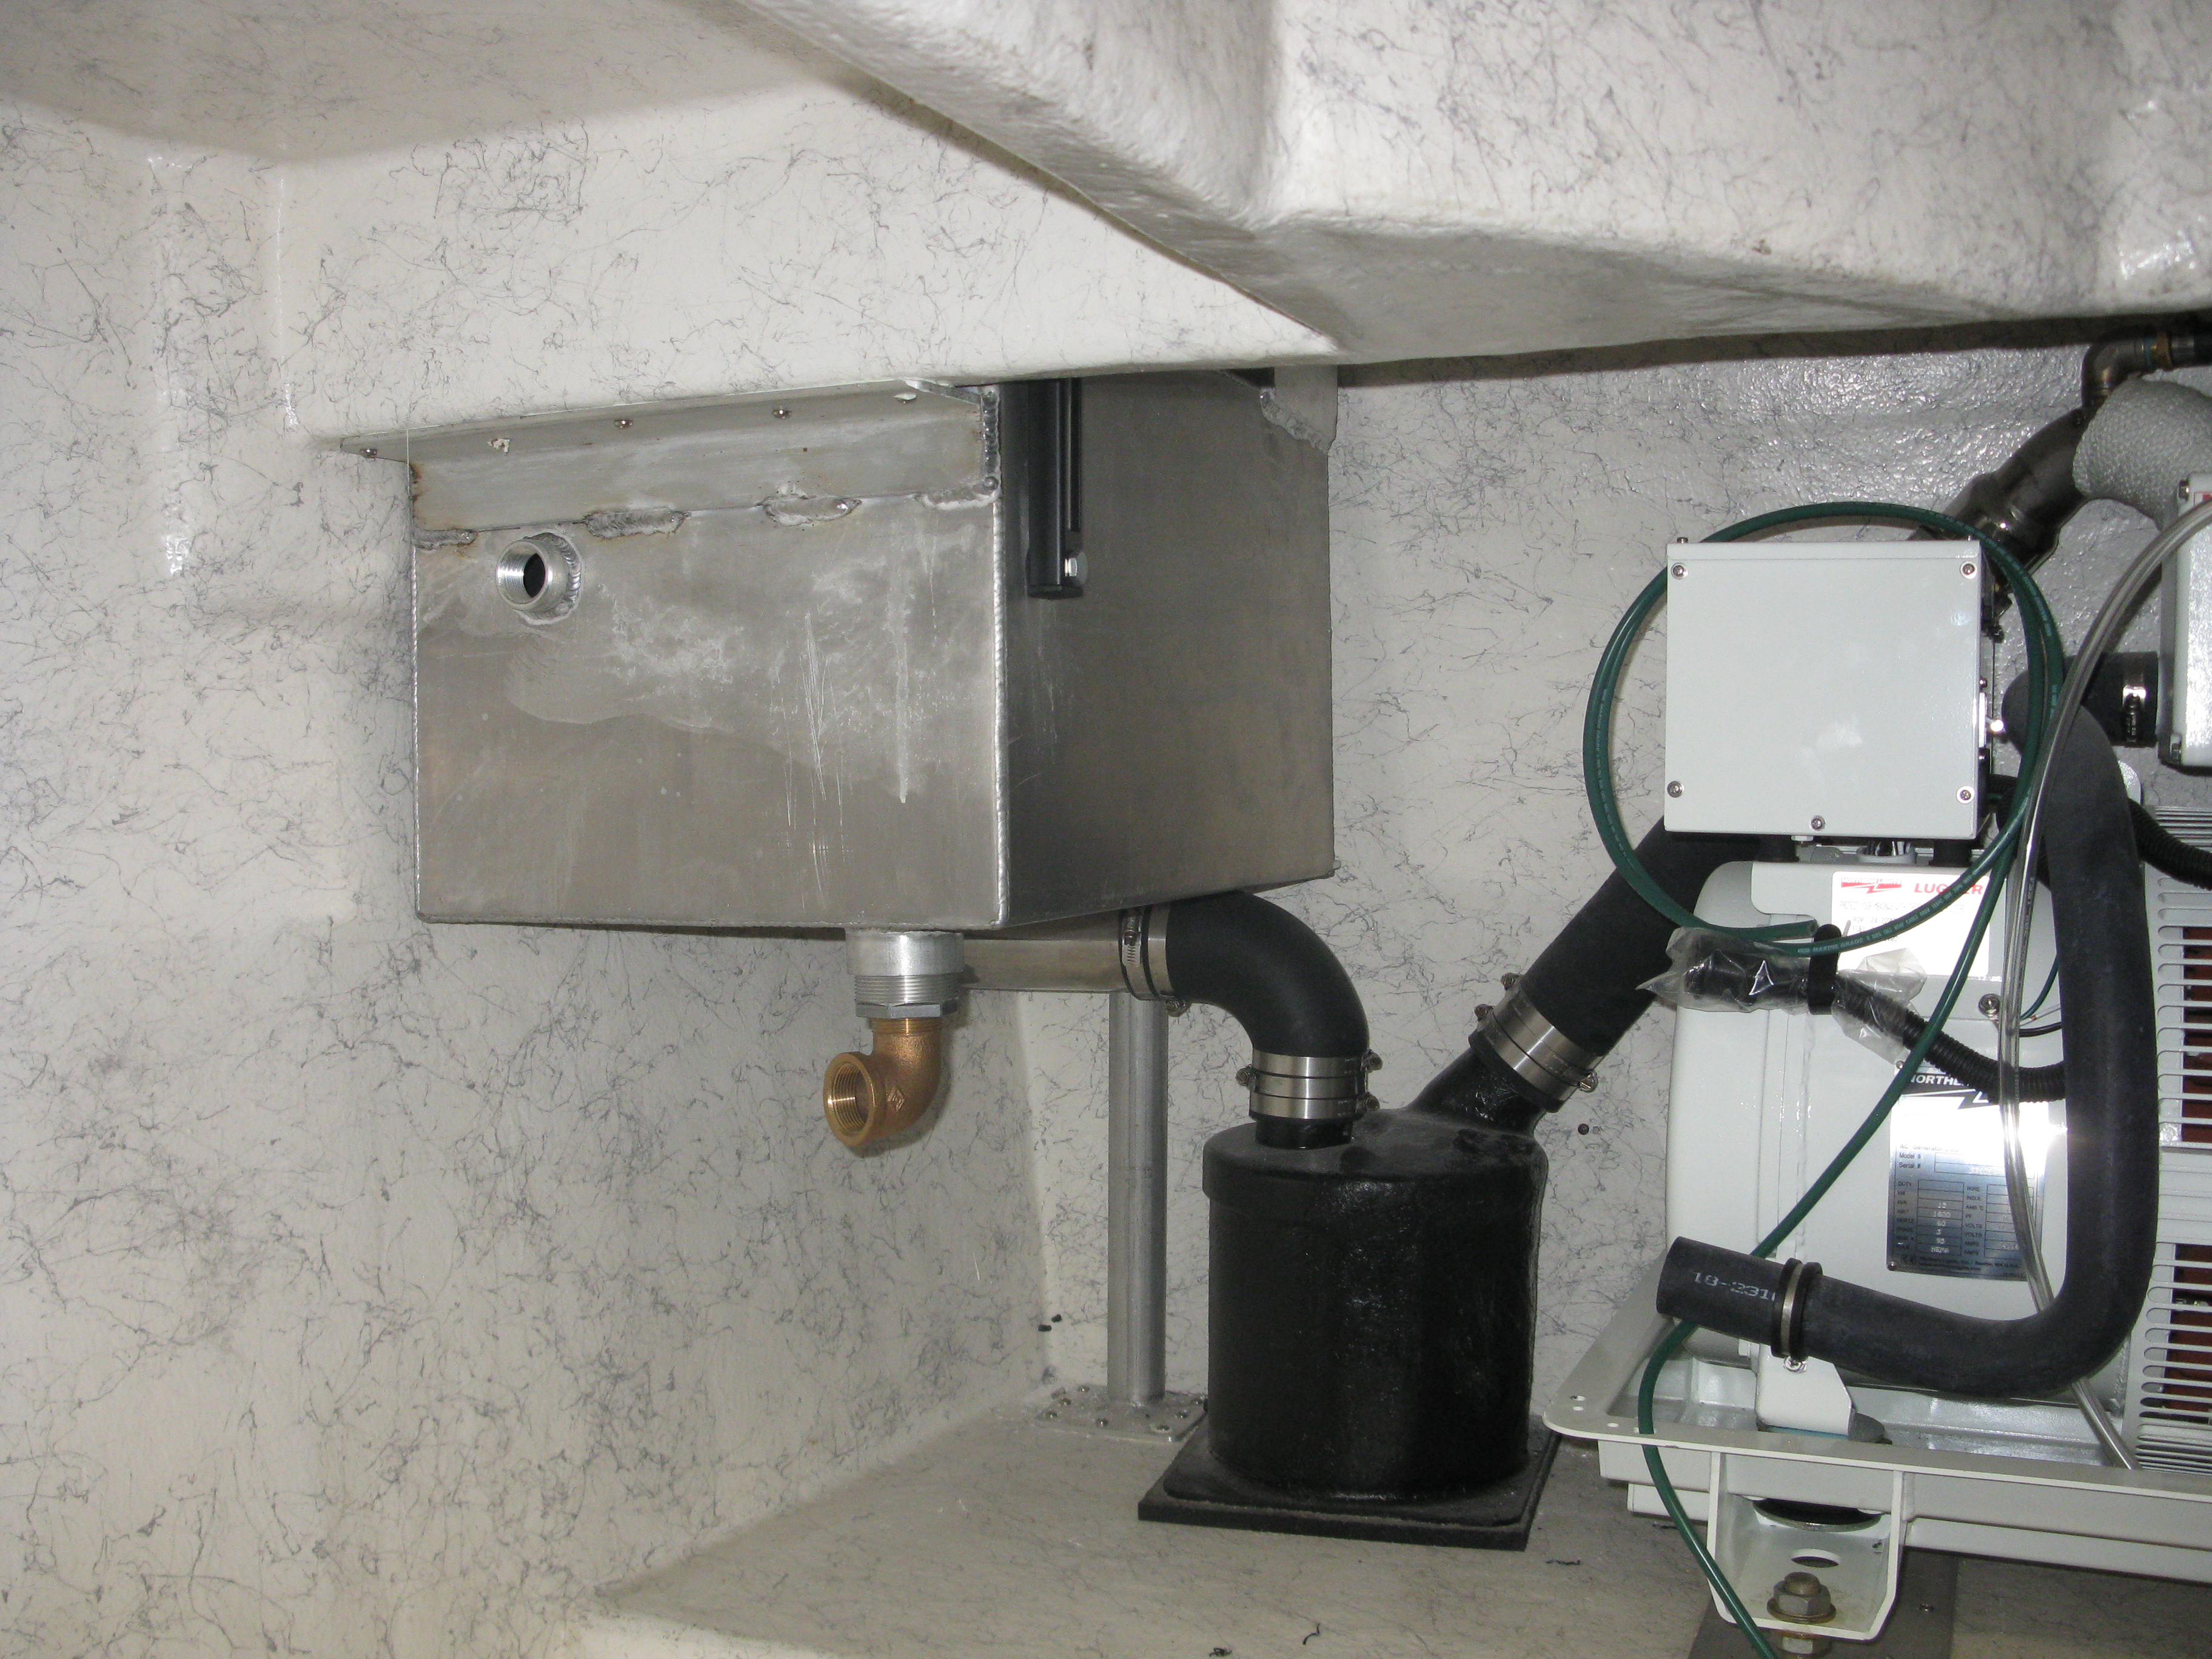
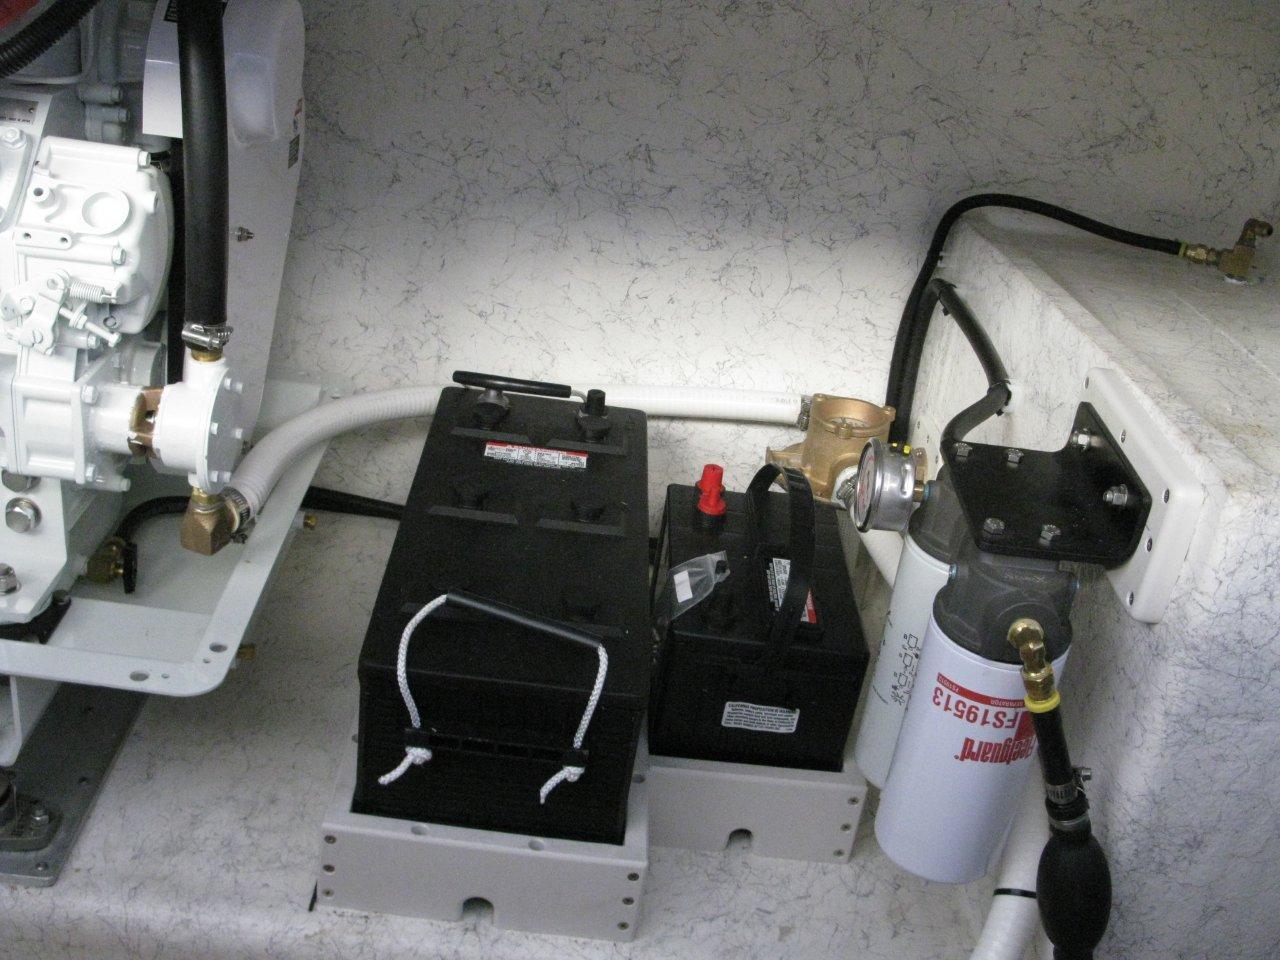
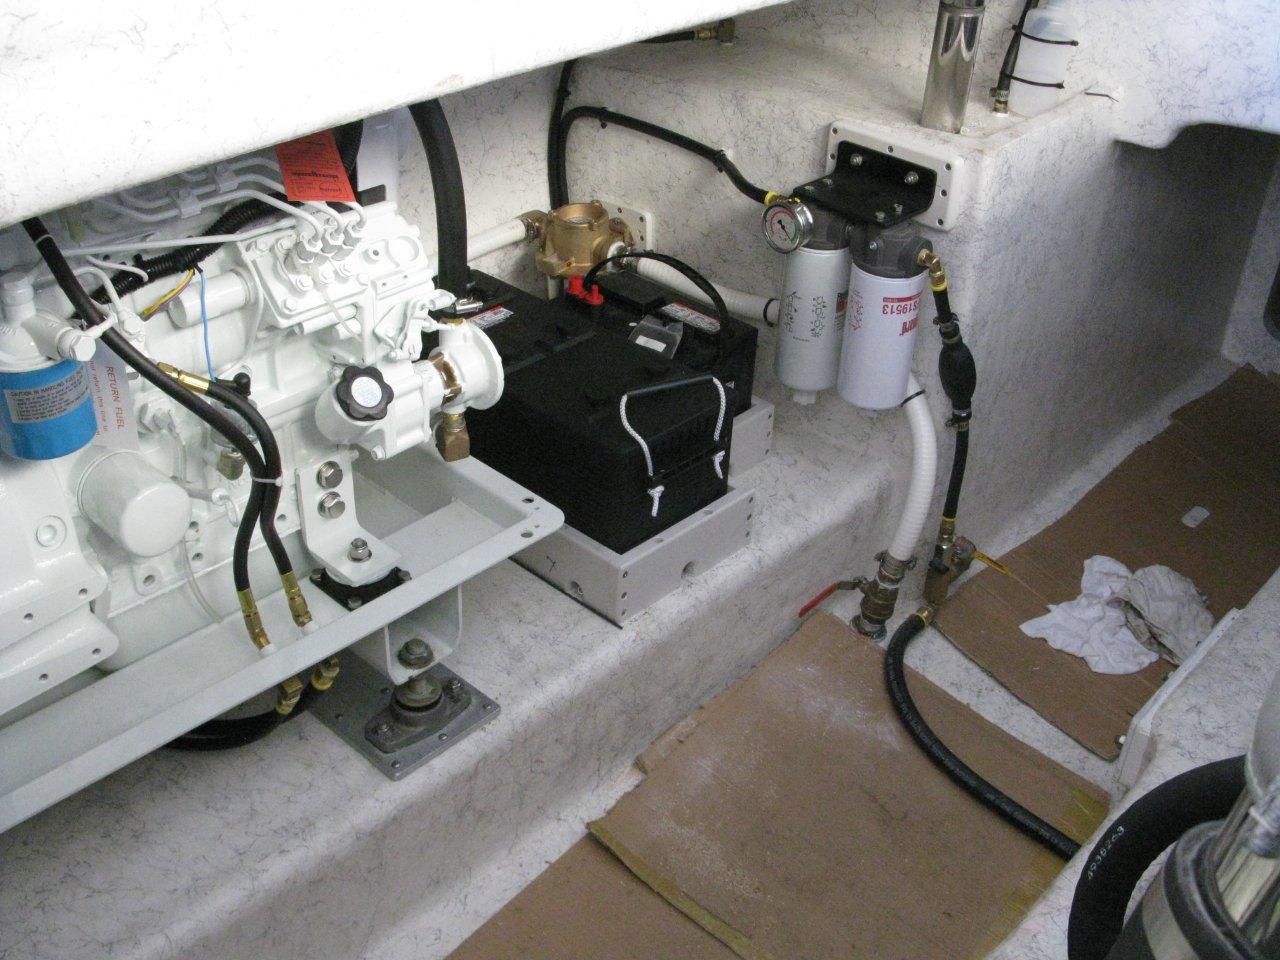
Setting up the multi-stage Fueltration
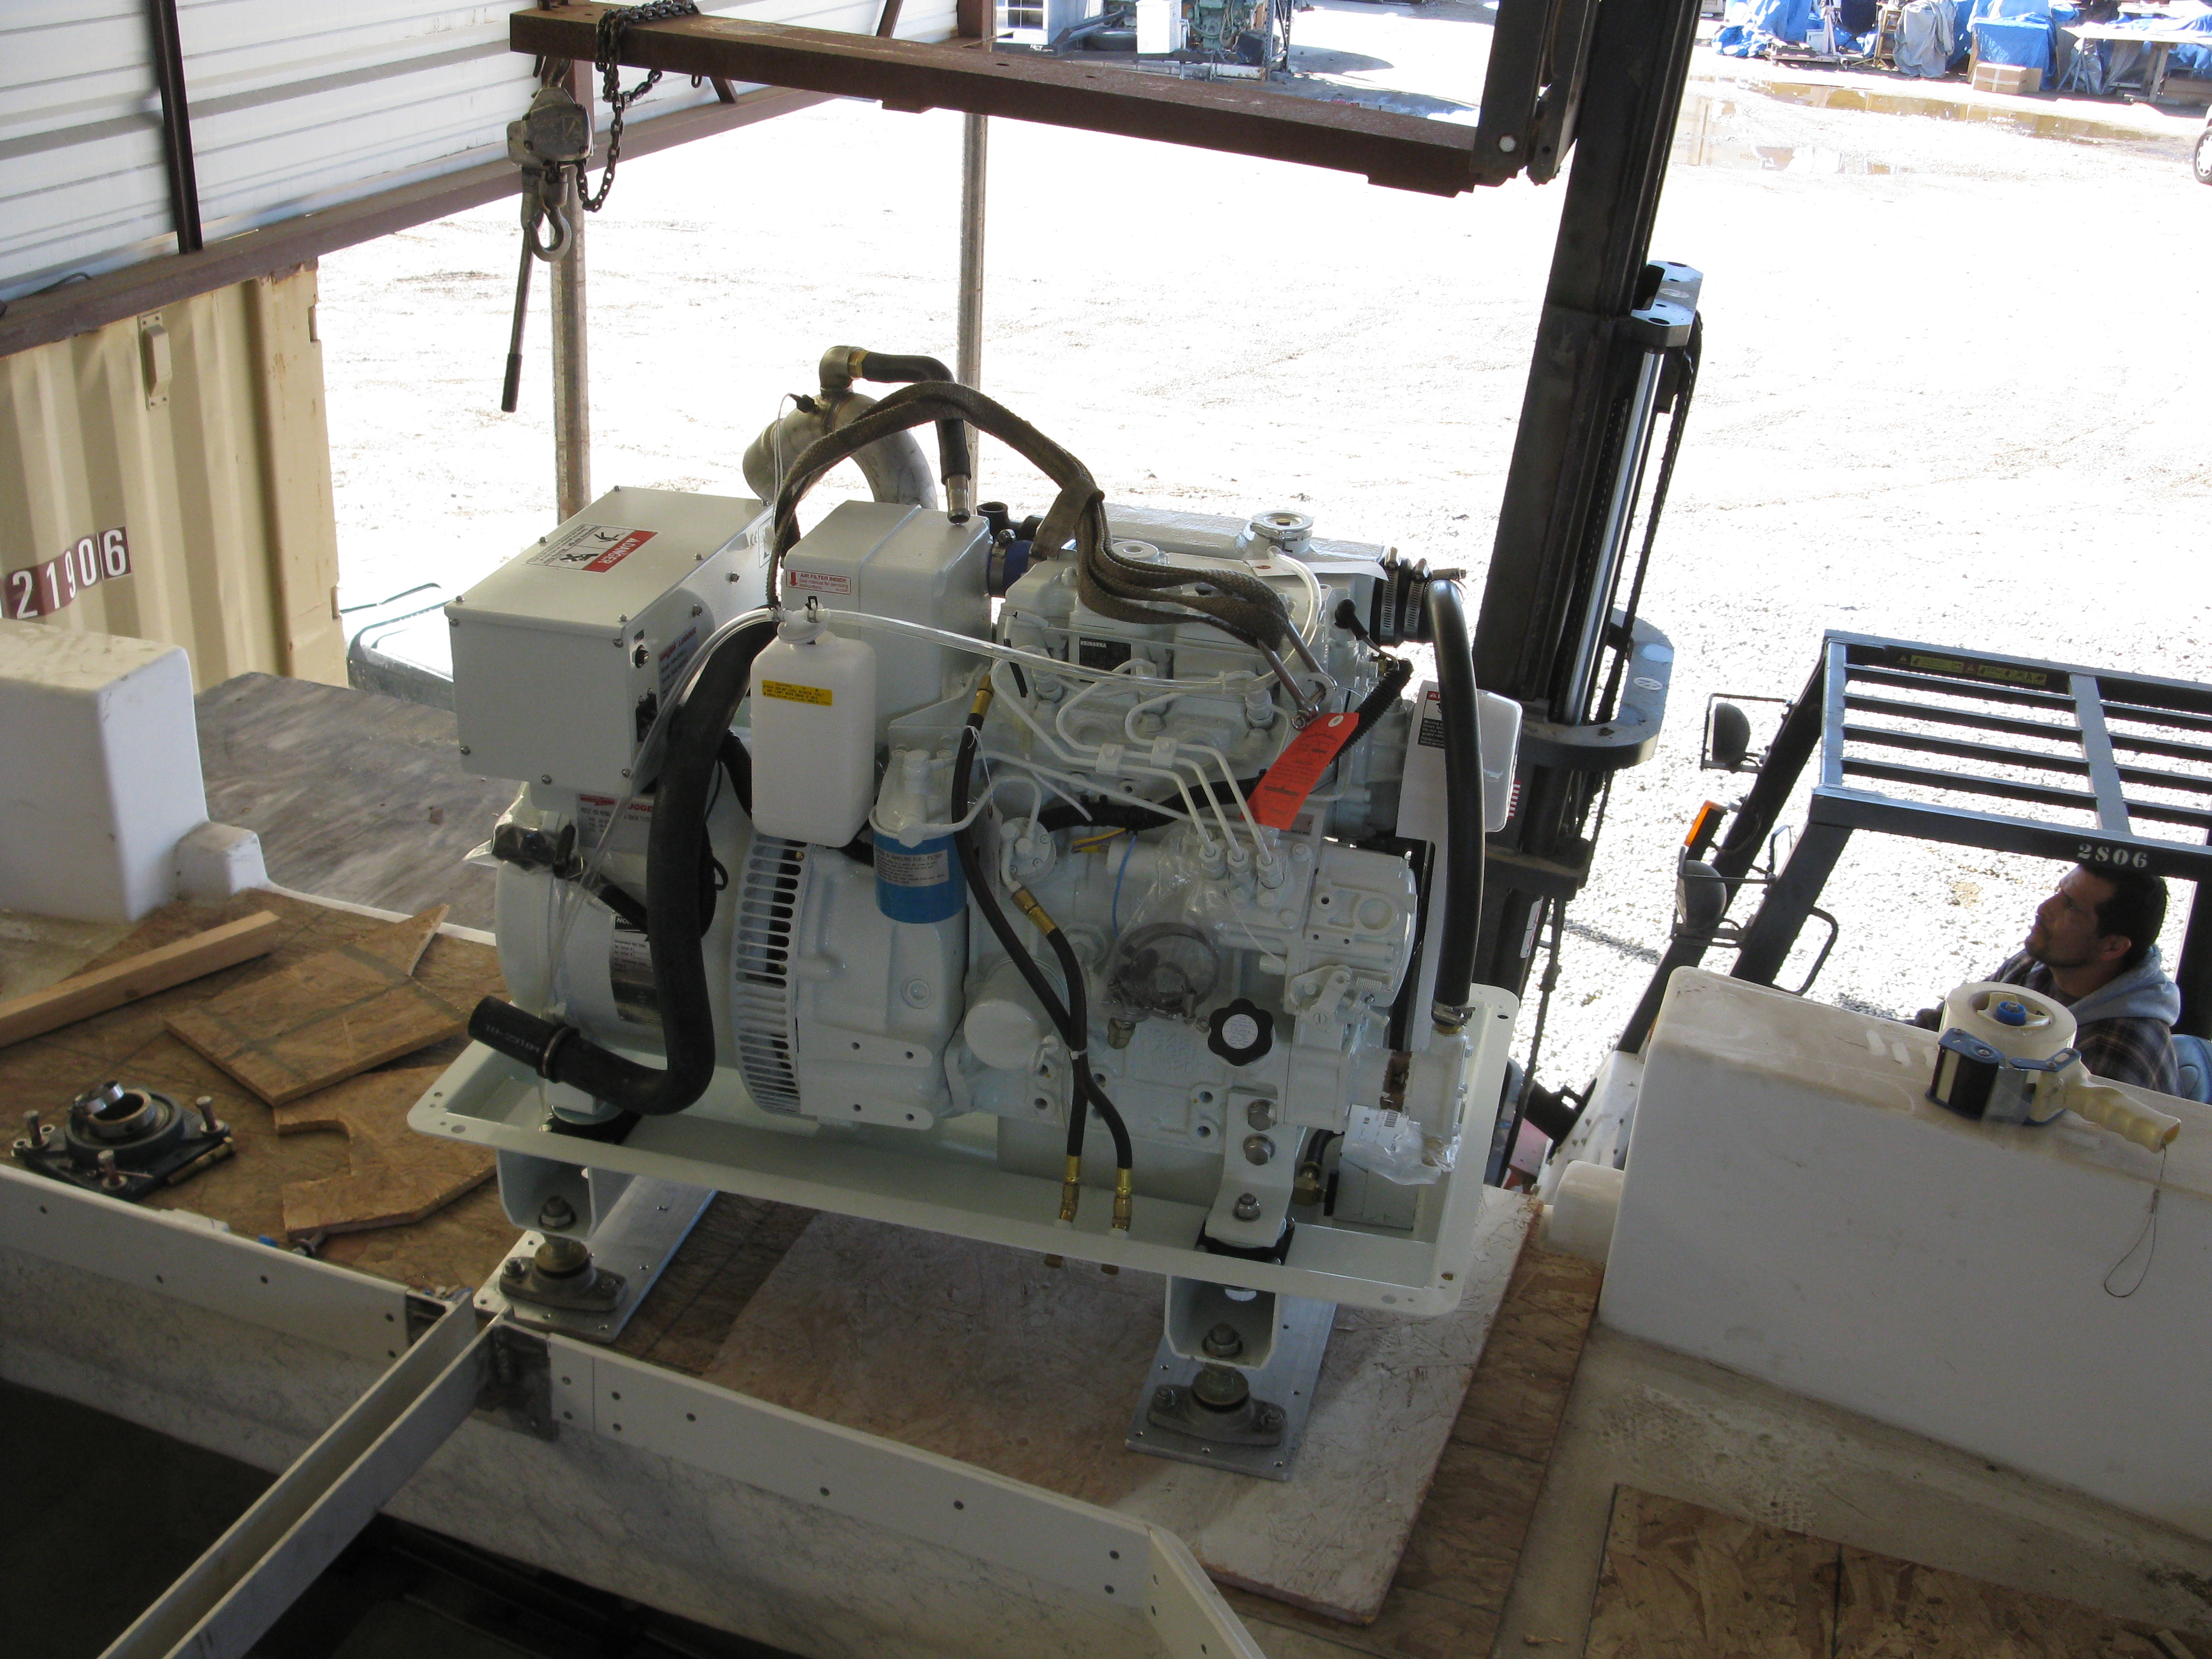
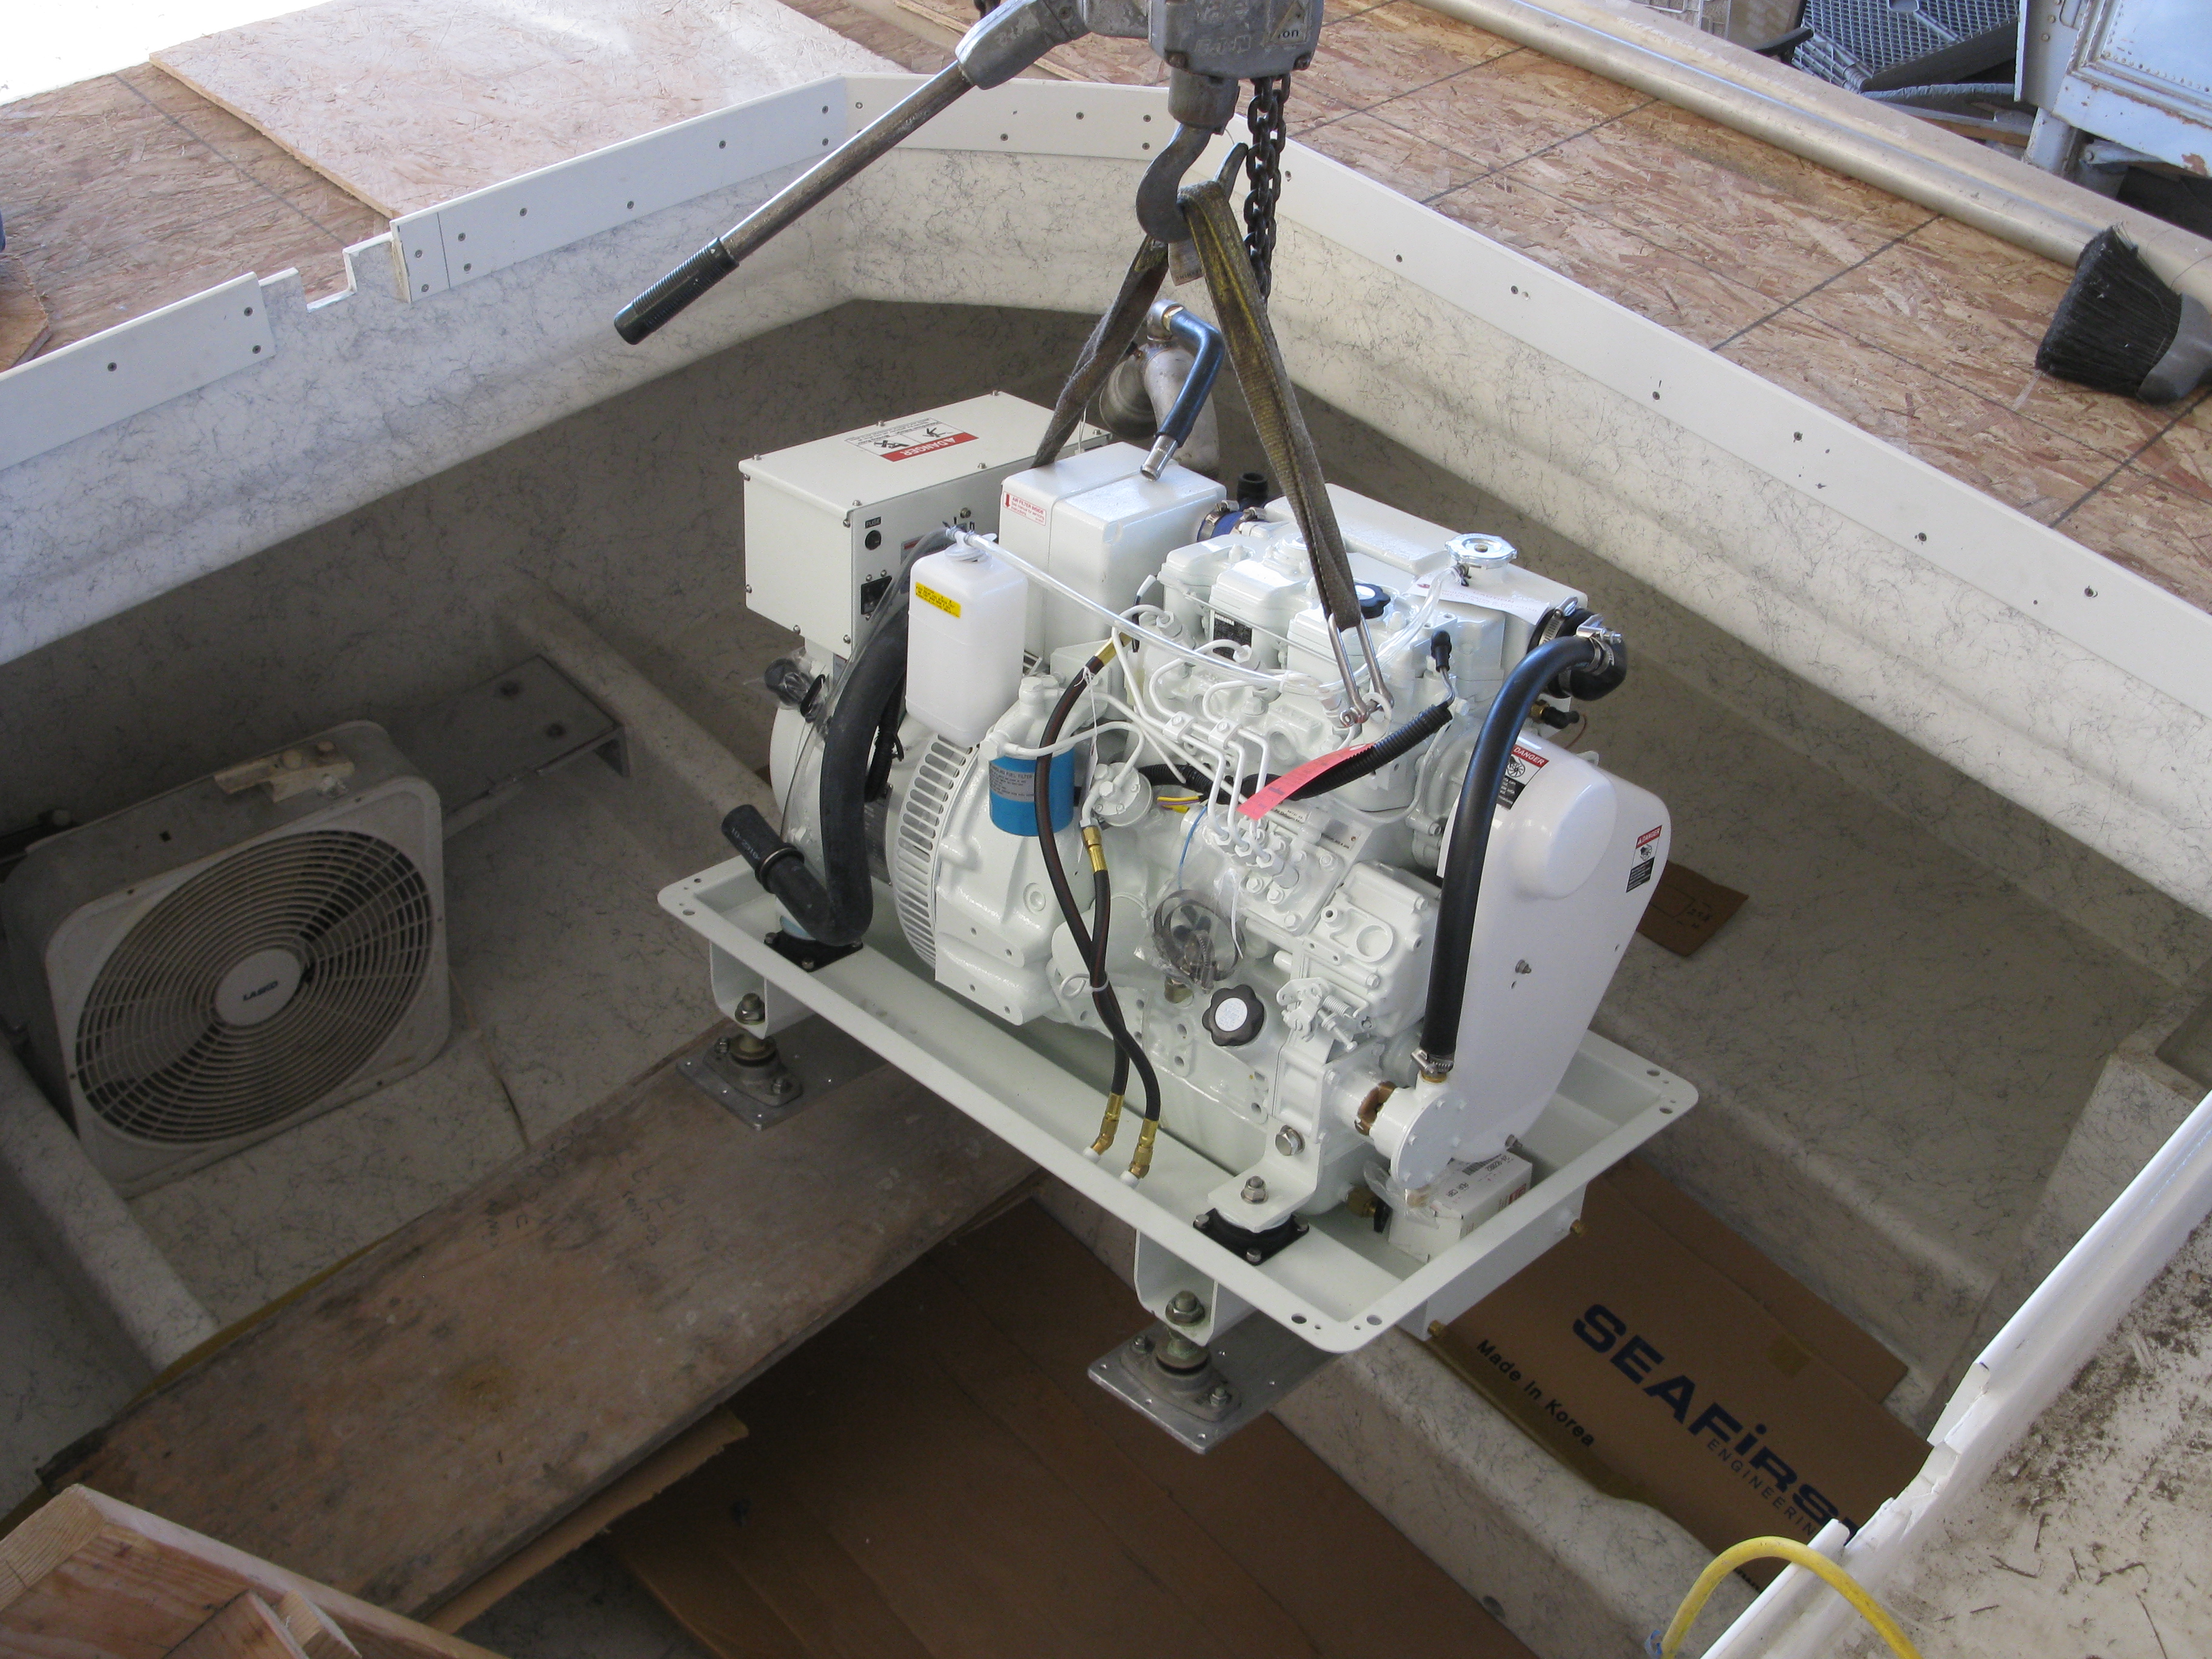
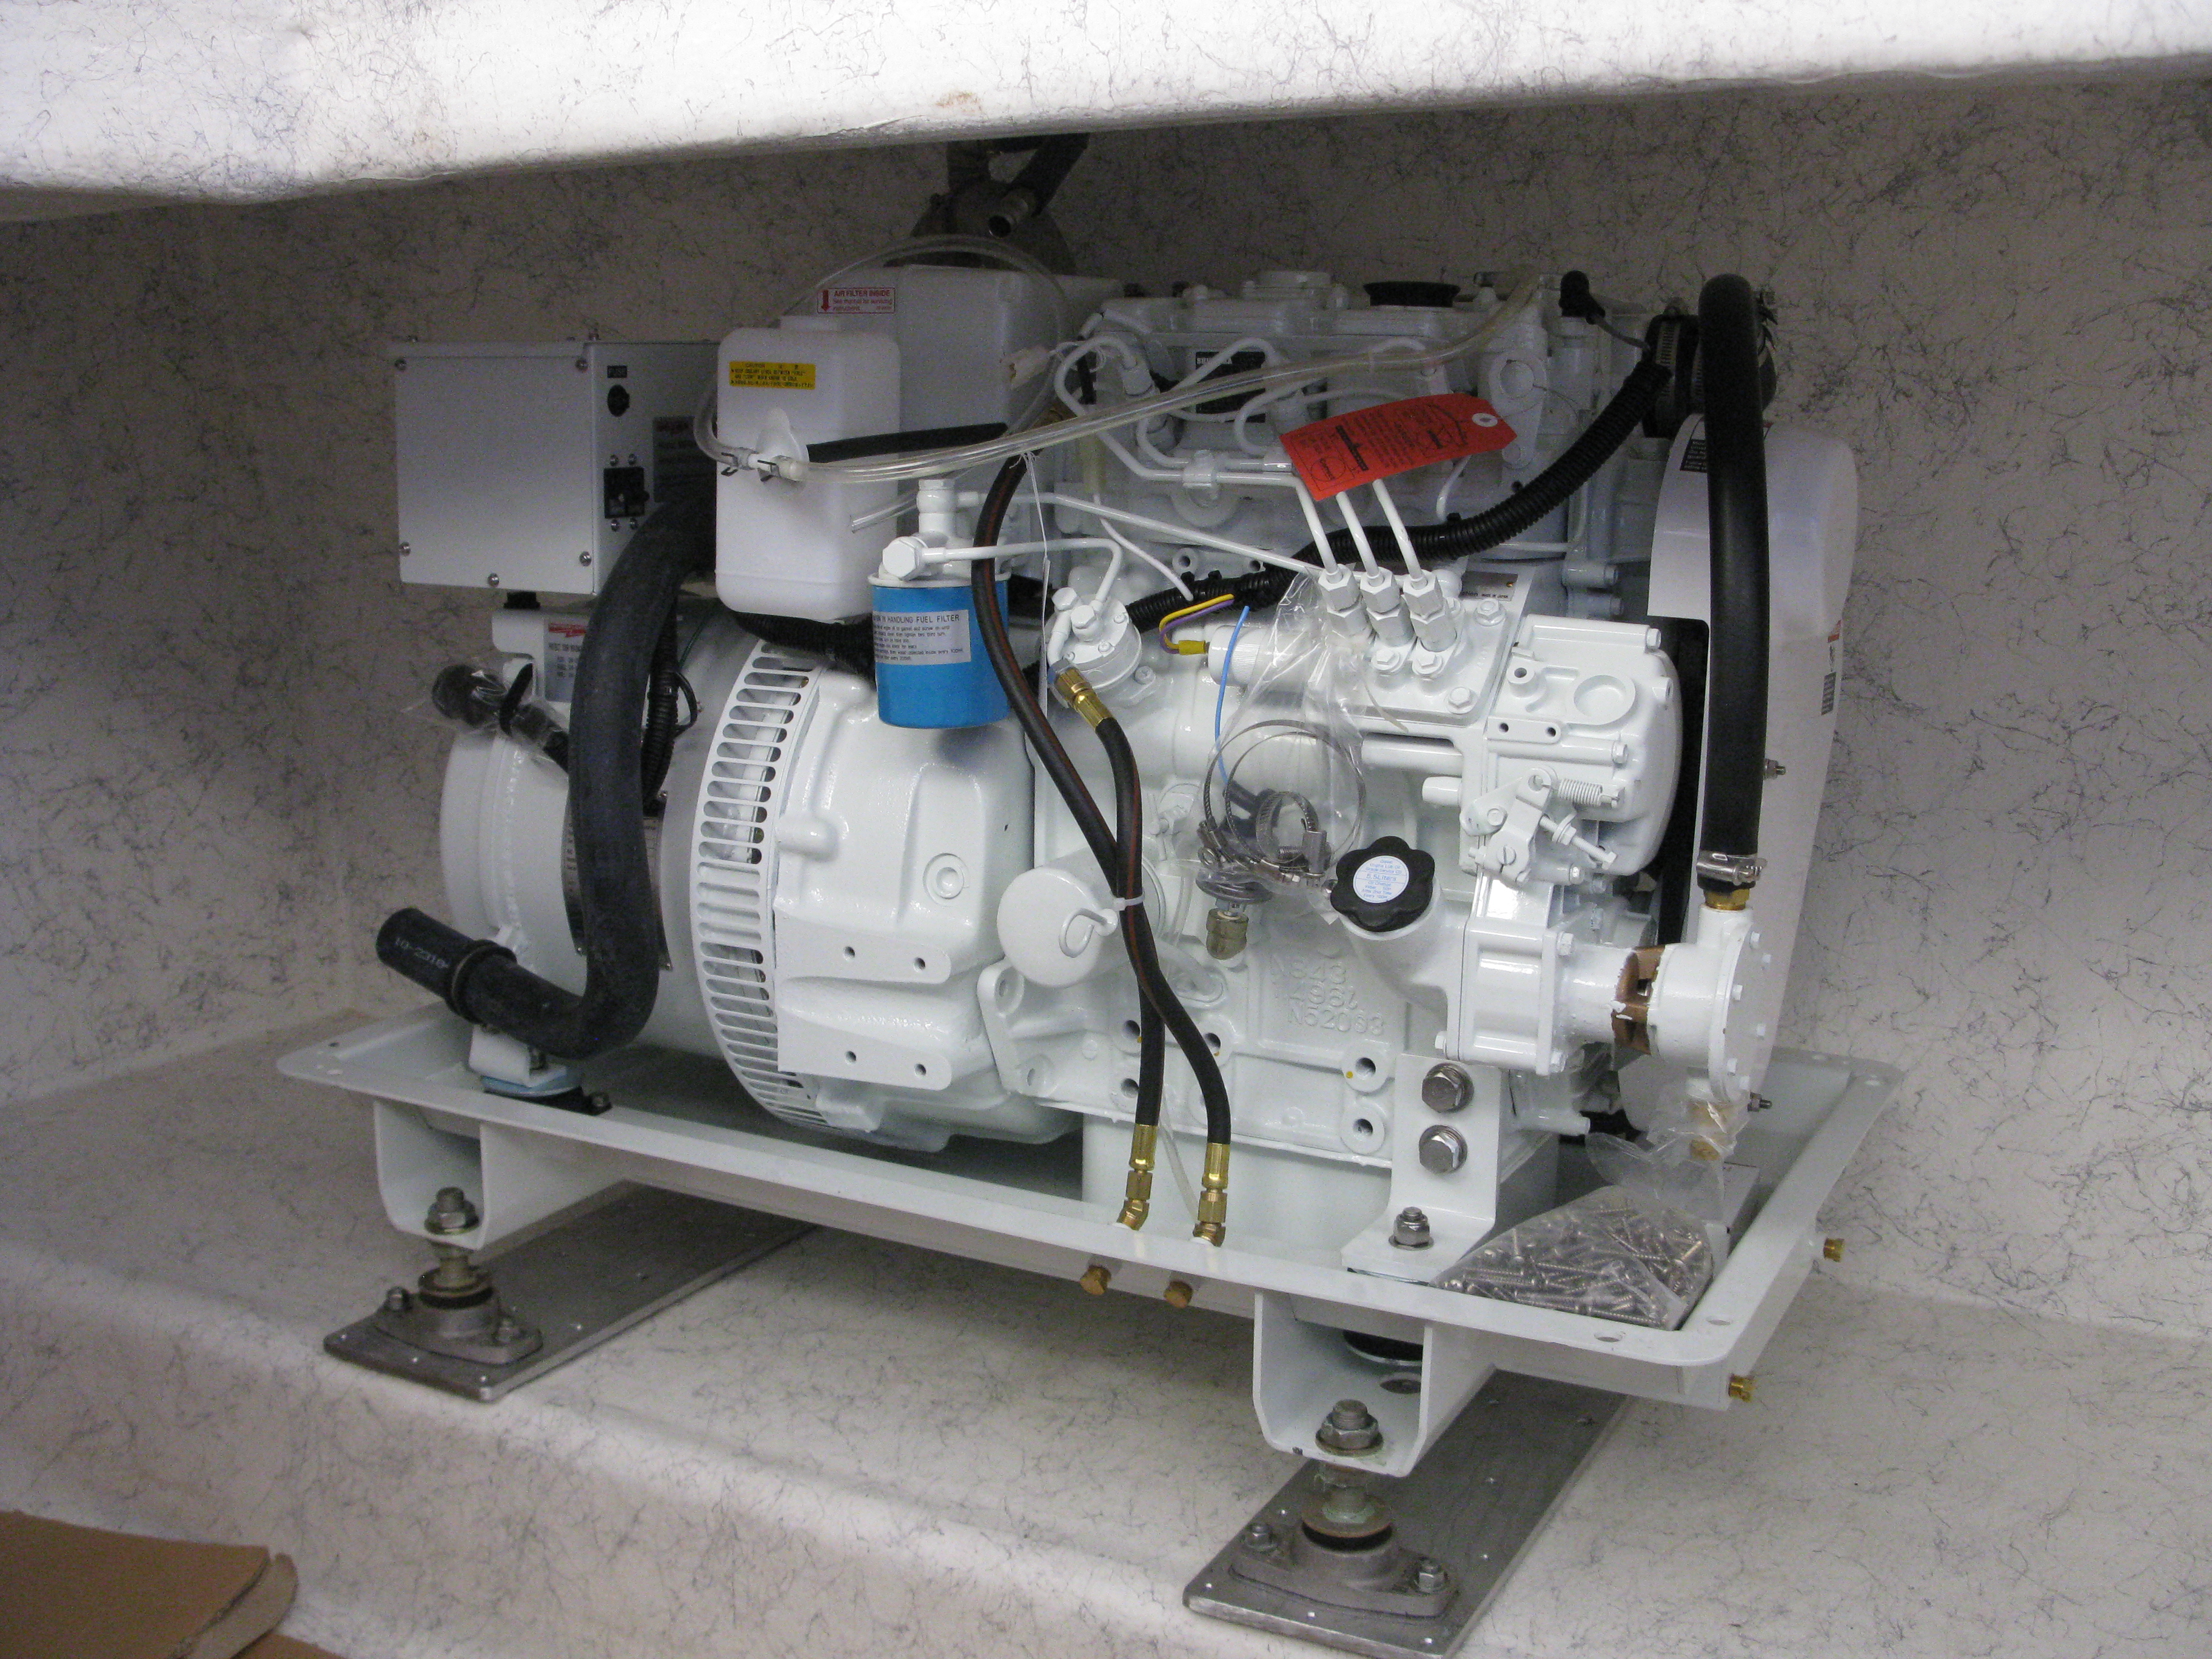
12kW Northern Lights Generator


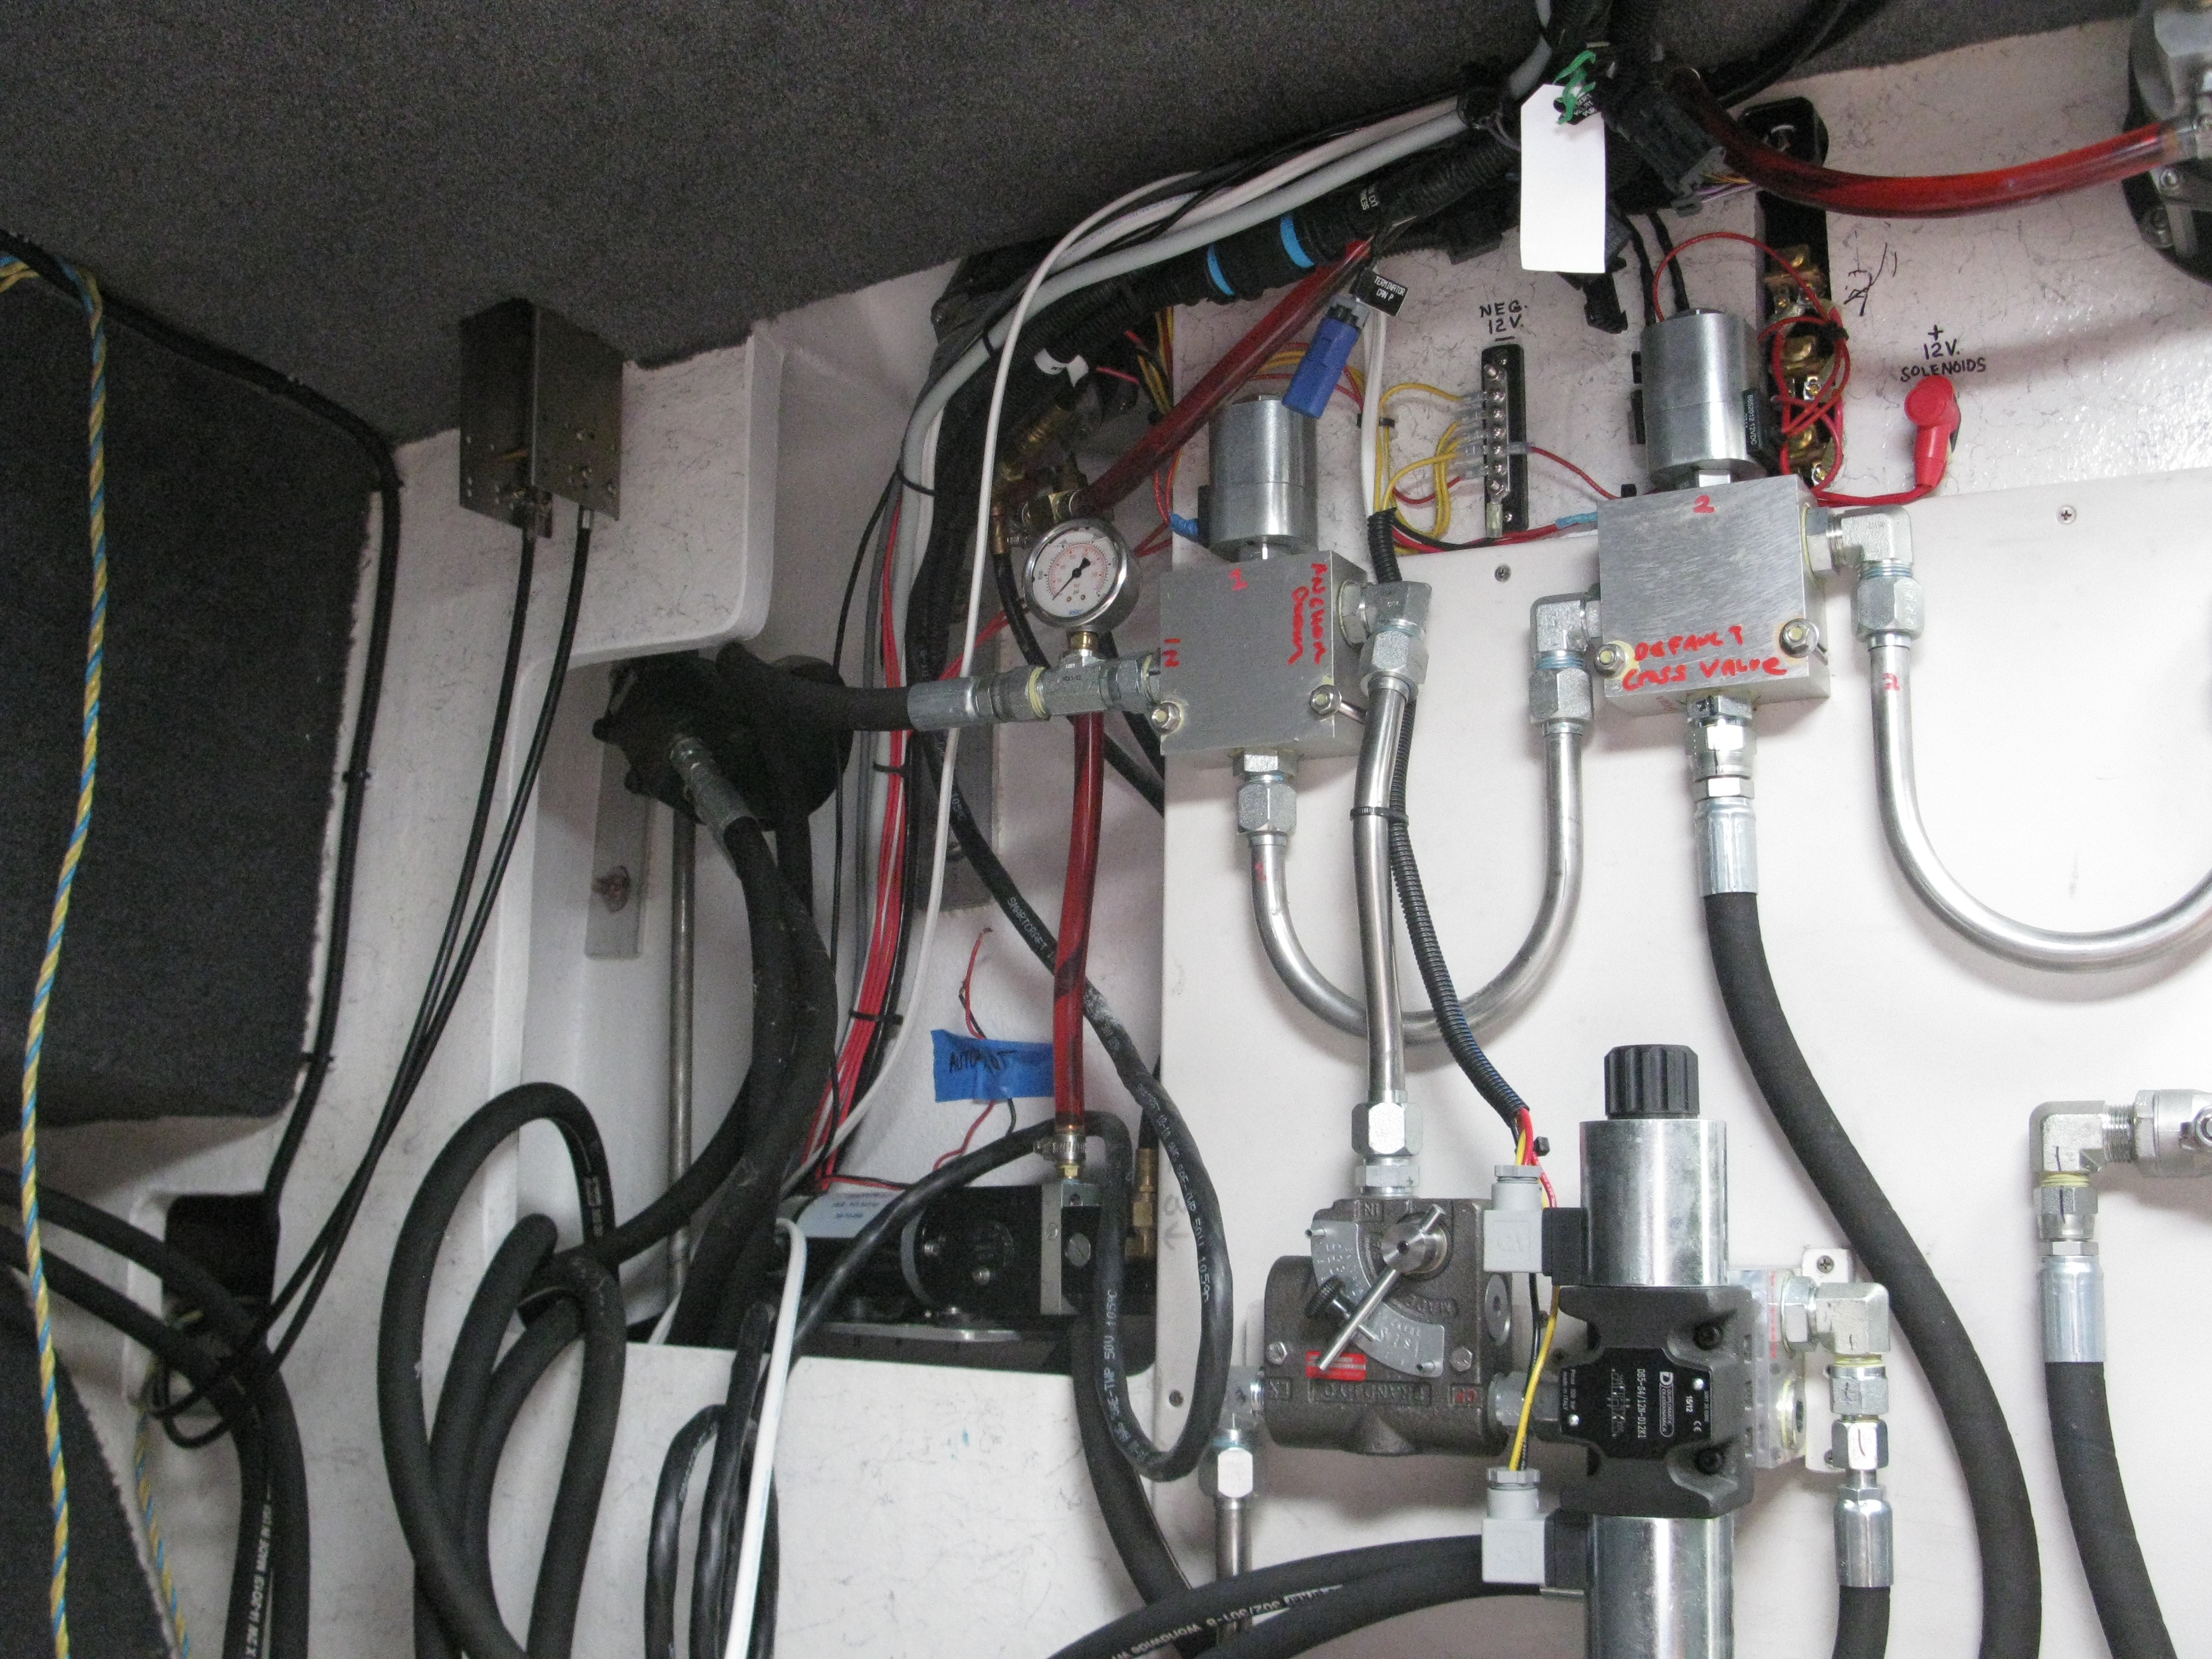
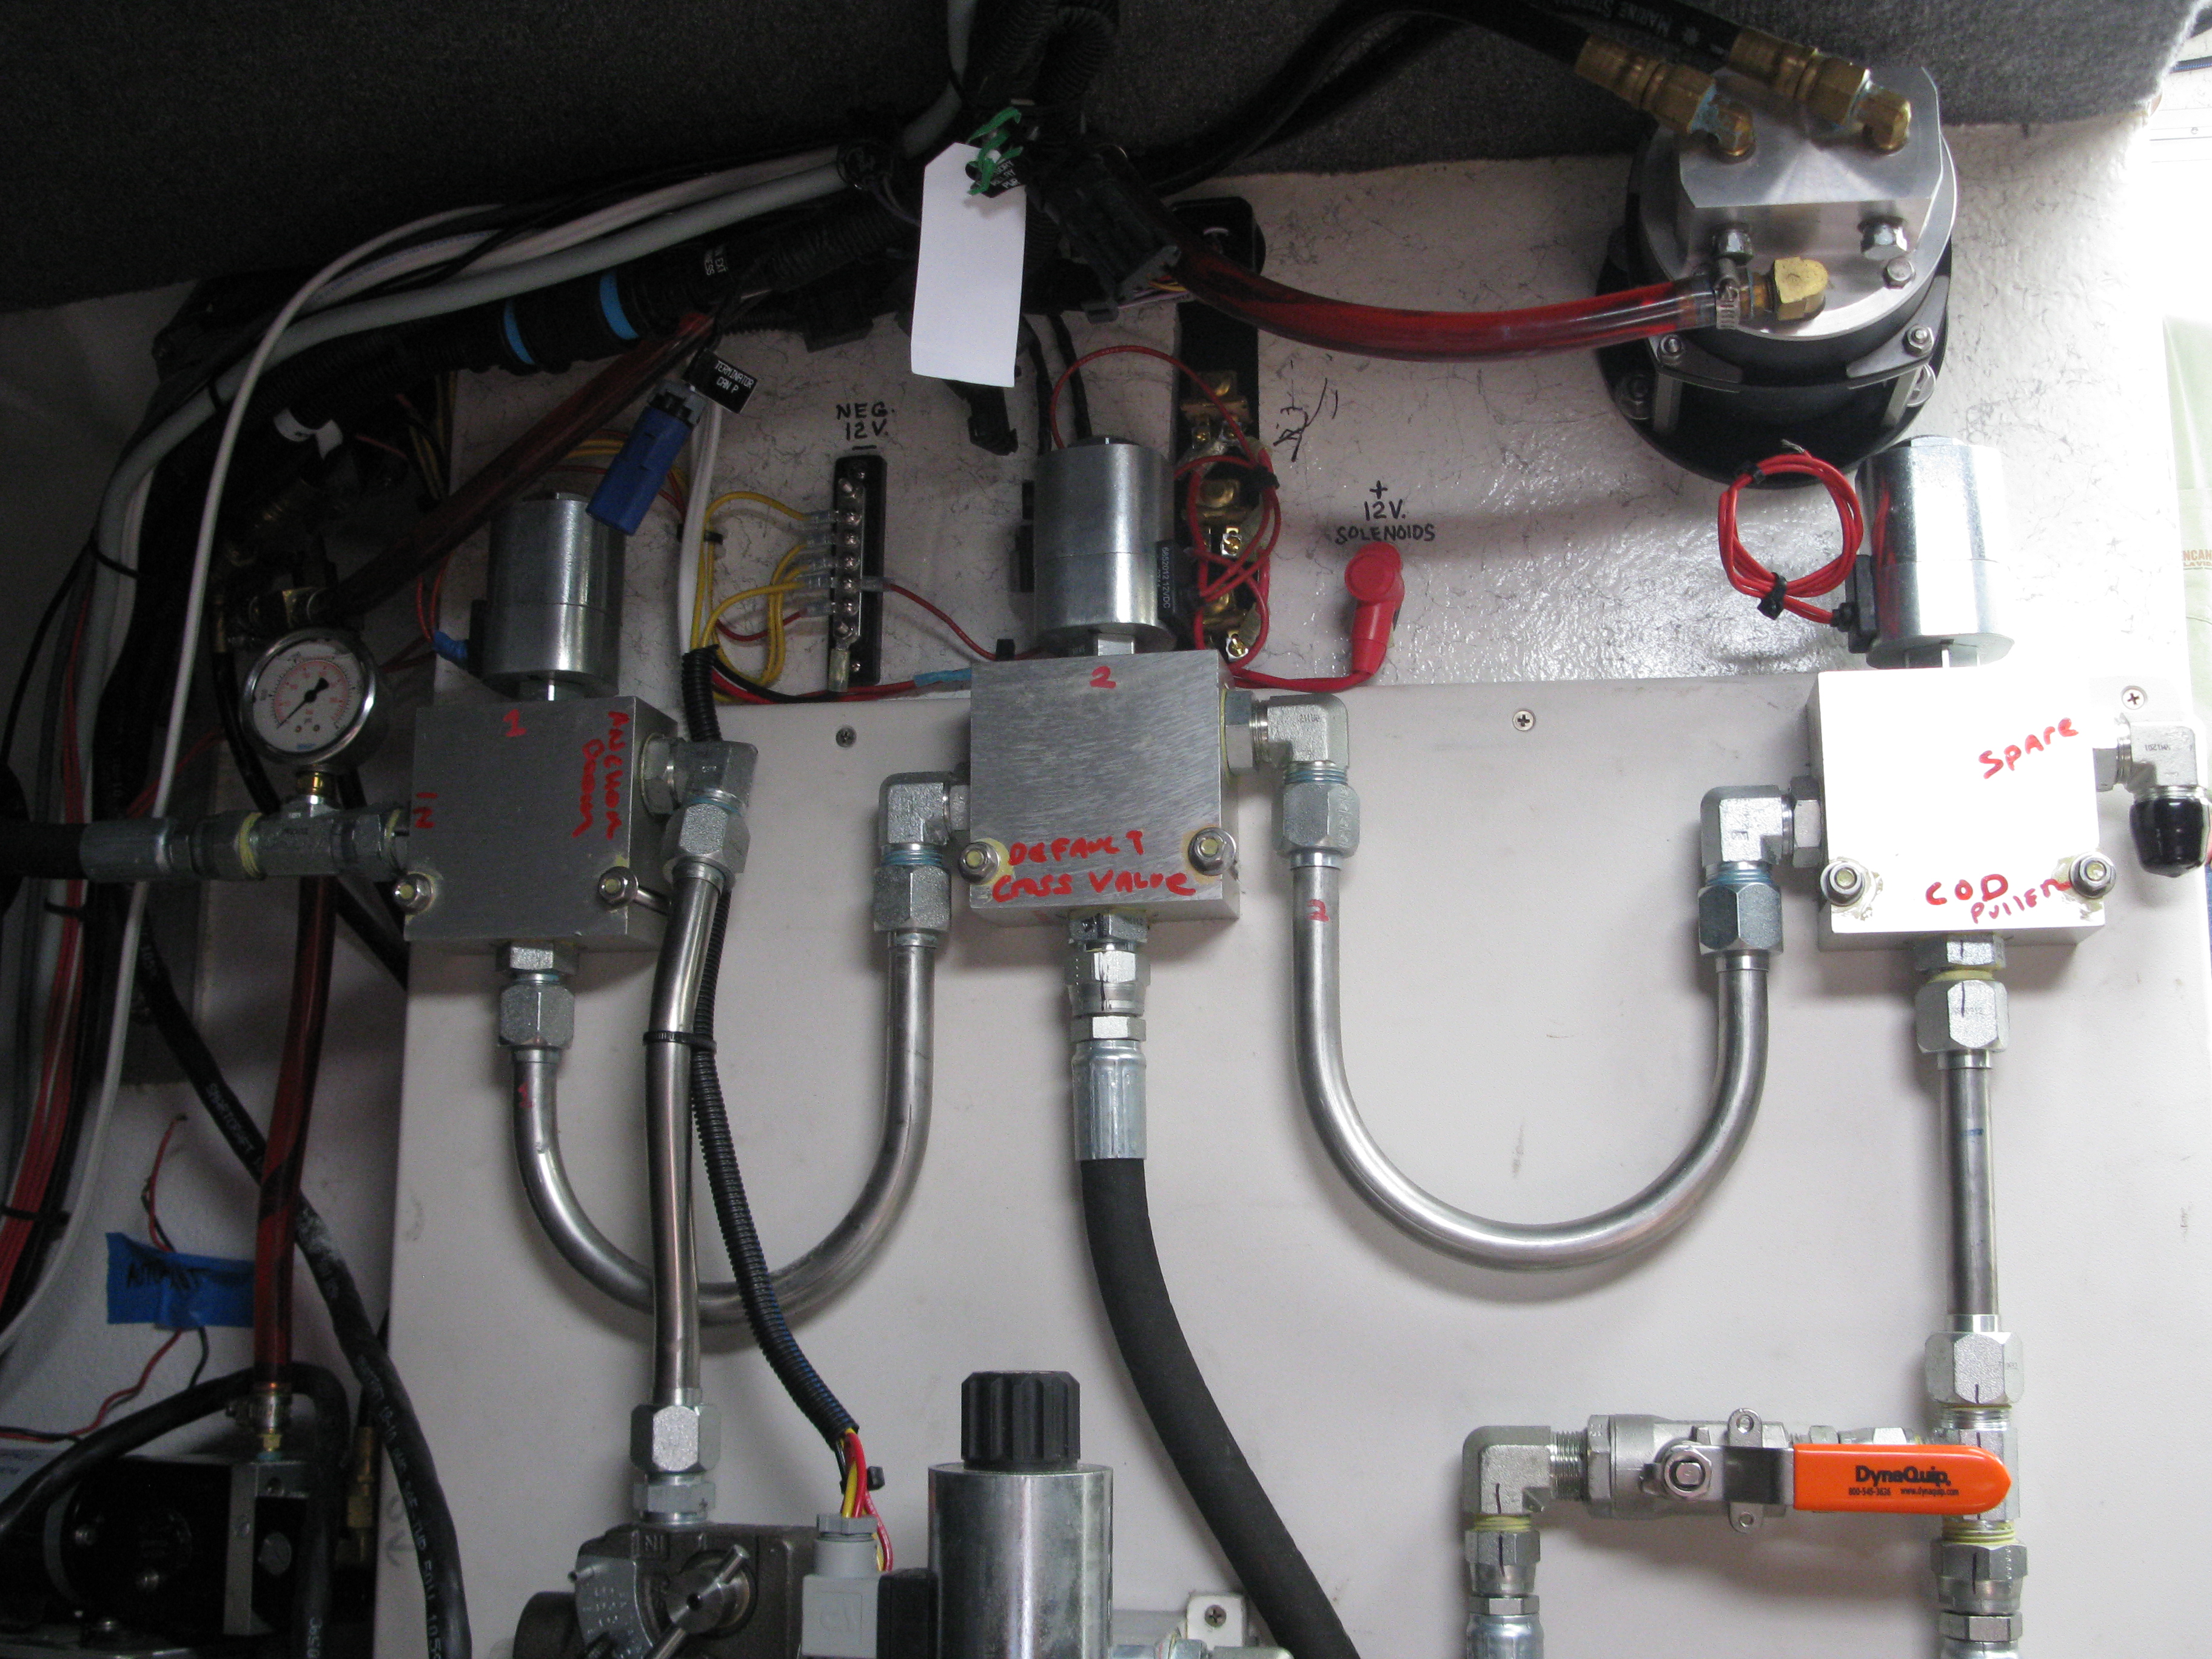
Time for the hydraulics!

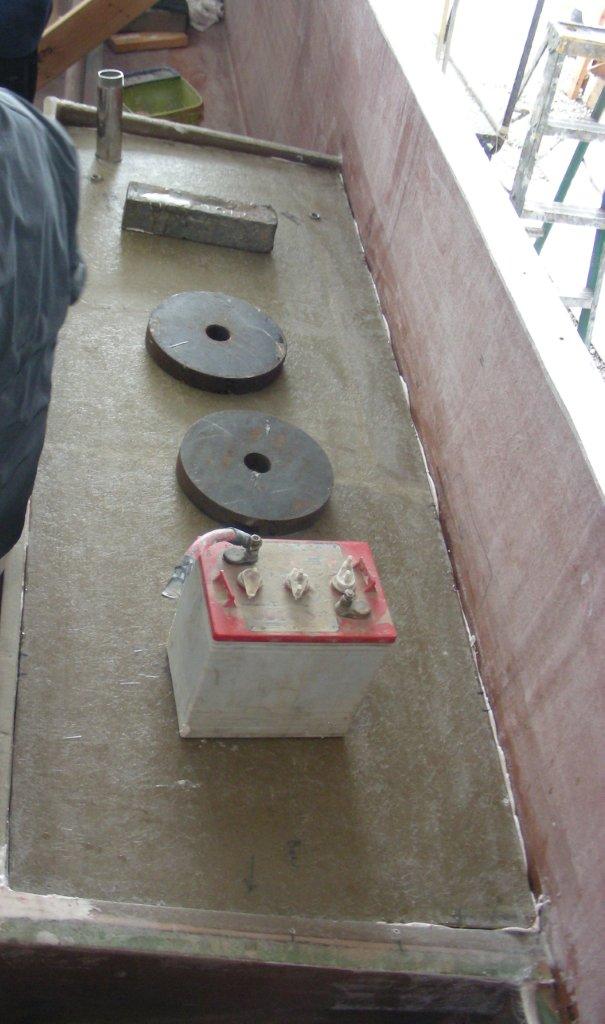
Time for the battery boxes.

With the engine and other main components installed, it is time to perform the final alignment and bolt down the mounting points.
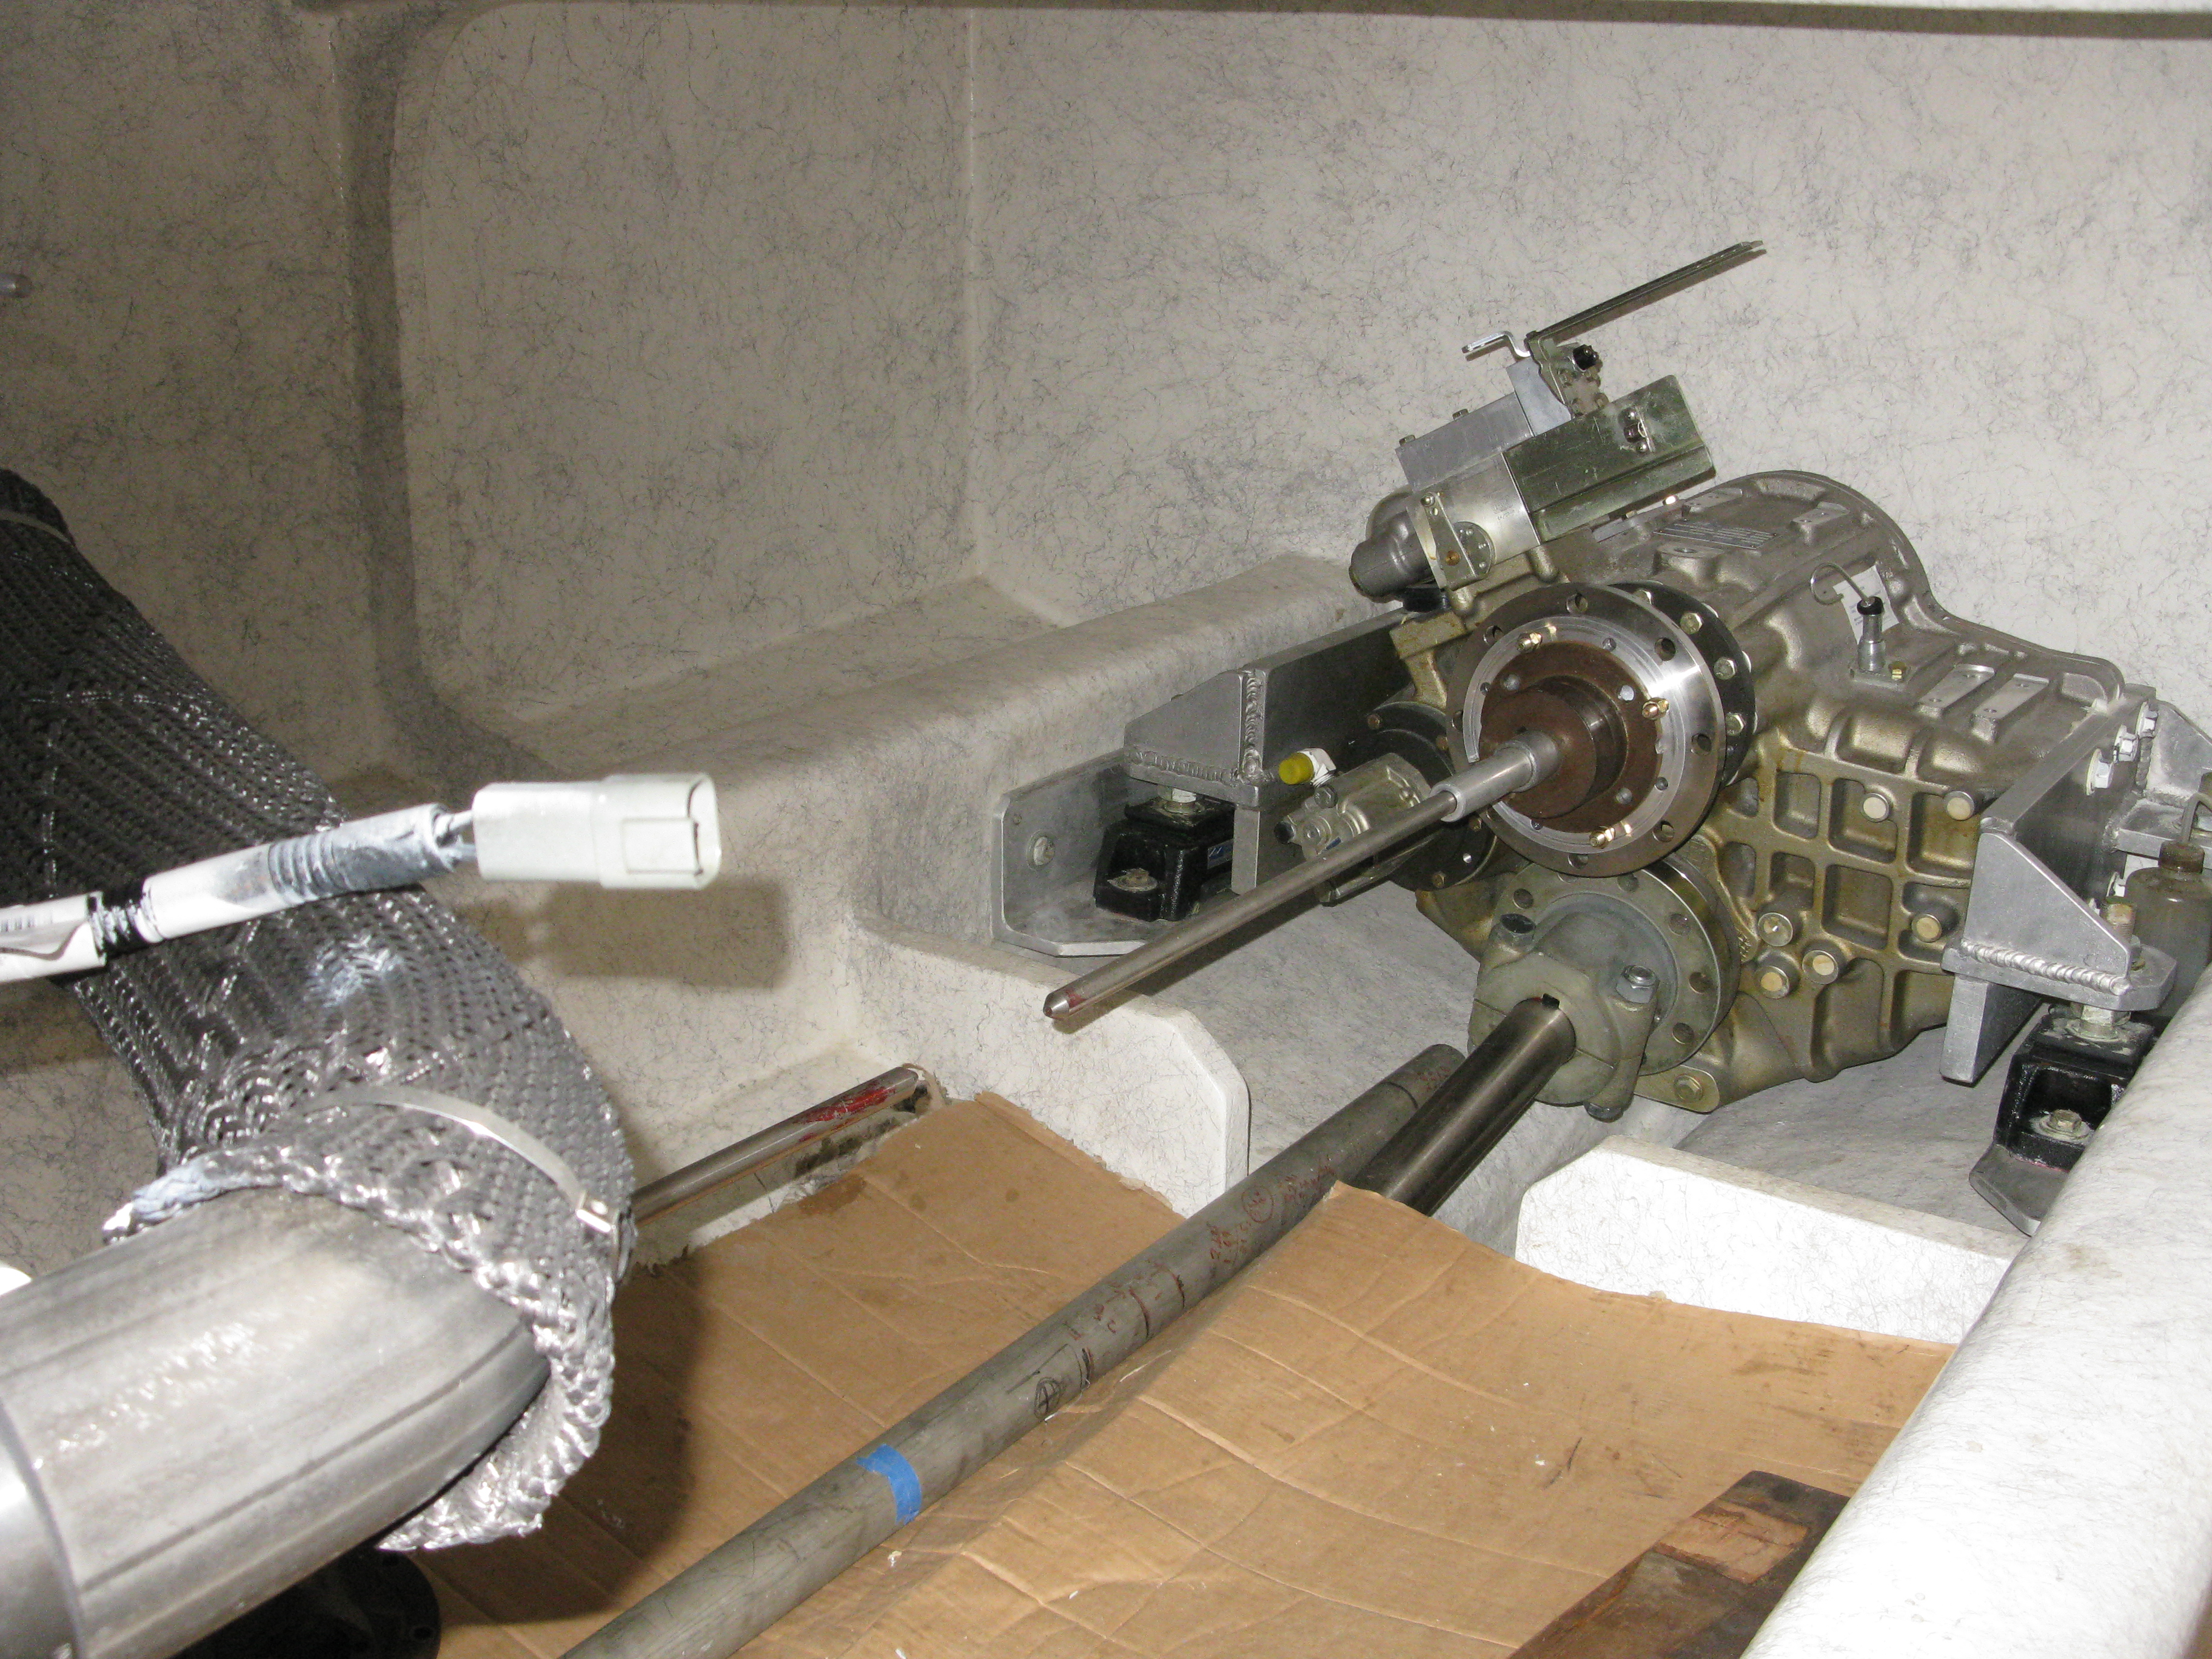


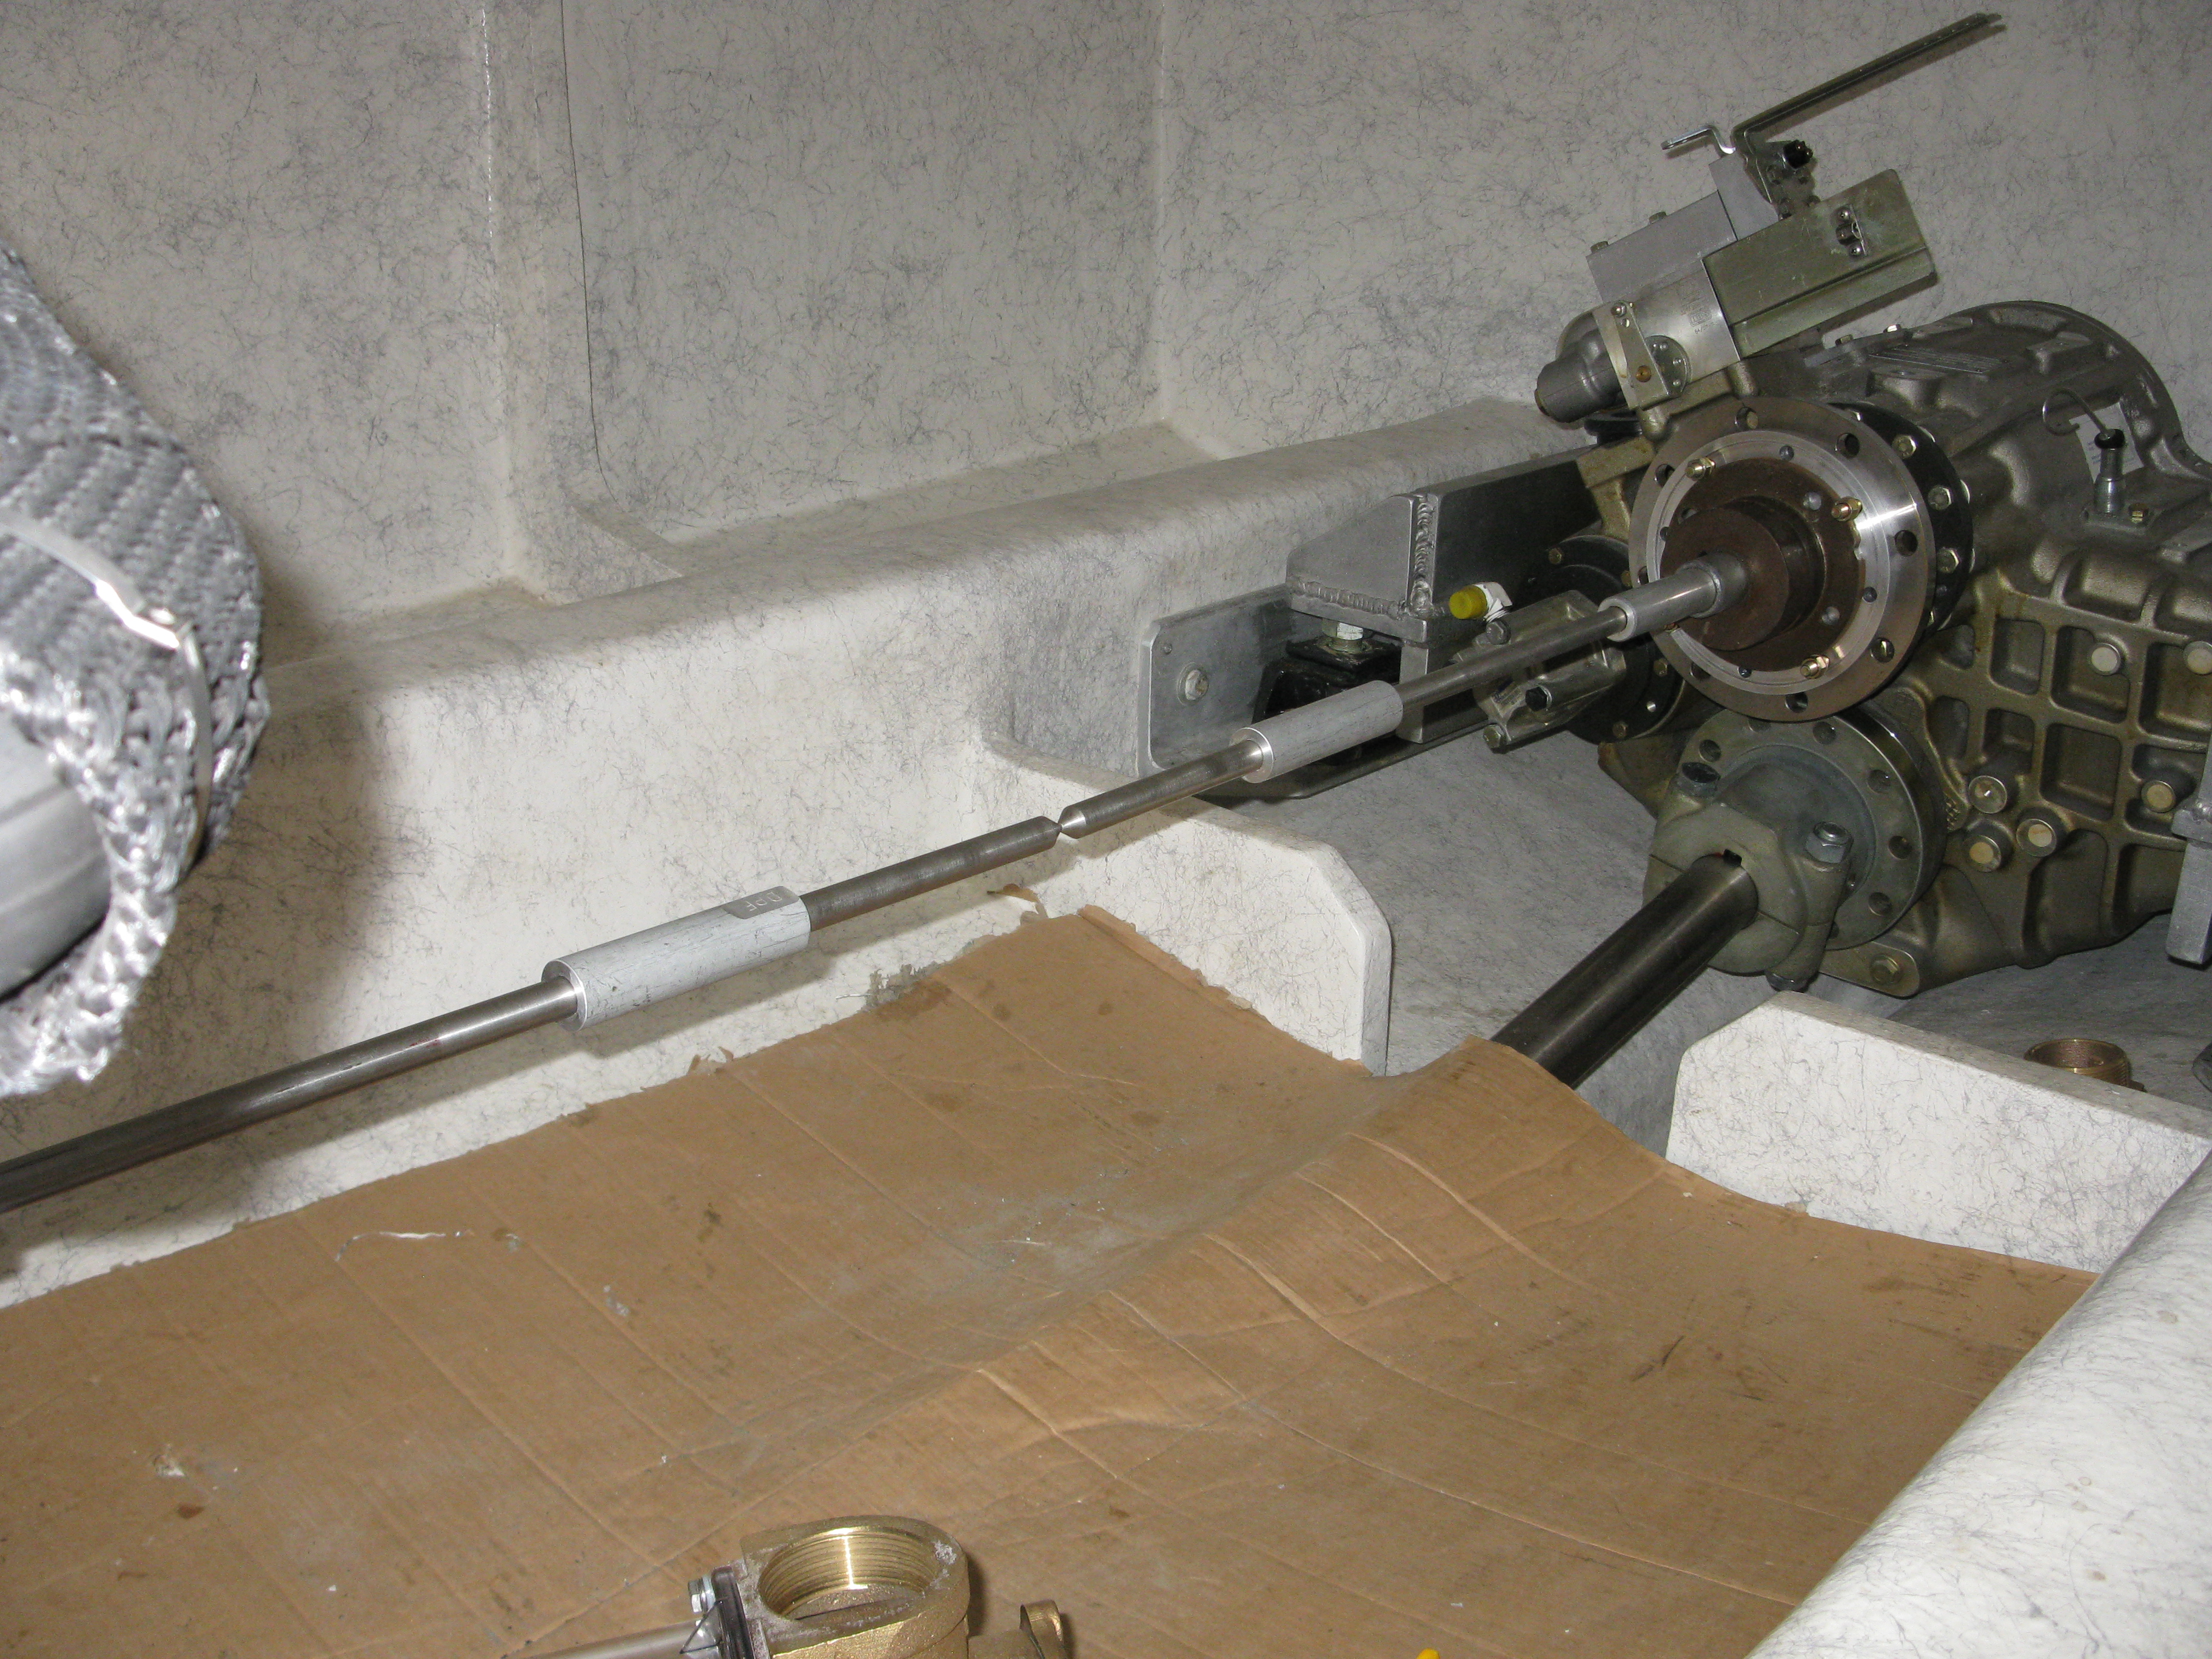
With the alignment “Dead Nuts”… it’s time to install the Cardan shaft between the engine and remote V-Drive.


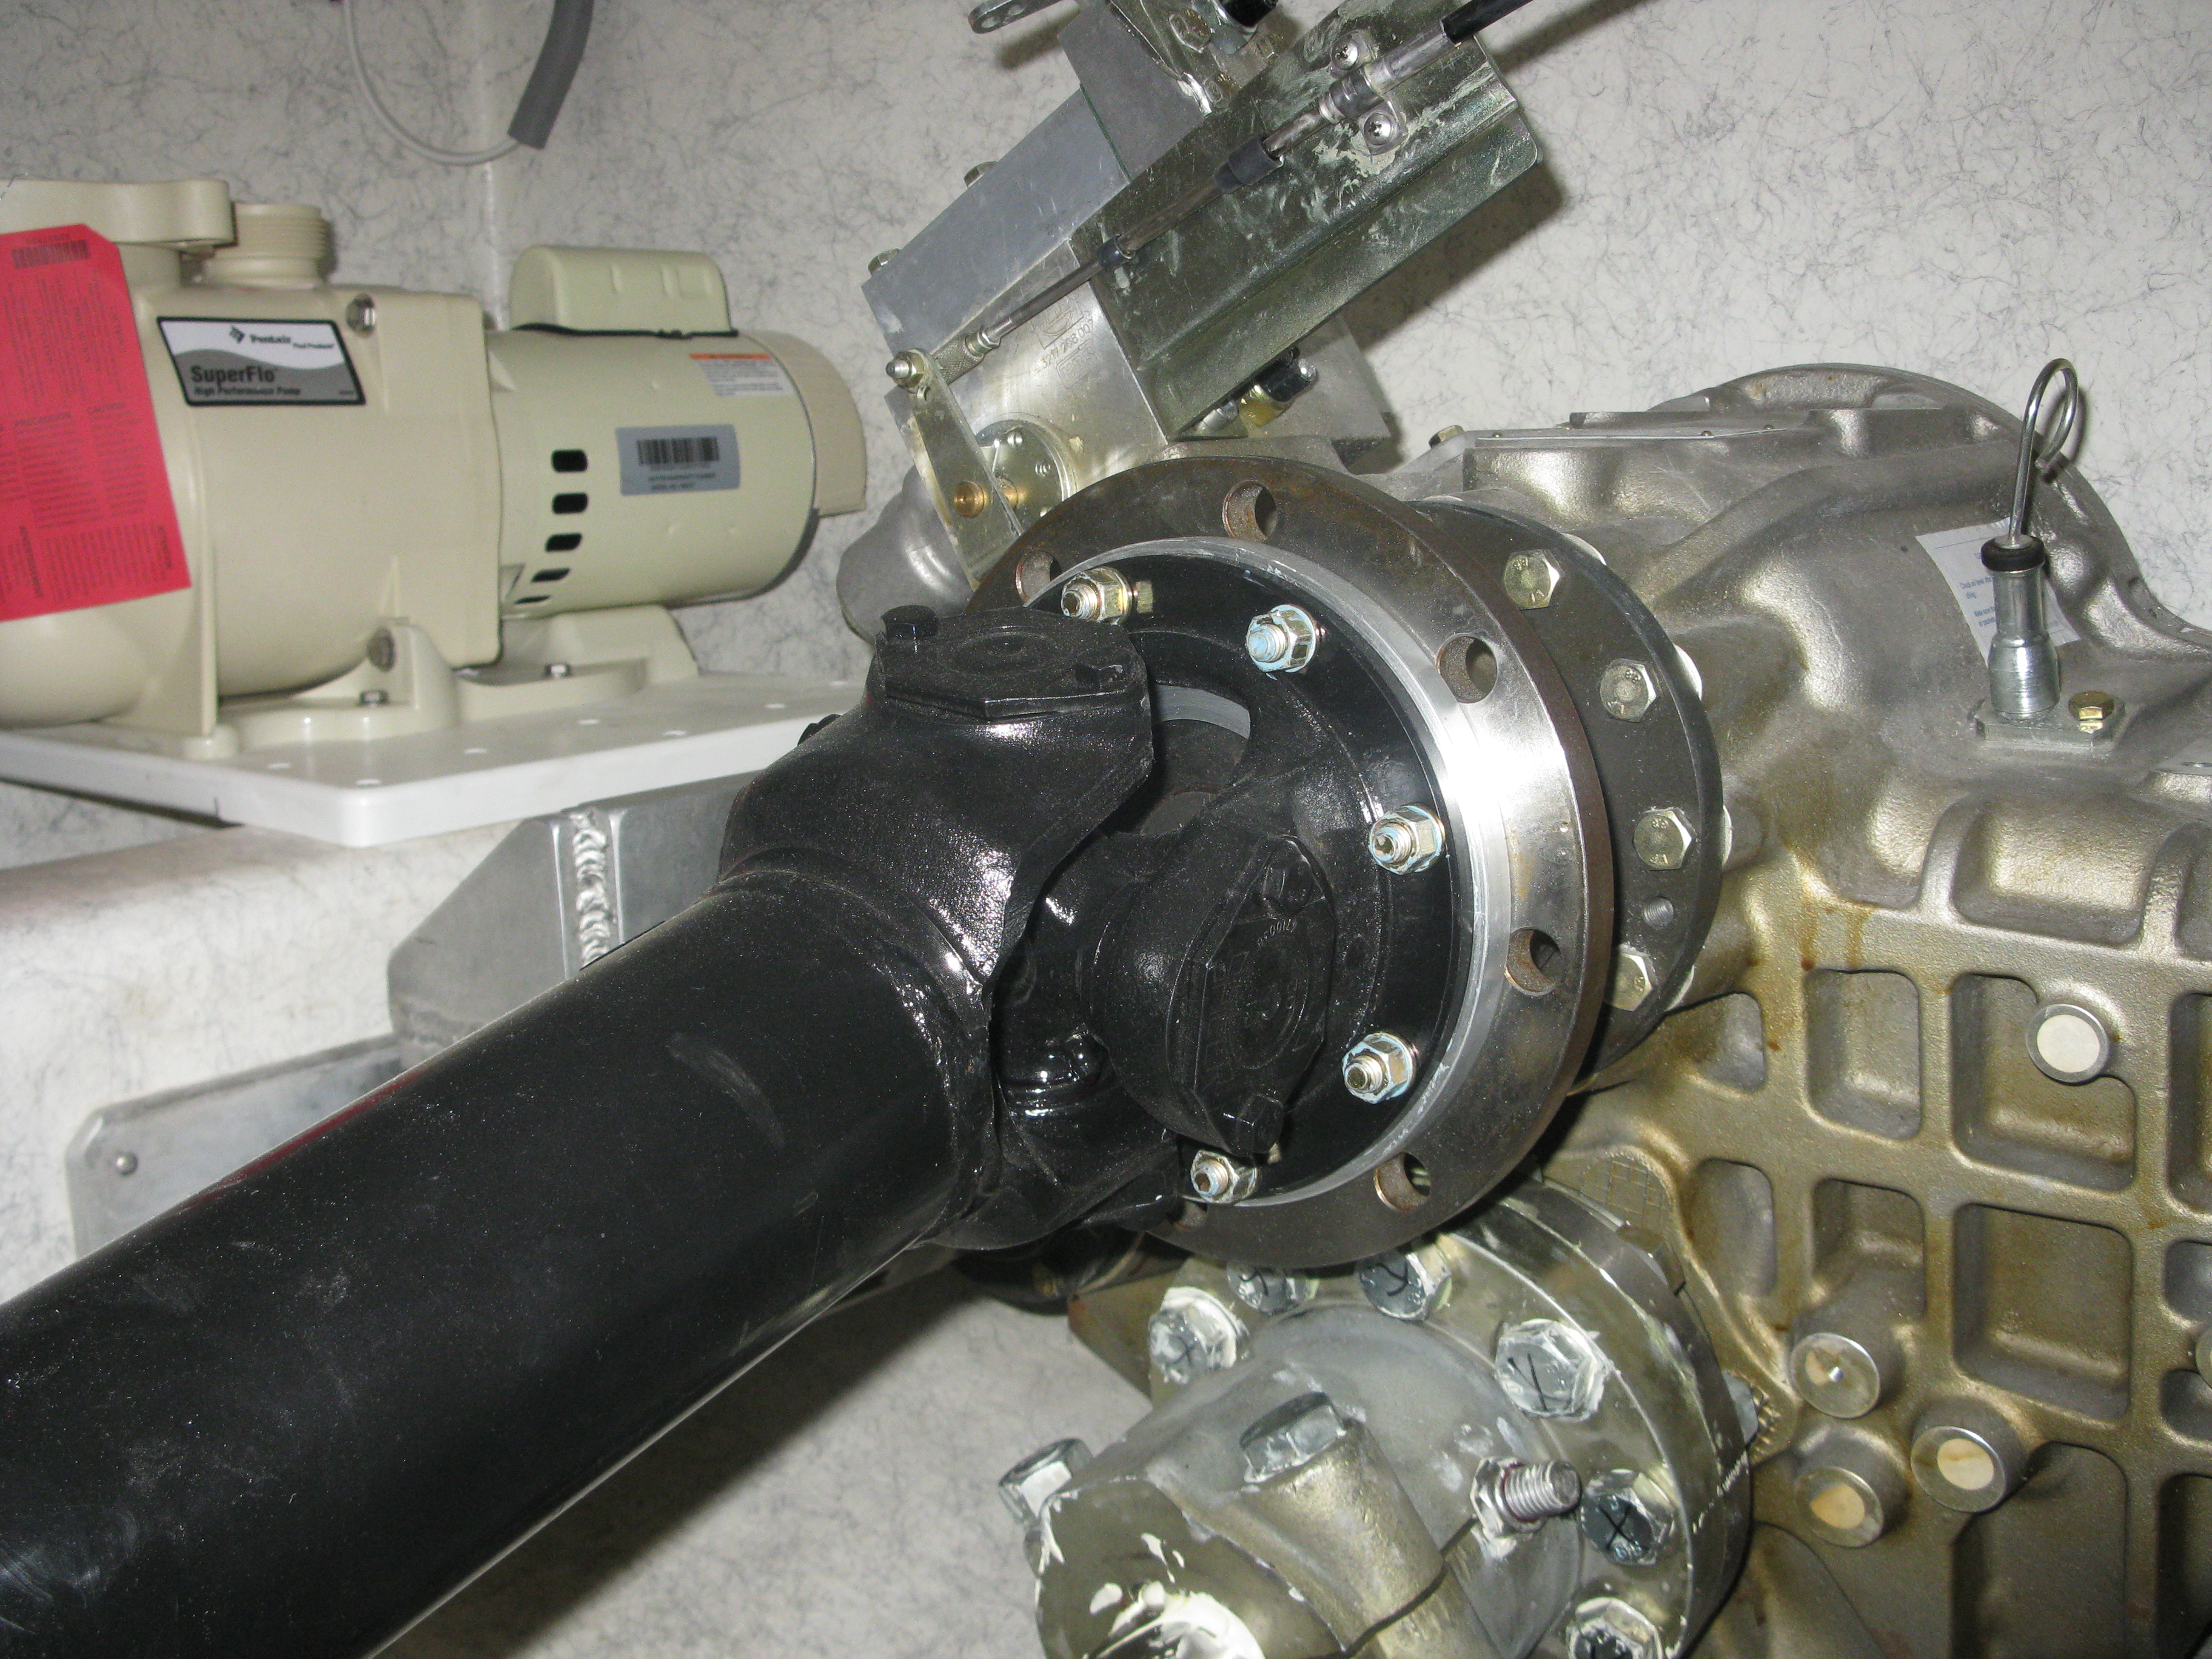
Drive train is now ready to go… time for some finishing touches.

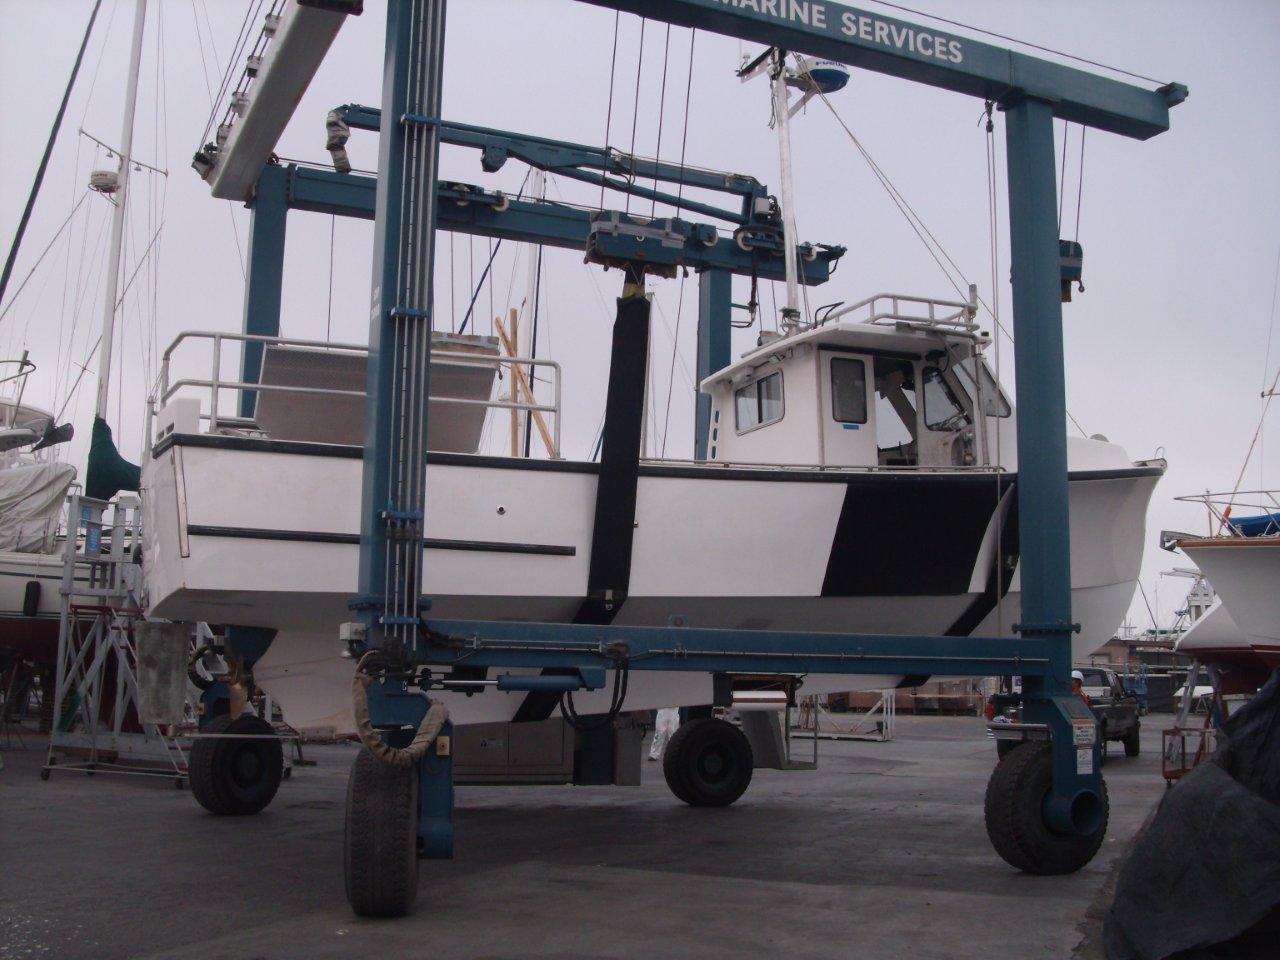
With many of the finishing touches buttoned up, the boat is now ready to be moved to the yard…

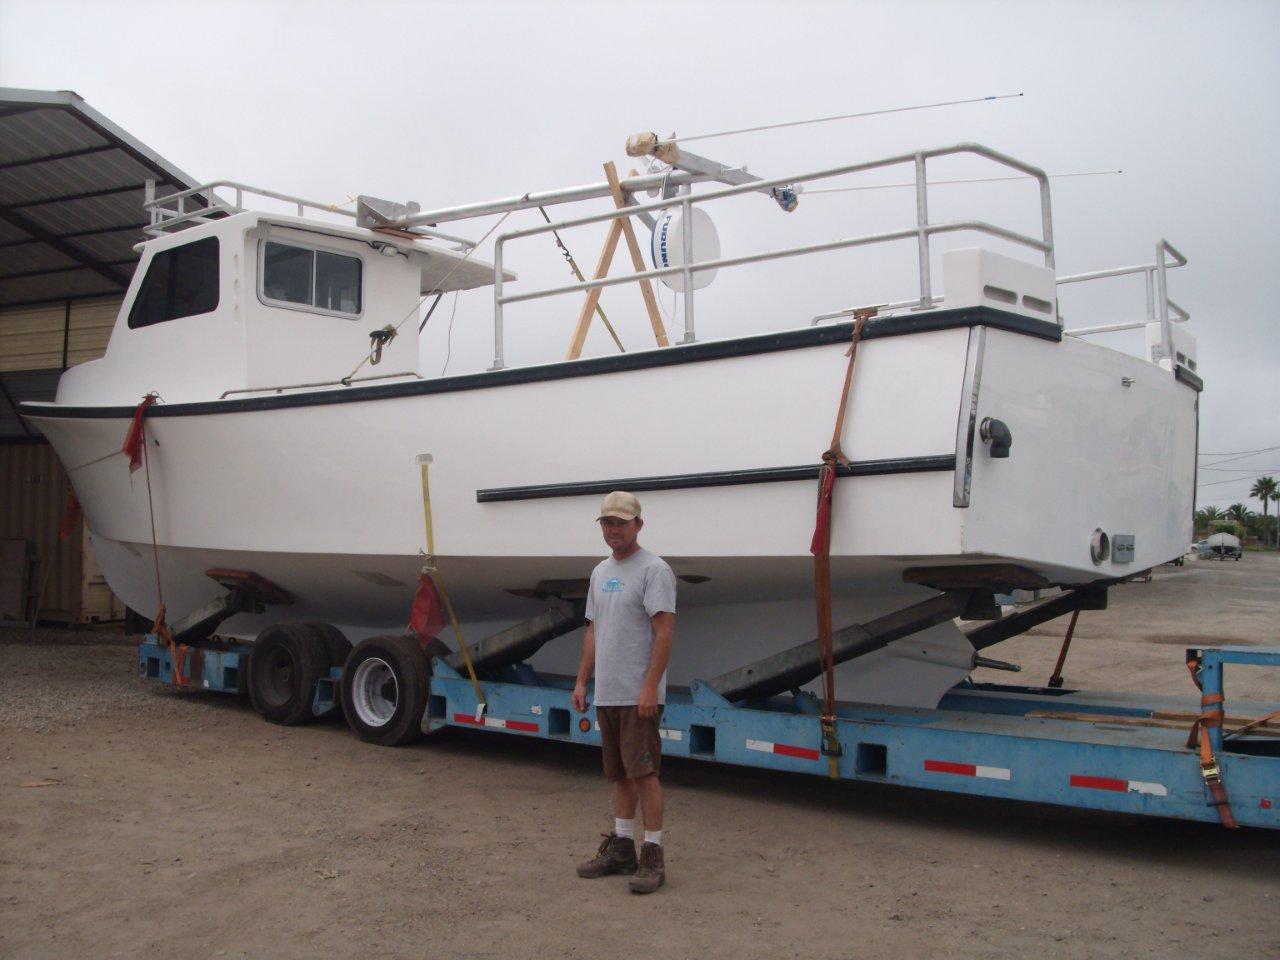
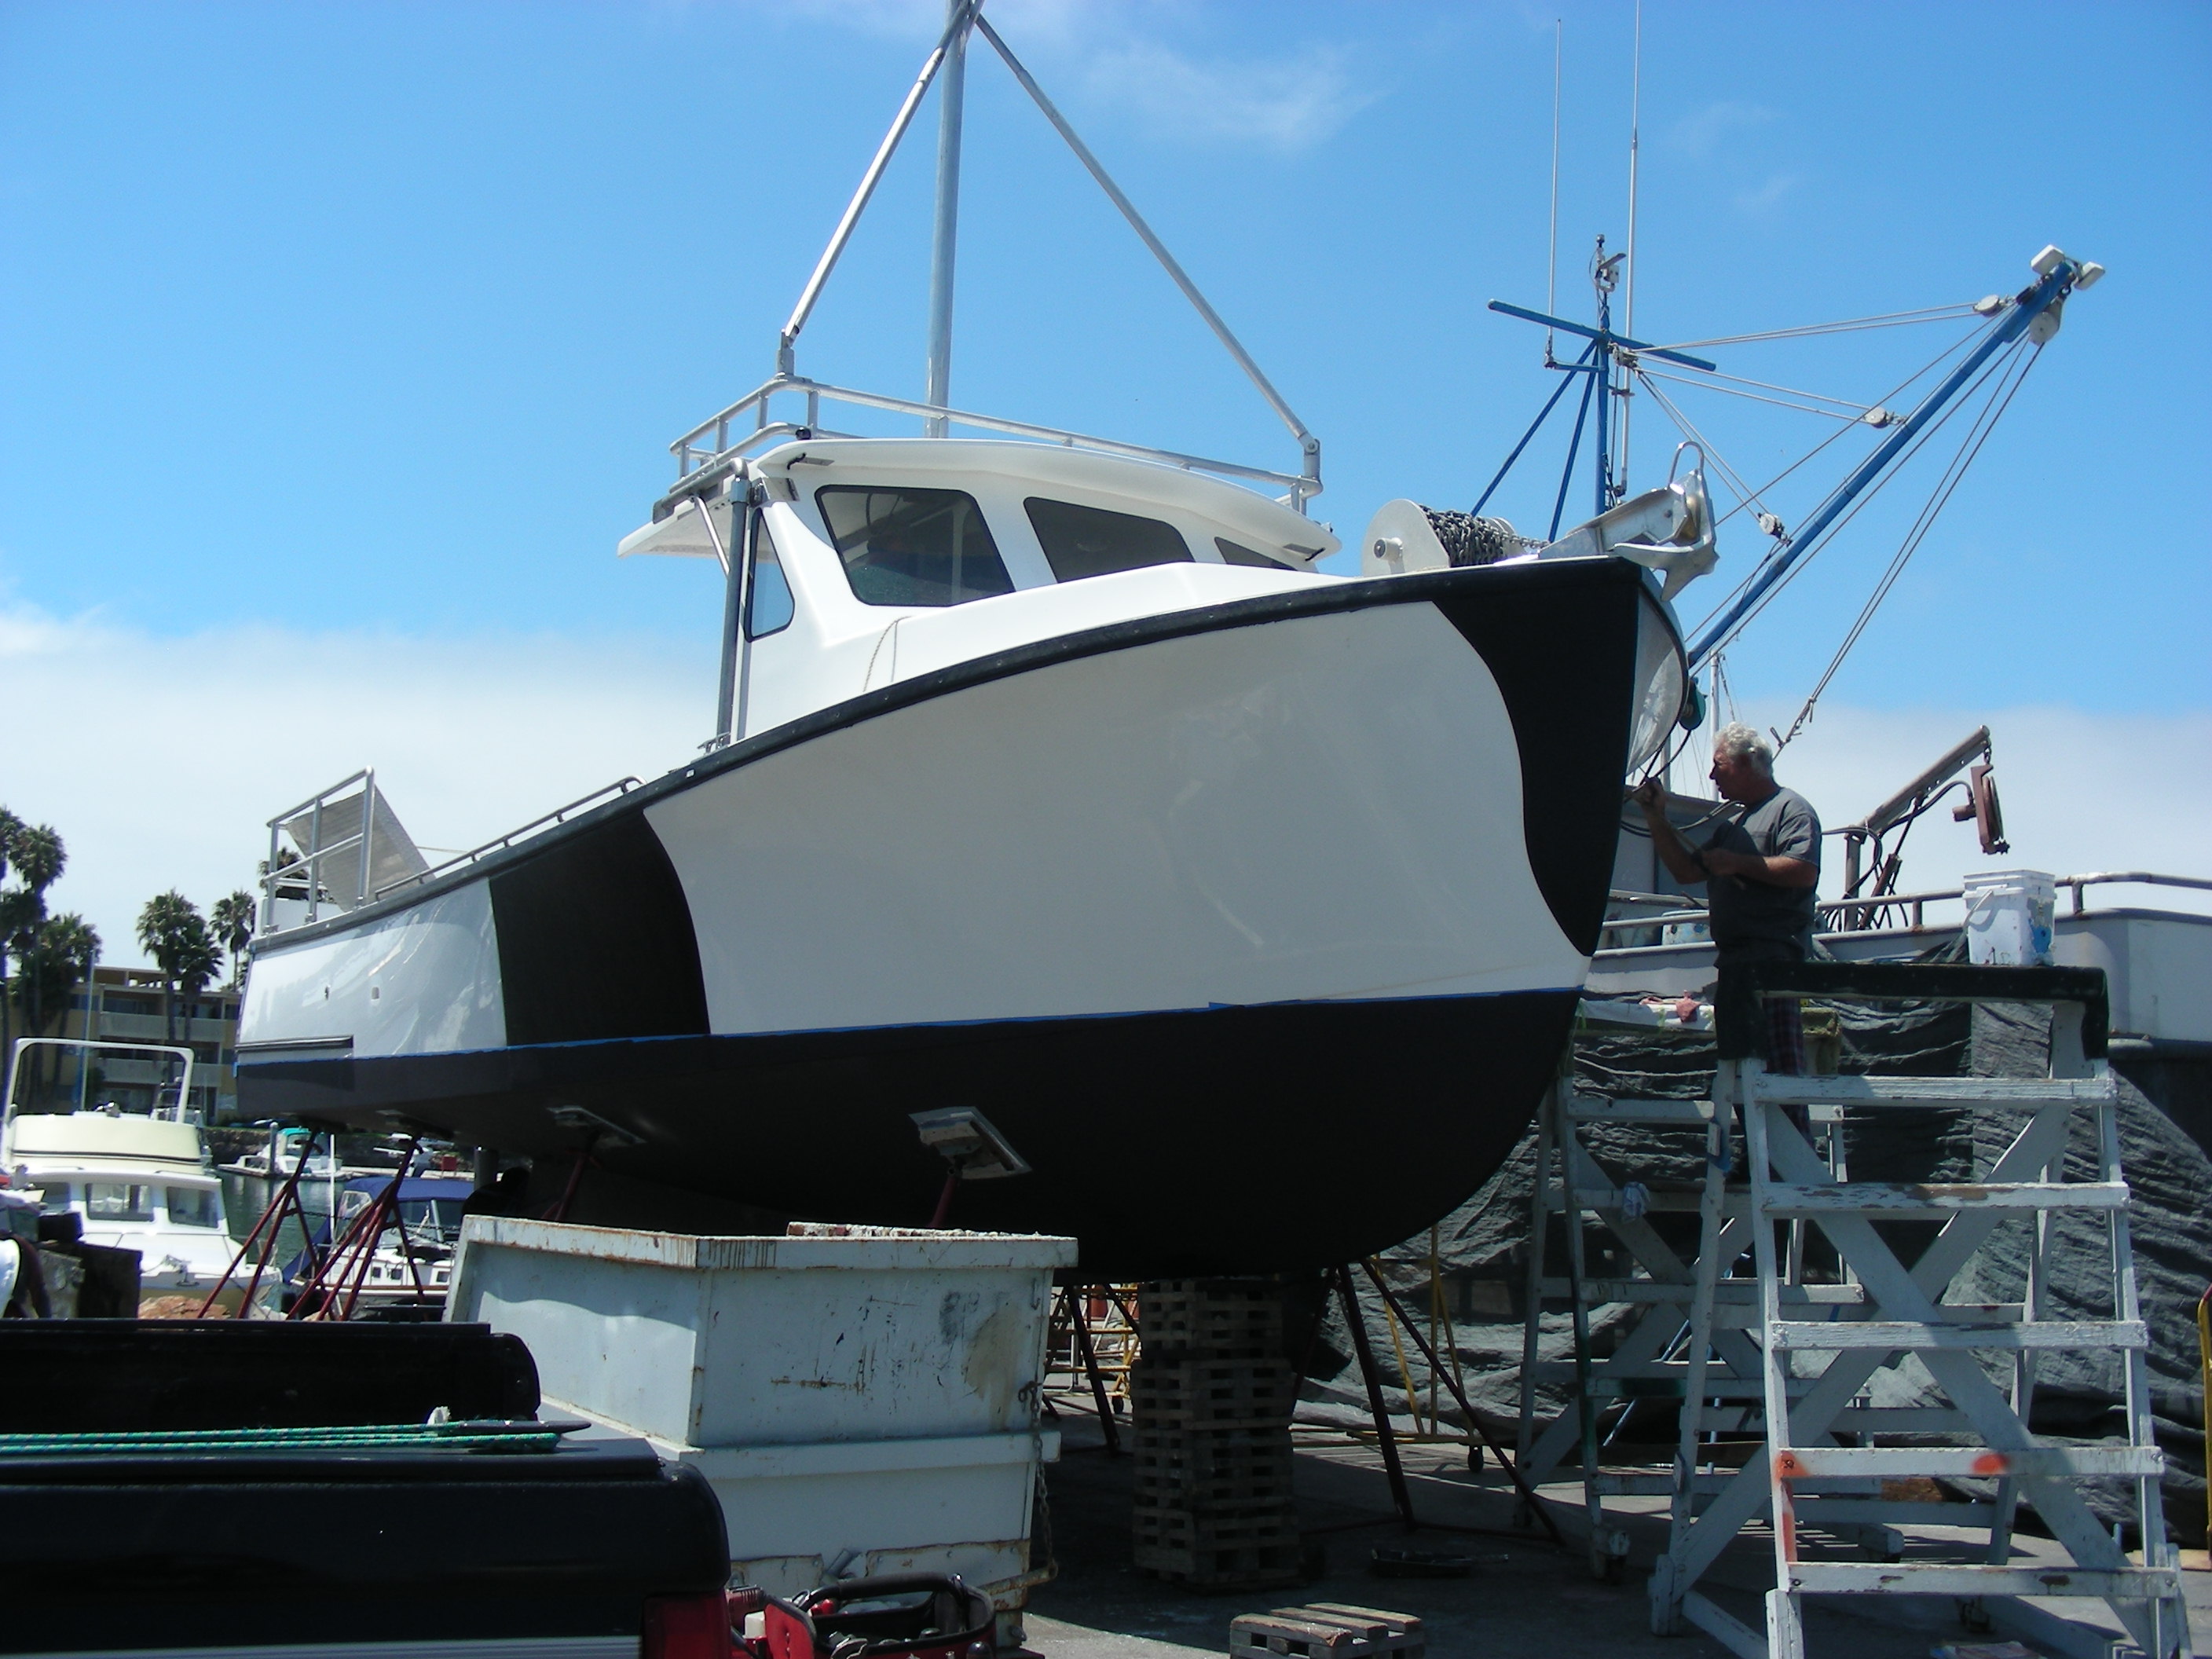
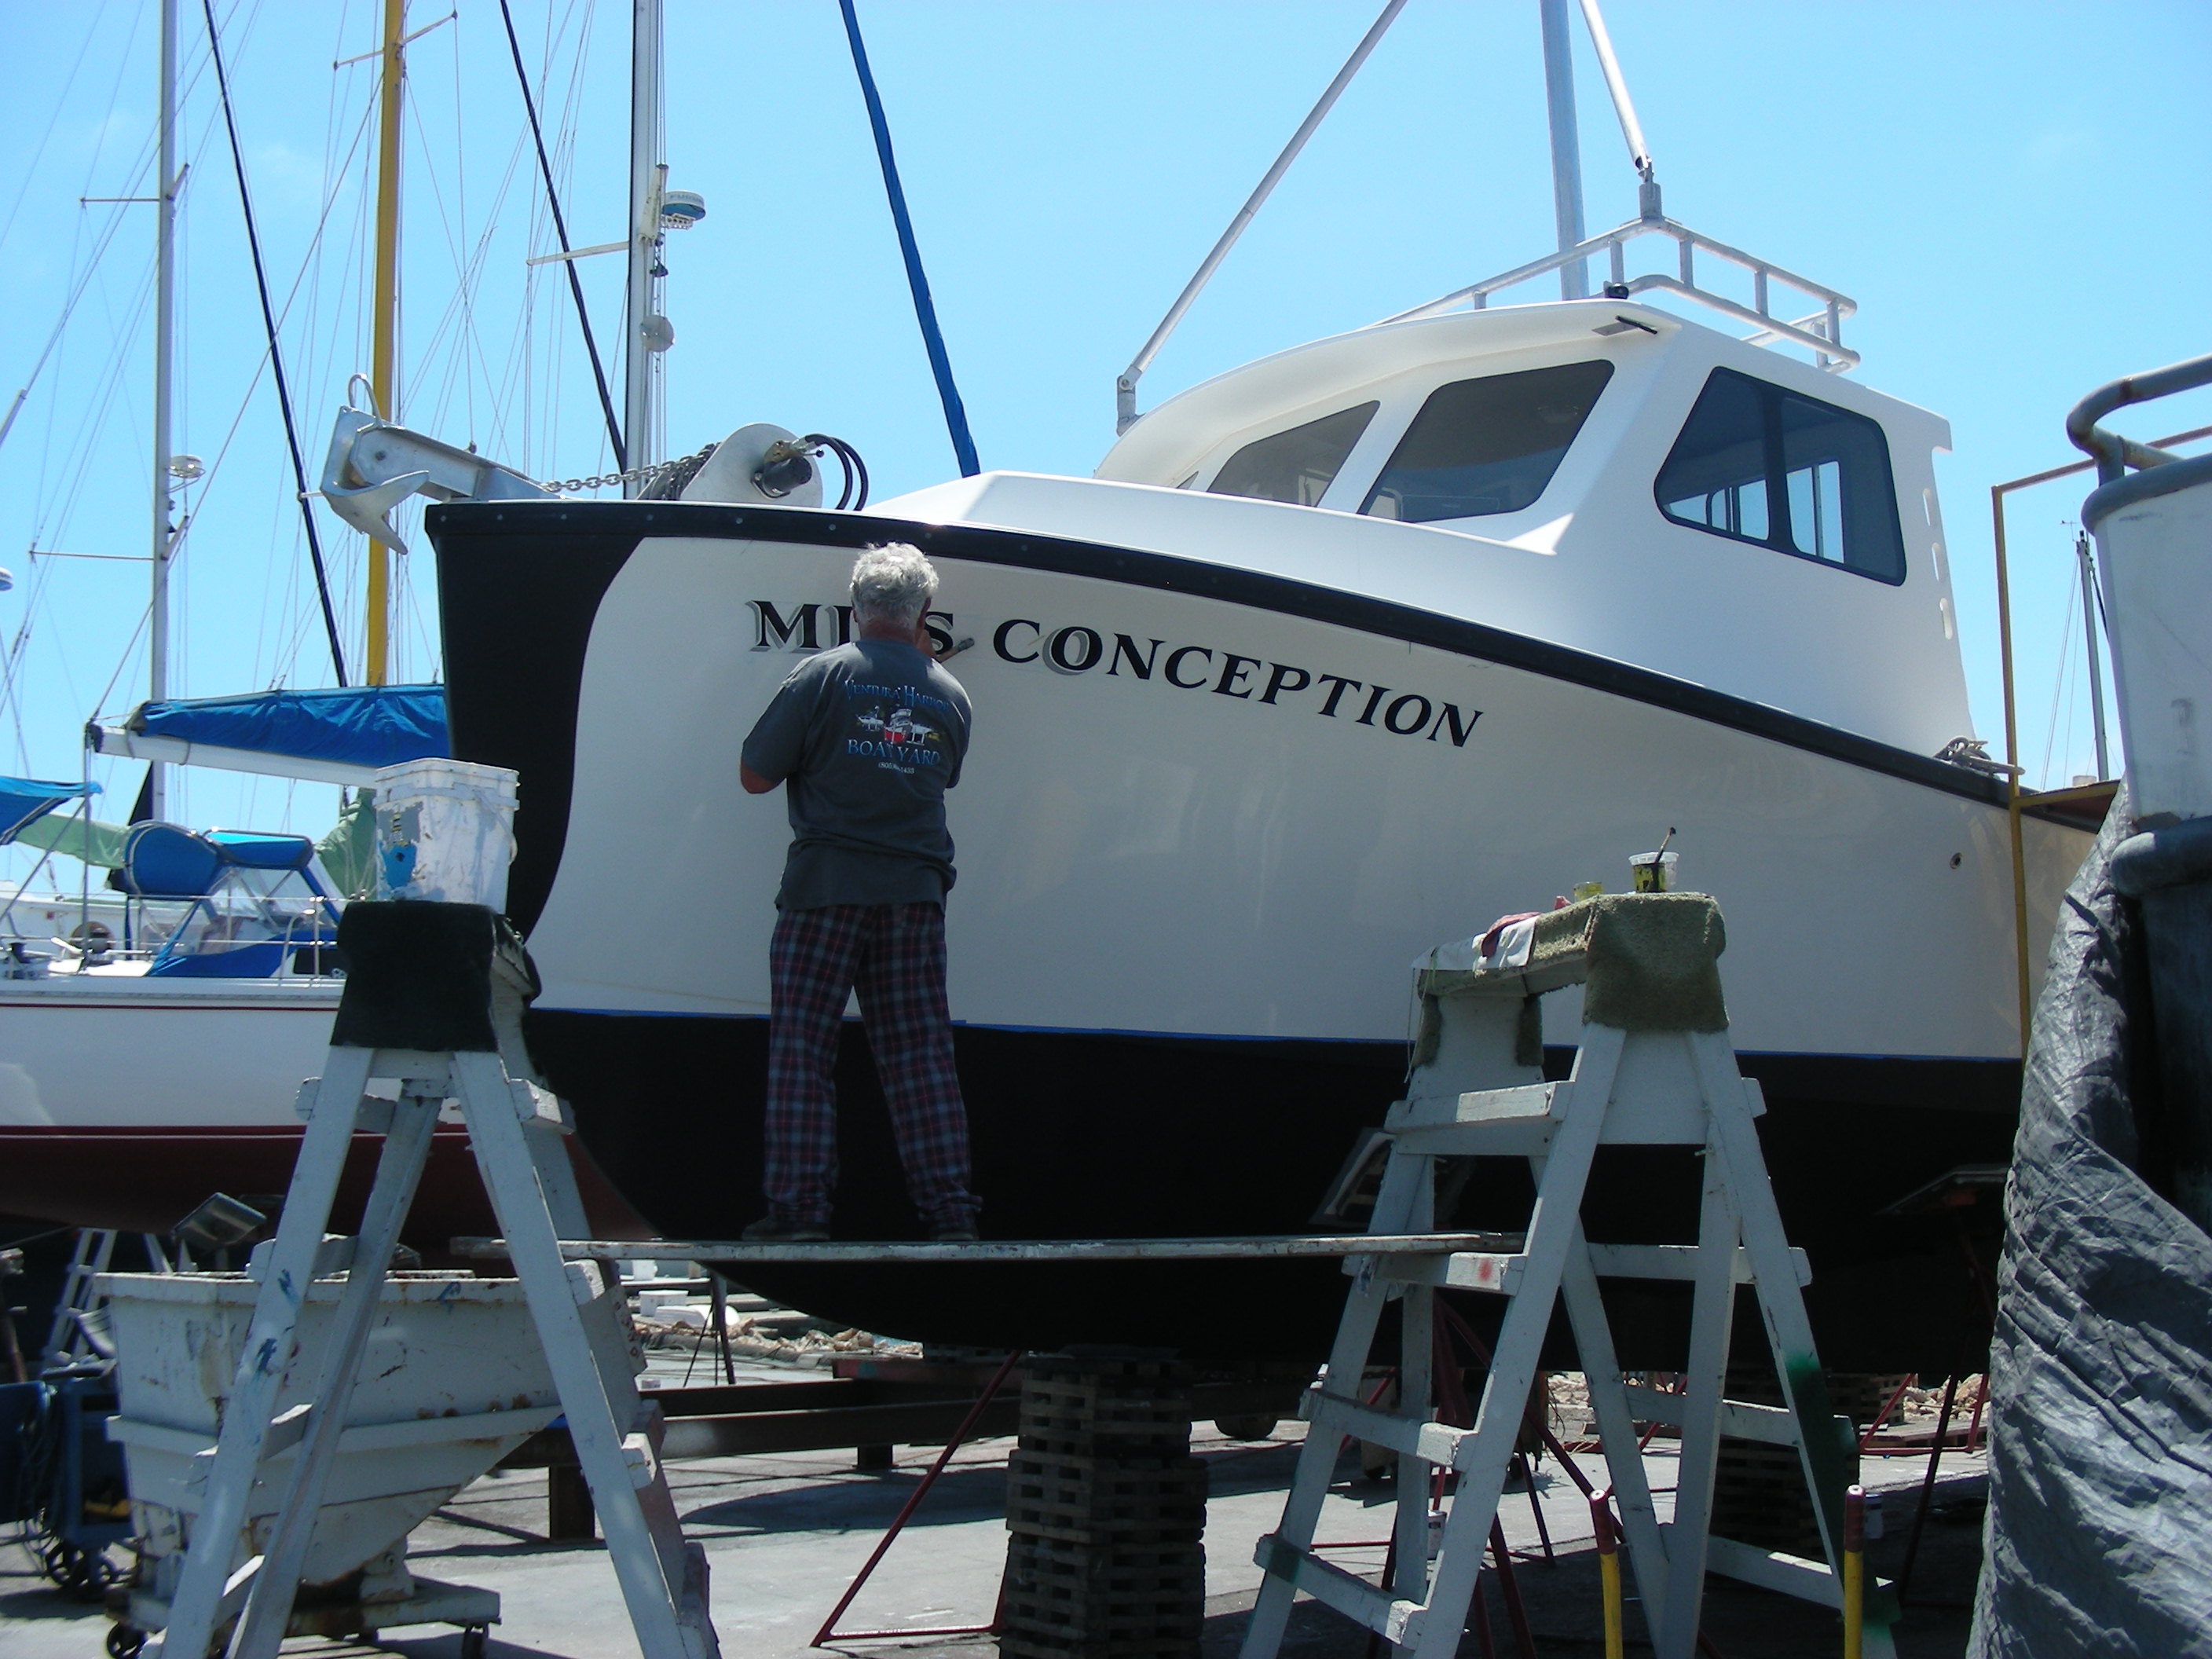
After the short trip, the boat is now resting peacefully in the boat yard before splashing.
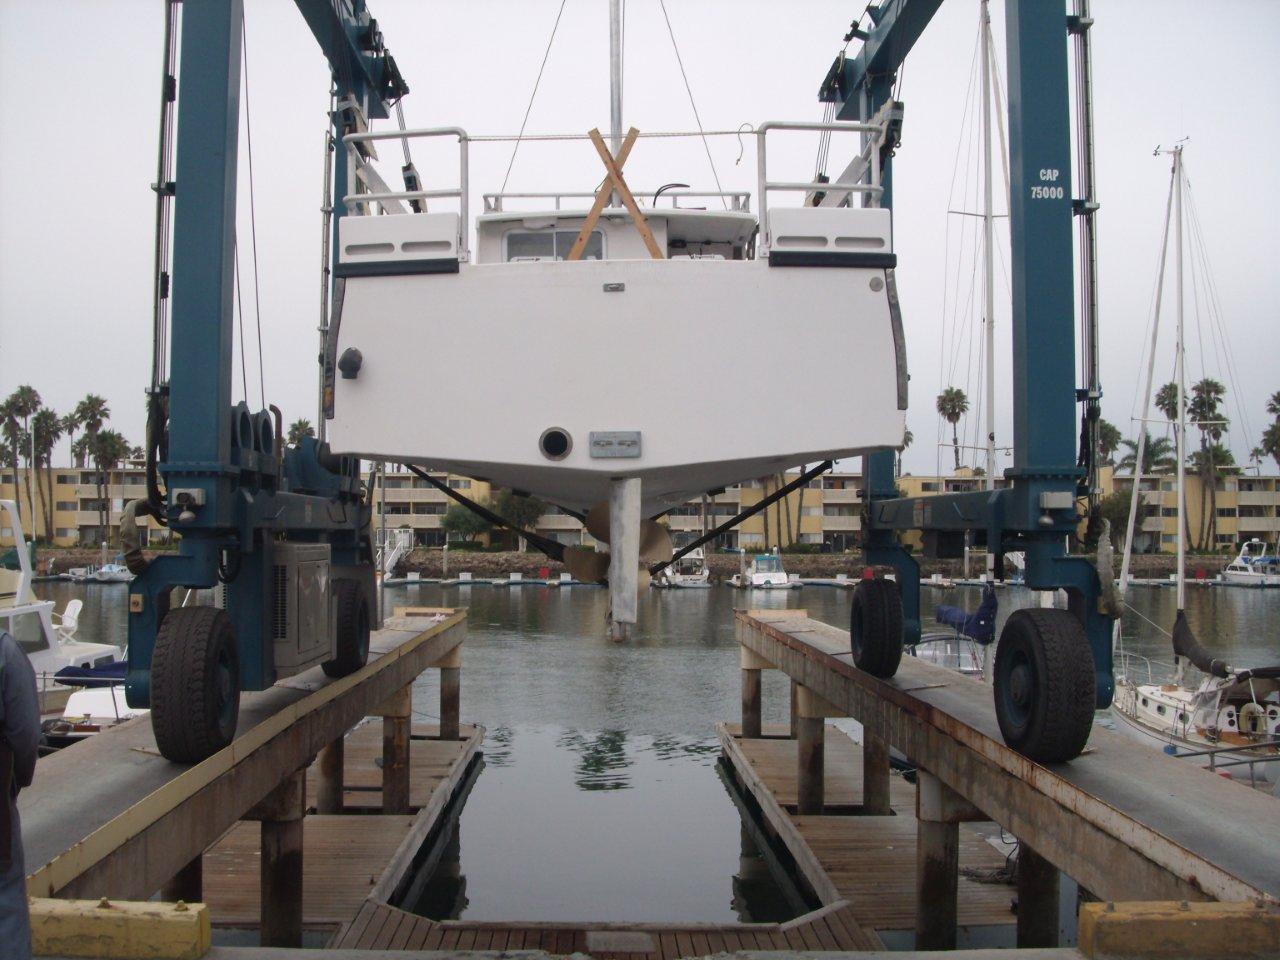
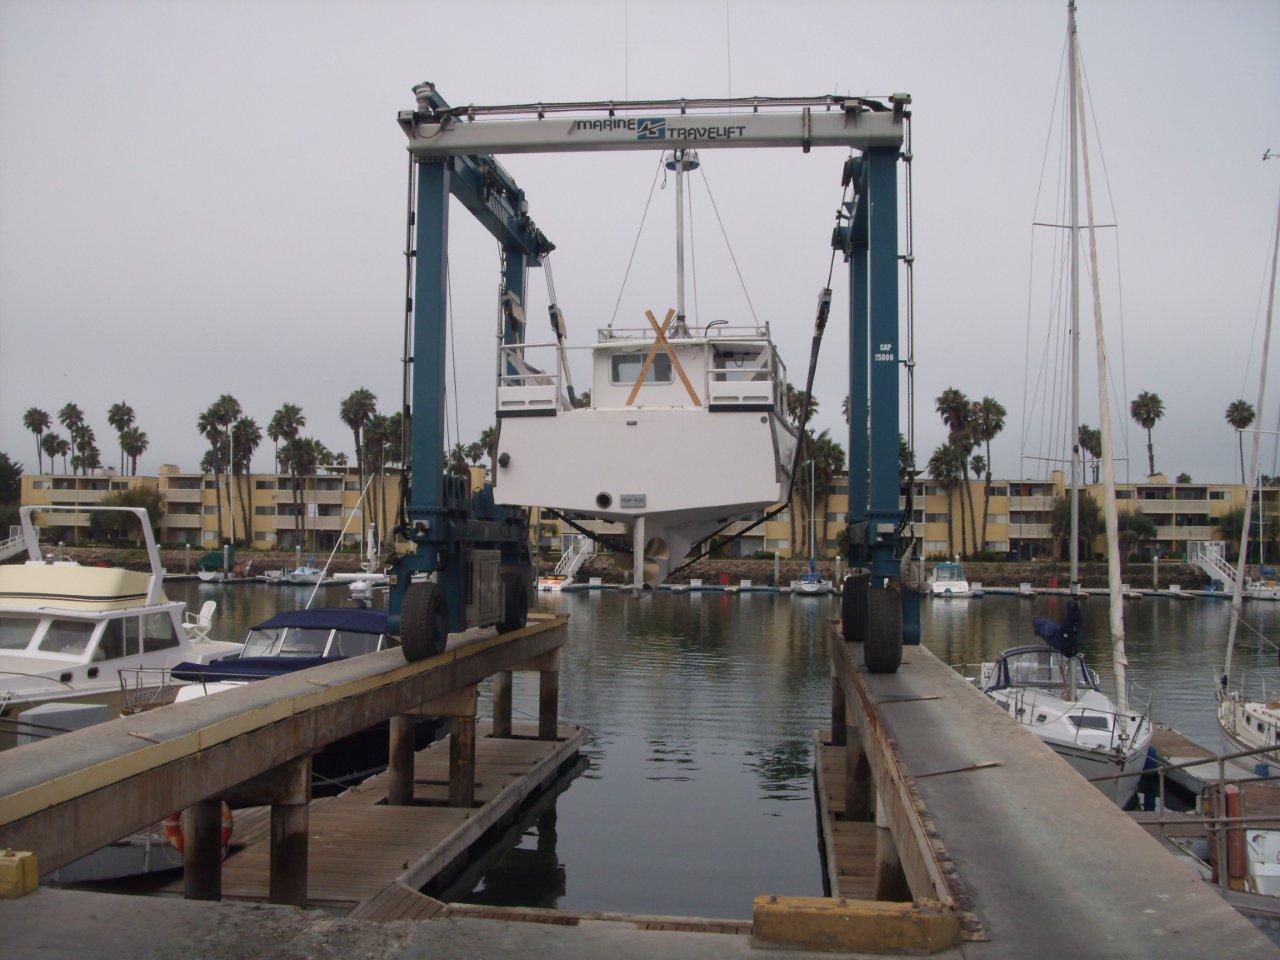
Time to get the boat wet!


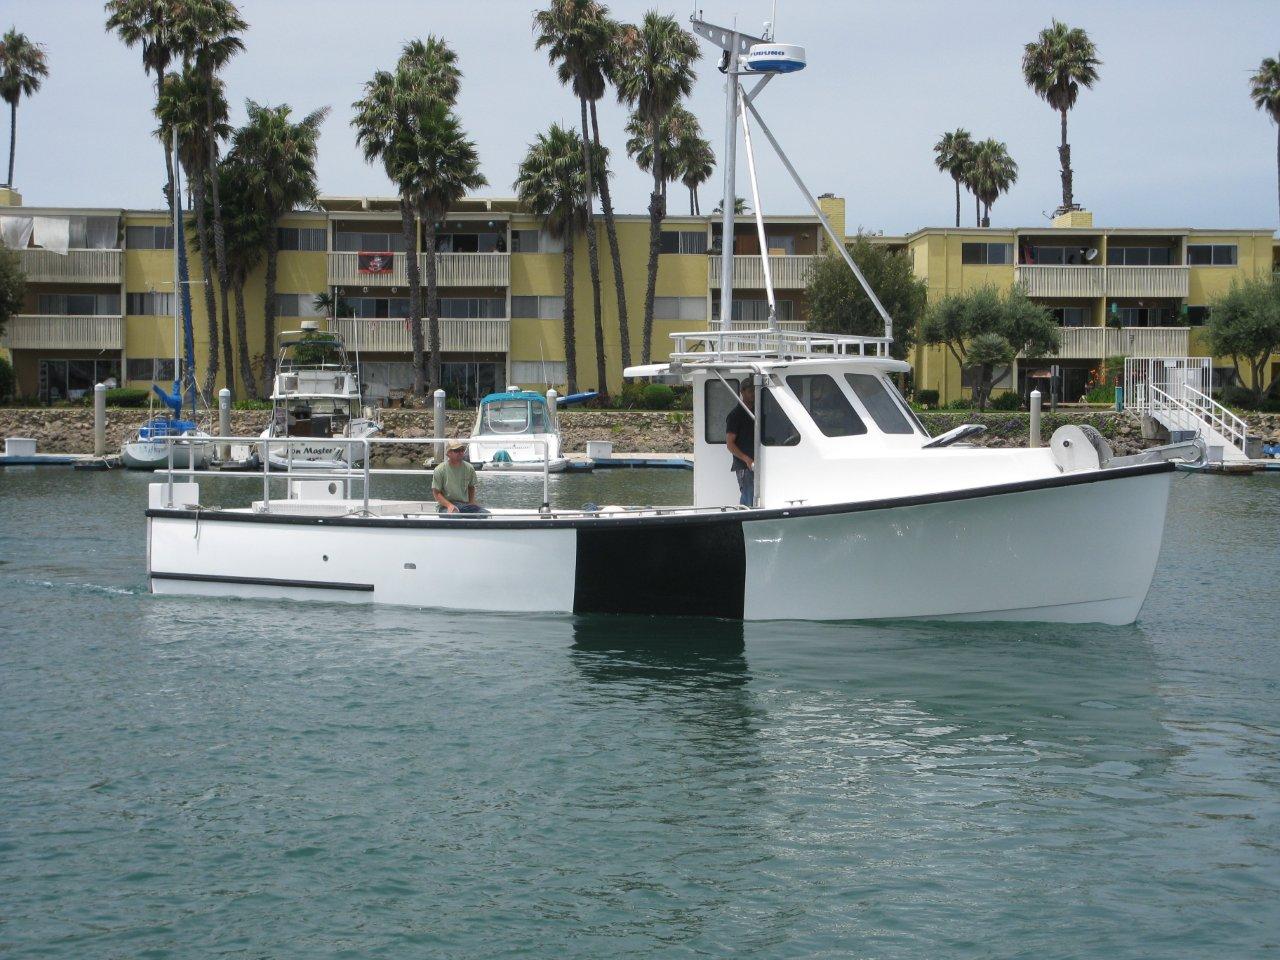
Some happy customers!