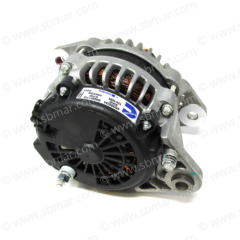
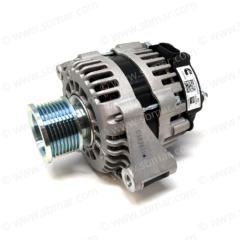
Description
Installation Instructions & Tips:
- Cut the base plate #1 below to fit your application, we left it long intentionally so you can clear any obstructions.
- Tony’s pro tip: If you need height to get above the stringer, Cut 2/3 though the top of the material to create a hinge and bend the metal to get an offset (later filled with weld)
- Tach the base plate #1. to the motor mount wing or other location on your engine.
- IMPORTANT Wherever you affix this it must be floating with the engine remember the engine is on isolators and moves a lot!
- Tack the pivot #2 below to the alternator base plate #3 below and install the base plate with the included grade 8 3/8 Bolts hand tight
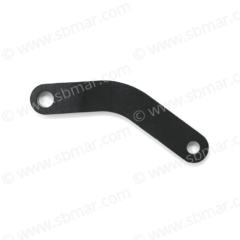
- You can cut or grind the tensioning brace #4 below as needed. We designed on the large side to accommodate very large alternators.
- Tack the tensioning brace #4 into place. Keep in mind the offset you will create and how the tensioning arm #4 will align with the alternator
- You can use a washer or three if needed between the tensioning brace and slotted arm to achieve alignment
- The slotted tensioning arm #5 below is also left on the longer side and may be drilled and cut to length in the field or used as is.
- Once you have the everything tacked, install the alternator temporarily and measure for a belt and check the belt fit and alignment and travel of the tensioner
- Cut tacks and adjust as needed.
- Use the extra metal plates #6 below to create a spar, brace, or I beam,
- particularly to span across the weld joint at the end of the engine mount wing and to stiffen the long #1 plate to mitigate vibration
- Once everything looks good complete the final welding.
- Grind off any and mill scale coating to fresh metal on our parts and the engine mount. Only weld to freshly ground metal.
- You may need to run a 1/2″ drill through the alternator pivot after welding due to some slight warping.
- Primer and Paint and complete the final Assembly.

Below is a Balmar Alternator installed on a QSB 6.7. This was one of many custom alternator mounts we’ve done and this is the design the kit is based upon.


